Created on: November 22, 2017
Last updated: April 19, 2022
IMPORTANT:
- This firmware update process is beta status. Please be aware that no firmware update process is 100% without risk, and that it is important to follow the instructions as they are presented here. If you have questions please contact our award winning customer support team.
- This specific firmware update process does not apply to Mac Pro customers.
- This firmware process does not apply to the Aura Pro X, Aura Pro X2, or Aura N series of drives.
Relevant Part Numbers:
- OWCSSDAB2MB02
- OWCSSDAB2MB05
- OWCSSDAB2MB10
- OWCSSDAB2MB02K
- OWCSSDAB2MB05K
- OWCSSDAB2MB10K
This article describes the process for applying a firmware update to the Aura SSD. The update improves compatibility for:
- macOS 10.13
- Due to an error caused by the Aura SSD's controller, previously, we required the 10.13 upgrade be installed via the Apple SSD as a first step. This firmware update removes that requirement and ensures your Mac will receive the appropriate EFI update as part of the system installation.
- Hibernation
- Cold booting
Downloading & Installing the Firmware Updater
As a first step, please download the archive linked below (it contains an msu.dng file and the firmware update file). Once you have downloaded the archive and opened it, please open the 'msu.dmg' file and follow the installation instructions. Once finished, proceed to the next section.
https://www.owcdigital.com/assets/products/aura-ssd/owc-aura-firmware-update.zip
Installing the Firmware Update
NOTES:
- By default, the msg.dmg file will install an application called MarvellTray into your system Applications folder.
- The screenshots below are provided for your reference, but may look slightly different than the one you see on screen.
- This firmware update can be accomplished while you are logged into the copy of macOS that is installed on your Aura SSD.
- While this update is non-destructive, as a precaution we recommend you back up all important data before following the steps below.
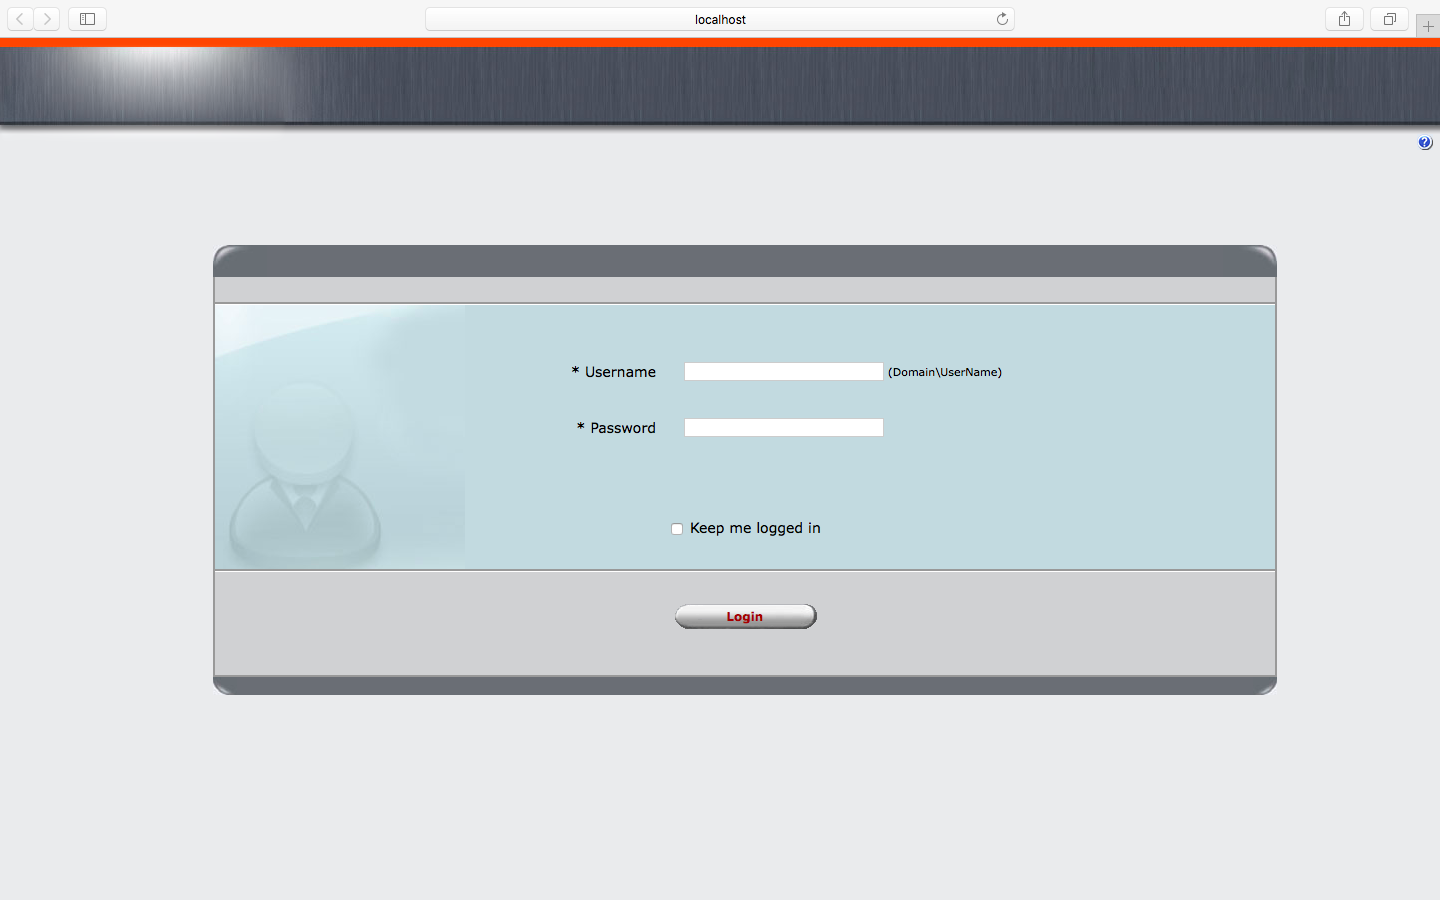
- Launch the MarvellTray firmware utility. At the login screen, please type the login credentials for your Mac's administrator account. Please note that just like your Mac, the Username and Password applied here are also case-sensitive.
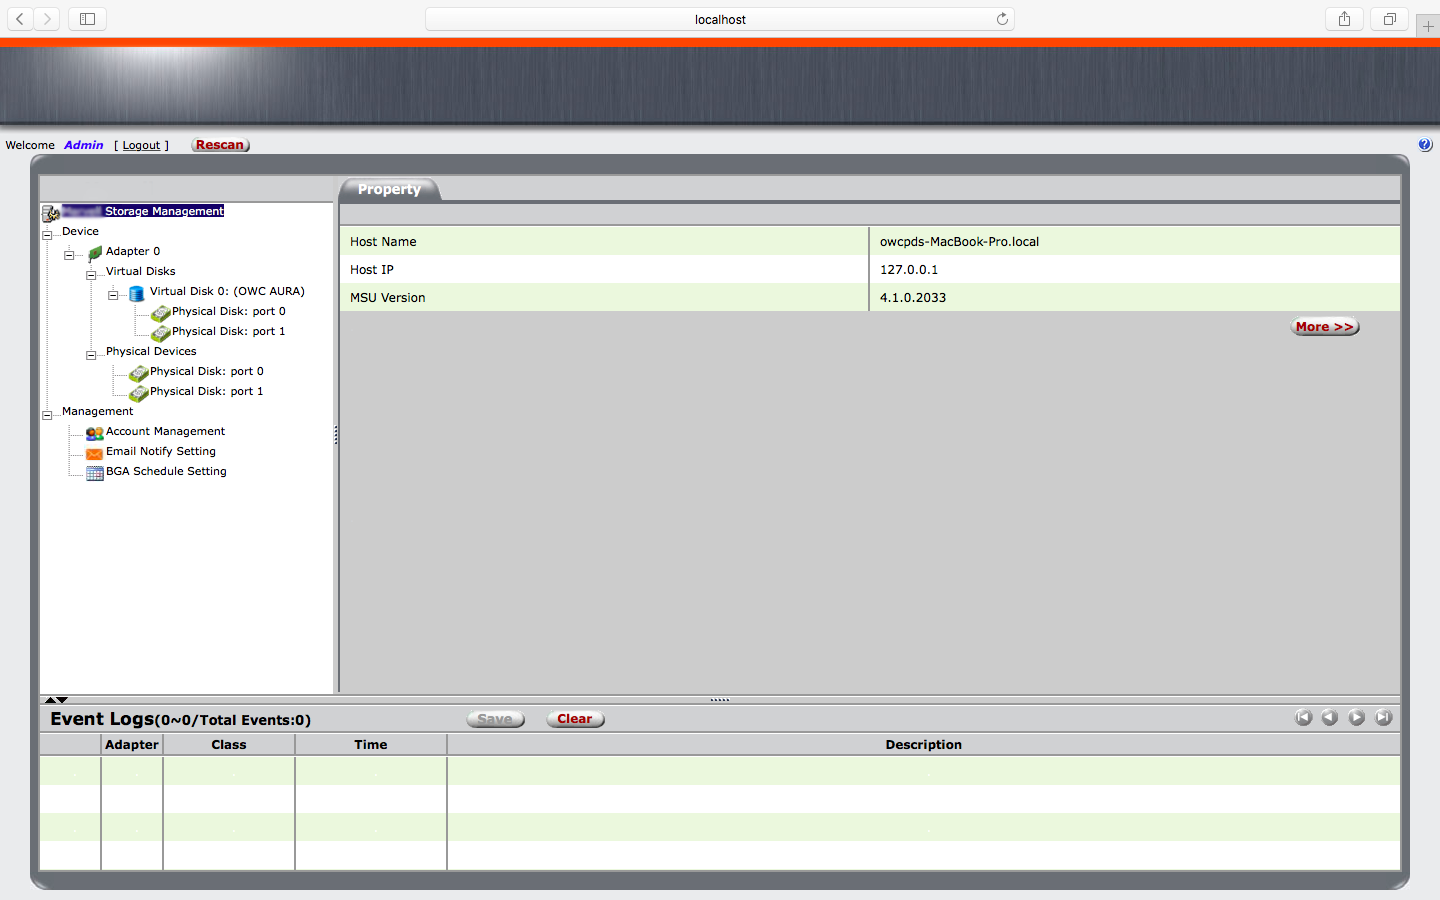
- From the default screen, select the 'Adapter 0' item in the sidebar. Your screen should look similar to the one below.
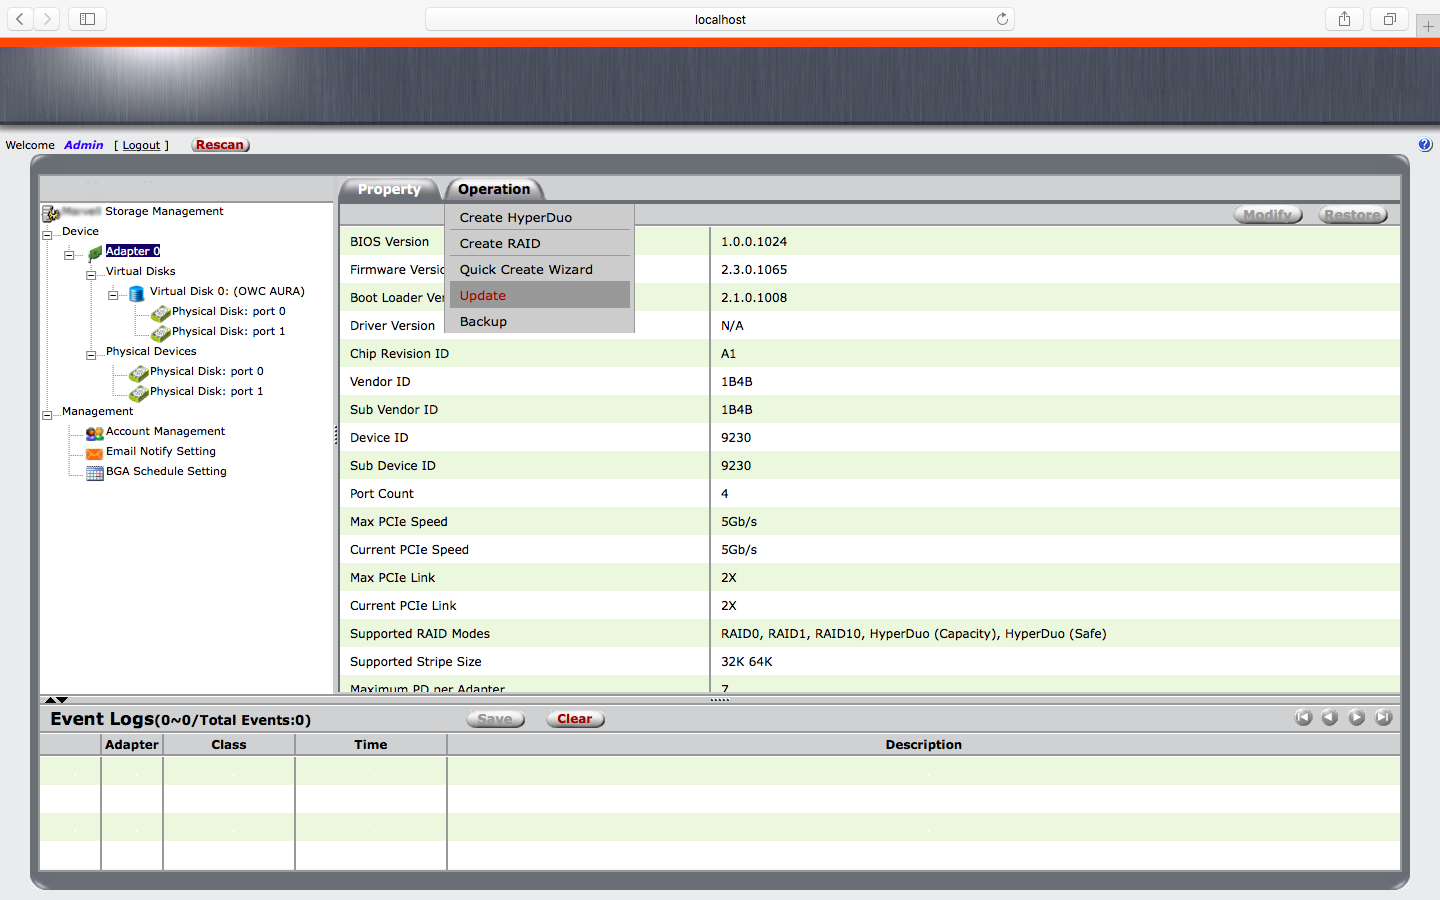
- From the 'Operation' menu, select the 'Update' command.
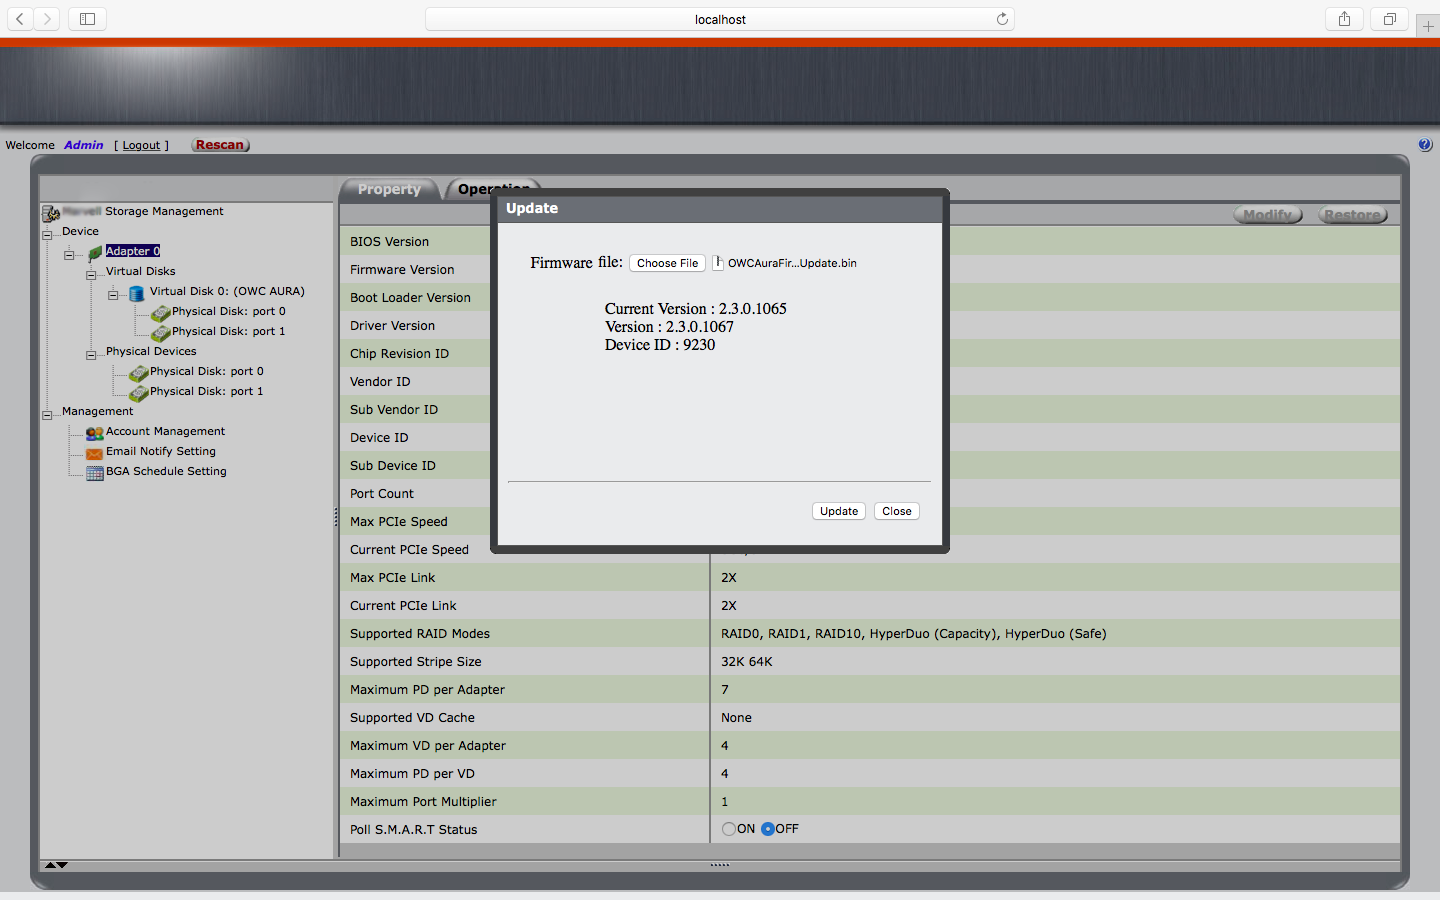
- An update screen will appear, displaying the current firmware as version 2.3.0.1065.
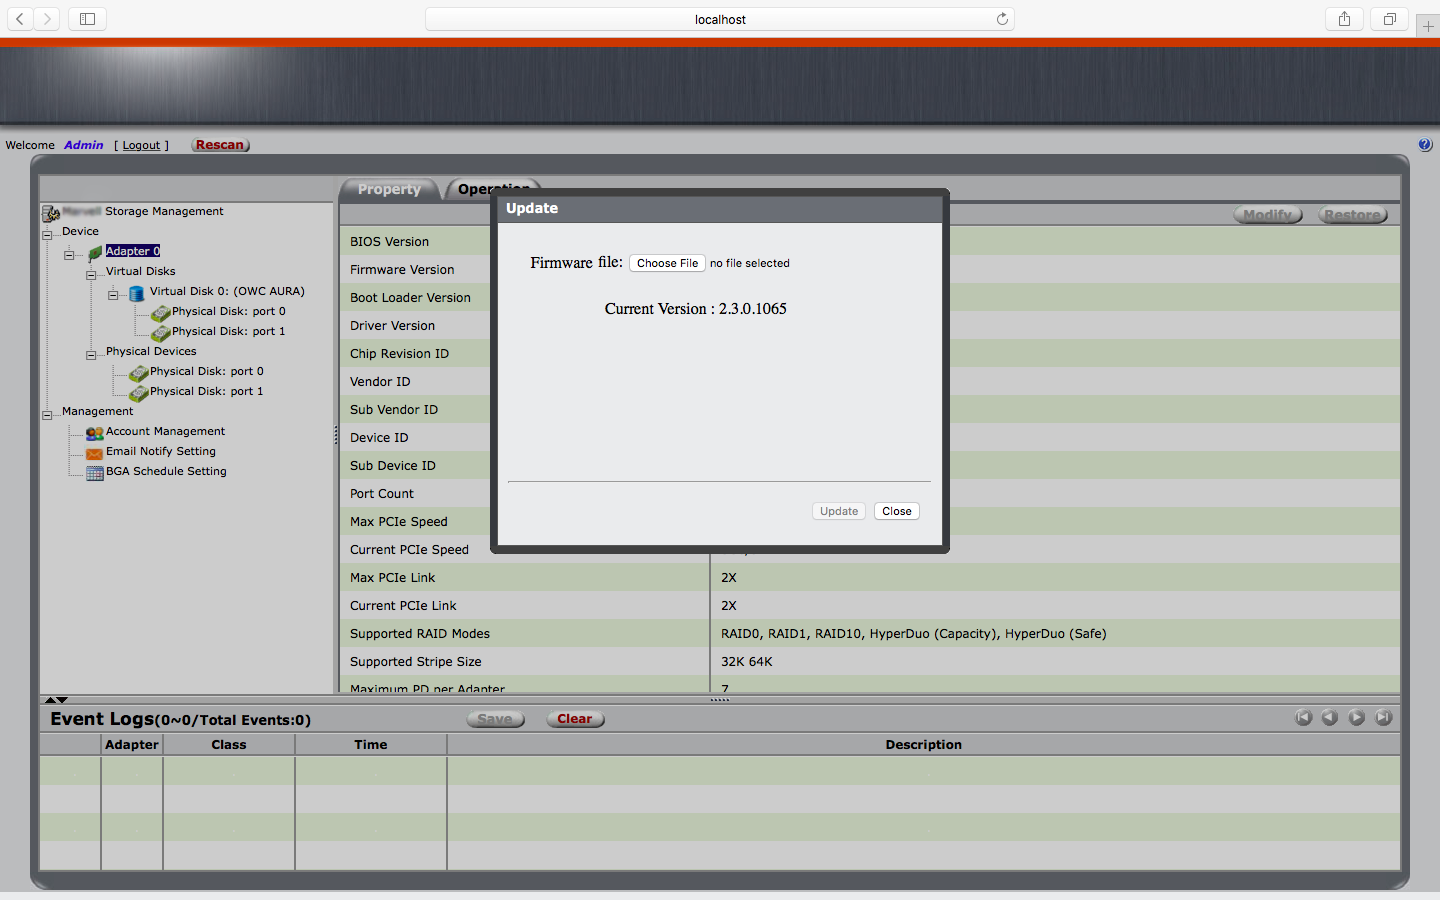
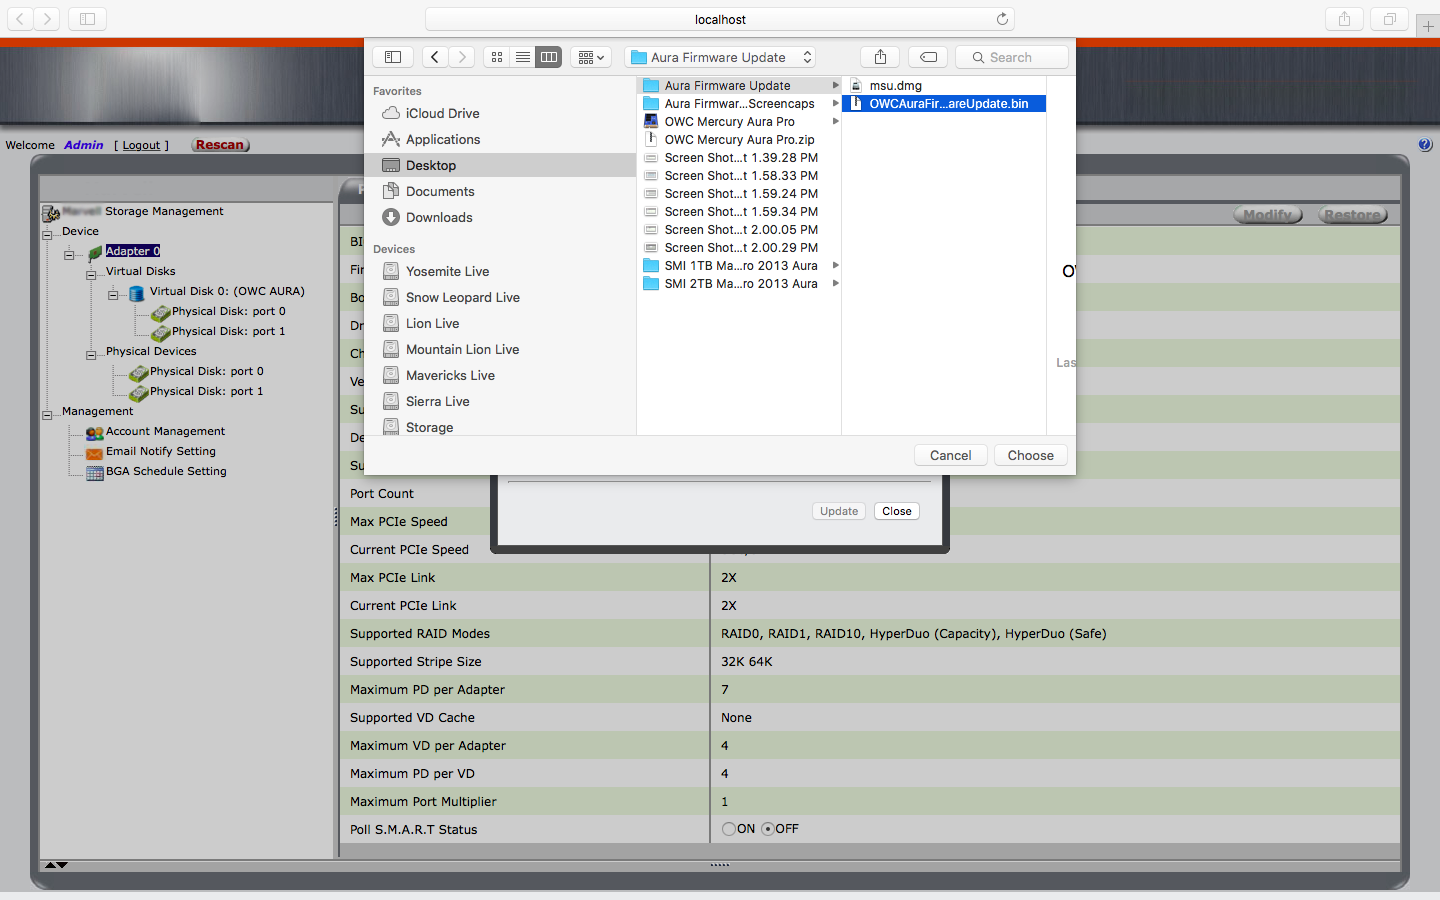
- Now click the 'Choose File' button at the top of the dialog. From the Mac dialog that appears, select the OWCAuraFirmwareUpdate.bin file that you downloaded earlier. Note: it may be in your 'Downloads' folder by default.
- The update screen will show that the file has been chosen and is ready. Click the 'Update' button.
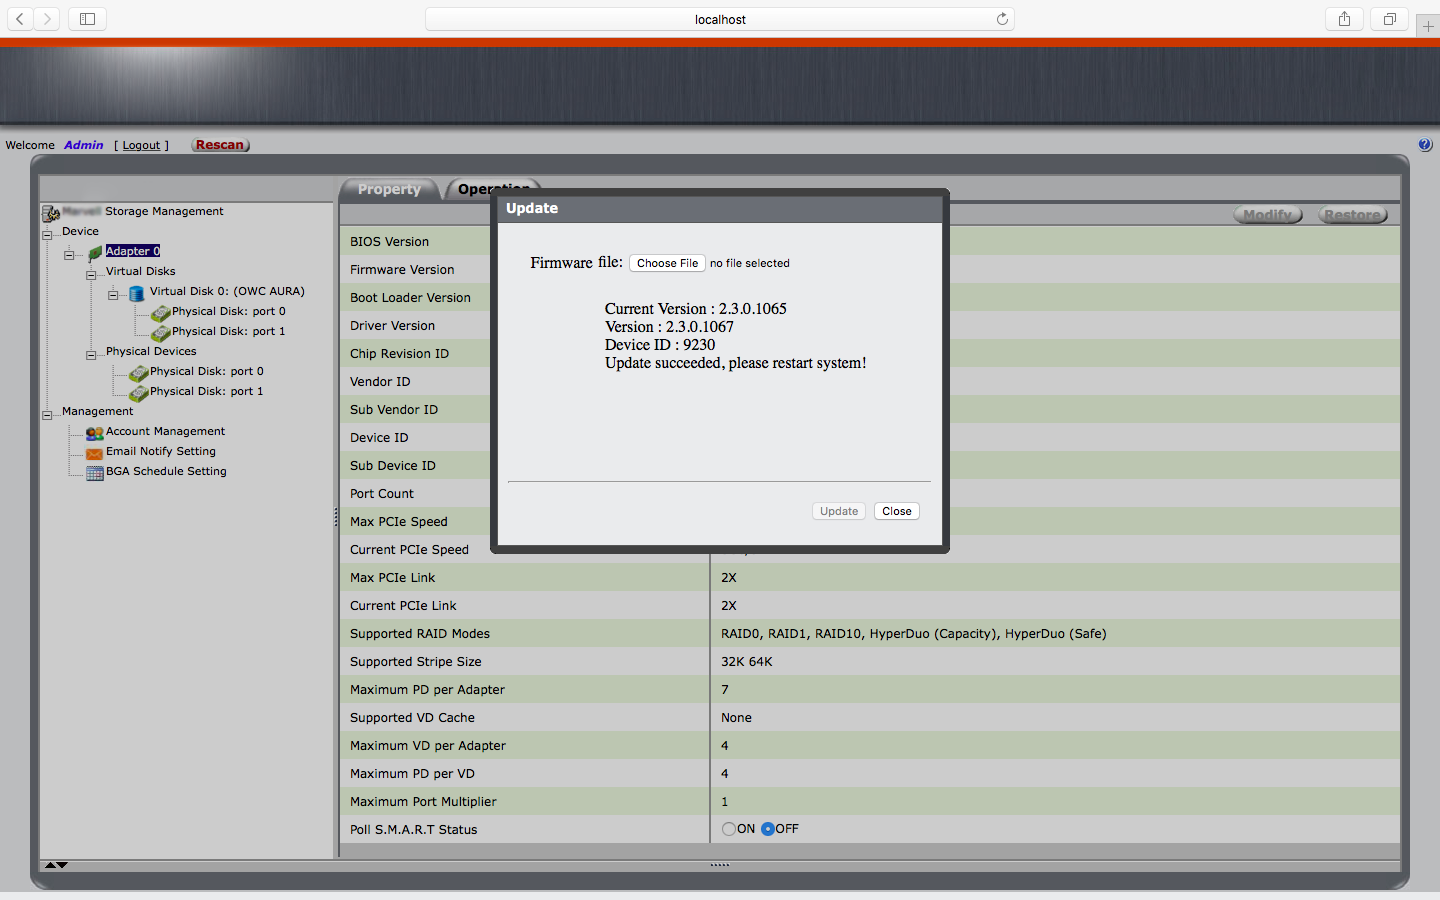
- Once the update is finished the screen will display a message that it the update was successful and the host should be restarted. Close this window then restart your Mac.
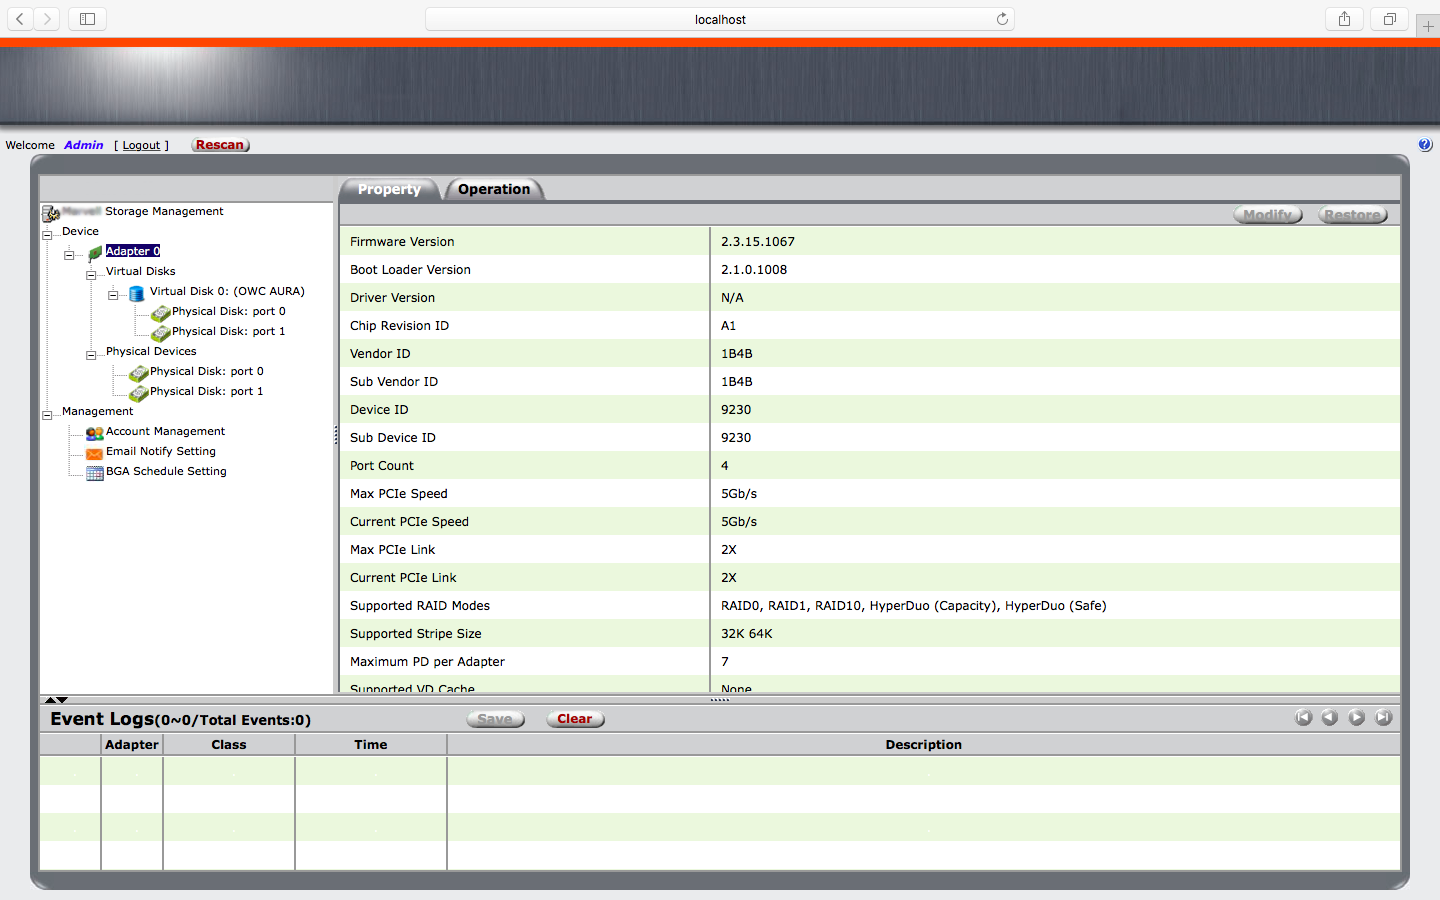
- Once the computer has restarted, open the Firmware Utility again to check the firmware version by selecting 'Adapter 0' again. Make sure the version is 2.3.15.1067. If so, this completes the update process and you can quit the updater app. If not, please start over at step one and try again or contact our customer support team.
- When you are finished, please uninstall the firmware update utility. You can do this by performing the following actions:
- Open the Terminal application.
- Use the Terminal command shown below (it can be copied and pasted) to delete the application and its support files. You will be asked to provide your administrator password during this process.
- The process will take several seconds. Once completed the Terminal will return to its main prompt. You can now quit the Terminal and begin using your Aura SSD.
sudo /msu/storage/cli/msu_uninstall
|

