
I’ve been working from home for a long time now, and more and more folks like me are joining the WFH [work from home] numbers thanks to the COVID pandemic.
Whether this is a temporary or permanent situation, you may find yourself (as I have) needing to block certain apps from your kids or grandkids. I recommend using the macOS Parental Controls, which makes it easy to set up a limited-access account for little ones, for public usage Macs, enterprise Macs, or to set up a restricted Guest account for when someone else is using your Mac.
Before macOS Big Sur, the Parental Controls were a separate item in System Preferences. Now the item is included under the Screen Time section. I don’t like the change, but, hey, Apple didn’t ask me.
You can set a schedule for time away from the screen for you and others (and, for brevity’s sake, I’ll just refer to app limits for kiddos for the rest of this article). For instance, you might want to schedule downtime during meals or at bedtime. If your child tries to access their device during downtime, they’ll have to request more time from you.
Enabling Screen Time
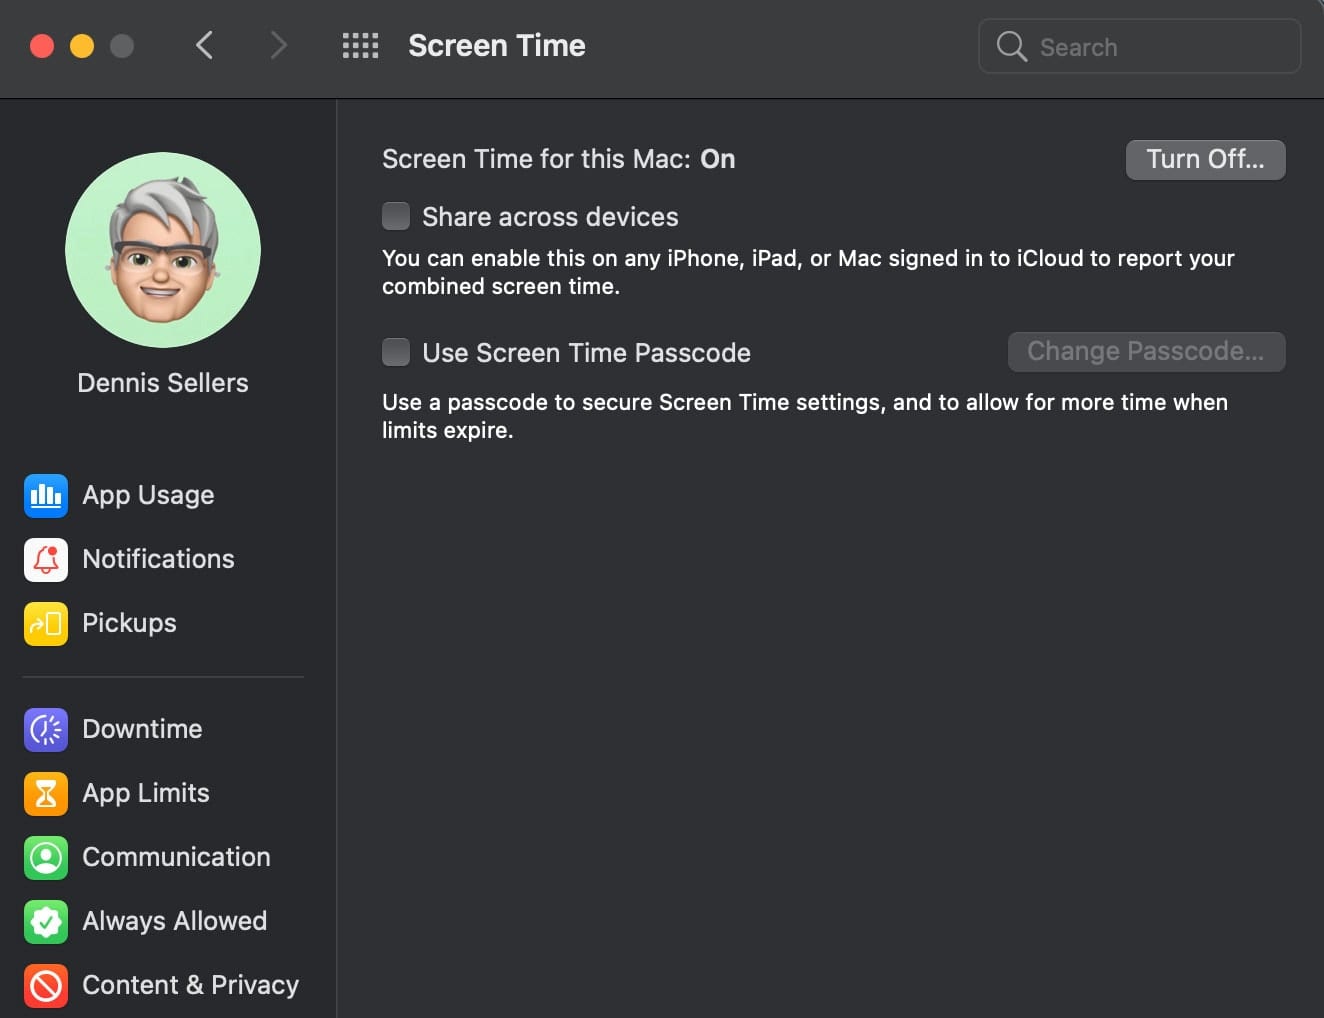
Before you can set up downtime, you need to turn on Screen Time. Go to System Preferences > Screen Time and Turn On Screen Time. You can also choose to:
- Share across devices, which will enable this on any iPhone, iPad, or Mac signed in to iCloud to report the combined screen time for the devices.
- Use Screen Time Password, which will require the use of a passcode to secure Screen Time settings and to allow for your time when the time limit expires.
Setting up Downtime
To set up Downtime:
- If you’re using Family Sharing: Log in to your Mac user account, then make sure you’re signed in with your Apple ID.
- If you aren’t using Family Sharing: Log in to a family member’s Mac user account.
Choose Apple menu > System Preferences, then click Screen Time (the hourglass icon). If you’re using Family Sharing, click the pop-up menu in the sidebar, then choose a family member.
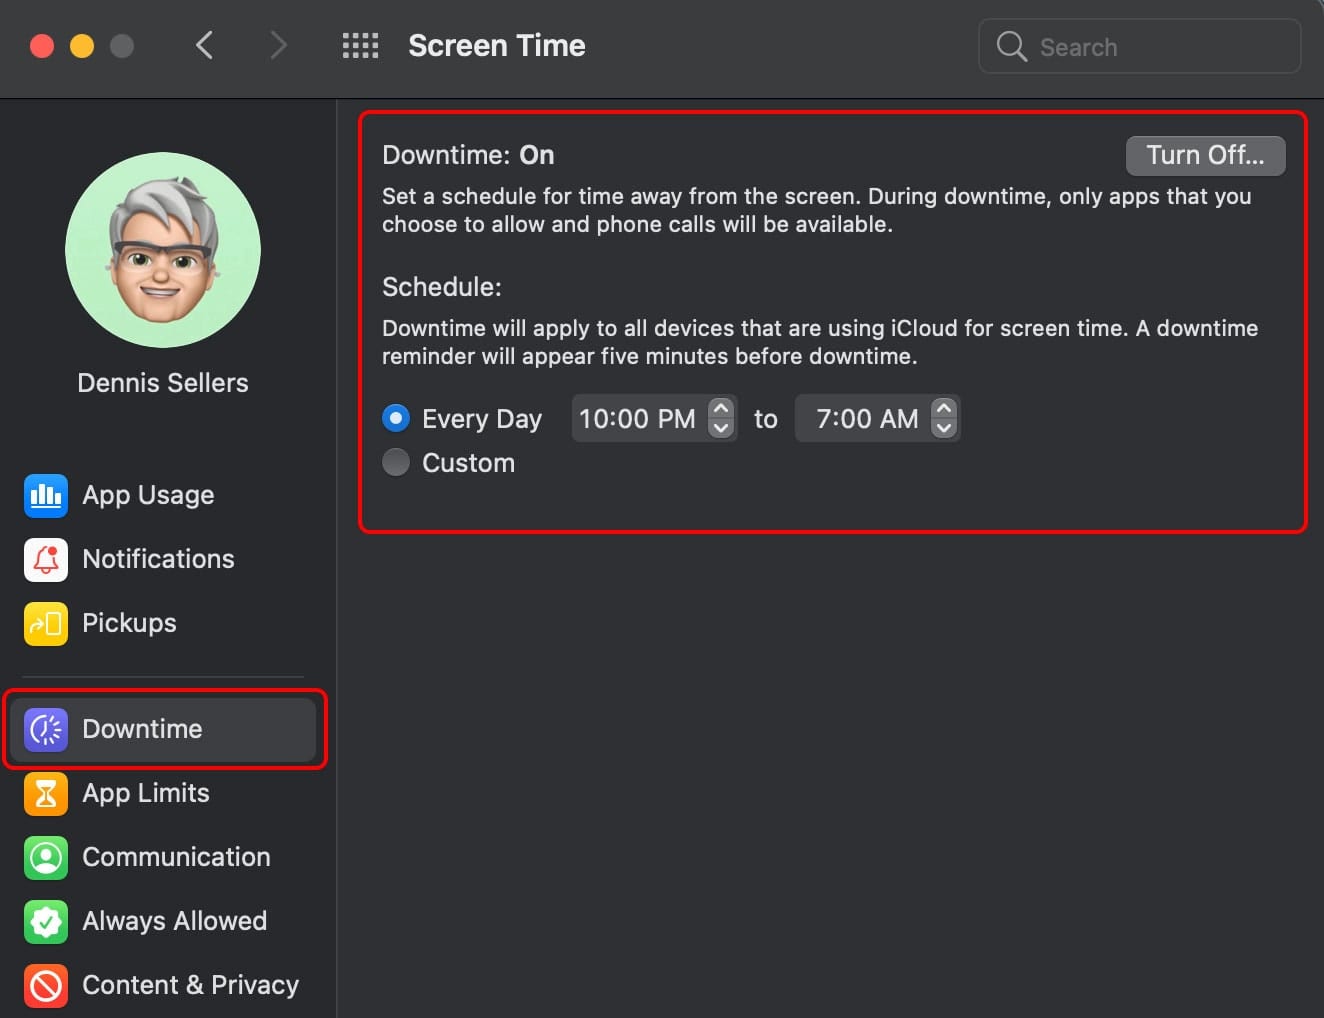
Click Downtime in the sidebar. Turn on Downtime if it’s not enabled.
Do one of the following:
- Set up the same downtime schedule for every day: Select Every Day, then enter the start and end times.
- Set up a different downtime for each day of the week: Select Custom, then enter start and end times for each day.
- If you want to block the device during downtime, select the Block At Downtime checkbox.
Setting Time Limits for Apps
You can set time limits for apps. If you’re using Family Sharing: Log in to your Mac user account, then make sure you’re signed in with your Apple ID.
- If you aren’t using Family Sharing: Log in to a family member’s Mac user account.
- Choose Apple menu > System Preferences, then click Screen Time.
- If you’re a member of a Family Sharing group, click the pop-up menu in the sidebar, then choose a family member.
- Click App Limits in the sidebar.
- If App Limits is off, click Turn On in the upper-right corner. If the Turn On button is dimmed, you need to turn on Screen Time.
Click the Add button (a plus sign) to create a new app limit. You can include any combination of apps, categories, or websites in each limit you create.
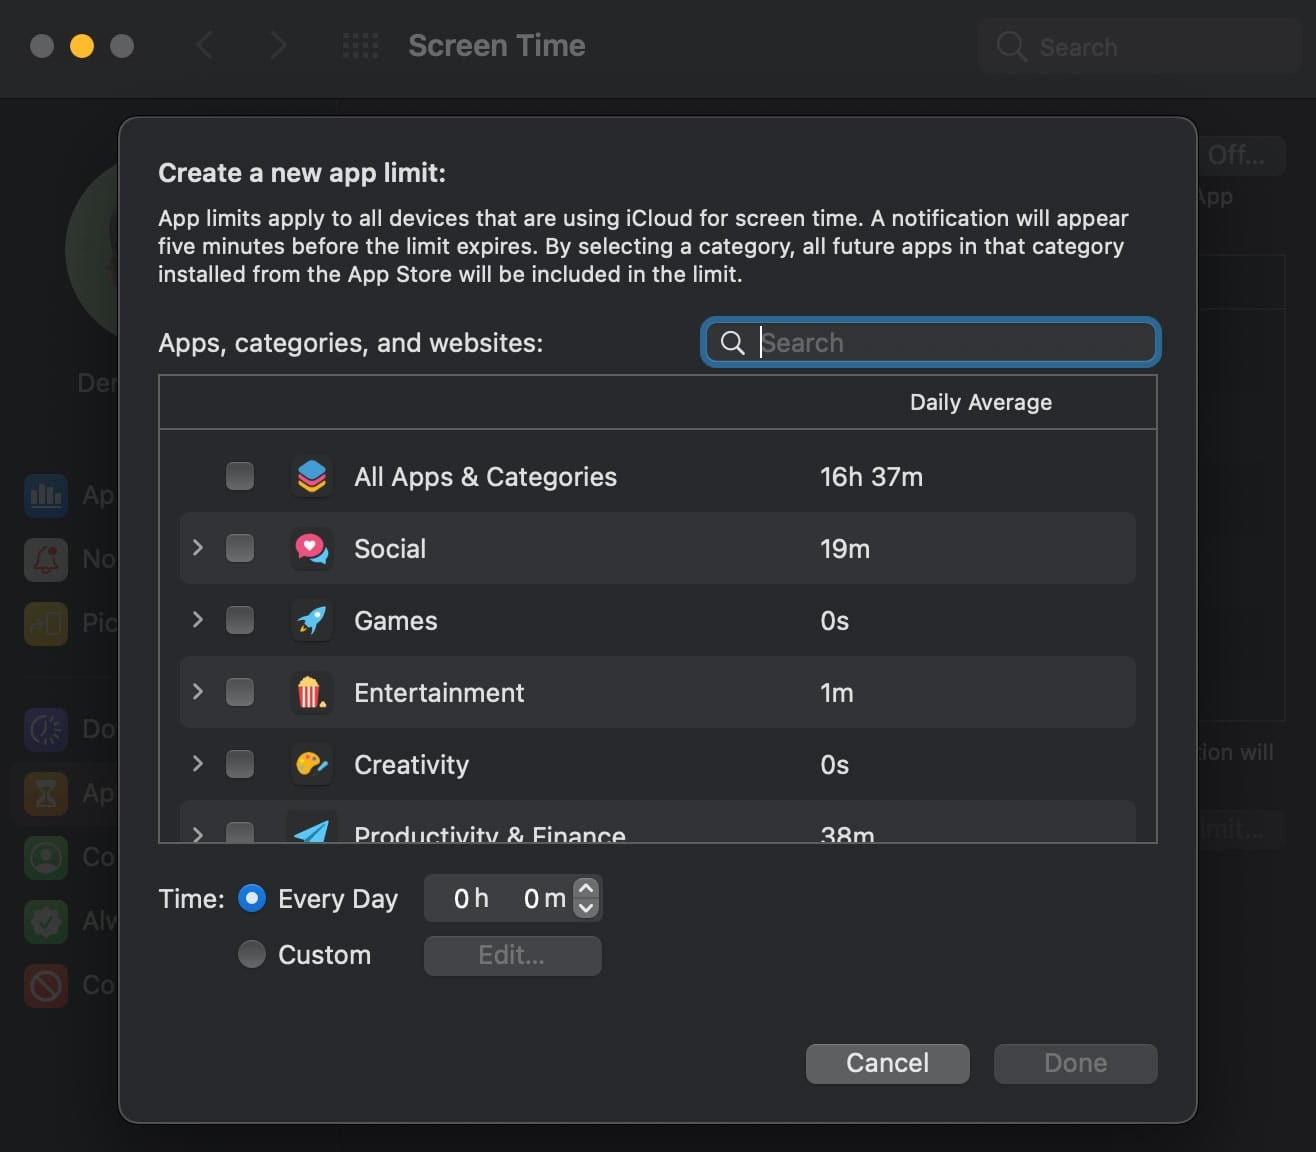
In the “Create a new app limit” window, select the checkbox next to each of the apps, categories, or websites that you want to include in the limit.
- Search for an app, category, or website: Type a name in the search field. The list updates as you type.
- See the apps in a category: Click the arrow next to the category.
- Limit all apps in a category: Select the checkbox next to the category in the list.
- Limit all apps and categories: Select the checkbox next to the category All Apps & Categories in the list.
- Limit an individual app: Select the checkbox next to the app in the list.
- Limit a website: Click the arrow next to the category Websites at the bottom of the list. If the website has been visited, it appears in the list below the Website category, and you can select the checkbox next to it. If the website isn’t in the list, click the Add Website button below the website list, then type the URL for the website.
Enter a limit in the Time field:
- Set up the same app limit for every day: Select Every Day, then enter an amount of time.
- Set up a different app limit for each day of the week: Select Custom, then enter an amount of time for each day.
Click Done.
Change an App Limit
To change a limit, if you’re using Family Sharing: Log in to your Mac user account, then make sure you’re signed in with your Apple ID. If you aren’t using Family Sharing: Log in to a family member’s Mac user account.
- Choose Apple menu > System Preferences, then click Screen Time.
- If you’re a member of a Family Sharing group, click the pop-up menu in the sidebar, then choose a family member.
- Click App Limits in the sidebar.
- In the list, select the limit you want to change, then click Edit Limit.
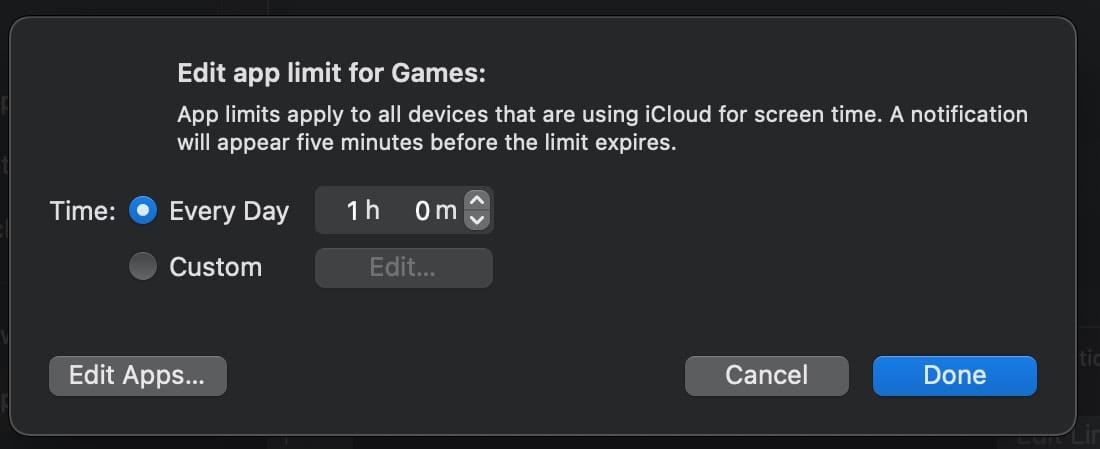
If you want to change the time limit, enter new limits in the Time field:
- Set up the same app limit for every day: Select Every Day, then enter an amount of time.
- Set up a different app limit for each day of the week: Select Custom, then enter an amount of time for each day.
If you want to change the apps included in the limit, click Edit Apps. If you don’t want to change the apps included in the limit, click Done.
In the “Edit app limit” window, select or deselect the checkboxes next to each of the apps, categories, or websites that you want to include in the limit.
- Search for an app, category, or website: Type a name in the search field. The list updates as you type.
- See the apps in a category: Click the arrow next to the category.
- Limit all apps in a category: Select the checkbox next to the category in the list.
- Limit all apps and categories: Select the checkbox next to the category All Apps & Categories in the list.
- Limit an individual app: Select the checkbox next to the app in the list.
- Limit a website: Click the arrow next to the category Websites at the bottom of the list. If the website has been visited, it appears in the list below the Website category, and you can select the checkbox next to it. If the website isn’t in the list, click the Add Website button below the website list, then type the URL for the website.
Click Done.
Turn Specific App Limits On or Off
You can turn limits on or off to make temporary changes to the limits. If you turn a limit off, the limit remains set up, and you can turn it on again at any time.
- If you’re using Family Sharing: Log in to your Mac user account, then make sure you’re signed in with your Apple ID.
- If you aren’t using Family Sharing: Log in to a family member’s Mac user account.
Choose Apple menu > System Preferences, then click Screen Time .
- If you’re using Family Sharing, click the pop-up menu in the sidebar, then choose a family member.
- Click App Limits in the sidebar.
- In the list, select limits you want to turn on, or deselect the limits you want to turn off.
How to Remove a Limit
You and remove a limit; however, if you do, it’s deleted permanently. If you think you might want to use a limit again later, turn it off instead.
- If you’re using Family Sharing: Log in to your Mac user account, then make sure you’re signed in with your Apple ID.
- If you aren’t using Family Sharing: Log in to a family member’s Mac user account.
Choose Apple menu > System Preferences, then click Screen Time.
- If you’re using Family Sharing, click the pop-up menu in the sidebar, then choose a family member.
- Click App Limits in the sidebar.
- In the list, select one or more limits to remove, then click the Remove button.
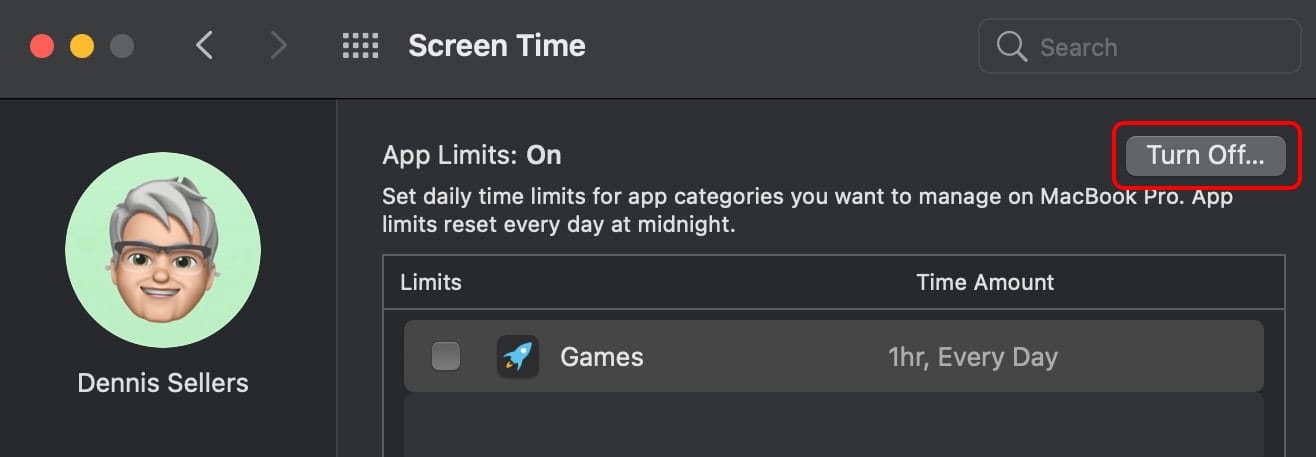
Turn Off App Limits
You can turn off limits; if you do, they remain set up, but aren’t applied. You can turn App Limits back on at any time.
- If you’re using Family Sharing: Log in to your Mac user account, then make sure you’re signed in with your Apple ID.
- If you aren’t using Family Sharing: Log in to a family member’s Mac user account.
Choose Apple menu > System Preferences, then click Screen Time.
- If you’re using Family Sharing, click the pop-up menu in the sidebar, then choose a family member.
- Click App Limits in the sidebar, then click Turn Off in the upper-right corner.
How to Limit Communication Options on Your Mac
You can limit Communication options by opening Screen Time and clicking on Communication on the left-hand side of the pane. You can then limit communication to Contacts Only (folks in your Contacts list), Contacts & Groups with at Least One Contact, or Everyone.
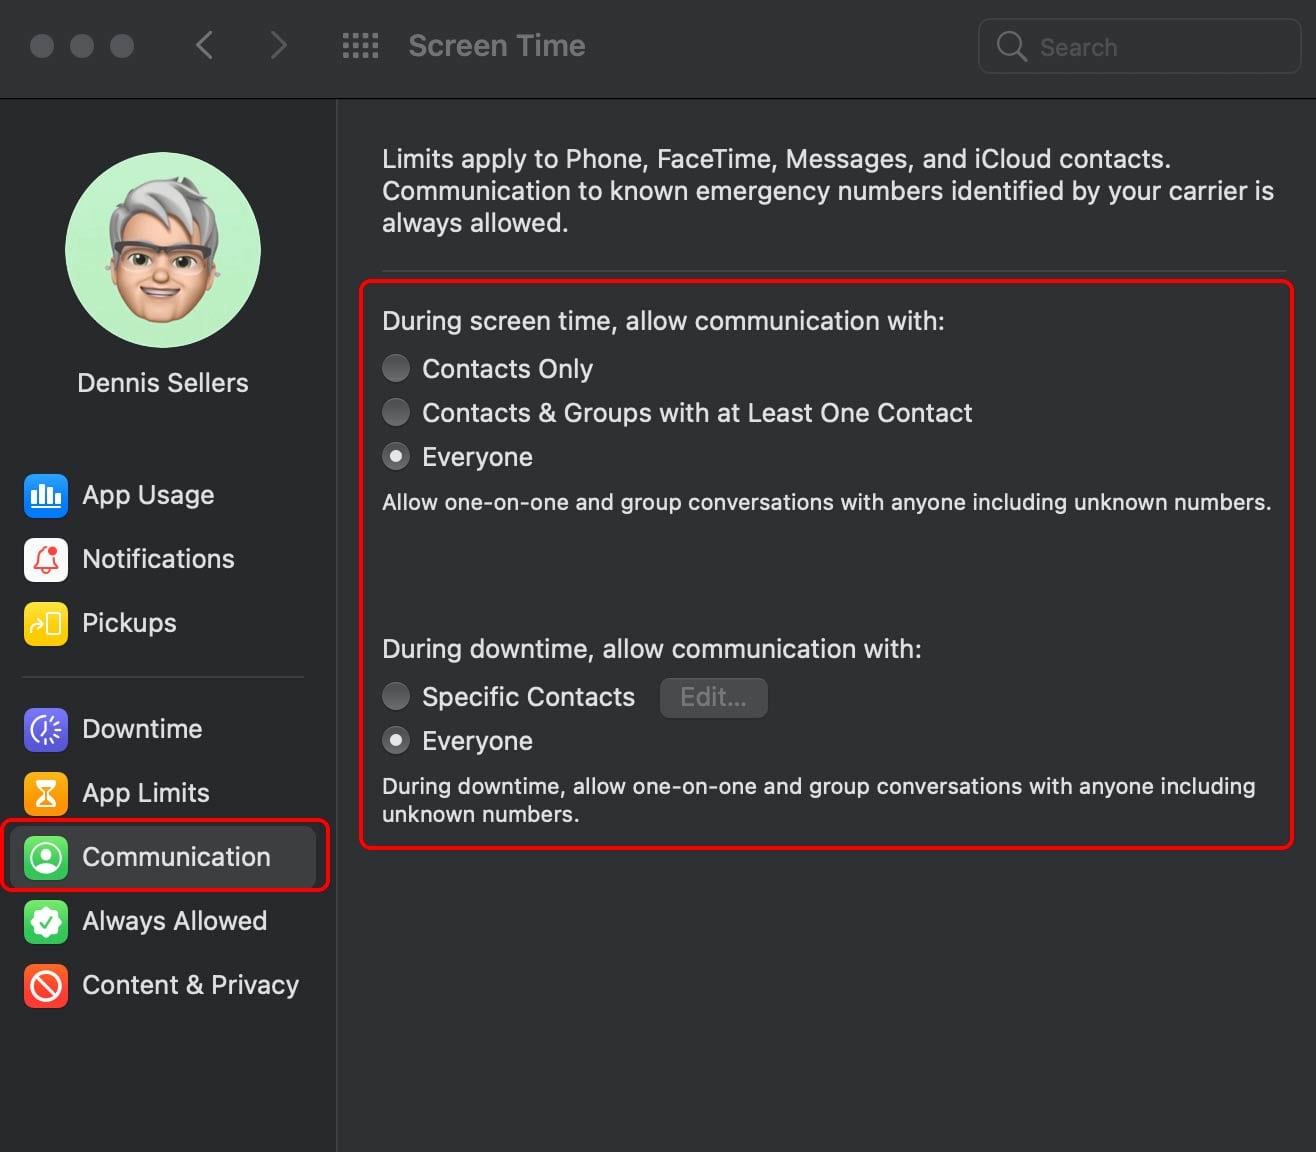
During Downtime, you can choose to allow (or not) Communication with Specific Contacts or Everyone.
How to Enable the Use of Specific Apps During Downtime
You can enable the use of specific apps during Downtime. With Screen Time open, click the “Always Allowed” option on the left-hand side of the pane.
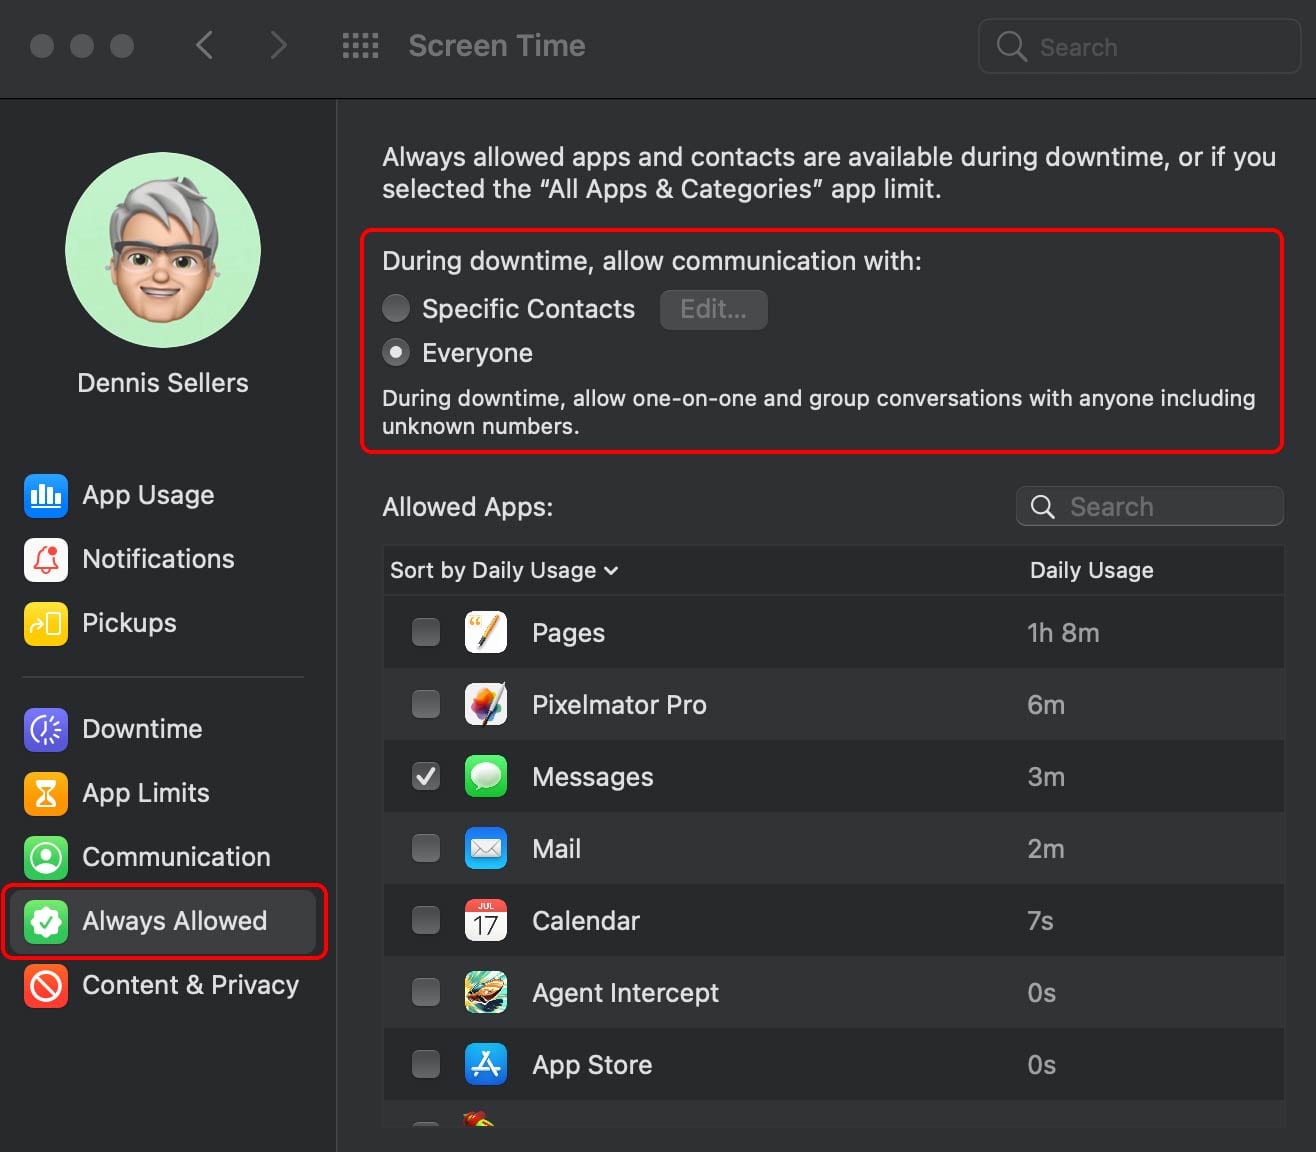
You can choose to enable, or not, specific apps.
Finally, you can open the Screen Time option in System Preferences and click “Content & Privacy” on the left-hand side of the pane to restrict explicit content, purchases, downloads, and privacy settings on your Mac’s content, in Apple’s online app stores, in apps themselves, and more.