

If you are a Mac user, you already know just how easy it is to set up the Mac Finder from the moment you turn on your brand new computer. But did you know that there are a ton of setup options you can tweak and modify and plenty of helpful shortcut keys that will make working in the Mac Finder even better? We’re going to break them all down for you here.
Apple ID
Your Apple ID is the key to keeping your Mac connected to all of your other Apple products. When you first launch Finder, you are prompted to enter your Apple ID. However, if you opt to ignore this step, you can always sign in to your Apple ID later on once you are on the computer.
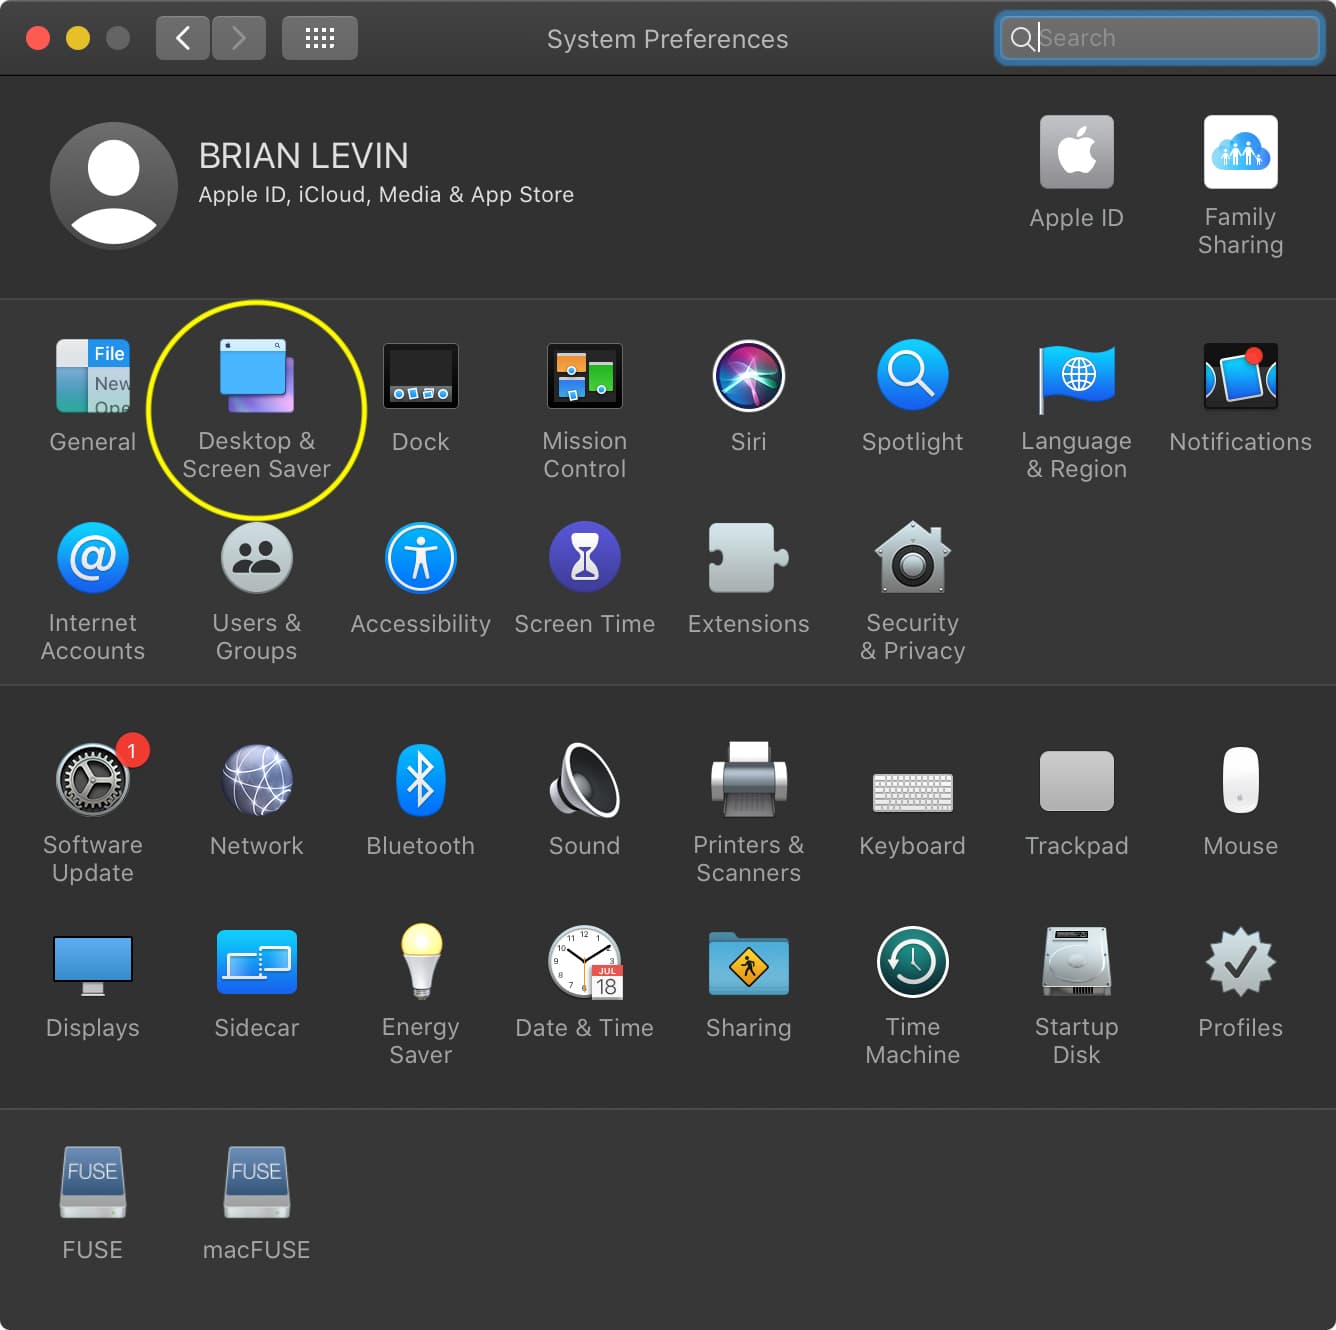
By going up to the Apple Menu () and choosing System Preferences, you get this screen:

You can add your Apple ID to the computer here and even manage your Apple ID settings from the Apple ID menu icon.

Desktop Backgrounds
Personalizing your Finder is key, and Apple makes this process very easy. You can very easily change your desktop background and even use some of their cool customization options. To access desktop background options, head back to your System Preferences menu, and select Desktop & Screen Saver here:
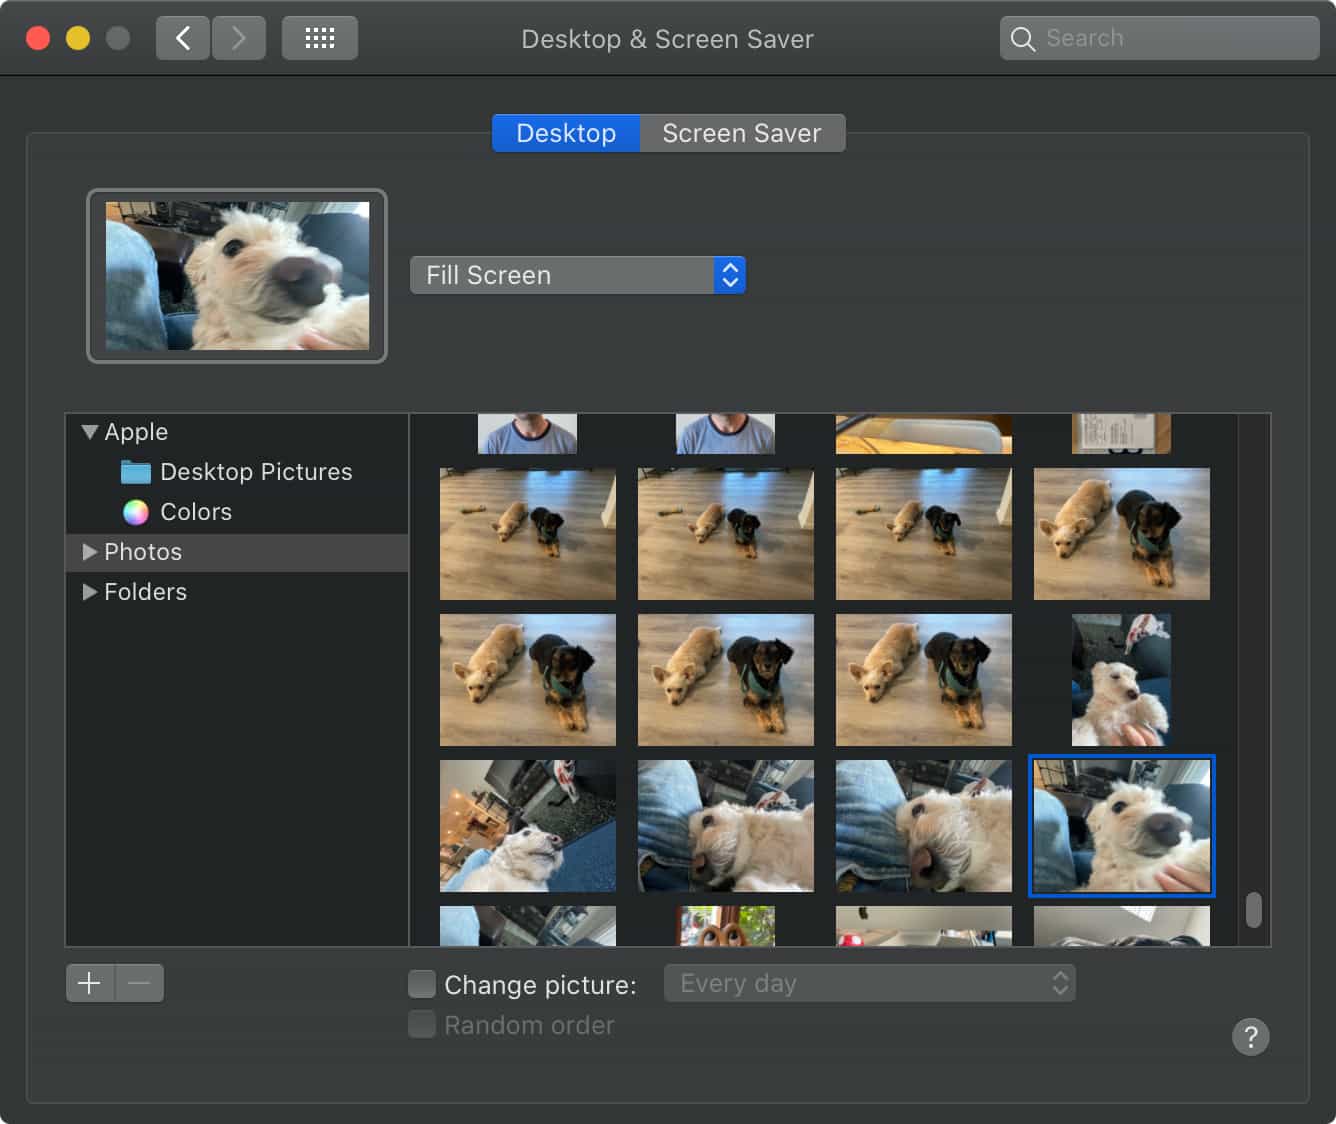
Once inside this menu, you have a ton of great options! Let’s take a look at changing up your desktop background first.
You’ll see three options on the left-hand side of the panel:
Apple
There are three options at the top called Dynamic Desktop, which change your desktop as the time of day changes outside. These options are the Apple-provided standard desktop backgrounds that come pre-loaded with Finder. It’s pretty cool, but I personally don’t use it. Instead, you can navigate down to…
Photos
If you’ve connected your Apple ID and synced your photos from your phone to your iCloud account, all of those pictures will appear here. So you can take all of these random pictures of your dogs and set those as your desktop background if you want.
He really is that ridiculous looking.
Although I love these little monsters, I like to find amazing art from the internet and set that as my desktop background.
Folders
That’s very simple to do by navigating down to the Folders option. Here you can click on the Plus Sign near the bottom of the panel to add a folder from your computer to this panel. Now you can select from any of the images in that folder.
Customizing Your Desktop
Once you’ve picked the location of the images you’d like to use for your background, you can further customize your desktop by setting it to Change Picture at select intervals, like daily or hourly, or gosh, every 5 seconds if you want a headache. The choice is yours!
I like to set my pictures to change every day, and I choose a Random Order. This way, my computer always feels fresh with new artwork in the background each morning.
Screen Saver
If you have a laptop computer, you should absolutely be setting up a Screen Saver. The Screen Saver tab at the top of the panel will let you do just that. You can choose from a variety of screensavers like the good old Word of the Day, which I fondly remember playing on all of the iMac’s we had when I was in high school, to a custom message reminding you to stop procrastinating reading articles on the internet. But not this one, because if you keep reading, I’m going to tell you about my favorite thing in this menu.
Hot Corners
On the bottom right of the Screen Saver menu is the Hot Corners option.
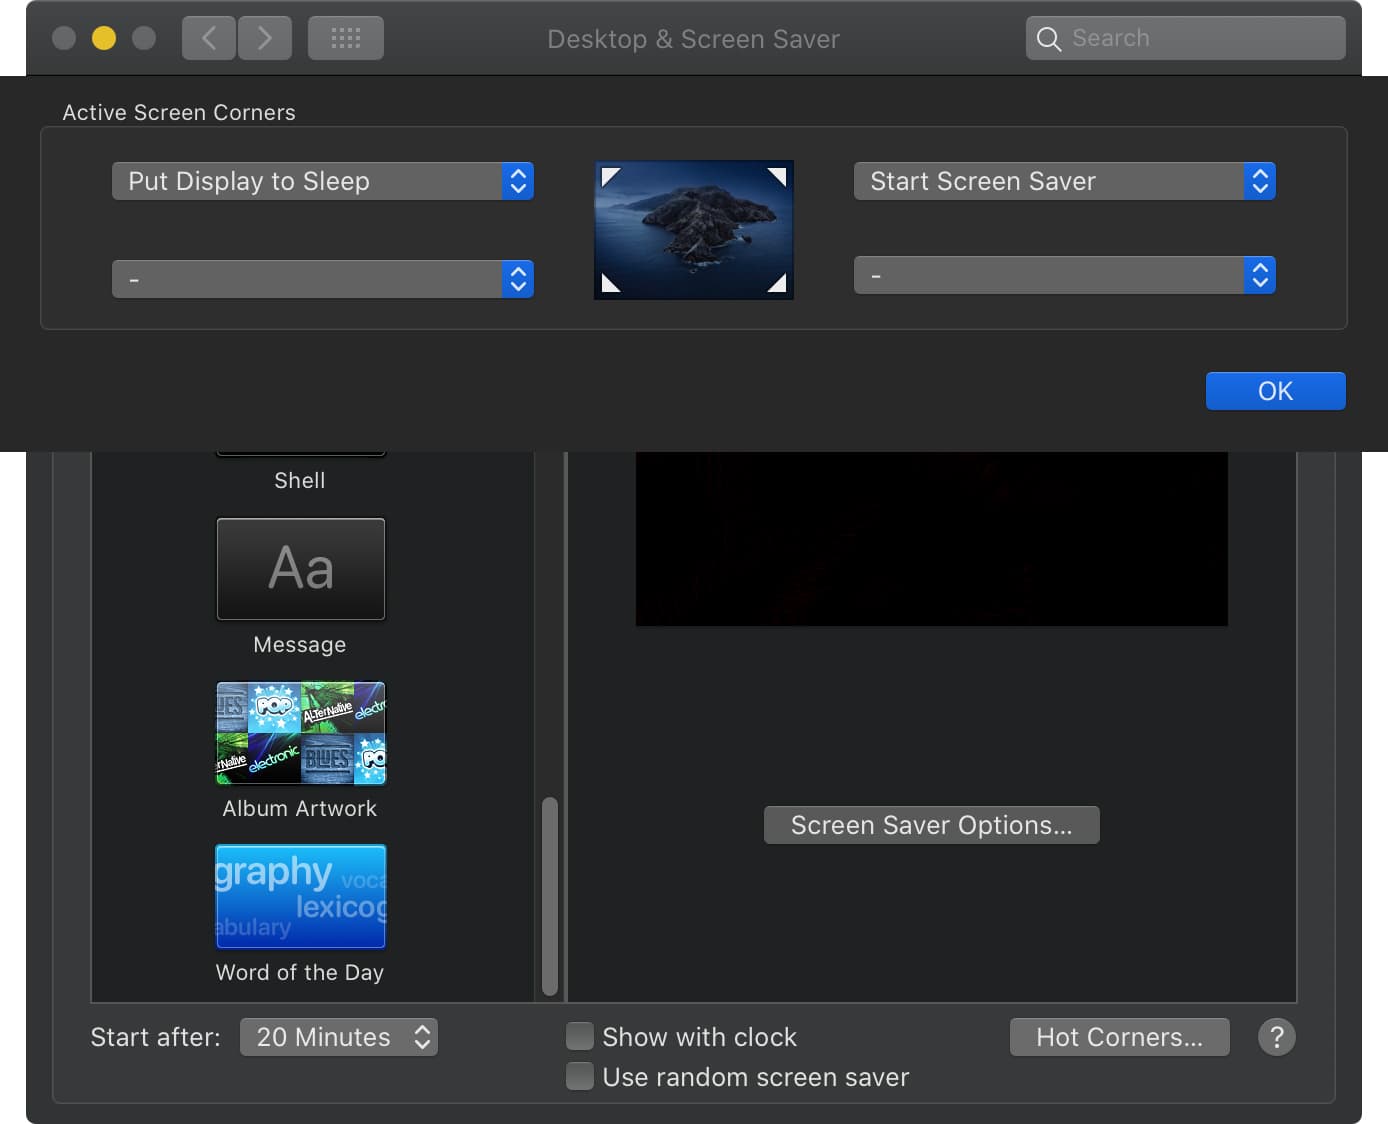
By setting up an action for each corner of your screen, you can tell your computer what to do once you put the mouse there. For me, I want to turn off my computer screen when I watch TV, so I just swipe my mouse to the upper left corner, and right away, my computer is asleep—no need to hunt down that command in a menu.
Security & Privacy
Keeping your computer secure, especially if it’s a laptop and you’ll be traveling with it, is crucial. That’s why I recommend setting a computer password right away.
Head over to the Security & Privacy options in System Preferences and go to the General tab.
There you can set up a password and choose how quickly that password is required after your computer lid is closed or the computer goes to sleep. As a desktop iMac user in a secure space, I went with 5 minutes; but whenever I bring my laptop somewhere, I change that option to Immediately.
Aside from essential documents that I wouldn’t want to lose, I also have my Apple ID connected to the computer. A password might seem inconvenient, but it will definitely protect you from prying fingers.
General Settings
Finder’s controllable general settings offer a lot of flexibility for your day-to-day workflows. From System Preferences, check out the General tab.
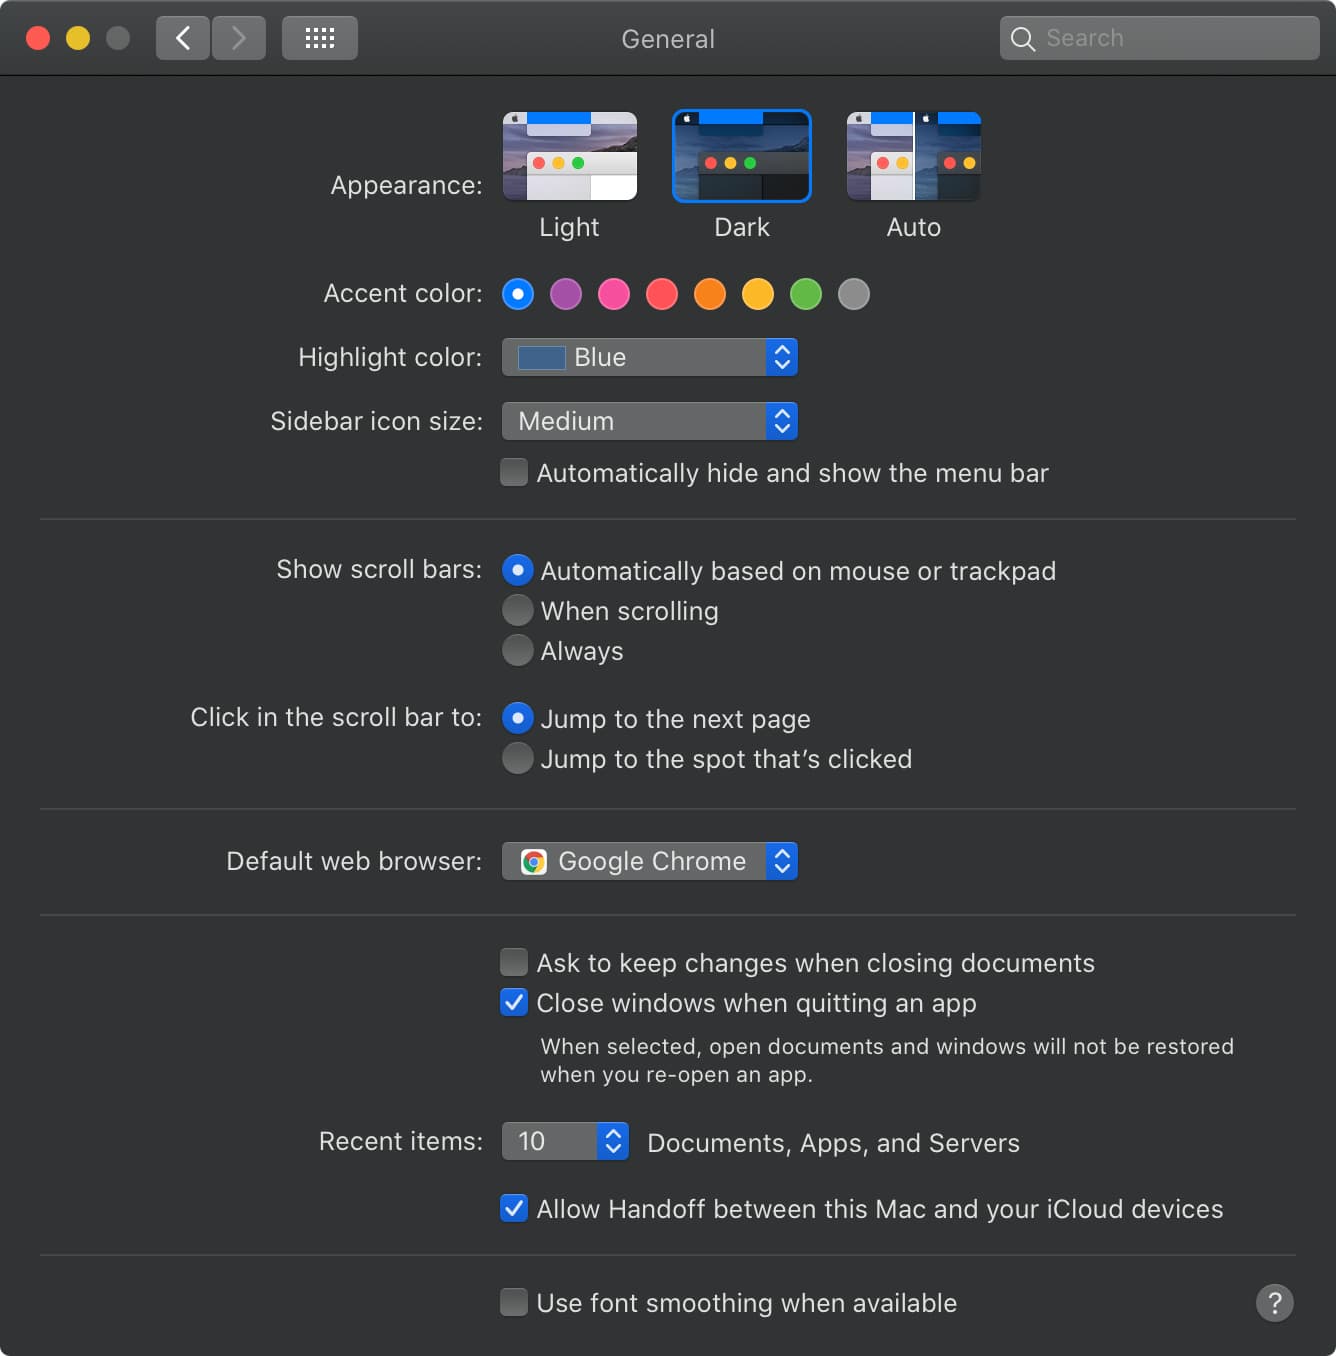
Finder will set your appearance to Auto by default, meaning your computer will be light during the day and dark in the evening. You can choose to keep it dark the entire time by changing this setting here.
You can also modify specific details like the visibility of the scroll bar in the windows you are using and how many recent items should be displayed in the Recent Items menu. But what I really like here is…
Setting Up Your Default Browser
Which browser do you use? The question often results in divisive answers. Personally, I’m a Google Chrome user. (I can hear all of the Safari users out there groaning. That’s okay!) For my fellow Chrome users out there, or whatever your web browsing software of choice may be, you can tell Finder to use that web browser as your default browser.
Simply choose the appropriate web browser from the drop-down menu in the General settings menu of System Preferences. Now any links you open from a text message, email, or notes you’ve saved will launch in your browser of choice.
Users
If your computer is going to be used by multiple users, then setting up different users is something you’ll want to do. You do this very easily with the Users & Groups menu.
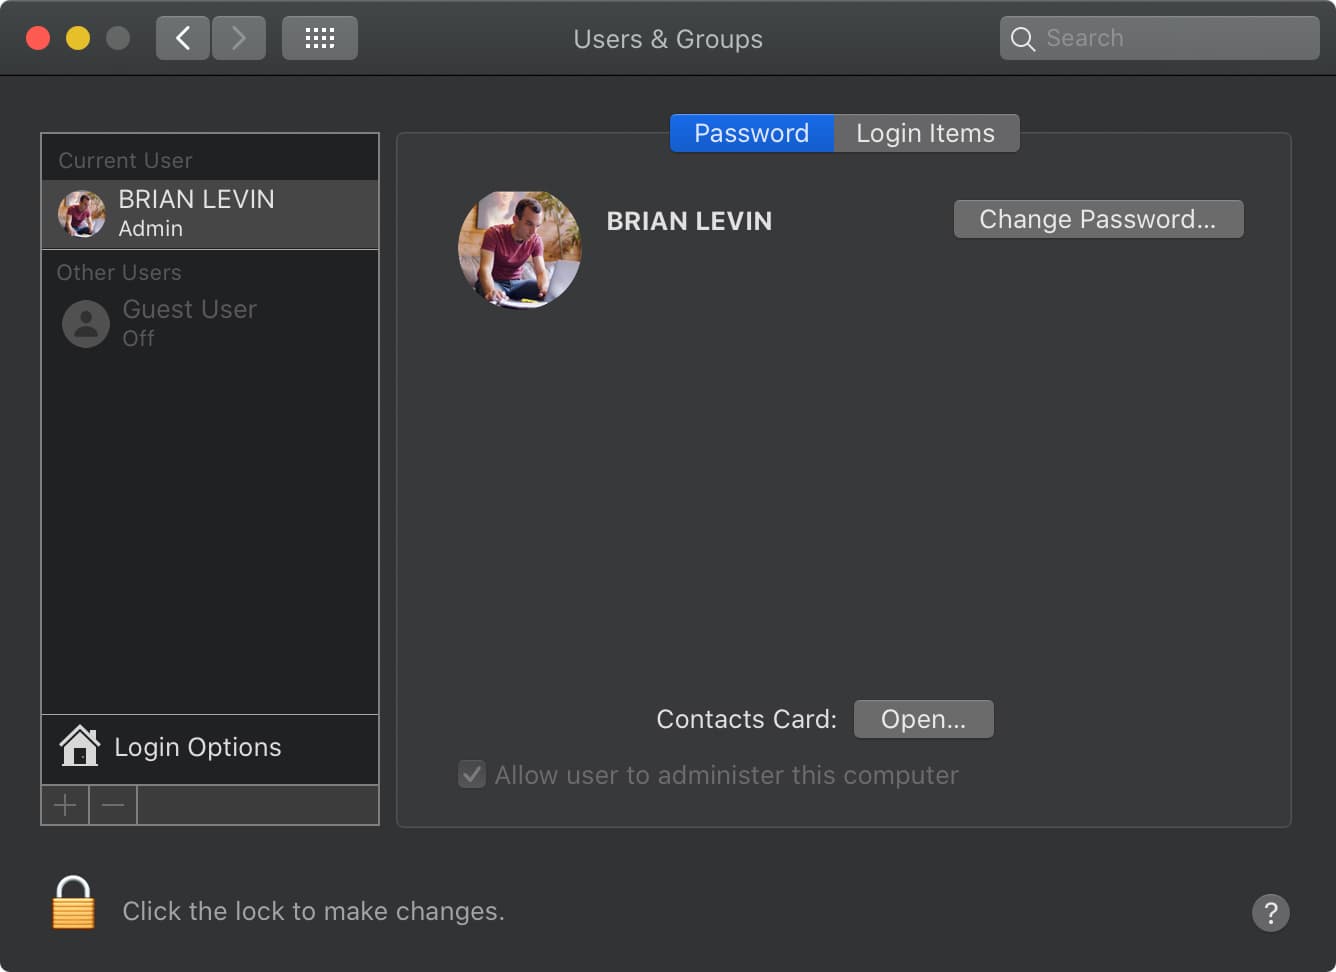
Adding a new user is simple. Just unlock this panel with the lock icon and your administrator password. Then just push the plus sign to add a new user.
You can create either a new standard user without administrator privileges, like the ability to add or delete software, or you can create a new administrator with all of the privileges of your own user account.
Connecting Bluetooth Devices
Although Apple products tend to work right out of the box, you will need to manually connect your Bluetooth devices to the computer to get them working the first time. In System Preferences, you can hop into the Bluetooth menu.
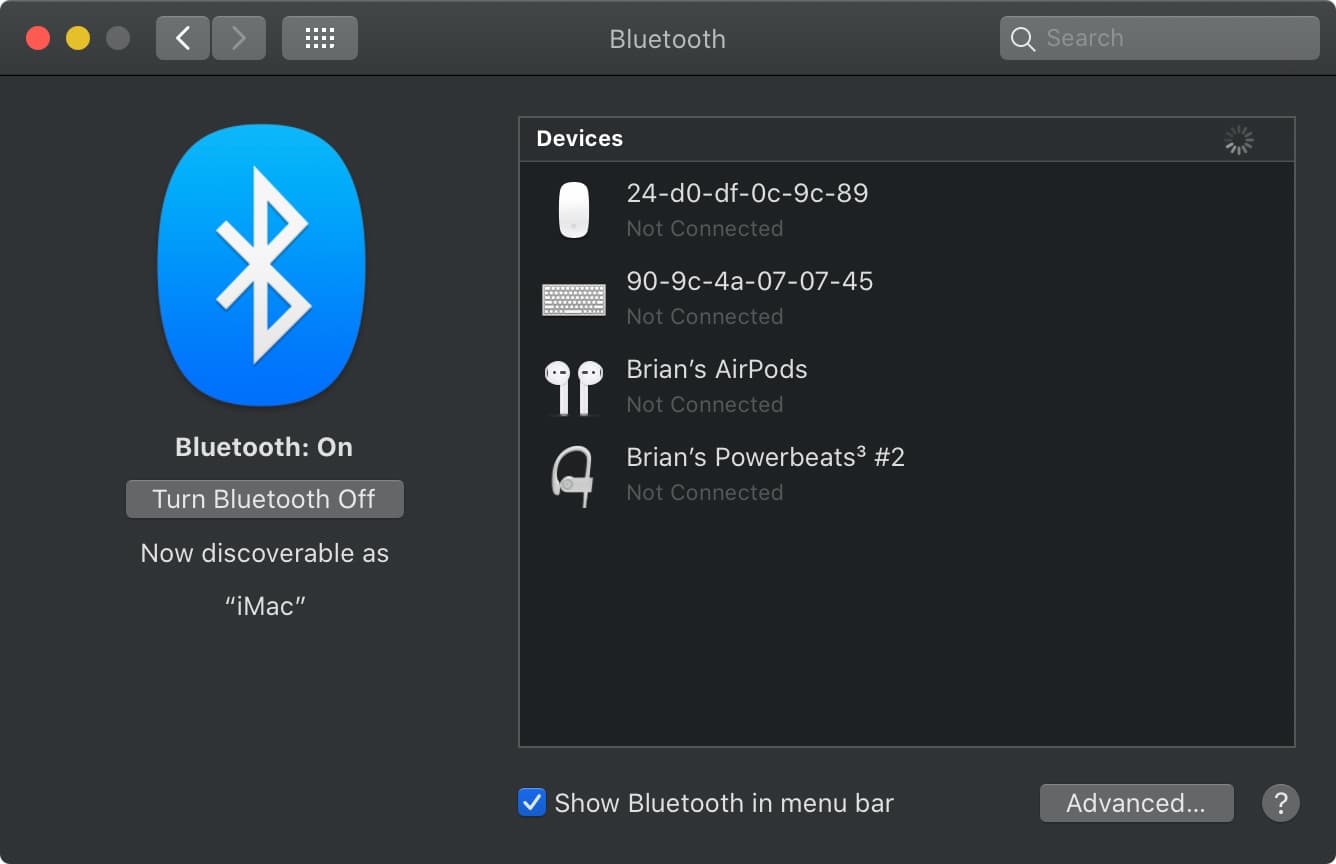
This is where you can connect things like:
- AirPods
- Third-party Bluetooth headsets
- Wireless mouse
- Wireless keyboard
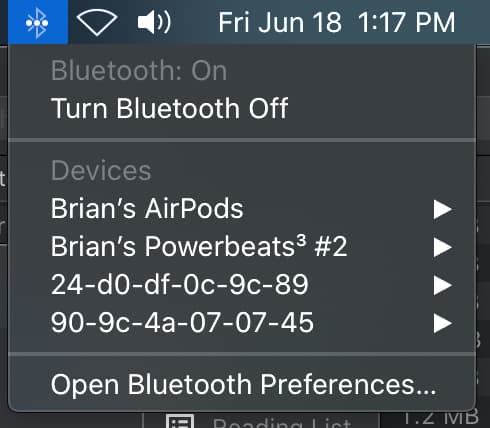
I like to enable the “Show Bluetooth in menu bar” checkbox for easy access to this menu:
Quick Ways to Navigate Around Finder
Getting around Finder is pretty quick all on its own, but here are a few quick tips for getting around Finder more quickly.
Getting to a new folder
From your desktop, you can push ⌘ + N to launch a new window. I do this often when I want to quickly navigate to one of the destinations on my sidebar, such as my Dropbox folder or a favorite destination.
Opening AirDrop
With a new folder open (⌘ + N), you can now push SHIFT + ⌘ + R to open up the AirDrop folder quickly. AirDrop is one of the most powerful tools in the Apple arsenal for sharing files from one computer or device to another.
Creating a new folder
You can make a new folder with a quick shortcut key. Just open up the folder where you want your new folder to be contained and push SHIFT + ⌘ + N. This will make a new folder right away that you can rename.
Renaming an item
You can rename items, like folders or files, by just pressing Return on your keyboard.
Renaming many items
Finder has an incredibly powerful renaming tool built right into it. Most people don’t know about this, but it serves many practical purposes in personal use cases and professional workflows.
For all the video professionals out there, how many times have you gotten a camera card from a set that had files that looked like this:
C001.mov
C002.mov
C003.mov
And so on…
Well, you can select a handful of files and right-click and choose Rename Files. You’ll be presented with this menu:
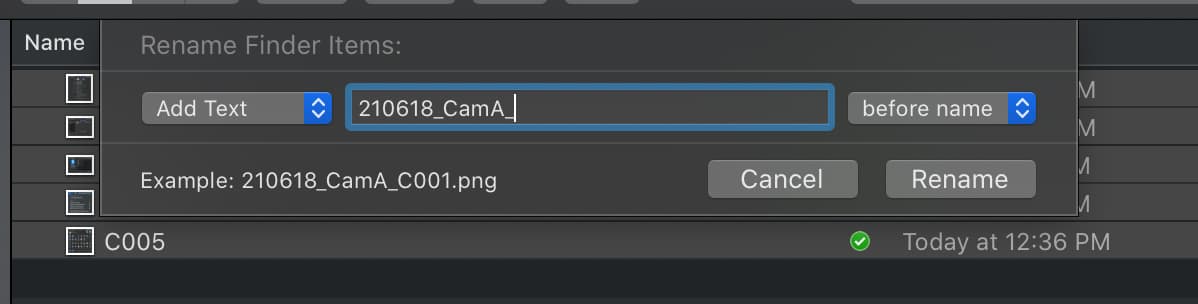
You can see here that I’ve chosen to Add Text, and in this case, I’ve added the date and the camera to my file.
But you can go further than that with options like Replace Text or even a custom text format based on various criteria.
Creating a new folder from a selection of items
This tip is handy for all of the readers whose desktops would make me go…
You know who you are.
Well, you can take a handful of files in any folder, select them and then right-click and choose New Folder from Selection. This will lump all of those files into a new folder that you can then rename. You can also accomplish this with the shortcut CONTROL + ⌘ + N.
Searching
The last thing you should become very familiar with in Finder is the ability to search. To call up the search window, you can quickly push ⌘ + SPACEBAR anywhere in your computer to get this:

Searching is super easy, just start typing, and Finder will automatically fill in the details for you. Here’s my looking for those whoosh sound FX I needed:
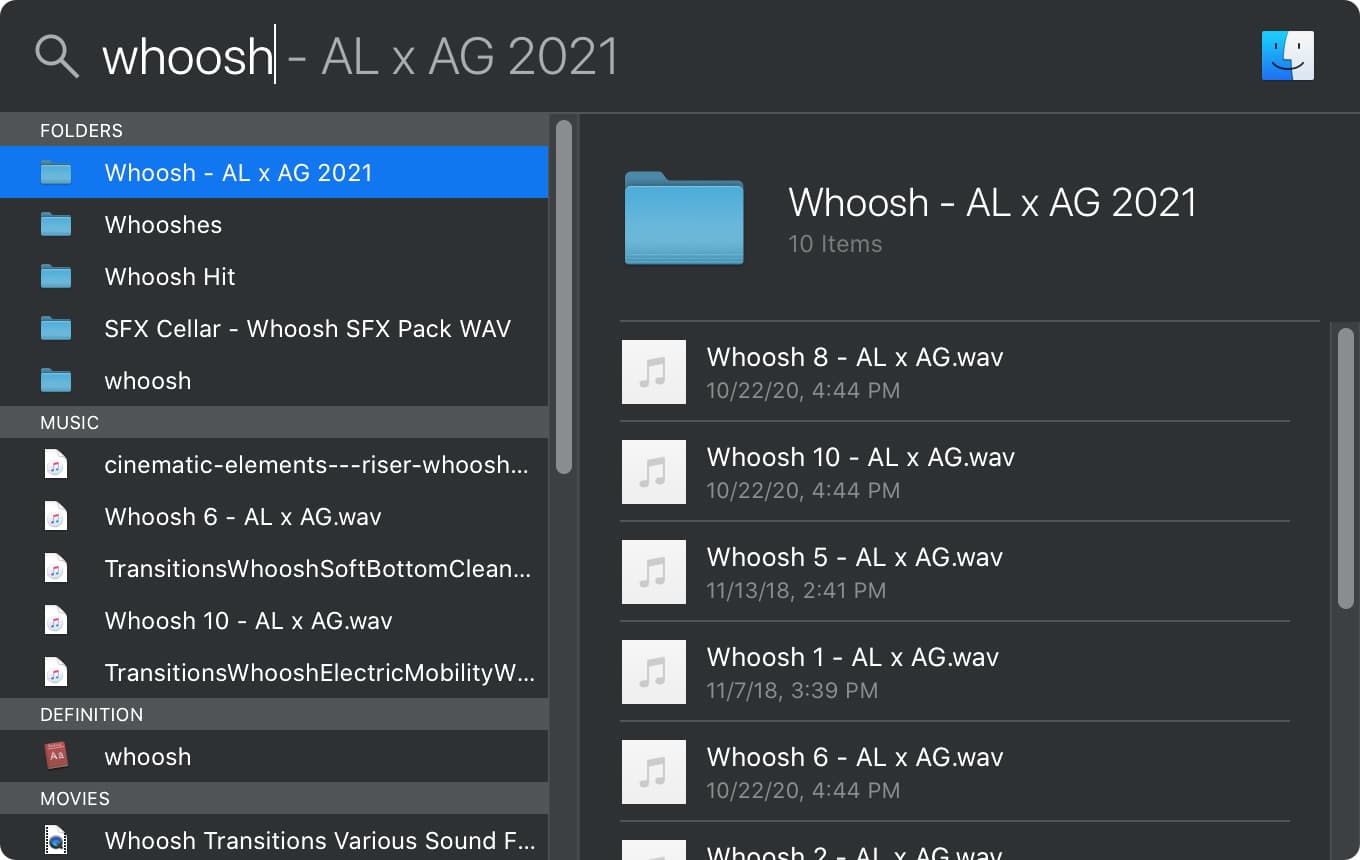
- A handy tip: double-clicking on one of the folders in this search bar will open that folder for you.
- Even more handy tip: Holding COMMAND and double-clicking on one of the files will open up the folder containing the file instead of loading up the file itself.
There’s a ton more to explore in Finder, but these tips and tricks should help you get up and running quickly usingthe Mac Finder.


Regarding search on a Mac I find spotlight really terrible as it rarely finds what I am looking for and often lists things that bear no relation to my search. Maybe my problem is indexing I work with multiple large audio drives sometimes with 10 year old files. Do you have any suggestions on how to get better searches.