
Experience local shipping options and optimized product inventory for your region.
Backing Up Your Hard Drive - Quick, Simple and a Really Good Idea
|
| Drive Genius | Carbon Copy Cloner | Retrospect Express |
| SuperDuper | QuickBack | Disk Utility |
All copies were timed on a Dual 500MHz G4 Gigabit Ethernet with 2 internal ATA drives, so your transfer speeds may vary, depending on your setup.
Drive Genius |
Who is it good for? | Anybody using 10.2 and above with a very full hard drive or who wants a bit-for-bit copy of their drive, along with a suite of other hard drive maintenence and repair tools. |
| Where do I get it? | http://eshop.macsales.com/item/Prosoft%20Engineering/23100 | |
| How much does it cost? | $65.00 |
Drive Genius is a relatively new product from Prosoft Engineering. It includes a number of utilities to repair and maintain your hard drive, and is a useful utility to add to your toolbox, along with Alsoft Disk Warrior, and Micromat TechTool Pro.
In order to duplicate the drive, you will need to boot to your Drive Genius CD. Once booted, it will ask for the CD serial number. After entering your serial number information, you will get Drive Genius's Main Screen

Select the "Device" tab below the list of drives at the left, then select the drive you want to copy from the list. Click the "Duplicate" button along the bottom row. A new window will open.
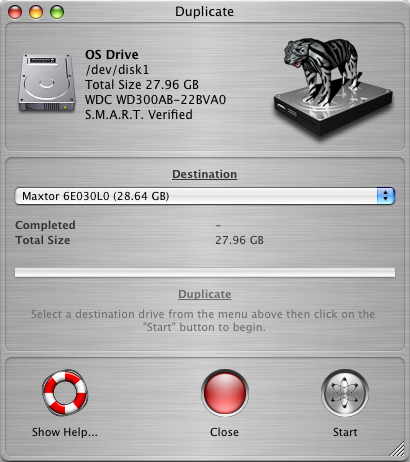
Select your destination disk from the drop-down Menu. Clicking the silver "start" button will bring up another window, making sure you want to erase the destination drive.
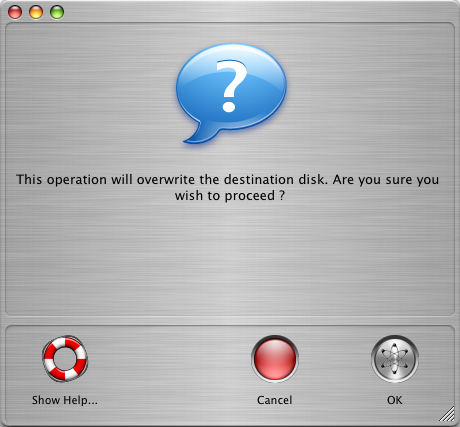
Once you affirm that you want to continue, both the source and destination drives will unmount, and the duplication will begin.
How long will it take? You may want to pop out for a quick lunch, because this one may take a while. Drive Genius duplicates in a way that's different from the others listed here - it copies the data from the drive bit-by bit, making a more exact copy of the drive than the other methods. However, this also means that it copies the entire drive - if you have a 250GB drive, it will copy all 250GB, regardless of whether you have 250GB of data or just 3GB. Duplicating our test drive took a shade over 27 minutes for our 30GB test drive. If you're counting just the actual useful data transfered, we get 27 minutes for 2.23GB which comes to about 84kB per minute. However, if you've got a nearly-full drive the same amount of time would apply. In this case, the drive was 27.8GB. Copying 27.8 GB in approximately 27 minutes gives you a an actual copy rate of a little better than 1GB per minute!
Retrospect Express |
Who is it good for? | People running 10.2.8 or later who currently use, or wish to use, Retrospect for other backup purposes, as well. |
| Where do I get it? | It usually comes bundled with CD/DVD burners or external hard drives like the OWC Mercury Elite Al Pro. | |
| How much does it cost? | Just the cost of the hard drive it comes bundled with, unless you want to upgrade to the "full" version. |
After installing the program from the CD, open up the program. The first thing you will be confronted with is a prompt for your Administrator name and password.
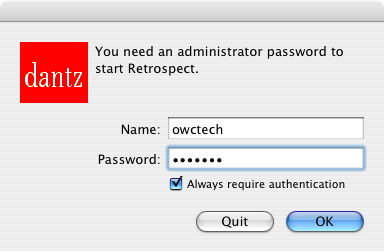
There is an option in this box to turn off this prompt, but it is generally best to leave it on. Enter in your Admin name and password, then click the "OK" button. The program will then launch completely, and you will get the main screen
To create a bootable copy of your drive, click on the "Duplicate" button and you will get a window asking for your source volume.
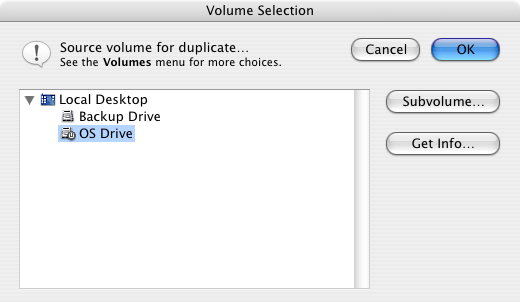
Select the hard drive you want to duplicate (in this example, our source drive is named "OS Drive"), and click "OK". You will get a similar dialog box for selecting the destination drive.

Select "Replace Entire Disk" from the drop down menu and select the drive that you want to back up to (in this example, our backup drive is named "Backup Drive") and Click "OK". You will get a warning asking if it is okay to replace the contents of your backup drive with the info on the source drive. If it is, click the "Replace" button.
You will now get a window telling you that the process is ready to go, and will list all the information for the duplication process.

If there is anything incorrect, you can change it by clicking the button to the right of the category. If everything is correct, click the "Duplicate" button, and it should once again ask if it is OK to replace the contents of your backup drive with the contents of your source drive, deleting anything else that may be on it. If you haven't changed your mind about erasing the other drive then backing up to it, then click the "OK" button and the process will start. It will scan, and then you will be given the progress box.
How long will it take? You can either sit and stare at the progress box, which is fascinating, but ultimately not too productive, or work on something else not related to your computer, which may be a better use of your time. I chose the former, and found that it took 23 minutes to copy and verify 1.78 GB of data under 10.3.9, which comes to almost 13 minutes per gigabyte. You'll also want to tack on a couple more minutes, as well, because you'll want to repair permissions before copying.
SuperDuper |
Who is it good for? | Anybody running OSX 10.2.8 or later who doesn't want to think too hard about duplicating their system. |
| Where do I get it? | http://www.shirt-pocket.com/SuperDuper/SuperDuperDescription.html | |
| How much does it cost? | $19.95 |
This seems to be one of the easier programs to use if you're going to be creating a clone of a drive. Double click the icon and you get the main window.
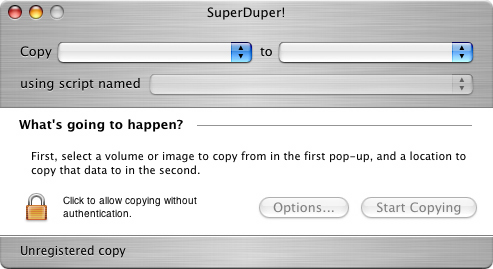
Select the drive you want to make the clone of from the first drop down menu (for this demonstration we called this drive "OS Drive") and select the drive you want to copy it to from the second (we named ours "Backup Drive"). Once you do this, a new menu will appear. Select "Backup - All Files" from this list. Next, click on the "Options..." button and make sure that the items match the settings below.

Click the "Done" button, and your window should look something like this:
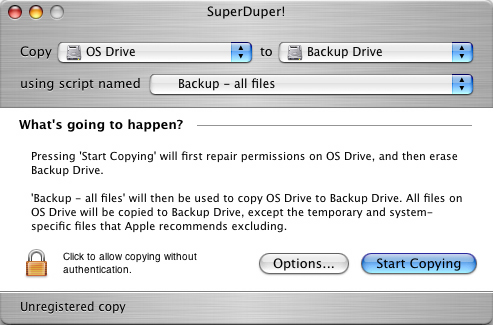
Clicking "Start Copying" will bring up a prompt for your Admin name and password. Enter those and you will then get a dialog asking if you're sure you want to erase the drive.

Tell it yes, and the cloning process will begin.
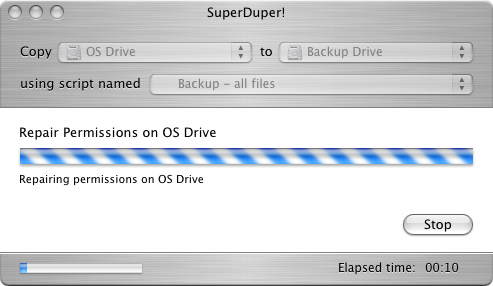
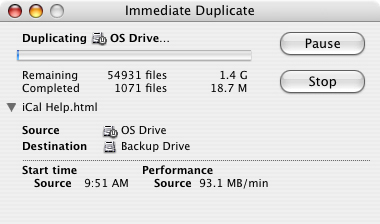
This is the cloning window. Not much is shown here except for what process is occurring at the moment and how much time has passed.
How long will it take? You may only have time for a light snack, because cloning via this method will be pretty swift. It took a little under 8 minutes to clone 1.8 GB of data under 10.3.9, which brings us down to about 4 minutes per gigabyte of data - including the permissions repair.
QuickBack |
Who is it good for? | People using 10.2.8 and up who want a utility to back up your system along with a host of other utilities for tweaking your drive. |
| Where do I get it? | It's part of the Intech Hard Disk Speed Tools package. | |
| How much does it cost? | The OEM version of HDST is included with many of our OWC external drives, or is available for $9.95 with the purchase of a storage device from OWC. |
After installing the HDST suite, open up the main application.

You will get a list of the different HDST components. Scroll until you find QuickBack, and double-click on the icon.
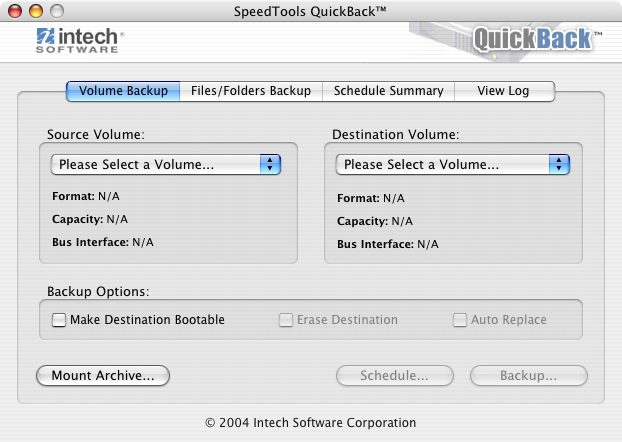
You will get a new window which, conveniently, should be the one you need for cloning your drive. In the section marked "Source Drive", select the drive you want to make a clone of from the drop down menu. Under "Destination Drive", do the same for the drive you want to make the copy to. Check the boxes "Make Destination Bootable" and "Erase Destination". Your window should now look something like this:
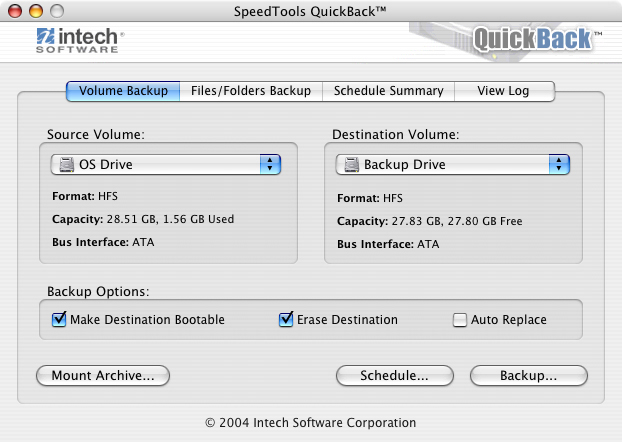
Once you have these settings, click the "Backup..." button. You will be asked if it is okay to erase the destination volume. If you're backing up to a drive that only has the clone of your system, then click "OK". You will then be asked for your admin name and password. Enter those in, and click "OK". The copy process should then begin.
How long will it take? The copying process took a little over 5 minutes for 1.8GB, a blazing 2.7 minutes per gigabyte. However, this particular program does not include an option to repair your permissions - nearly every other program listed here does, so you will want to add a trip to Disk Utility to the final tally.
Disk Utility |
Who is it good for? | Anybody using 10.3 or 10.4 that wants a free quick-and-dirty solution to duplicate their hard drive. |
| Where do I get it? | You can find it in /Applications/Utilities/Disk Utility.app | |
| How much does it cost? | Free - it comes with the OS. |
After opening the Disk Utility, select a disk (any one, really) then click on the "Restore" Tab.
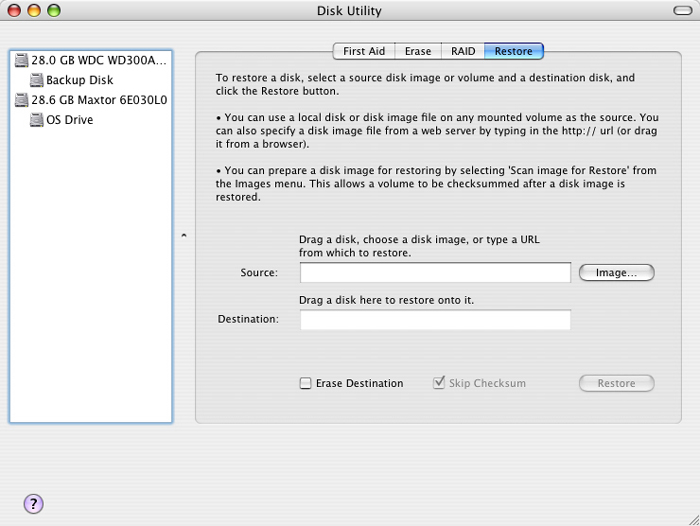
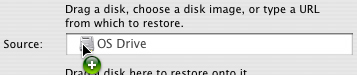
Drag the volume (the indented one that has the drive name) that you want to duplicate from the left to the "Source" field on the right side.
Then, drag your backup volume (again, the indented one) to the "Destination" field.

If the drive is otherwise empty (if, for example, you erased it using Disk Utility before going to Restore) then, all you should need to do is click the "Restore " button. If you want to make a more direct backup, Click the "Erase Destination" button, and leave the "Skip Checksum" box unchecked.

This will produce a copy of the drive - including the name. This is handy if you have scripts that reference a particular file on the drive, as there have been instances in Tiger where AppleScripts need to have the full path - including drive name - in order to affect a file. Once you click the "Restore" button, you will be asked if you're sure you want to continue, as restoring will write over existing data on the drive. If you tell it "OK", you will be prompted for your Admin username and password. Enter those in, and the duplication will start.
How long will it take? If you go for the "erase and checksum" route, like I did, you can spare a quick trip to get a tasty beverage, as the process took about 9 minutes for 2.5GB under 10.4.2 about 3.5 minutes per gigabyte. However, this option also does not include a permissions repair, so that's an extra step not counted here. On the plus side, though, you're already in Disk Utility.
Carbon Copy Cloner |
Who is it good for? | Anybody using OS X 10.2.x Jaguar (can be used for Versions of OS X through Tiger but there are other options we recommend for Panther and later) |
| Where do I get it? | http://www.bombich.com/software/ccc.html | |
| How much does it cost? | $5.00 (free for educational users) |
Carbon Copy Cloner is one of the older of the freeware/shareware cloning programs out there, dating back to OSX X 10.1.2. The current version, 2.3, was released in October of 2003 (according to the release notes). Their Web site claims Tiger support, though there have been reports of problems using it with 10.3.3 and later
Using Carbon Copy Cloner is fairly straight-forward. Start with an empty backup disk (you can erase it in Disk Utility), then open up Carbon Copy Cloner. You should get a window that looks something like this.
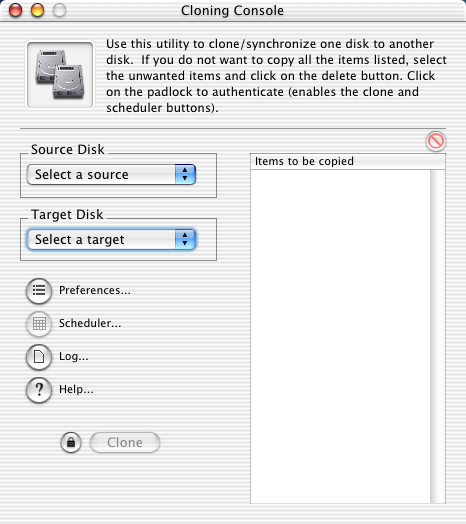
Select the drive you want to copy from the "Source Disk" drop-down menu, and select the drive you're cloning to from the "Target Disk" drop-down menu. Simple so far, right? Next, click the "Preferences" button.
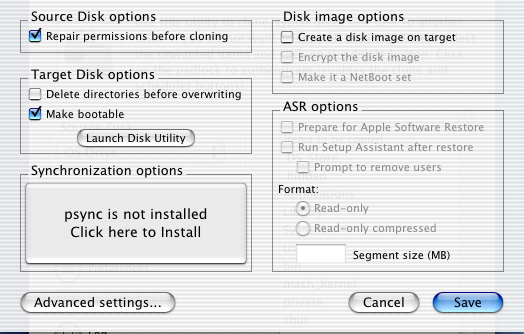
While there are a number of different options available here, under most circumstances, the only two you will need to have checked are "Repair permissions before cloning" and "Make Bootable". Don't worry about the Advanced settings. Click the Save button, and you'll be back to the main screen. Click on the lock button, next to the grayed out "Clone" button, and you will be asked for your admin password.
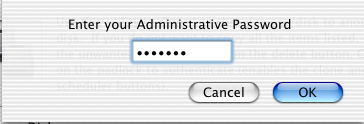
Enter in your password to enable the clone button. Your window should now look something like this.
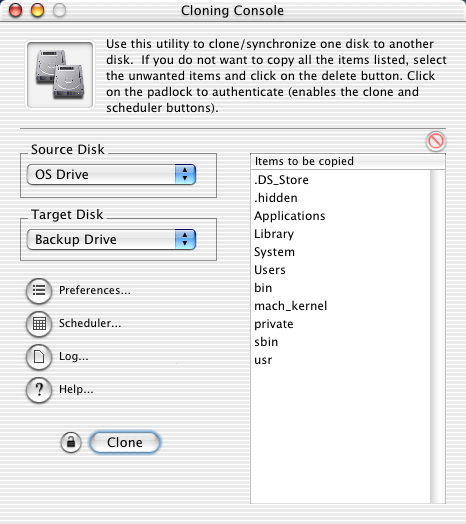
Click the "Clone" button to begin the copy.
How long will it take? Go get a sandwich, because, depending on the size of your drive, copying can take a while. In the test example above, repairing the privileges and cloning 1.2 GB of data took about 10 minutes under 10.2.8, which came to a little more than 8 minutes per gigabyte.
In closing...
Making a backup copy of your system is a relatively quick, inexpensive way to protect yourself against data loss, and allow you to keep your system up and running while you're getting your primary disk repaired or replaced. It's just a matter of keeping up with those backups on a regular basis. With the great software options mentioned above and our quality OWC firewire hard drives, what's stopping you from backing up your system today?
