If a picture is worth a thousand words...
OWC's detailed step-by-step installation videos guide you through upgrading your Mac, iPod, and iPhone! We also have many of these videos
available via iTunes so you can watch with an iPod, iPhone, or iPad while you work on your Mac!
Choose a Category:
Laptops
-
-
-
-
-
-
-
-
-
-

13-inch MacBook Pro
(Non-Touch Bar, Late 2016 - Mid 2017)
Model ID: | MacBookPro14,1 | MacBookPro13,1
-
15-inch MacBook Pro with Retina
(Late 2013 - Mid 2015)
Model ID: | MacBookPro11,5 | MacBookPro11,3 | MacBookPro11,4 | MacBookPro11,2
-
13-inch MacBook Pro with Retina
(Late 2013 - Early 2015)
Model ID: | MacBookPro11,1 | MacBookPro12,1
-
13-inch MacBook Air
(Early 2015 - Mid 2017)
Model ID: | MacBookAir7,2
-
11-inch MacBook Air
(Early 2015)
Model ID: | MacBookAir7,1
-
13-inch MacBook Air
(Mid 2013 - Early 2014)
Model ID: | MacBookAir6,2
-
11-inch MacBook Air
(Mid 2013 - Early 2014)
Model ID: | MacBookAir6,1
-
15-inch MacBook Pro with Retina
("Unibody", Mid 2012 - Early 2013)
Model ID: | MacBookPro10,1
-
13-Inch MacBook Pro with Retina
("Unibody", Late 2012 - Early 2013)
Model ID: | MacBookPro10,2
-
15-Inch MacBook Pro
("Unibody", Mid 2012)
Model ID: | MacBookPro9,1
-
13-inch MacBook Pro
("Unibody", Mid 2012)
Model ID: | MacBookPro9,2
-
13-inch MacBook Air
(Mid 2012)
Model ID: | MacBookAir5,2
-
11-inch MacBook Air
(Mid 2012)
Model ID: | MacBookAir5,1
-
17-Inch MacBook Pro
("Unibody", Early 2011)
Model ID: | MacBookPro8,3
-
15-Inch MacBook Pro
("Unibody", Early 2011)
Model ID: | MacBookPro8,2
-
13-Inch MacBook Pro
("Unibody", Early 2011)
Model ID: | MacBookPro8,1
-
13-Inch MacBook Air
(Mid 2011)
Model ID: | MacBookAir4,2
-
11-Inch MacBook Air
(Mid 2011)
Model ID: | MacBookAir4,1
-
17-Inch MacBook Pro
("Unibody", Mid 2010)
Model ID: | MacBookPro6,1
-
15-Inch MacBook Pro
("Unibody", Mid 2010)
Model ID: | MacBookPro6,2
-
13-Inch MacBook Pro
("Unibody", Mid 2010)
Model ID: | MacBookPro7,1
-
13-Inch MacBook Air
(Late 2010)
Model ID: | MacBookAir3,2
-
11-Inch MacBook Air
(Late 2010)
Model ID: | MacBookAir3,1
-
17-Inch MacBook Pro
("Unibody", Early 2009 - Mid 2009)
Model ID: | MacBookPro5,2
-
15-inch MacBook Pro
("Unibody", Mid 2009)
Model ID: | MacBookPro5,3 | MacBookPro5,4
-
13-Inch MacBook Pro
("Unibody", Mid 2009)
Model ID: | MacBookPro5,5
-
15-Inch MacBook Pro
("Unibody", Late 2008)
Model ID: | MacBookPro5,1
-
13-inch MacBook Air
(Late 2008 - Mid 2009)
Model ID: | MacBookAir2,1
-
13-inch MacBook Air
(2008)
Model ID: | MacBookAir1,1
-
17-Inch MacBook Pro
(Pre "Unibody", Early 2006 - Early 2008)
Model ID: | MacBookPro1,2 | MacBookPro2,1 | MacBookPro3,1 | MacBookPro4,1
-
15-Inch MacBook Pro
(Pre "Unibody", Early 2006 - Early 2008)
Model ID: | MacBookPro1,1 | MacBookPro2,2 | MacBookPro3,1 | MacBookPro4,1
-
13-inch MacBook
("Unibody", Late 2009 - Mid 2010)
Model ID: | MacBook6,1 | MacBook7,1
-
13-Inch MacBook
("Unibody", Late 2008)
Model ID: | MacBook5,1
-
13-Inch MacBook
(Pre "Unibody", Early 2006 - Mid 2009)
Model ID: | MacBook1,1 | MacBook2,1 | MacBook3,1 | MacBook4,1 | MacBook5,2
-
17-inch PowerBook G4 "Aluminum"
(All Models)
Model ID: | PowerBook5,1 | PowerBook5,3 | PowerBook5,5 | PowerBook5,7 | PowerBook5,9
-
15-inch PowerBook G4 "Aluminum"
(All Models)
Model ID: | PowerBook5,2 | PowerBook5,4 | PowerBook5,6 | PowerBook5,8
-
PowerBook G4 "Titanium"
Model ID: | PowerBook3,2 | PowerBook3,3 | PowerBook3,4 | PowerBook3,5
-
Modbook Pen Calibration and Nib Replacement Videos
iMacs, eMacs & Mac Towers
-
-
27-inch iMac with Retina 5K
(2019)
Model ID: | iMac19,1
-
21.5-inch iMac with Retina 4K and non-Retina
(2019)
Model ID: | iMac19,2
-
-
iMac 27-inch with Retina 5K
(Late 2015 - Mid 2017)
Model ID: | iMac18,3 | iMac17,1
-
iMac 21.5-inch with Retina 4K and non-Retina
(2017)
Model ID: | iMac18,1 | iMac18,2
-
-
iMac 27-inch with Retina 5K
(Late 2014 - Mid 2015)
Model ID: | iMac15,1
-
-
iMac 27-inch
(Late 2013)
Model ID: | iMac14,2
-
iMac 21.5-inch
(Late 2013 - Mid 2014)
Model ID: | iMac14,3 | iMac14,1
-
iMac 27-inch
(Late 2012)
Model ID: | iMac13,2
-
iMac 21.5-Inch
(Late 2012)
Model ID: | iMac13,1
-
iMac 27-inch
(Mid 2011)
Model ID: | iMac12,2
-
iMac 21.5-inch
(Mid 2011)
Model ID: | iMac12,1
-
iMac 27-inch
(Mid 2010)
Model ID: | iMac11,3
-
iMac 21.5-inch
(Mid 2010)
Model ID: | iMac11,2
-
iMac 27-inch
(Late 2009)
Model ID: | iMac10,1 | iMac11,1
-
iMac 21.5-inch
(Late 2009)
Model ID: | iMac10,1
-
iMac 24-inch
(Early 2009)
Model ID: | iMac9,1
-
iMac 20-inch
(Early 2009)
Model ID: | iMac9,1
-
iMac 20-Inch
(Early 2008)
Model ID: | iMac8,1
-
iMac 24-inch
(Early 2008)
Model ID: | iMac8,1
-
iMac 20-inch
(Mid 2007)
Model ID: | iMac7,1
-
iMac 24-inch
(Mid 2007)
Model ID: | iMac7,1
-
-
iMac G5 20-inch
Model ID: | PowerMac8,2 | PowerMac8,1
-
-
Mac Pro
(Late 2019)
Model ID: | MacPro7,1
-
Mac Pro
(Late 2013)
Model ID: | MacPro6,1
-
Mac Pro & Mac Pro Server
(Mid 2010 / Mid 2012)
Model ID: | MacPro5,1
-
Mac Pro
(Early 2009)
Model ID: | MacPro4,1
-
Mac Pro
(Early 2008)
Model ID: | MacPro3,1
-
Mac Pro
(pre-2008)
Model ID: | MacPro1,1 | MacPro2,1
-
Power Mac G5
(All Models)
Model ID: | PowerMac7,2 | PowerMac7,3 | PowerMac9,1 | PowerMac11,2
-
Power Mac G4
(Mirrored Drive Doors, FW 800)
Model ID: | PowerMac3,6
-
Power Mac G4
(QuickSilver & QuickSilver 2002)
Model ID: | PowerMac3,5
-
Power Mac G4
(AGP Graphics, Gigabit Ethernet)
Model ID: | PowerMac3,1 | PowerMac3,3
-
Power Mac G3
(PCI Graphics)
Model ID: | PowerMac1,1 | PowerMac1,2
Mac mini & G4 Cube
-
-
Mac mini
(Late 2014)
Model ID: | Macmini7,1
-
Mac mini Server
(Late 2012)
Model ID: | Macmini6,2
-
Mac mini
(Late 2012)
Model ID: | Macmini6,1 | Macmini6,2
-
Mac mini Server
(Mid 2011)
Model ID: | Macmini5,3
-
Mac mini
(Mid 2011)
Model ID: | Macmini5,1 | Macmini5,2
-
Mac mini Server
(Mid 2010)
Model ID: | Macmini4,1
-
Mac mini
(Mid 2010)
Model ID: | Macmini4,1
-
Mac Mini Server
(Late 2009)
Model ID: | Macmini3,1
-
Mac mini
(Early 2009 - Late 2009)
Model ID: | Macmini3,1
-
-
-
Power Mac G4 Cube
Model ID: | PowerMac5,1
Hard Drive / SSD Enclosures
-
-
-
NewerTech Guardian MAXimus Enclosure
-
NewerTech Guardian MAXimus Enclosure
(pre-2011)
-
-
-
-
-
-
-
-
OWC Envoy Pro Enclosure For Apple PCIe SSDs
-
-
-
-
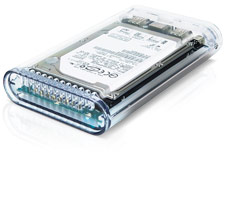
OWC Express 2.5" Enclosure
-
-
OWC Flex 1U4 Rackmount Enclosure
-
-
OWC Jupiter Callisto
-
OWC Jupiter Mini
-
-
-
-
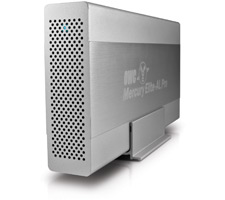
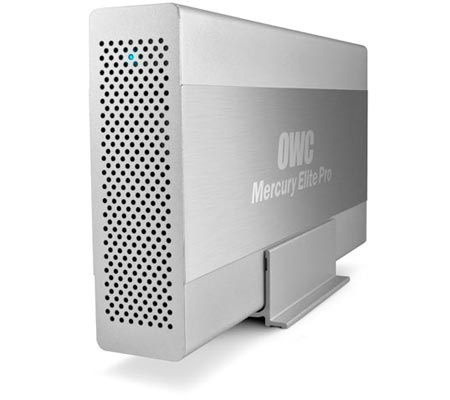
OWC Mercury Elite Pro Dual RAID Enclosure
-
-
-
-
-
-
-
-
-
-
-
OWC Mercury Helios 3S PCIe Expansion Chassis
-
OWC Mercury Helios PCIe Thunderbolt 2 Expansion Chassis
-
OWC Mercury Helios PCIe Thunderbolt Expansion Chassis
-
-
OWC Mercury Pro LTO
-
-
-
-
-
-
-
-
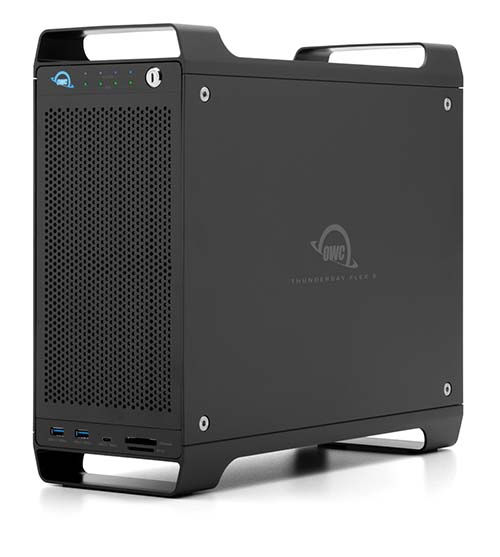
OWC ThunderBay Flex 8 Enclosure
-
-
OWC / NewerTech Products
-
-
NewerTech NuGuard KXs
-
NewerTech Power2U
-
-
-
-
-
-
-
-
-
-
OWC Data Doubler
-
-
-
-
-
-
-
-
-
-
-
-
iDevices
-
iPad
-
-
-
-
-
-
iPod Classic 5/6/7 Generation
Model ID: | A1238
-
iPod Nano
(1st Generation)
Model ID: | A1051
-
iPod mini
Model ID: | A1051
-
-
-
-
DISCLAIMER: Although every effort is made to provide the most accurate and useful information in OWC Videos, no warranty, expressed or implied, is made regarding accuracy, completeness, reliability, or usefulness of any information. Models used for demonstration on Videos may vary from that used by you. You use the Videos at your own risk, and you agree OWC shall not be held liable for any use of the information contained in OWC Videos. Your use of OWC Videos is expressly subject to the complete Site Terms and Conditions available at: http://eshop.macsales.com/service/terms
 1-800-275-4576