With the introduction of Mac OS X 10.6 "Snow Leopard", Apple has moved away from a standard that has been in existence since the first days of Macintosh, AppleTalk. That's right, 25 years of AppleTalk has come to an end.
In many ways, AppleTalk was way ahead of it's time. I can remember the days of "The Macintosh Office" where being able to network multiple computers, and a laser printer was truly cutting edge. I was working at the oldest Apple dealership in Illinois in 1986 and recall one of my largest single sales that year was to a local locksmith that self published an exquisitely detailed book in just a couple months using the Mac Plus and LaserWriter I had sold him. He told me that he had paid for his $10,000 investment in less than 6 months on sales of his book - pretty good I'd say! I do wish I still had a copy of it, he made it with Aldus Pagemaker and had created exploded views of safe locking mechanisms, dials, tumblers, etc. - quite an achievement back then.
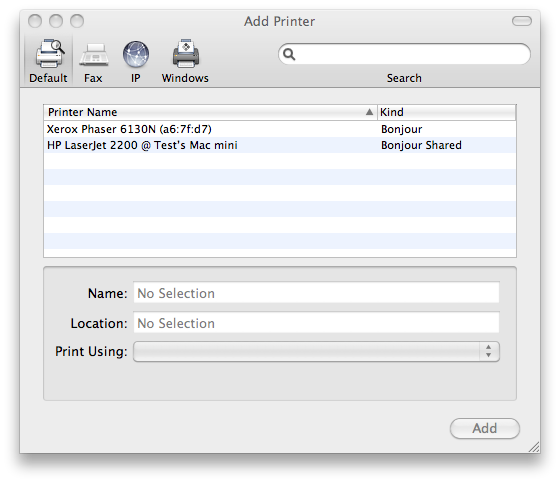
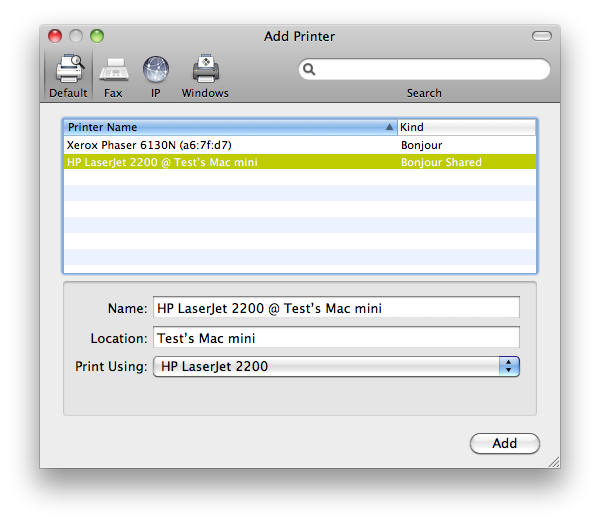
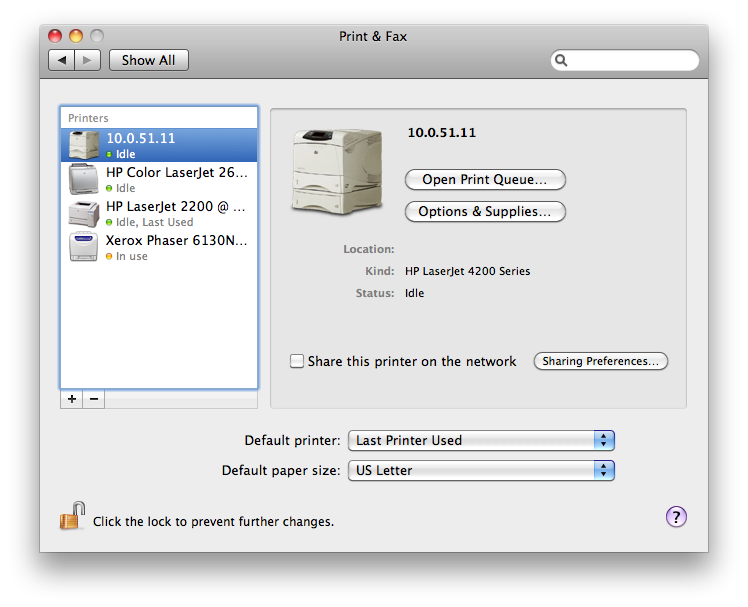
Enough history. How do you use your old printer with the latest Mac operating system? Simple, really, as long as you have another computer to act as a print spooler. Let's face it, if you have an Intel-based Macintosh, and a printer that's not Bonjour enabled (which has been around for 7 years now anyways), it may be time for a new printer ;>). But if you've got a trust old workhorse, here's how you can still use it.
Items required:
• Macintosh running Mac OS X 10.6
• Macintosh running Mac OS X 10.4 or 10.5
• Printer without Bonjour or TCP/IP support (AppleTalk Only)
Equipment setup as described below:
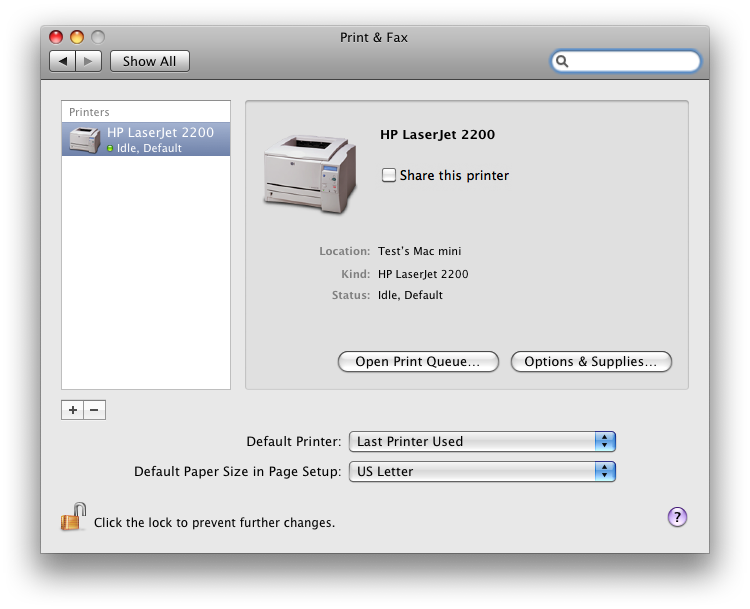
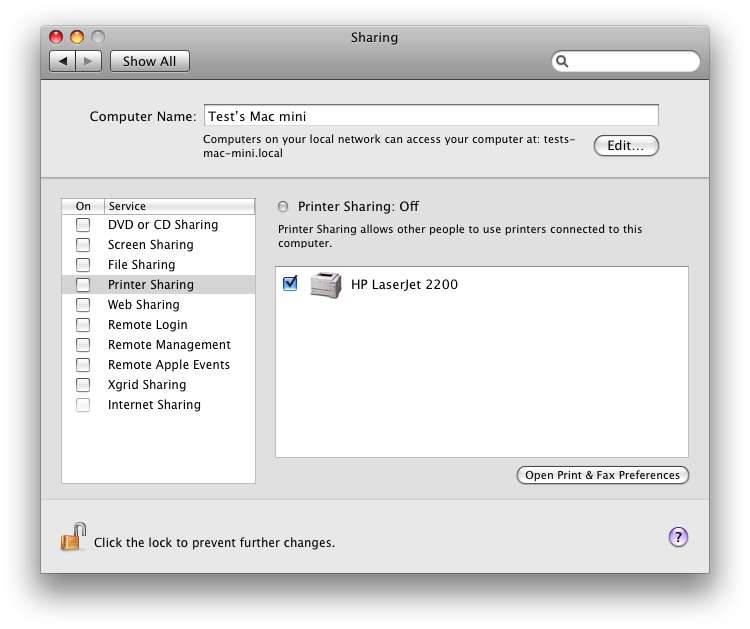
Mac mini (PowerPC) running Mac OS X 10.5.11, MacBook Pro 17" Unibody running Mac OS X 10.6, HP LaserJet 2200 with no network card installed.
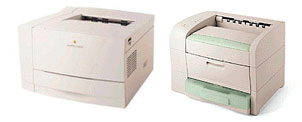
(If I'd had a working LaserWriter, I'd have set that up for this demo, unfortunately that's not the case here but it would work just the same with say, a LaserWriter 16/600 using an AAUI adapter and Ethernet network. Basically, as long as you can print to the device, you can share it to your Snow Leopard machine.
|