Already registered? Sign In
Experience local shipping options and optimized product inventory for your region.
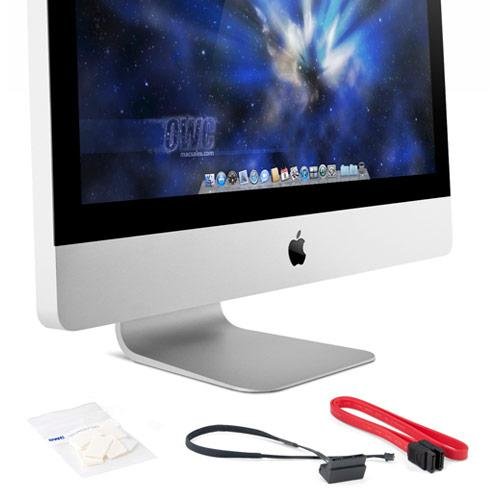
For 21.5" Apple iMac 2011 Models
Mfr P/N: OWC SKU:
For Quebec residents: See the Availability Guarantee Disclosure below.
 1-800-275-4576