Sale ends in
Experience local shipping options and optimized product inventory for your region.
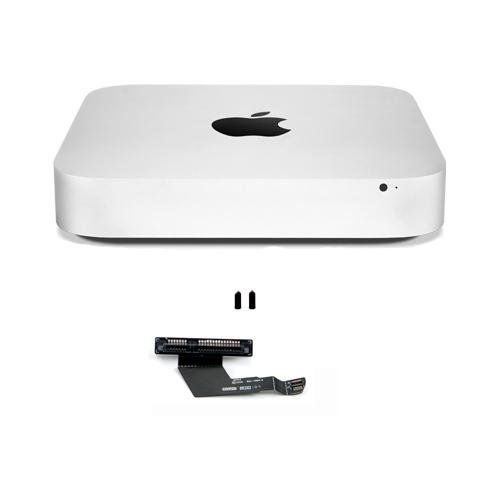
Upper Drive Bay Hard Drive/SSD Mounting Kit
Mfr P/N: OWC SKU: