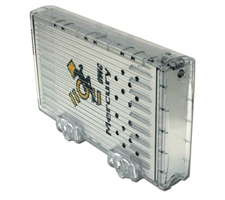
OWC Mercury Elite Assembly Manual
Thank you for purchasing an OWC Mercury Elite 3.5" Hard Drive case kit! Installation of your hard drive mechanism is an easy process, please use this guide to help get you up and running quickly!
This instruction manual covers drive mechanism installation for all models of OWC Mercury Elite, including the following case kits:
- OWC Mercury Elite (FireWire 400)
- OWC Mercury Elite Pro (FireWire 400 & USB 2.0)
- OWC Mercury Elite (FireWire 800 & 400)
- OWC Mercury Elite Pro (FireWire 800 & USB 2.0)
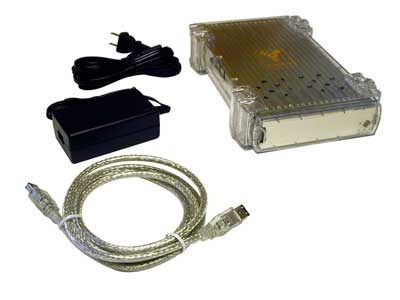
Your contents should include:
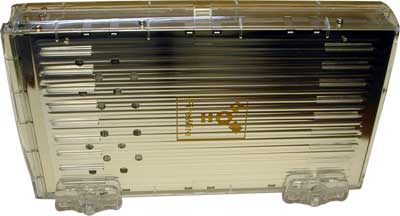
- 3.5" Case kit shell
- 1 package of screws (taped inside the case shell)
- 2 packages of slide on feet
- 2 packages of stick on feet
- 110v AC adapter
- 110v Power Cord (removable from adapter)
- Firewire and / or USB cables, depending on the case purchased.
You will need the following to complete assembly of this hard drive case:
Philips Screwdriver - #1 size bit preferred
Table of Contents
- Insert HD Mechanism
- Attach HD Mechanism
- Attach cover
- Install Feet
- Drive formatting / Setup
1. Insert HD Mechanism
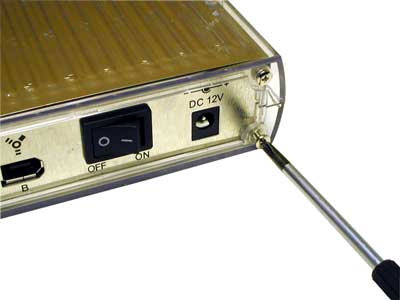
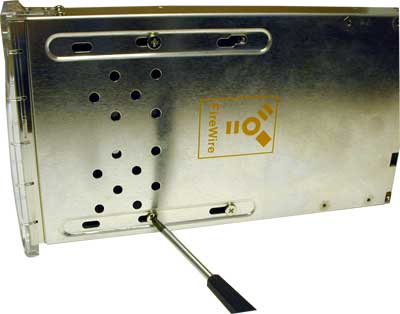
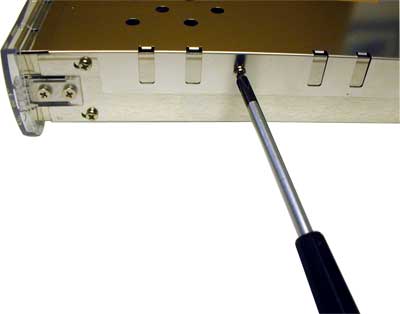
Start by removing the 4 medium sized screws from the back of the case - this holds the top and bottom plastic shell to the internal drive housing.
Slide the top and bottom plastic shell apart. They interlock to fasten to the case and to themselves.
Remove the screws holding the top metal shield in place. These are the short screws that you will need to reattach later.

Once you have the top removed you will see the bag of screws that needs to be removed.
2. Attach HD Mechanism
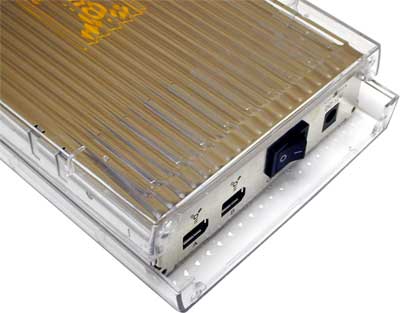
Attach the power cable and the IDE cable. Make sure that your drive mechanism is set to MASTER postition or Cable Select.
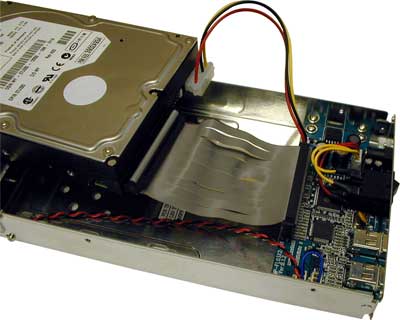
Set the drive mechanism into the case, and gently turn it over (be sure to hold onto the drive mechanism to keep it from falling back out.
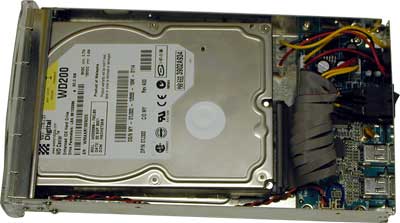
Insert the 4 large screws into the bottom of the hard drive. Fasten them tightly.
3. Attach cover
Replace the top metal cover over the enclosure. Be sure to not pinch any cables when installing. Attach the cover using the 4 short screws included (you already removed one to take the top cover off)
Set the top and bottom plastic shells on the drive mechanism. Place the top on the case in the attched position, and slide the bottom on as shown.
Replace the 4 long screws on the back of the case as you initially removed.
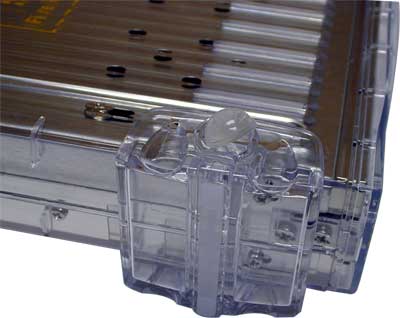
4. Install Feet
Remove the feet from their packaging and install 2 of them as shown. You can either install 2 or all 4 feet; the drive mechanism can run either laying down or standing up, it's your choice.
If you choose to use 4 feet, you will want to install the rubber bumpers to the bottom of the foot as shown here.
You're all set!
5. Drive formatting / Setup
For information about formatting your drive view our Drive formatting / Setup Guide