Thank you for purchasing an OWC Mercury 5.25" / 3.5" Hard Drive case kit! Installation of your hard drive mechanism is an easy process, please use this guide to help get you up and running quickly!
Your contents should include:
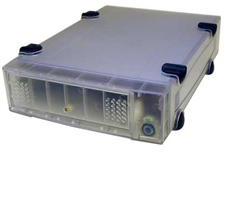
- 5.25" Case kit shell
- 5.25" Case Chassis
- 5.25" Case Top Cover
- 1 package of screws
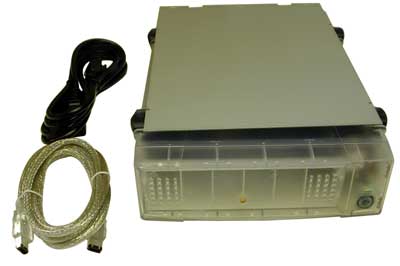
- 110v Power Cable
- FireWire Cable
You will need the following to complete assembly of this hard drive case:
Philips Screwdriver - #1 size bit preferred
Table of Contents
(for CD-ROM installation)
- Dissasemble the case
- CD Mechanism Part 1
- CD Mechanism Part 2
- CD Mechanism Complete
(for HD installation)
- Dissasemble the case
- HD Mechanism Part 1
- HD Mechanism Part 2
- HD Mechanism Complete
- Drive formatting / Setup
1. Dissasemble the case
Start by removing the rear screws from the left and right rear of the case.
Once the rear screws have been removed, the top cover easily slides off.
Remove the front bezel.
Detatch the LED jumper wire from the FireWire bridge card. You will not need the LED for a CD mechanism installation.

2. CD Mechanism Part 1
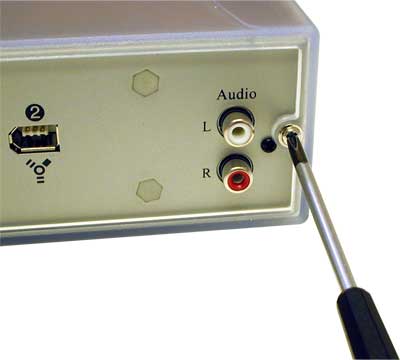
Slide the CD mechanism in from the front of the case and attach the 3 cables you see here. They are audio (be sure to match up the red with with the "R" on the back of the drive mechanism), IDE and power. The drive should be set to the Master position.

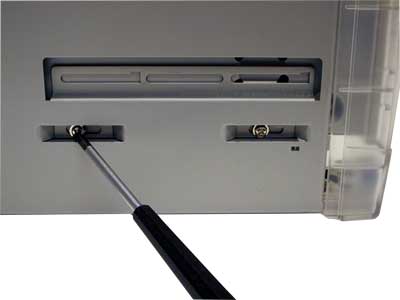
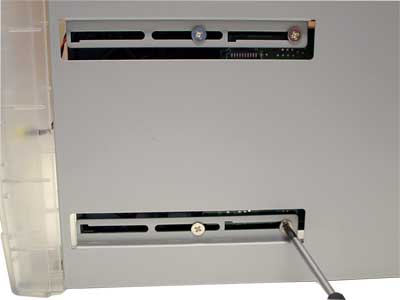
Slide the CD mechanism in fully and attach it using the provided medium sized screws. First insert the two screws on the side of the case, pictured here.
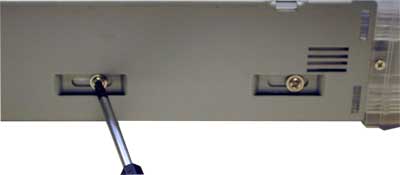
Then turn the case over and attach the two screws to the bottom.
3. CD Mechanism Part 2
Once the mechanism is fully installed, place the top cover on the unit and slide it forward...
Until the 3 rear locking tabs fully engage holding the top cover on.

Slide the top cover back on (drive and shield not installed in this picture).
And finally reinstall the 2 rear cover screws to complete the installation. Do not overtighten these screws!
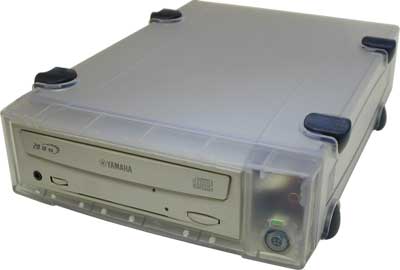
4. CD Mechanism Complete
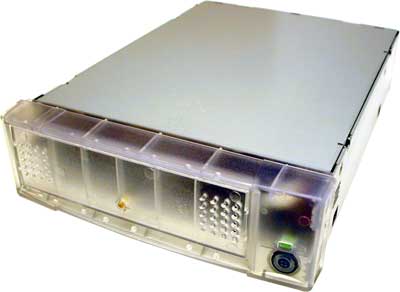
Your CD mechanism installation is complete.
You do not need to perform any other installations. If you would like, you can view how to install a HD mechanism in this case below.
5. Dissasemble the case
Start by removing the rear screws from the left and right rear of the case.
Once the rear screws have been removed, the top cover easily slides off.
6. HD Mechanism Part 1
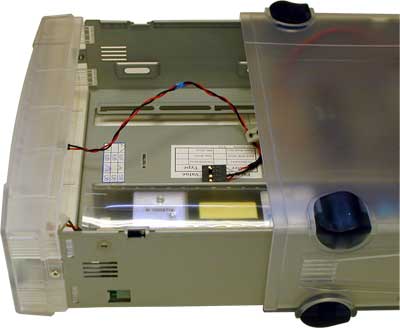
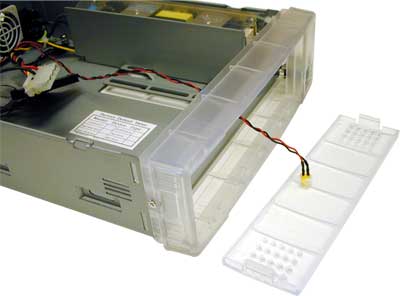
Set the hard drive mechanism inside the case as shown. Be sure to route the LED wire and the CD-ROM audio wire (not used) away from the attachment point of the HD mechanism as shown. Attach the IDE cable and the power cable. Be sure to have the drive mechansim ID set to MASTER.
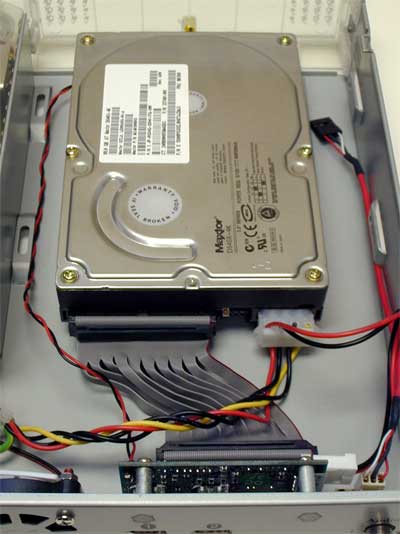
Turn the case over and attach the four large screws to the bottom.
7. HD Mechanism Part 2
Once the mechanism is fully installed, place the top cover on the unit and slide it forward...
Until the 3 rear locking tabs fully engage holding the top cover on.
Slide the top cover back on (drive and shield not installed in this picture).
And finally reinstall the 2 rear cover screws to complete the installation. Do not overtighten these screws!
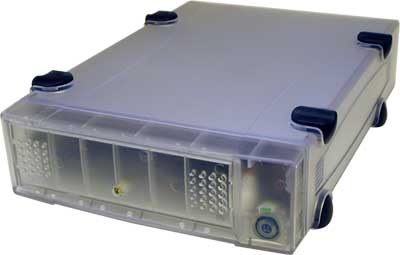
8. HD Mechanism Complete
Your HD mechanism installation is complete.
You do not need to perform any other installations. If you would like, you can view how to install a CD mechanism in this case.
9. Drive formatting / Setup
For information about formatting your drive view our Drive formatting / Setup Guide