12.5mm Drive Installation Kit
OWC Mercury On-The-Go Pro™
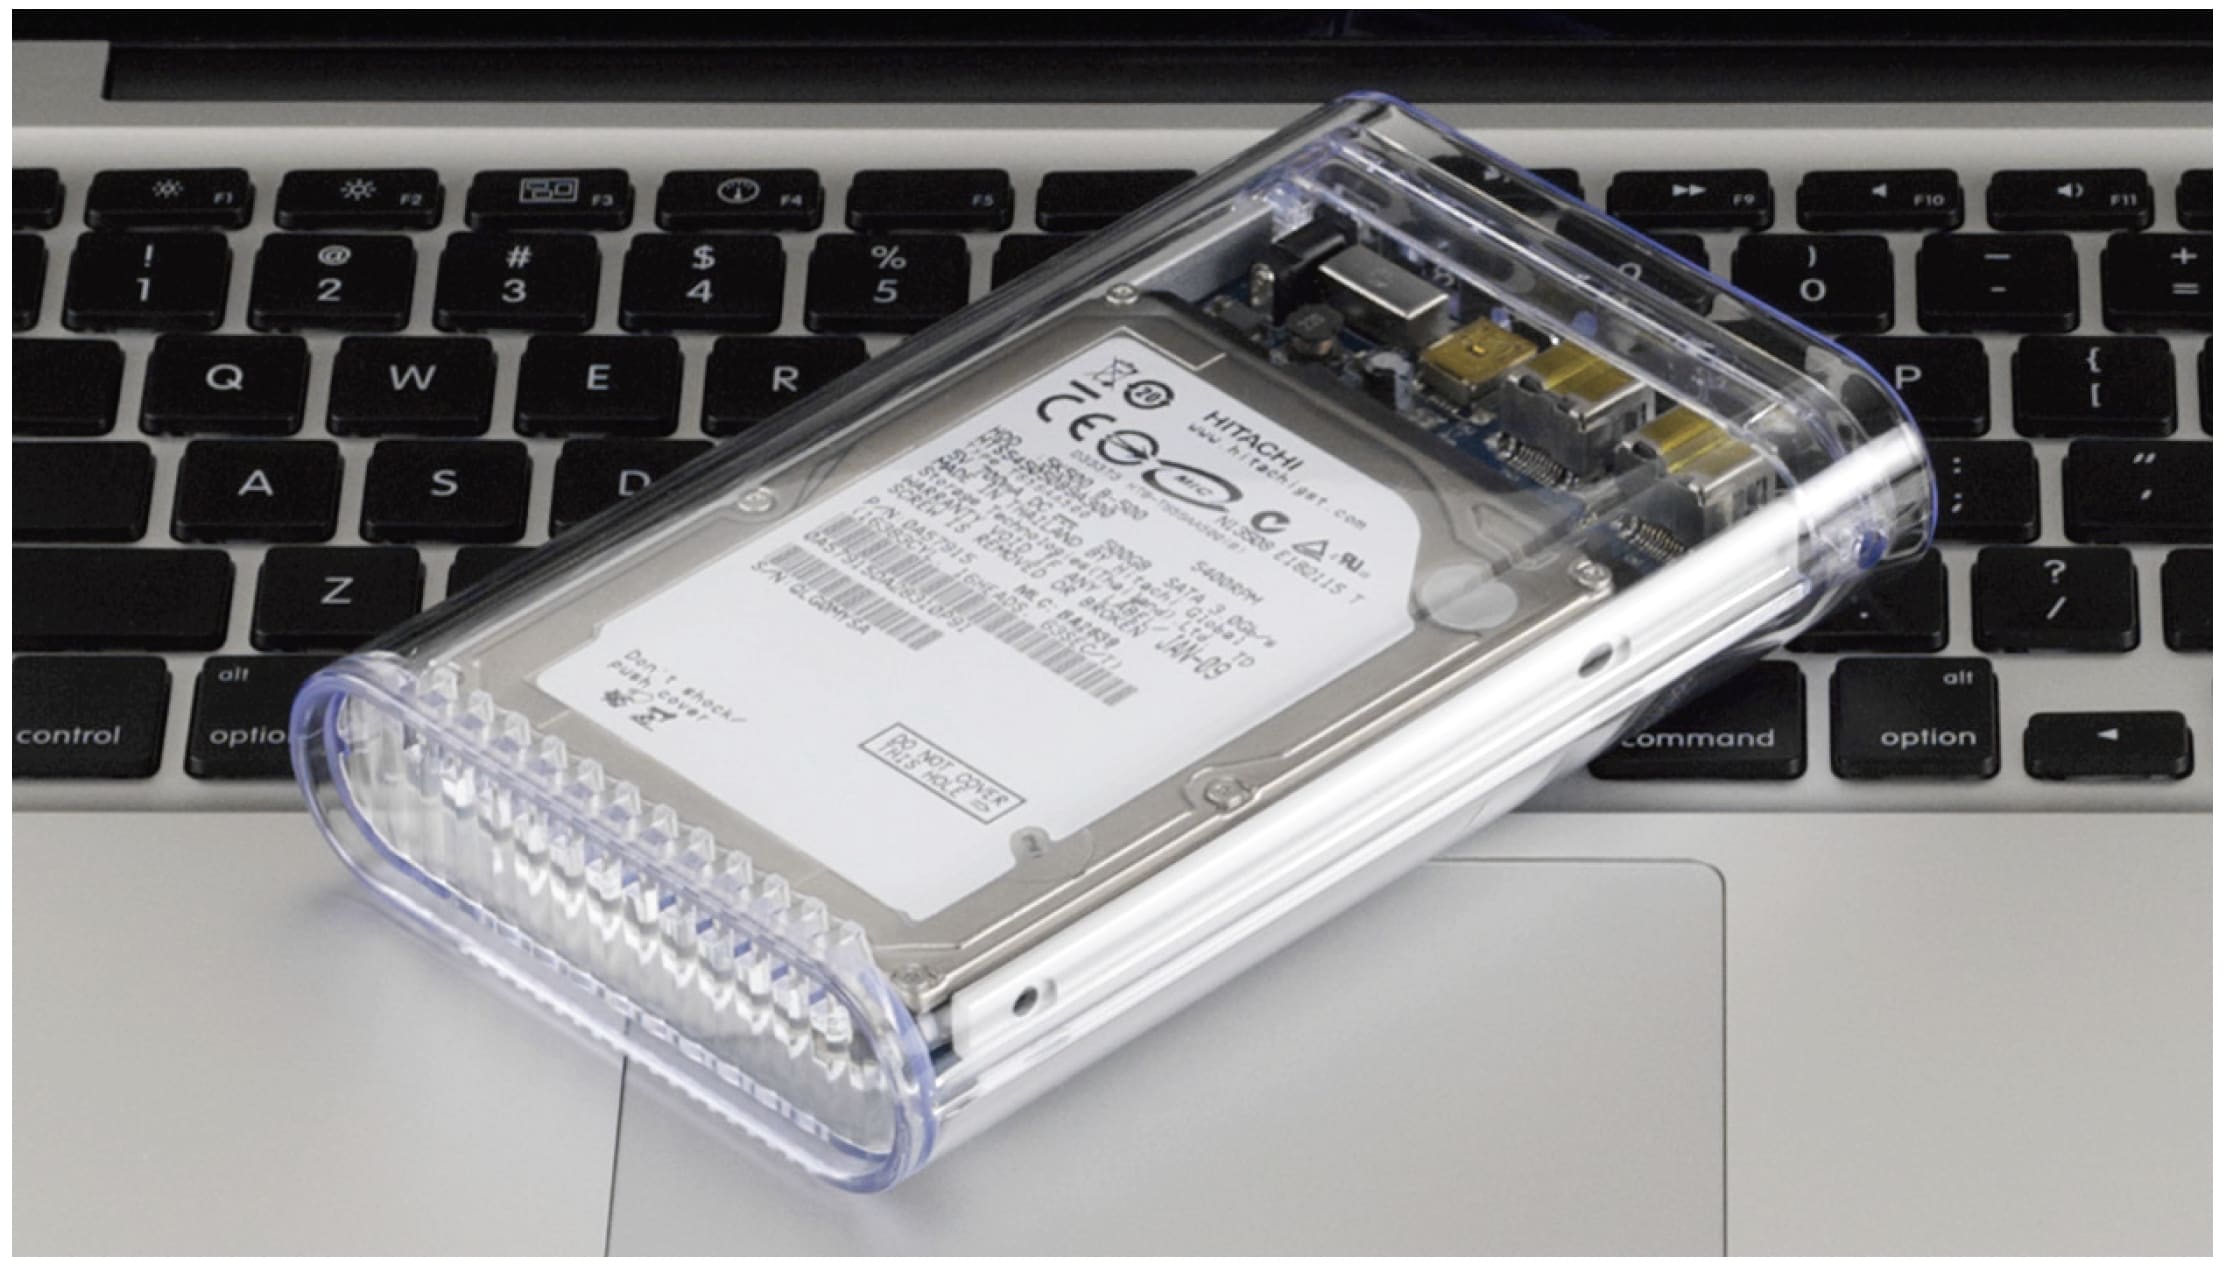
If you are planning on using a 12.5mm SATA hard drive with the OWC Mercury On The-Go Pro FW800/USB enclosure, a few assembly procedures need to be changed to accommodate these taller than normal drives.
This procedure will work with any 12.5mm SATA hard drive. The assembly procedure shows using a Western Digital Scorpio Blue 750GB drive, but you can use any hard drive you wish to.
Please review the full assembly manual, beginning on page 6 for the complete assembly process. This addendum does not cover the entire assembly procedure, only the changed portions.
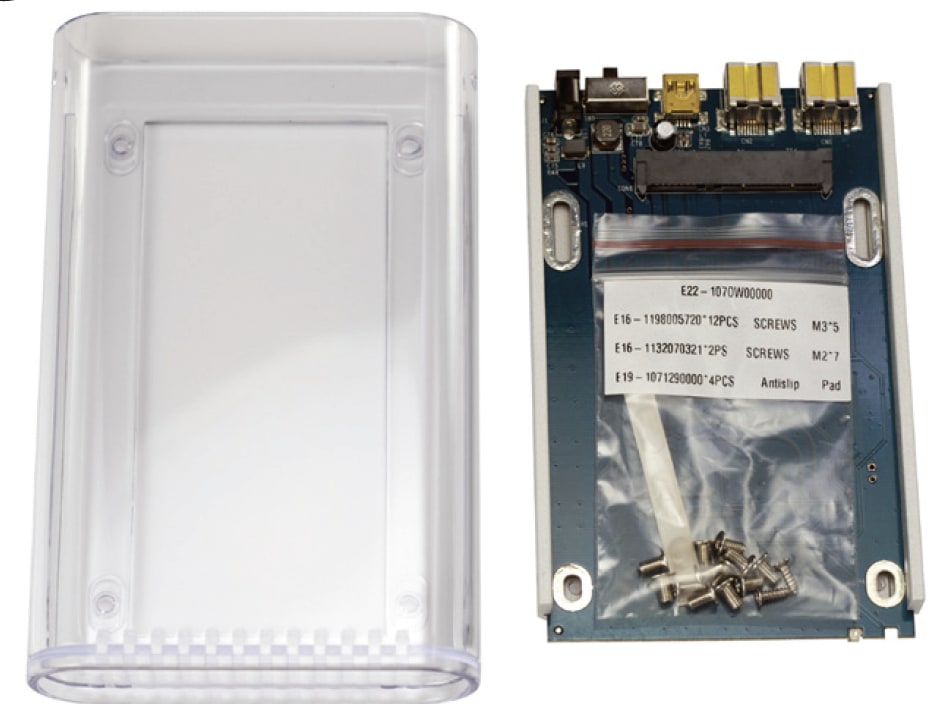
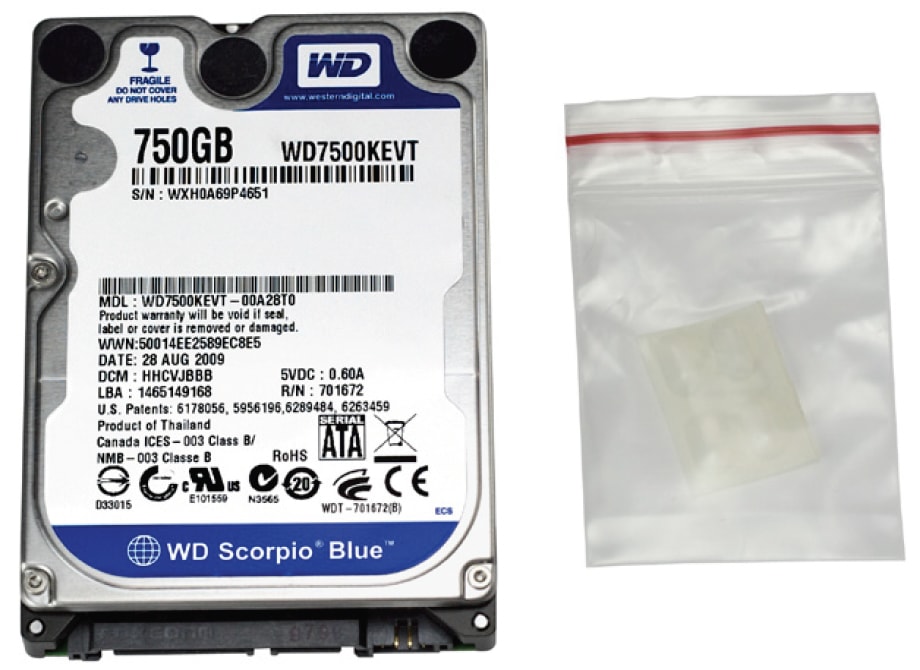
Remove the enclosure and hard drive from their packaging. Note that this manual addendum kit included a small plastic bag with 4 silicone rubber feet in it - you will need those in the next step. Do not confuse these feet with the ones in the small bag of screws included with the OWC Mercury On-The-Go Enclosure.
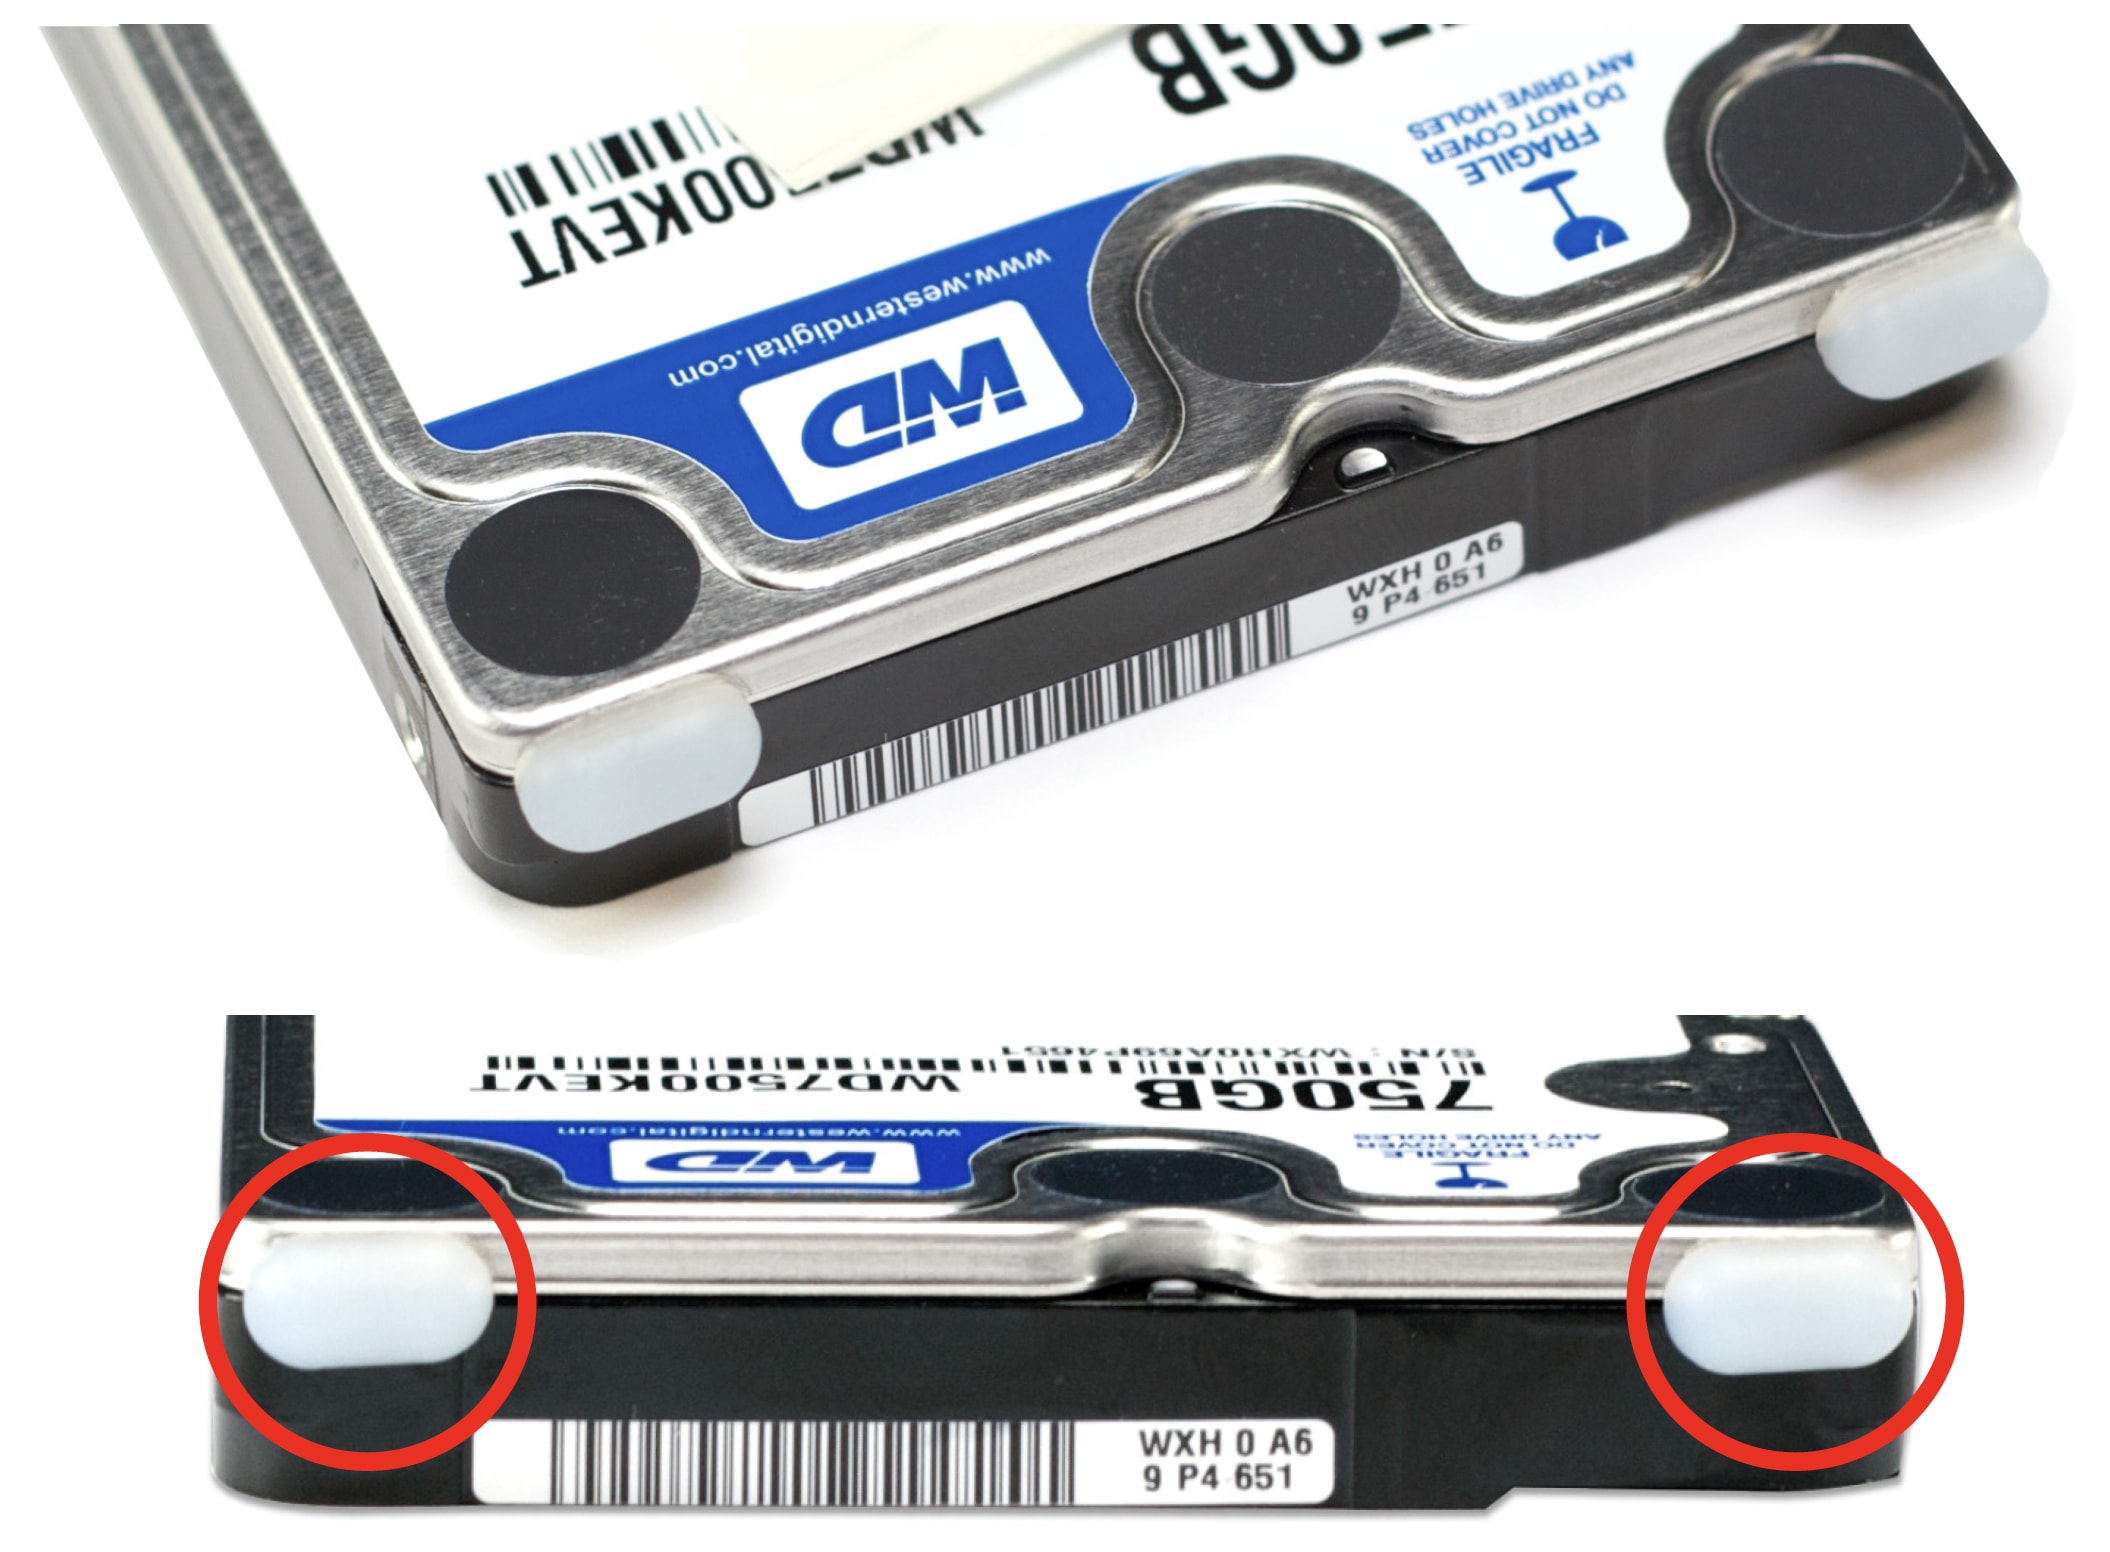
On the end opposite the SATA connector on your 12.5mm hard drive, place two of the silicone rubber feet on the top left and top right of the drive, at the highest point possible. These feet will keep the drive from moving around, and also aid in shock protection in case the drive is dropped.
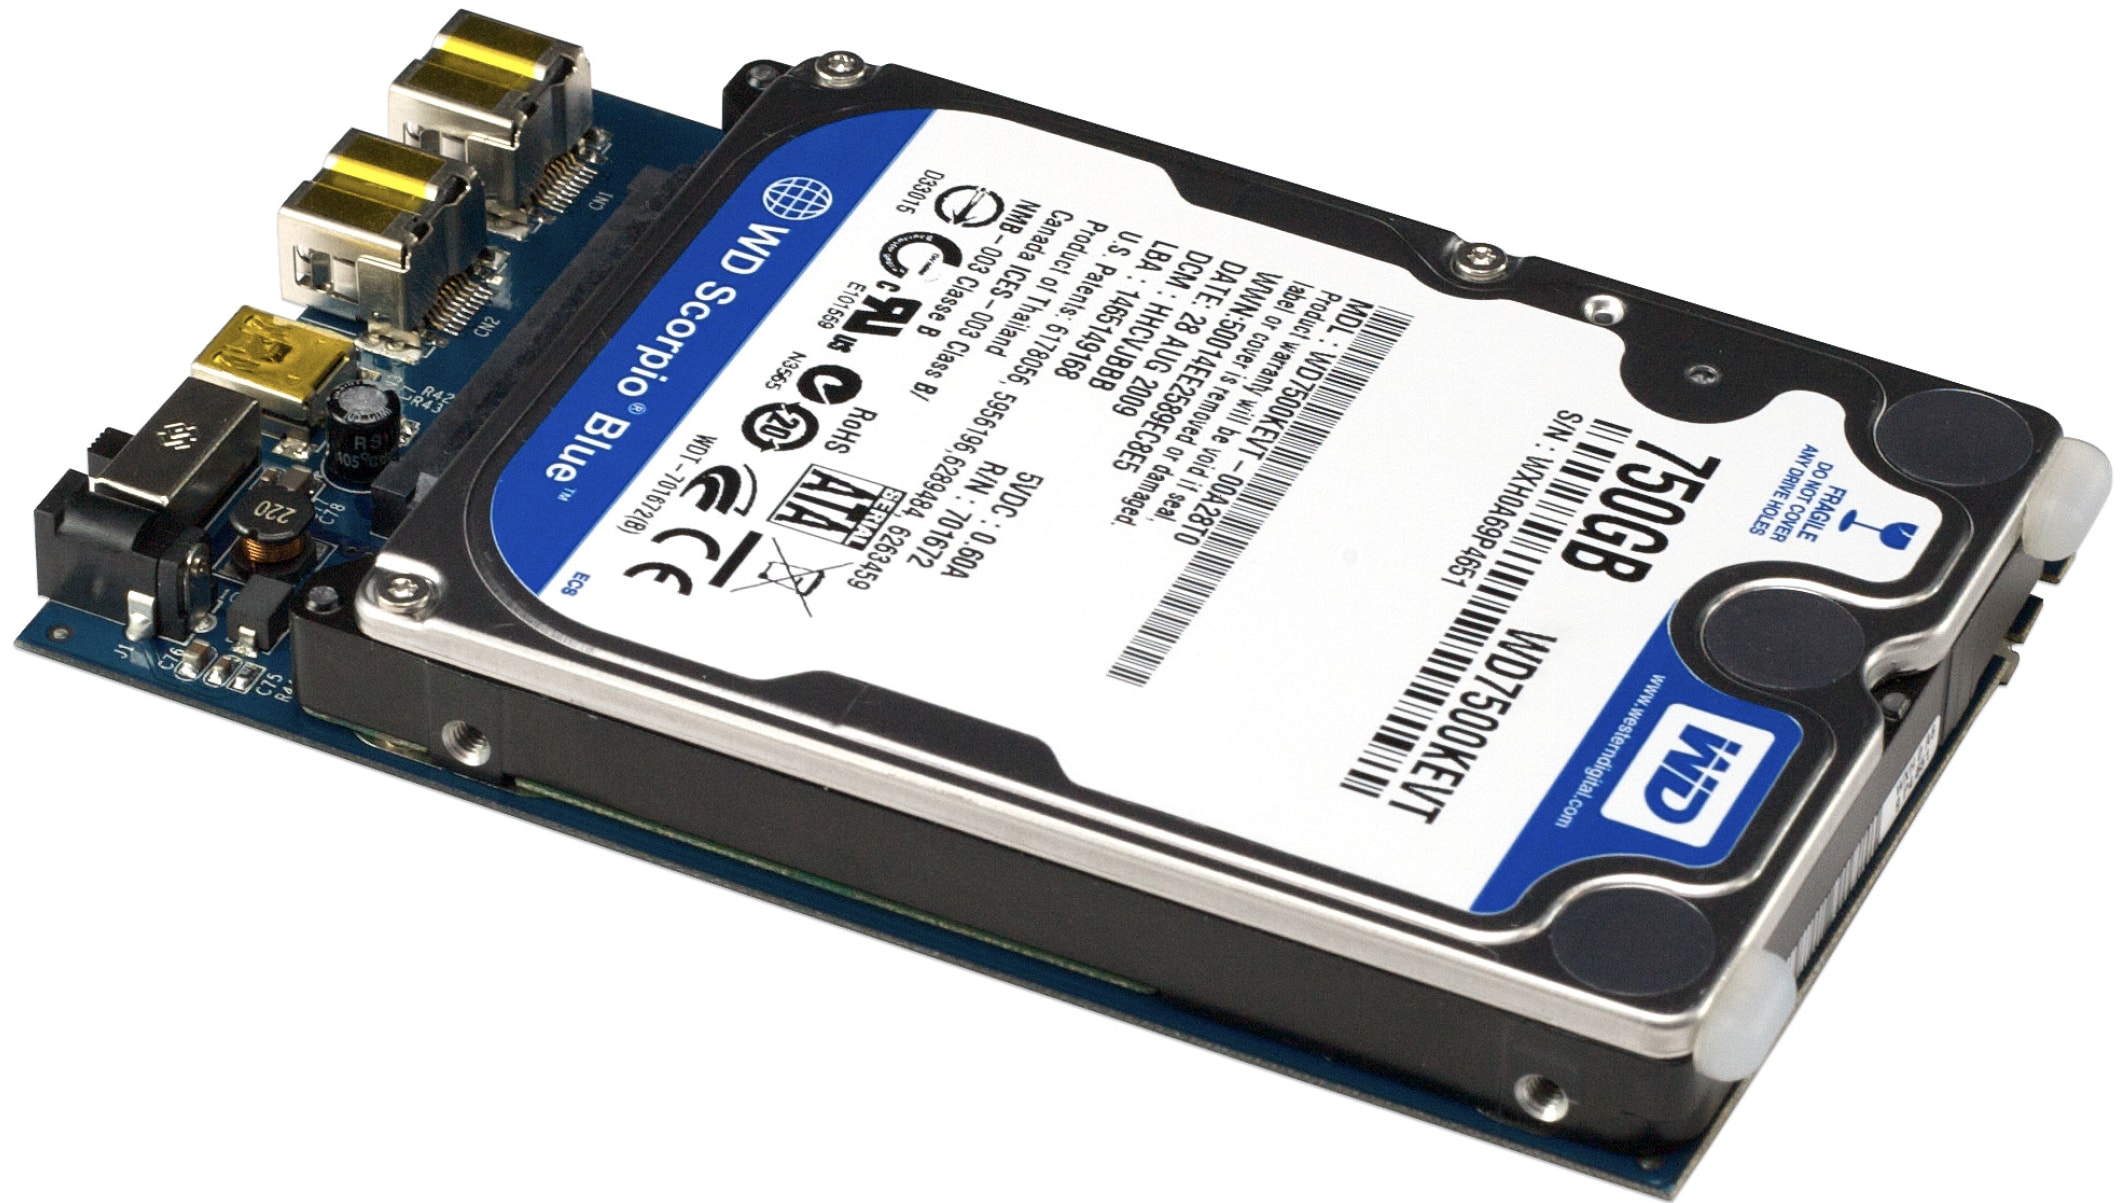
Insert the 12.5mm SATA Hard Drive on to the bridge card and onto the SATA connector on the bridge board, firmly seating the drive onto the connector. This is also explained on Page 7 of the full assembly guide.
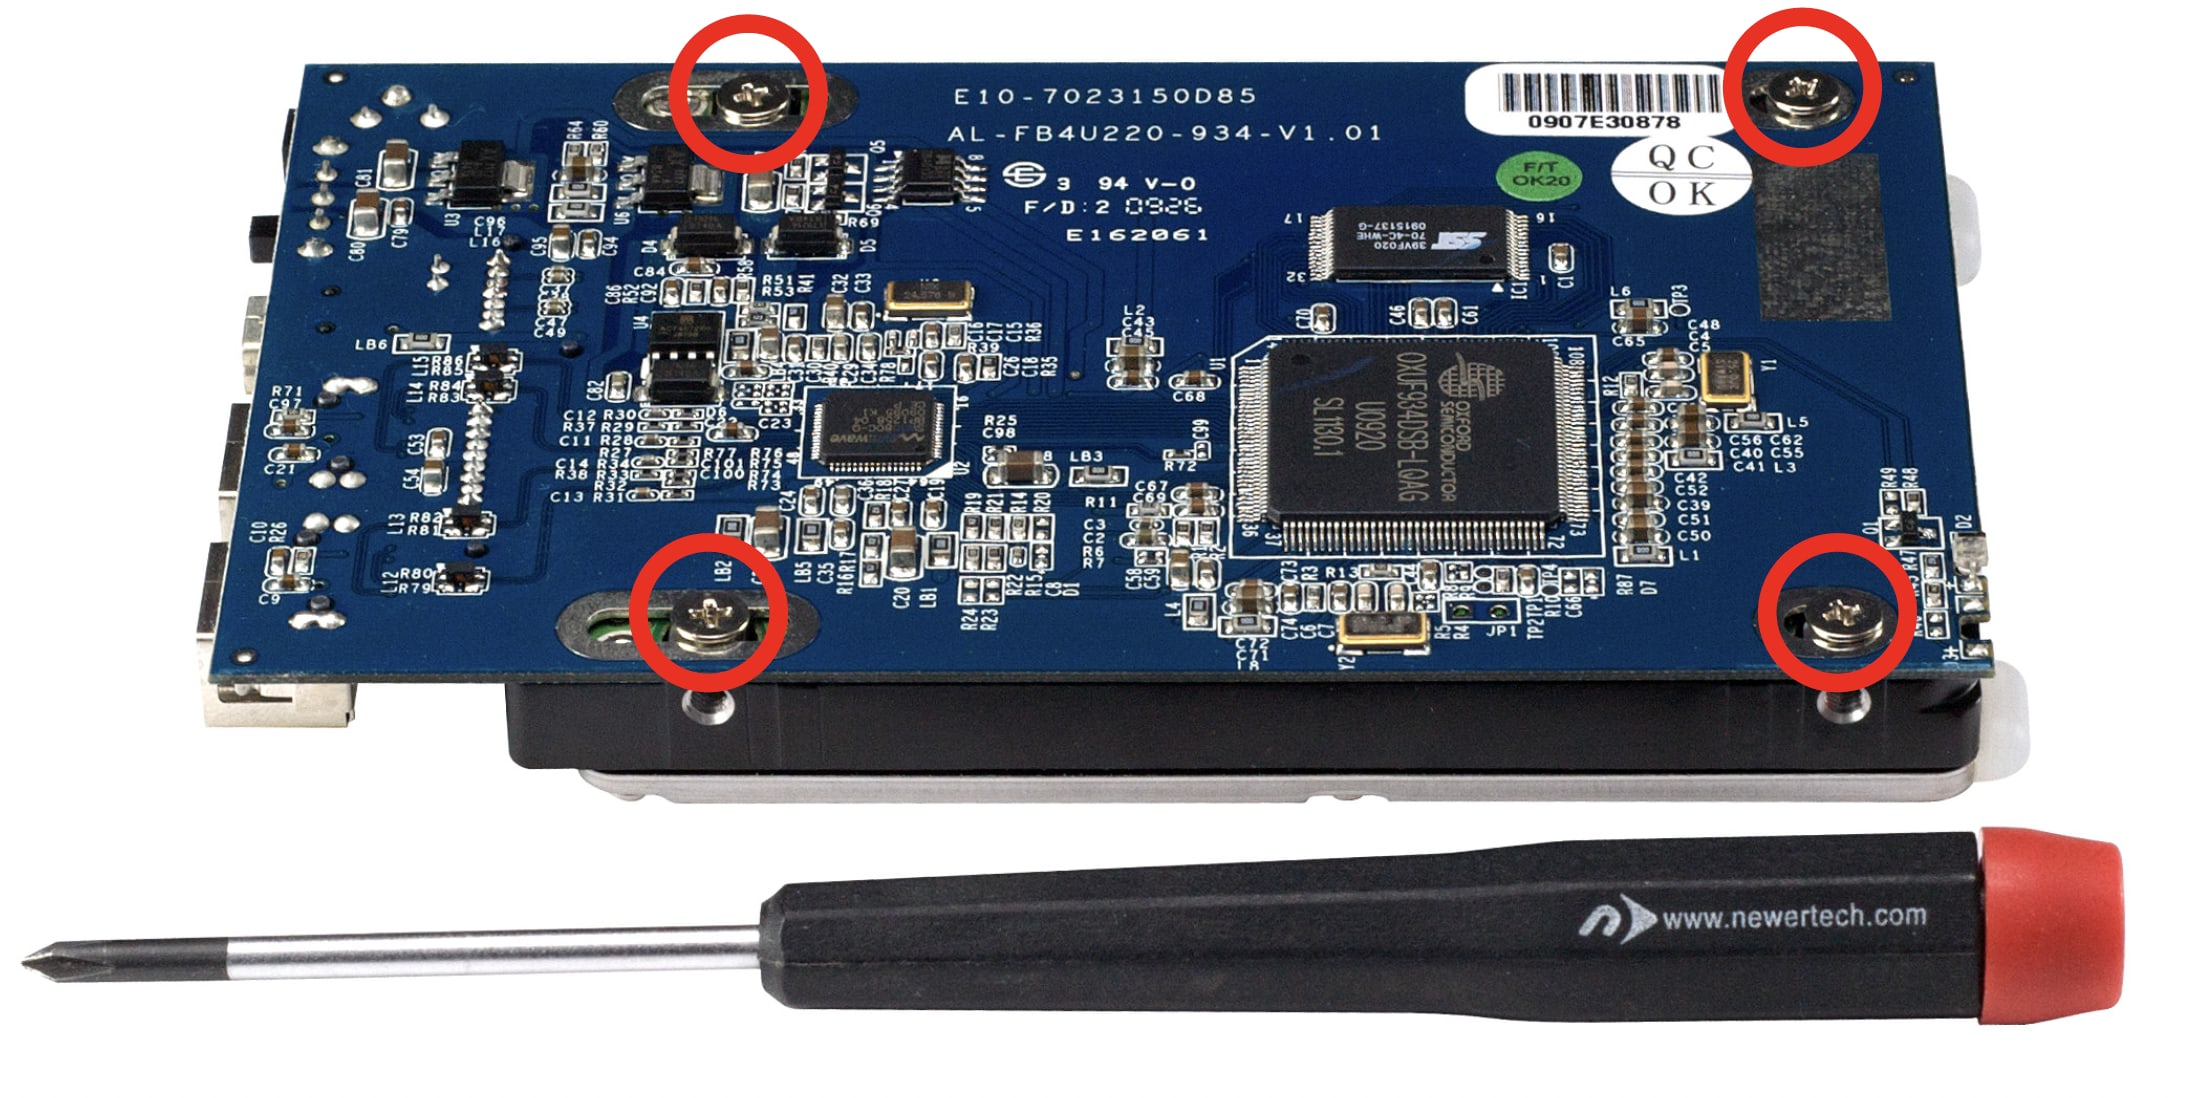
Using 4 of the included 3.5mm screws from the plastic bag, attach the hard drive securely to the bridge card through the bottom of the board.
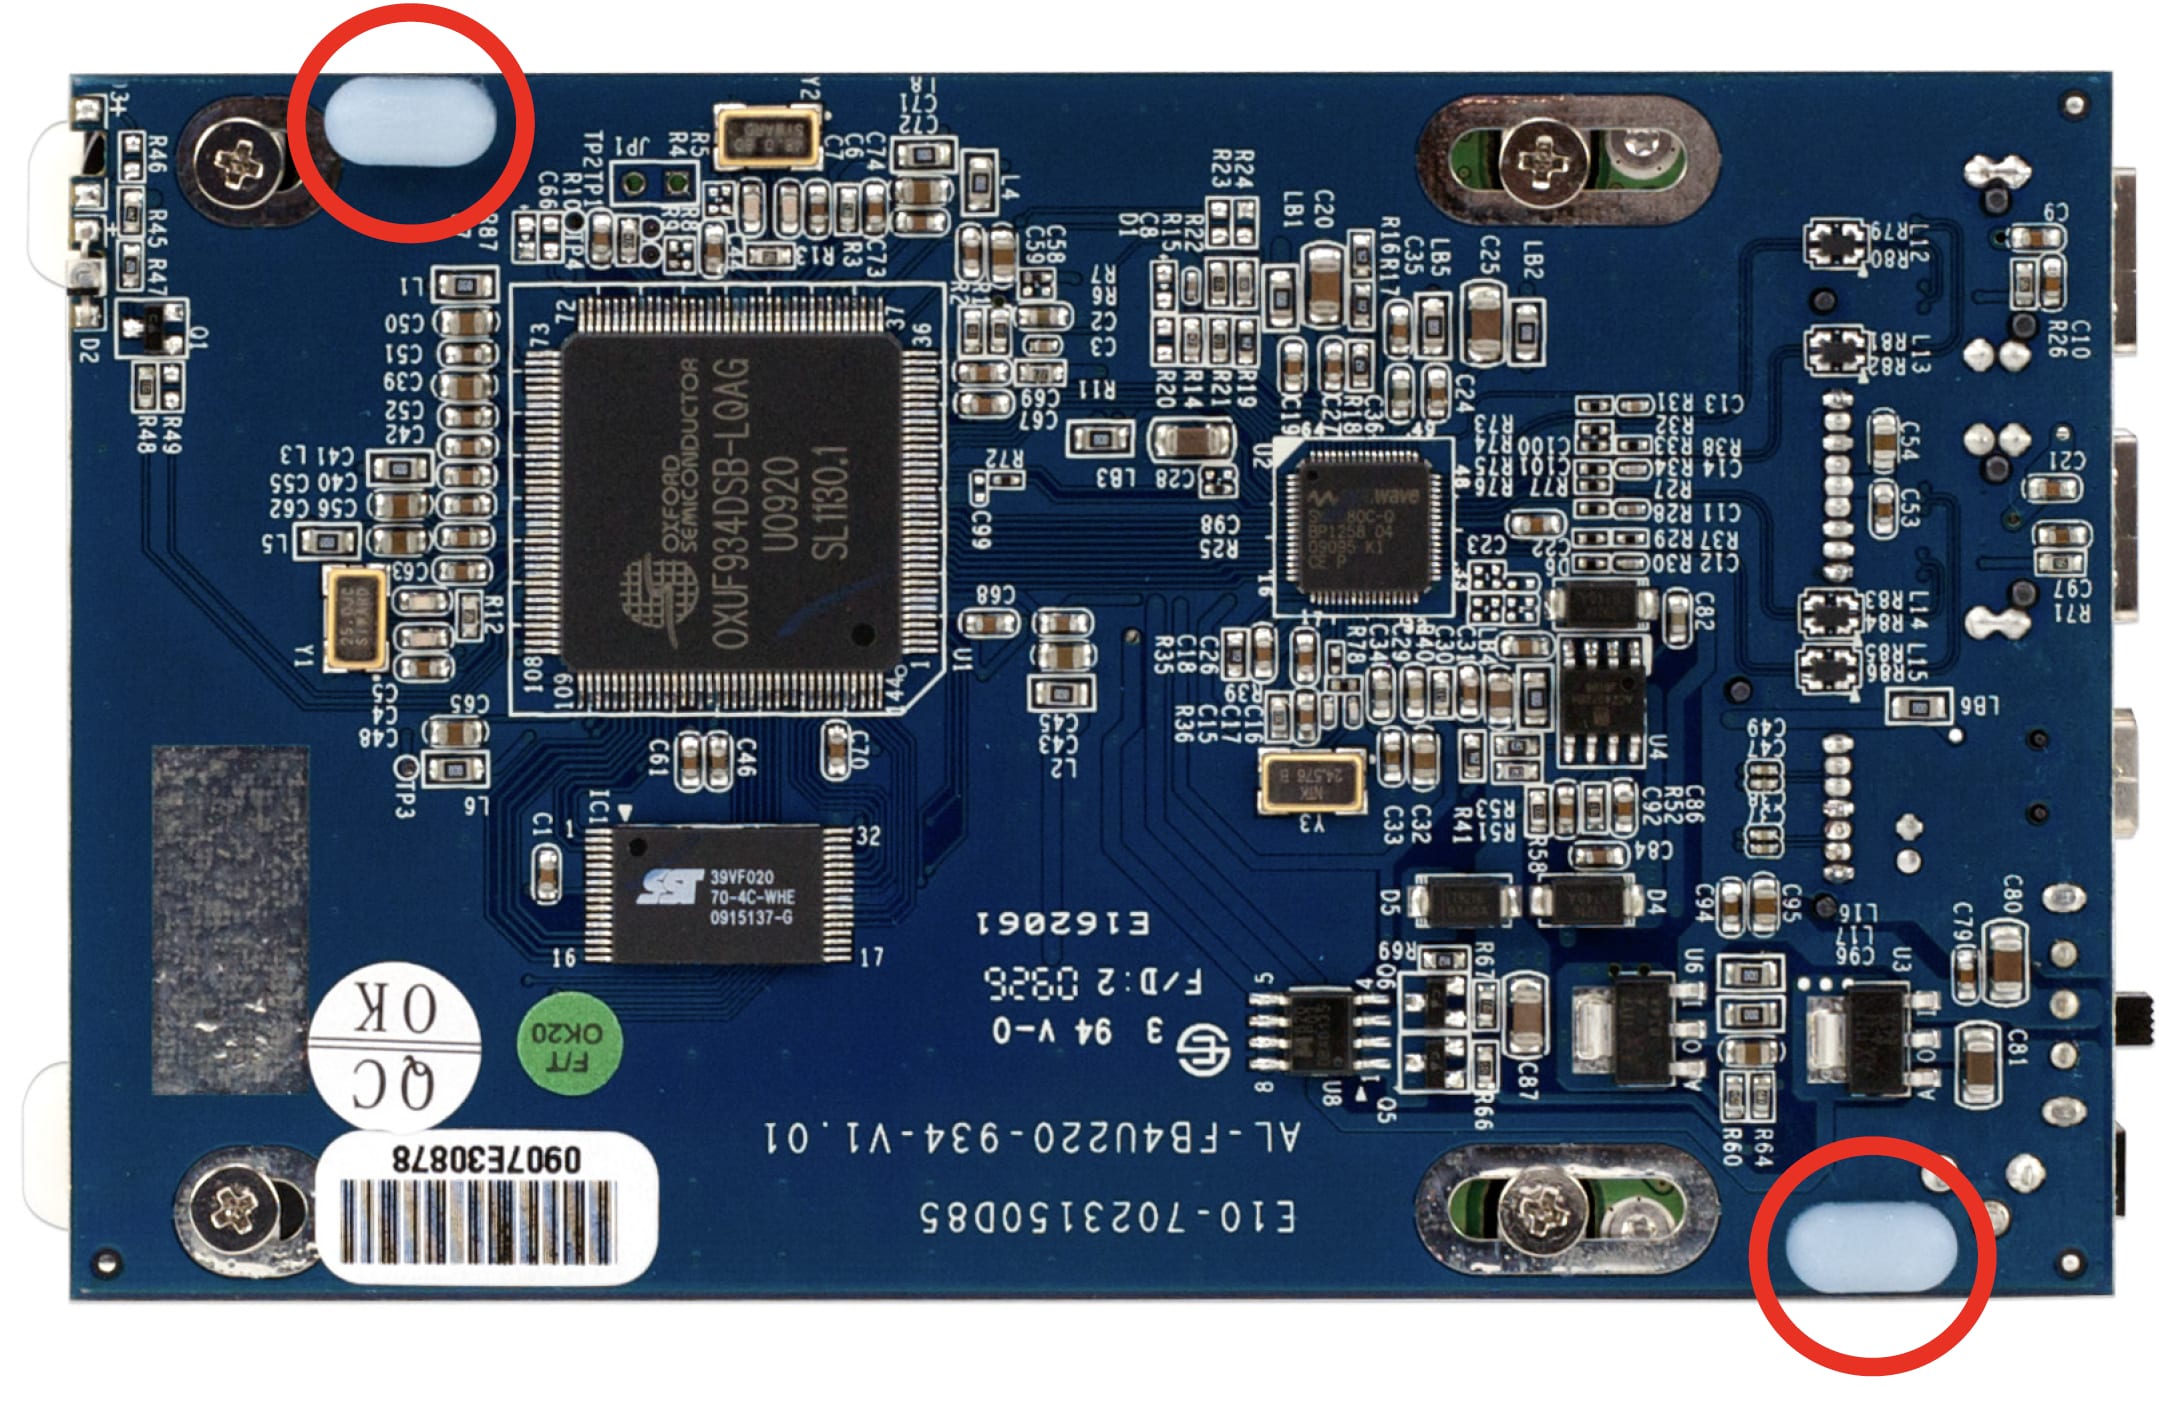
Using the remaining 2 silicone rubber feet, place them on opposite corners of the bottom of the bridge card as shown above. This will keep the bridge card from rattling in the aluminum heatsink when installed.
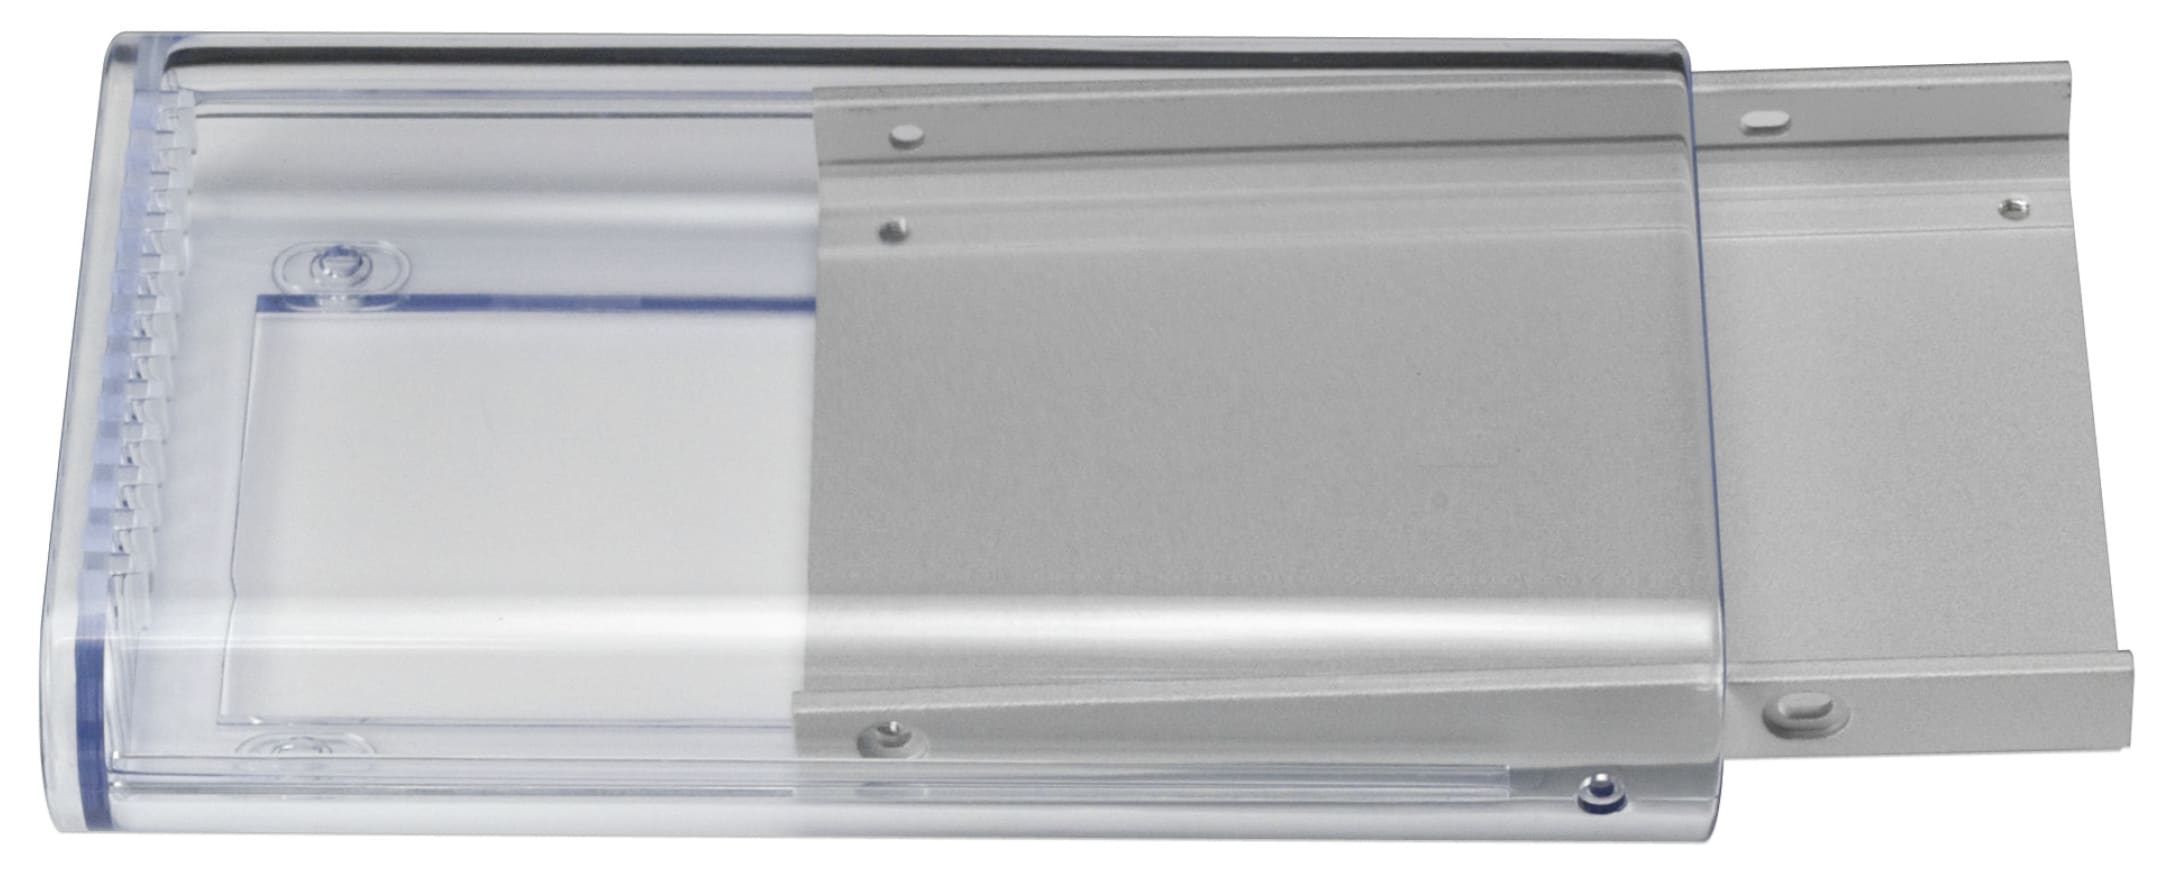
Gently insert the aluminum heatsink into the On-The-Go enclosure from the rear. Be sure to not scratch the inside of the case - the heatsink will mar the surface if you are not careful.
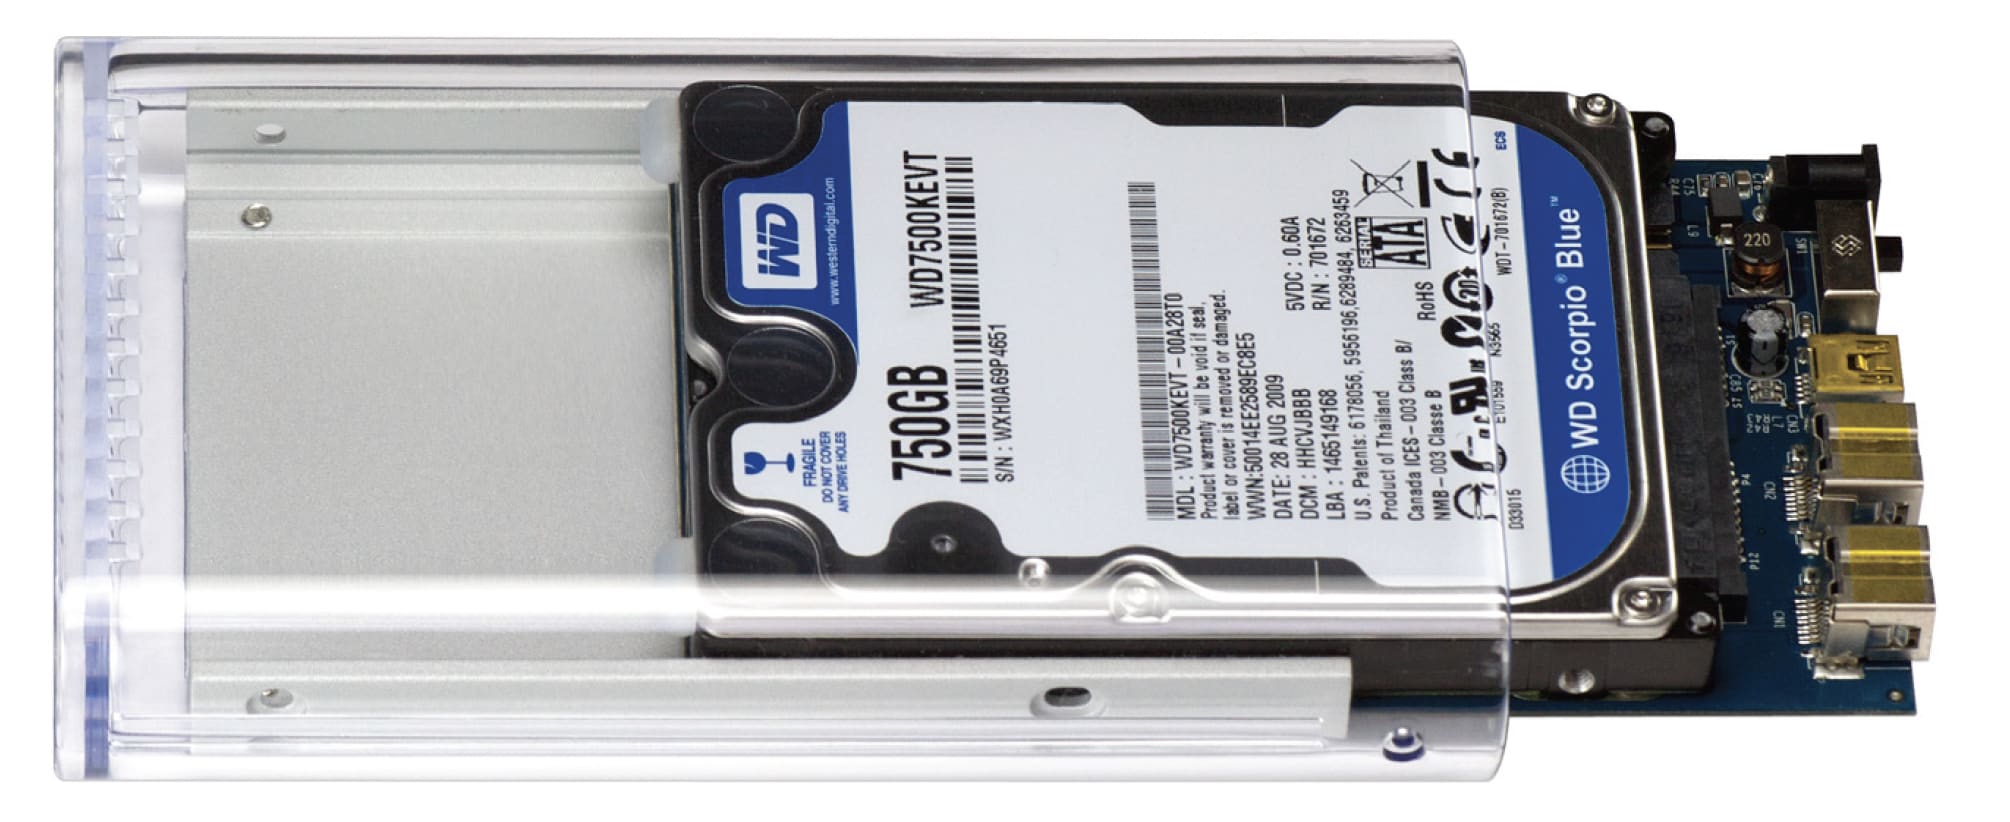
Slide the assembled bridge board with hard drive into the heatsink. Be very careful not to peel the silicone rubber feet off that you installed in step 6.
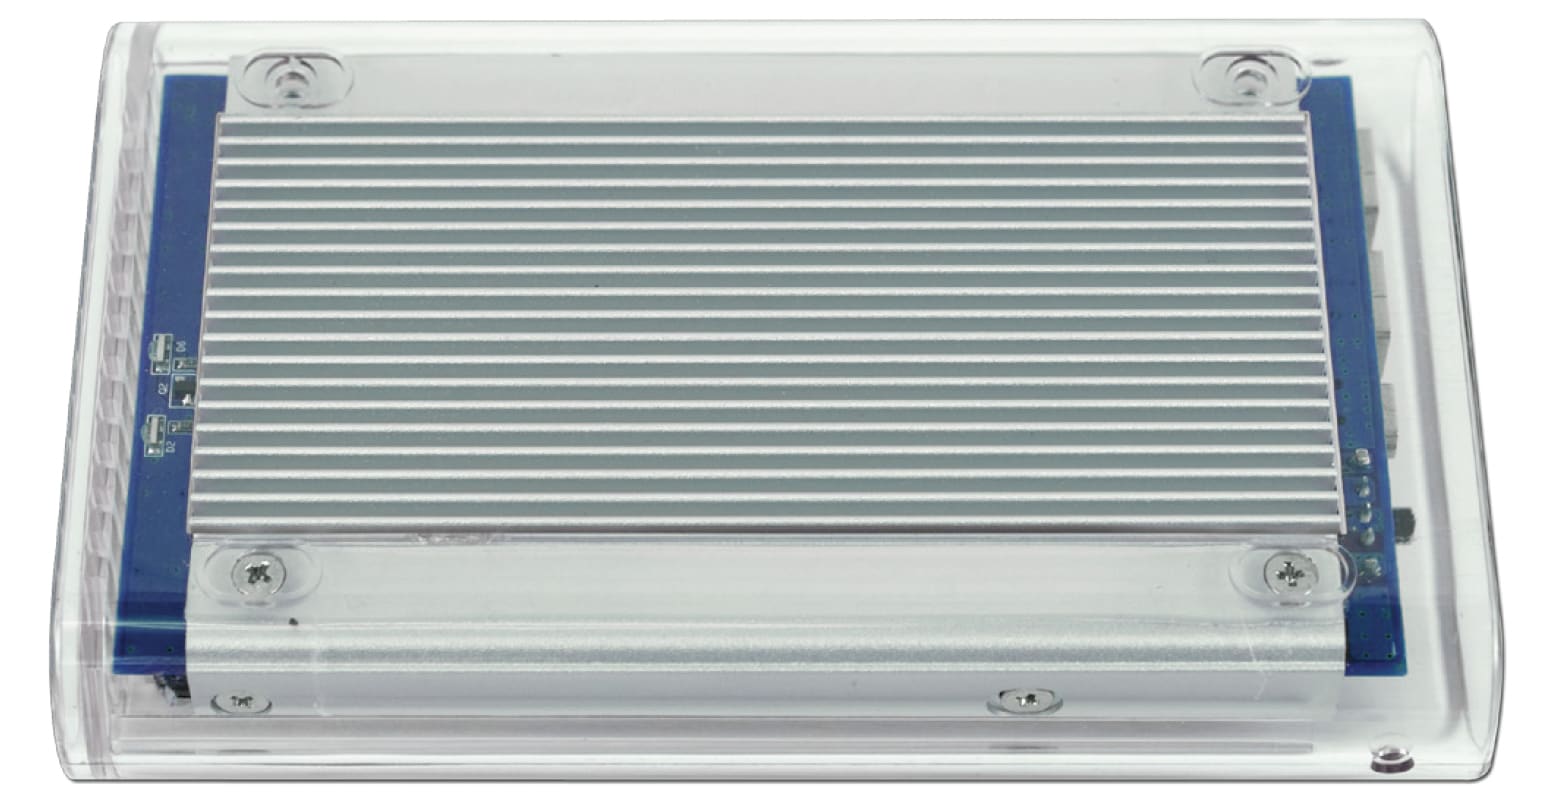
Insert 4 more 3.5mm screws into the bottom of the On-The-Go enclosure - you may need to put pressure on the bridge card to get all 4 screws to fully start. Then, turn to page 9 of the assembly guide to complete the installation.
Free Support Chat
Our free award-winning support team is ready to answer all of your questions. Technical support is available Monday - Friday: 9AM - 6PM. Customer Support & Sales is available Monday - Friday: 9AM - 6PM. Support is unavailable on U.S. Federal holidays. Talk to a human today.


 1-800-275-4576