 1-800-275-4576
OWC Jupiter Callisto: Memory Upgrade Installation
Support Article
Details
- The Jupiter Callisto memory is upgradable. 256GB OWC Memory Upgrade Kit | 512GB OWC Memory Upgrade Kit memory upgrades are available.
- Use the following instructions to remove and install memory modules.
Instructions
Removing Memory Modules
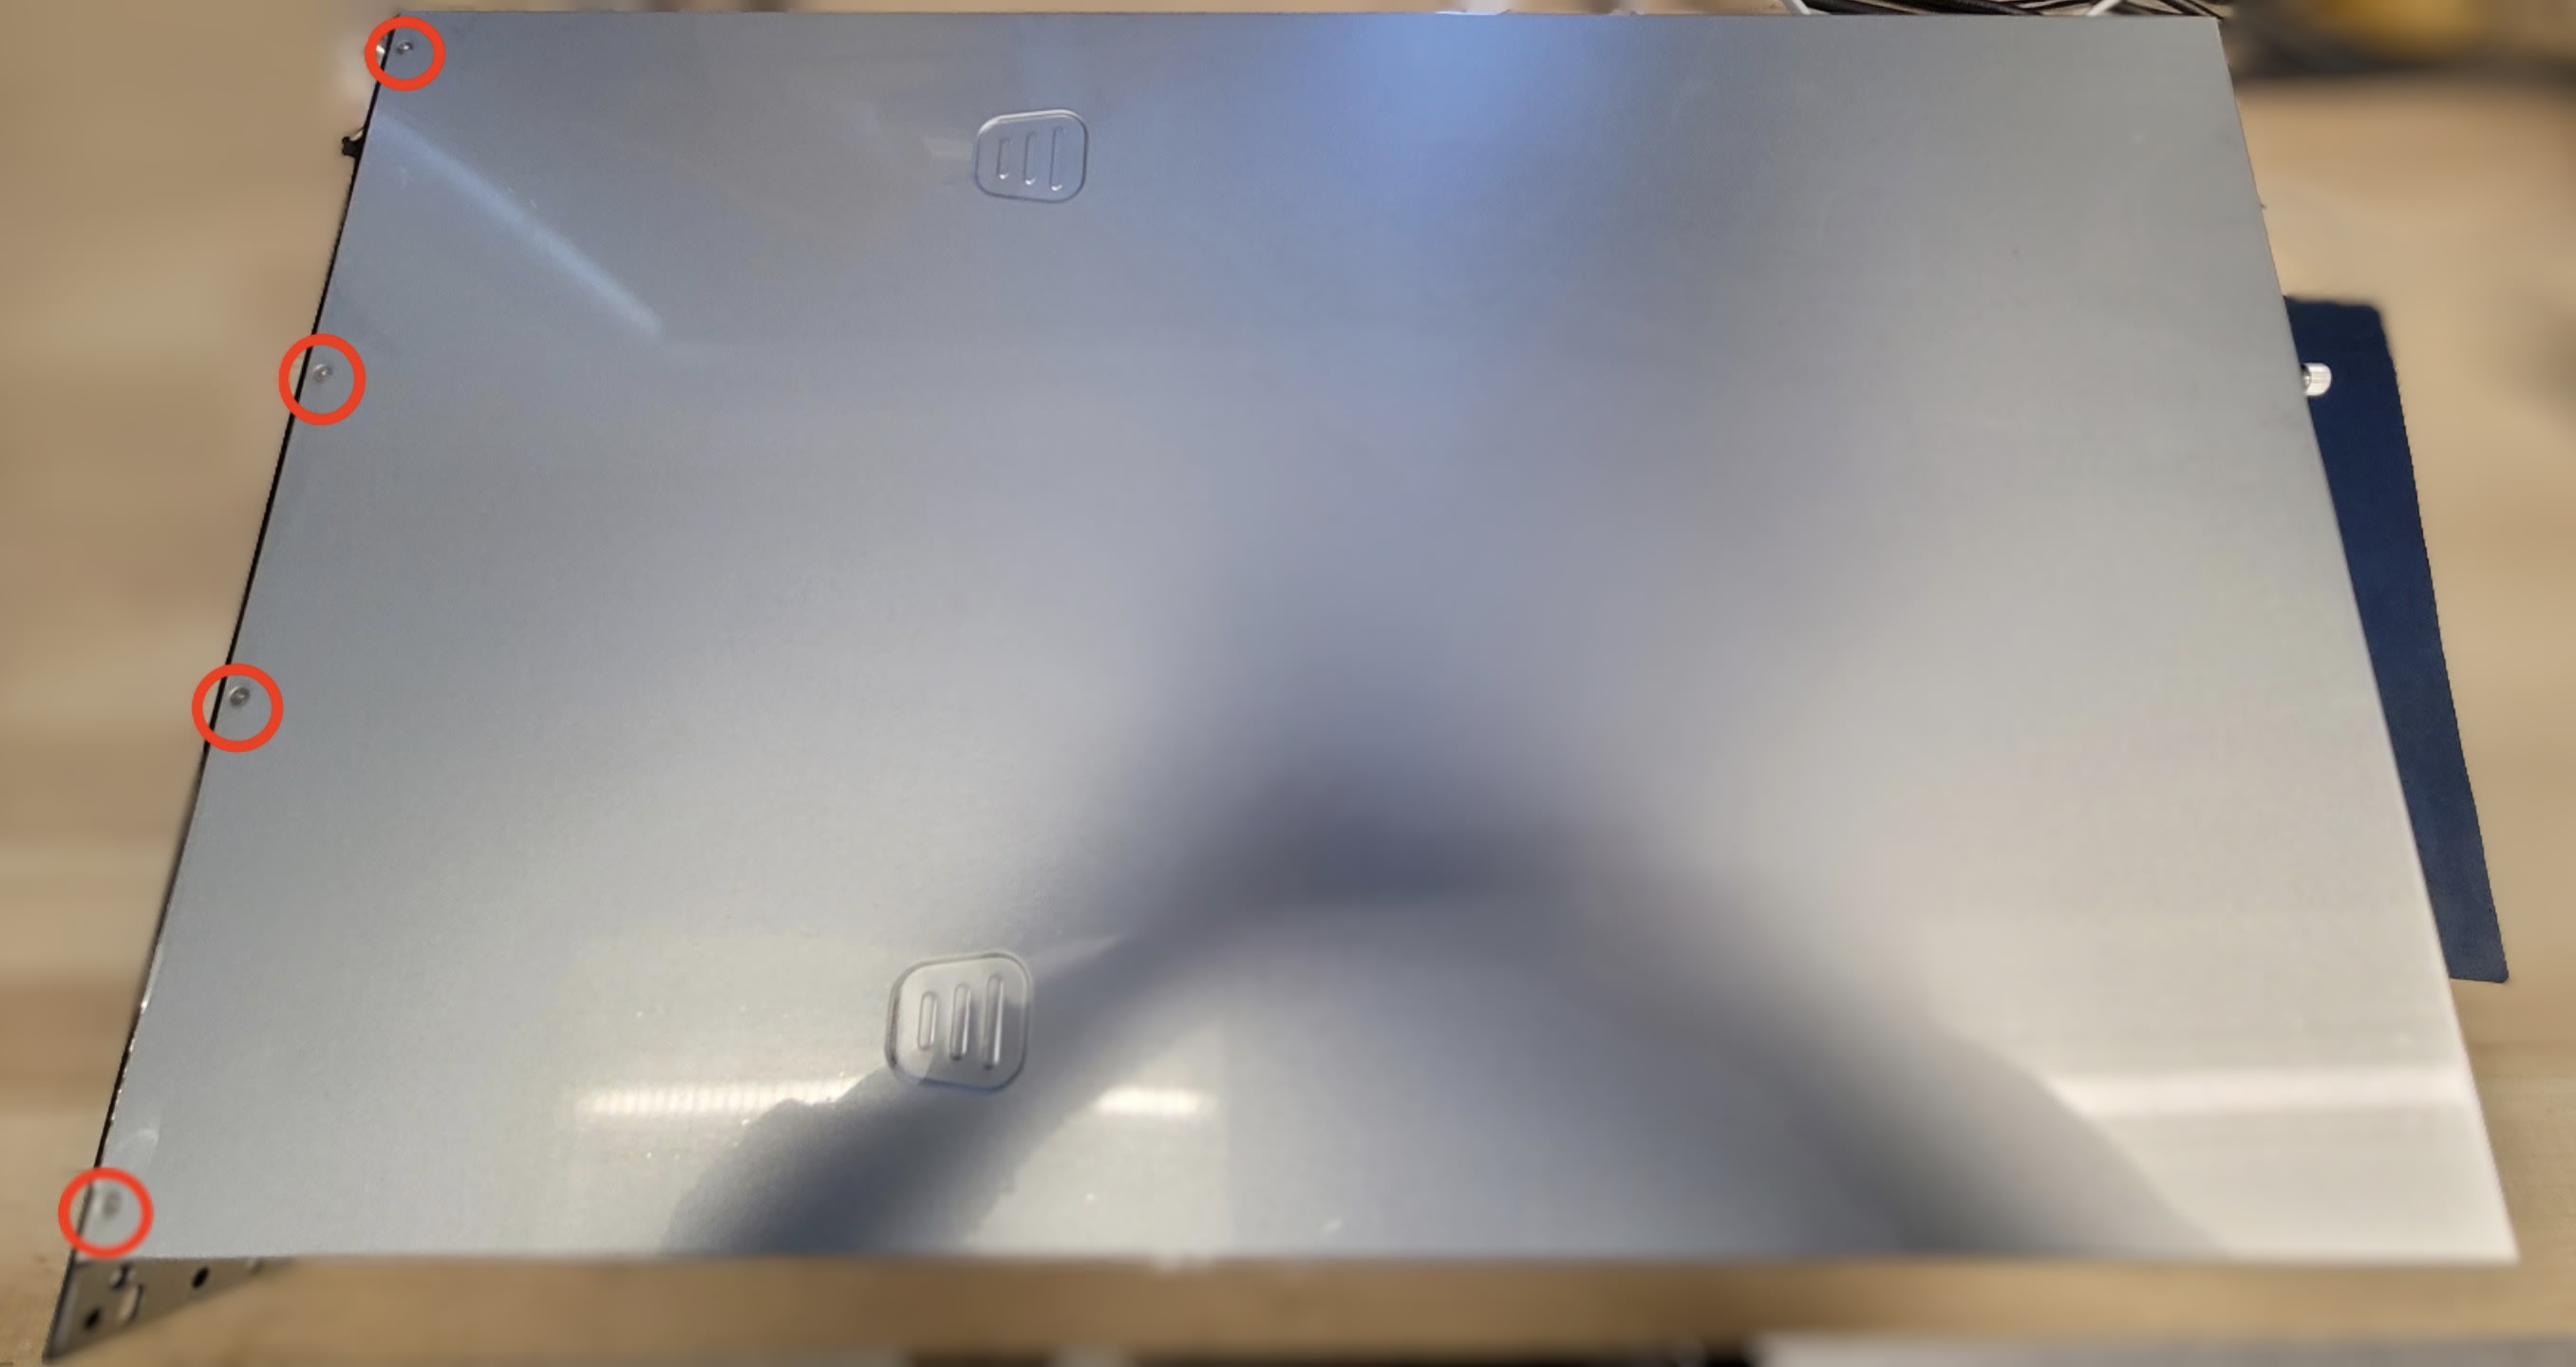
1. Remove the Jupiter Callisto cover by loosening (6) screws found on the top and around the edge of the chassis.
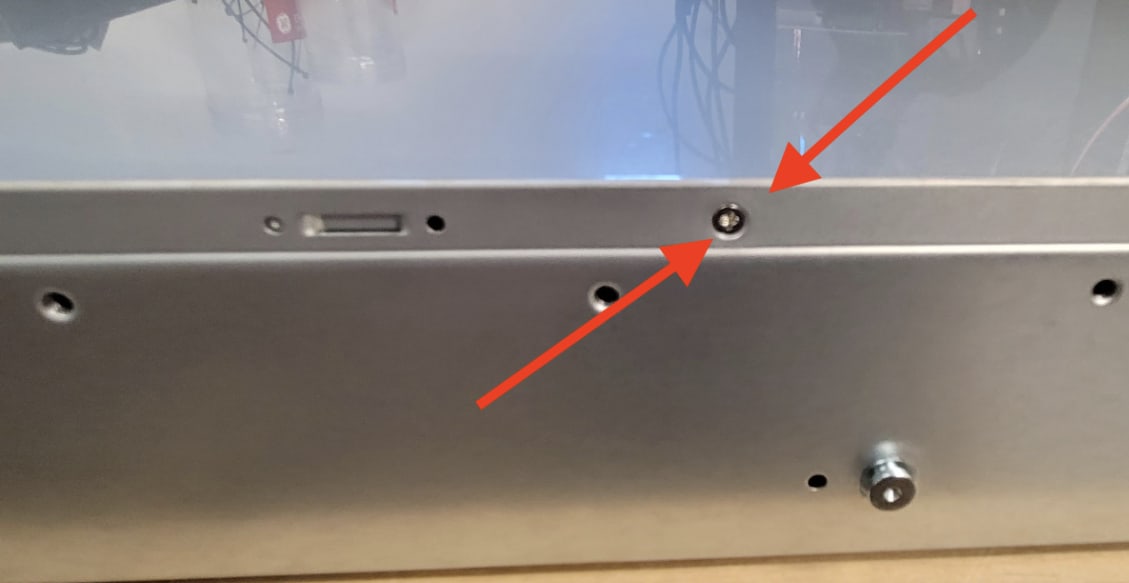
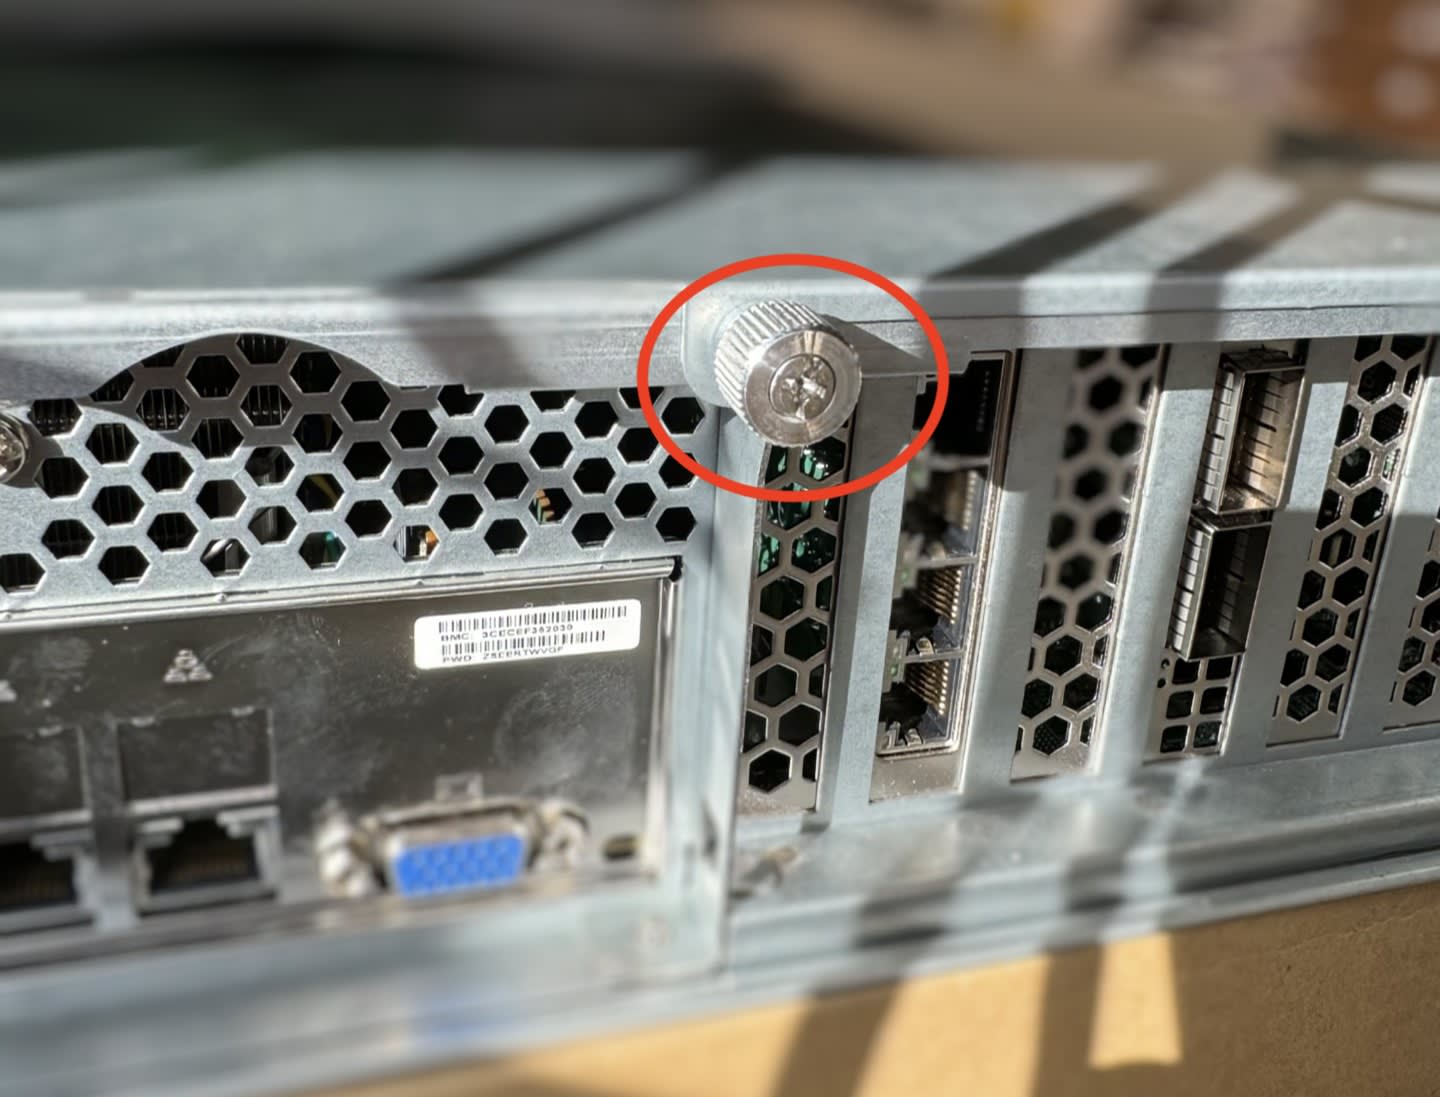
2. Loosen and remove the thumbscrew located on the back of the Jupiter Callisto.
3. Press and slide the cover towards the back of the Jupiter Callisto then lift off the cover.
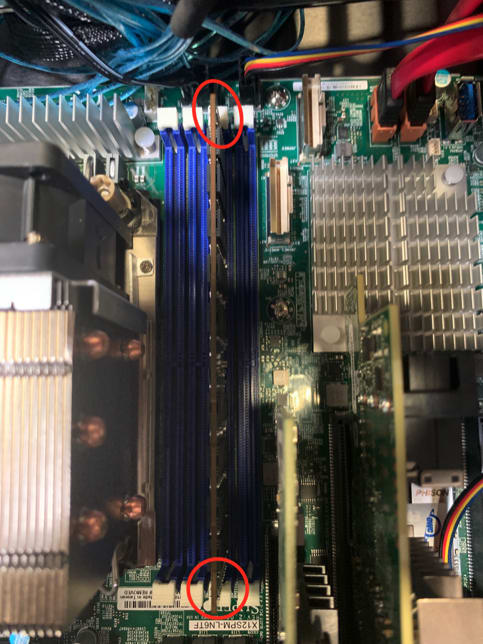
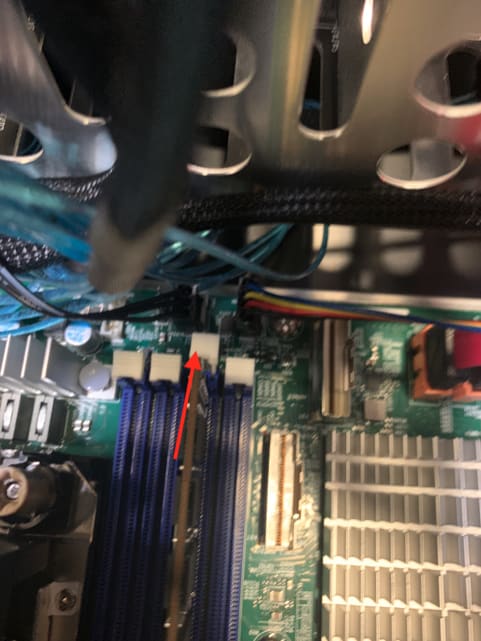
4. Locate the memory modules
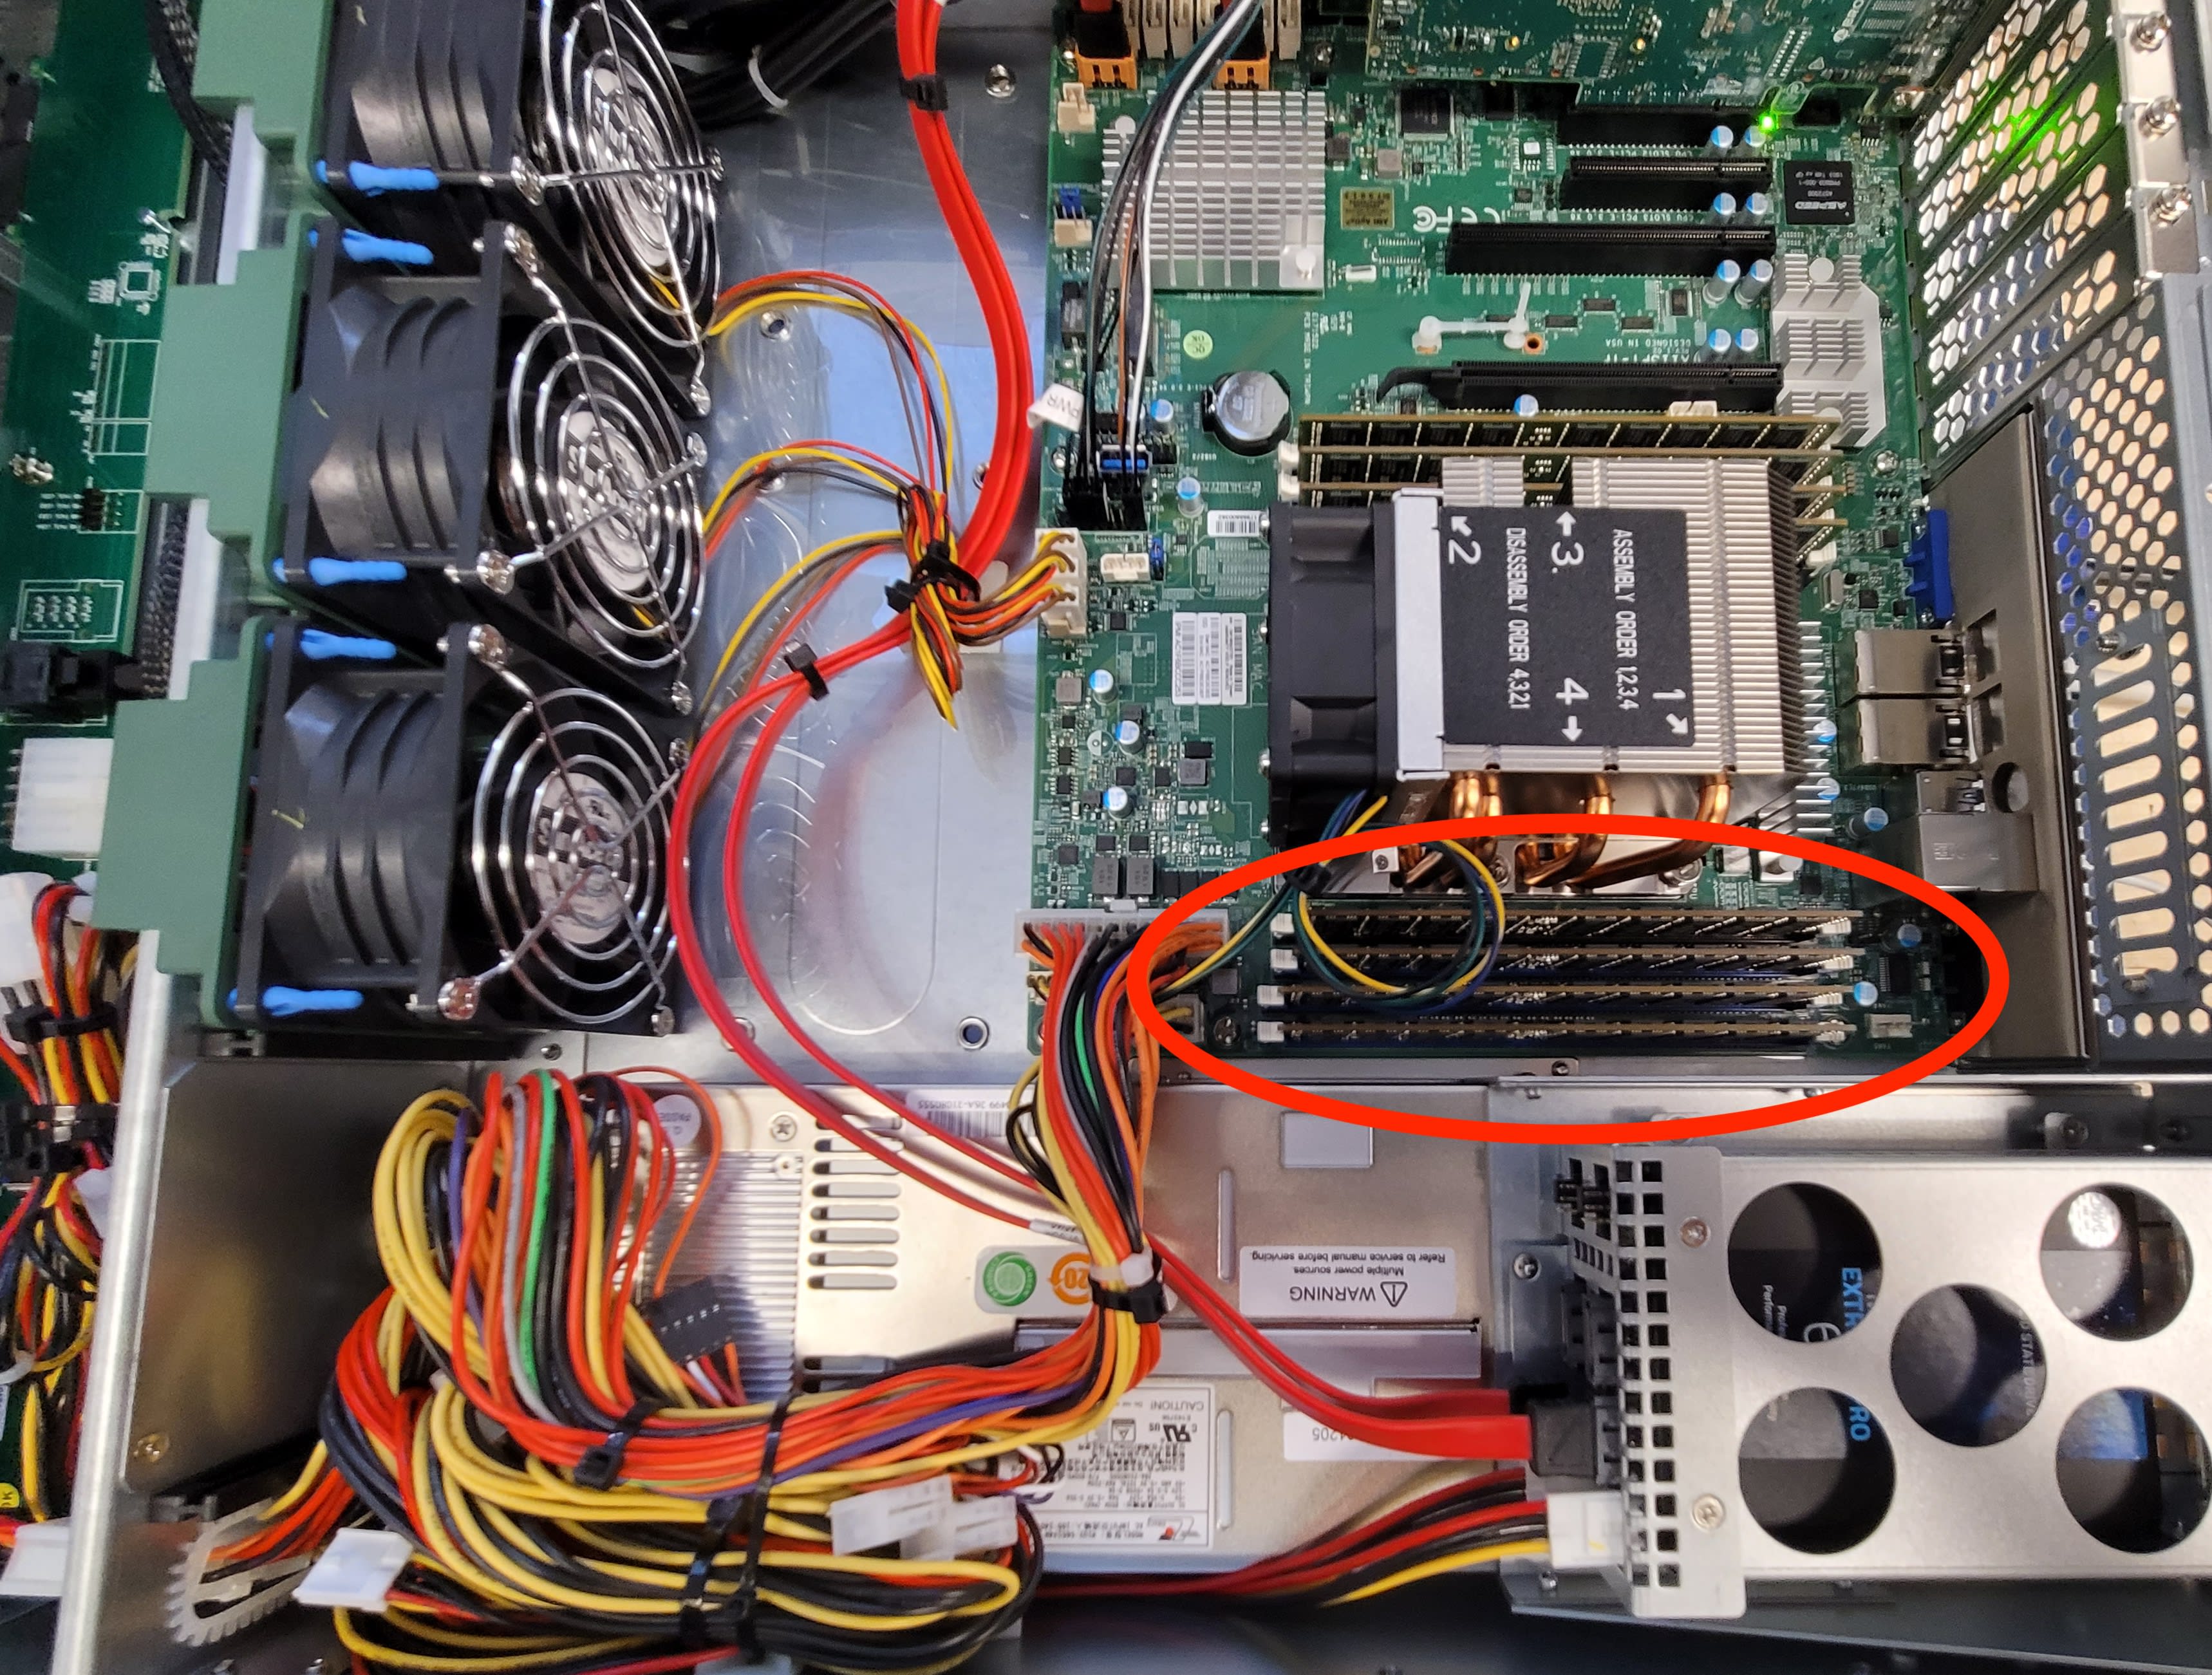
5. Press down on the side locking clips. The memory module will move upwards and be released.
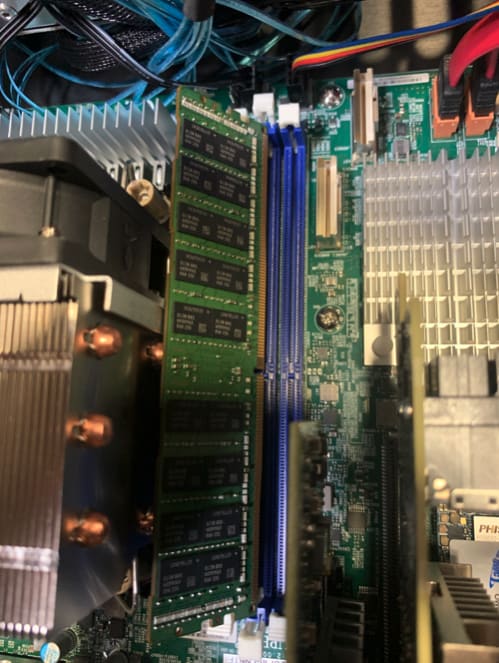
6. Carefully lift and remove the memory module from the Jupiter Callisto
Installing Memory Modules
1. Line the new memory module with the memory slot. Ensure the module notch lines up with the slot notch. The pin contacts on the memory module should line up with the memory slot.
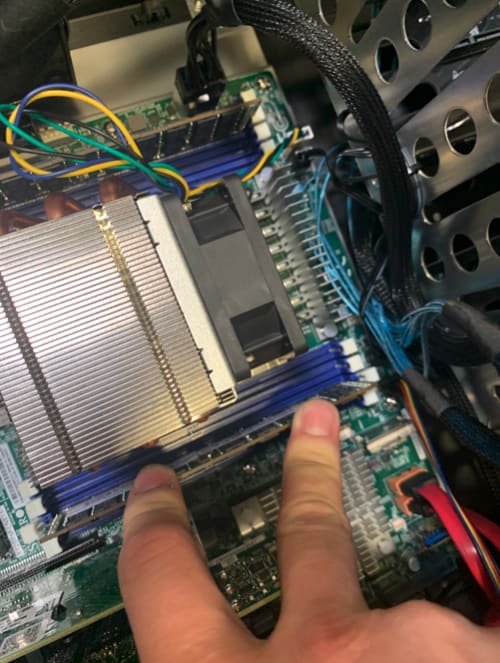
2. Press down evenly on the memory module until a click noise occurs. The side locking clips on either side of the memory module will click in place securing the memory module.
NOTE: Do not force the memory module if resistance is felt. Ensure the module notch lines up with the slot notch.
3. Place the cover back on the Jupiter Callisto. Slide the cover towards the front. Secure the cover using the thumbscrew and (6) screws removed earlier.
Free Support Chat
Our free award-winning support team is ready to answer all of your questions. Technical support is available Monday - Friday: 9AM - 6PM. Customer Support & Sales is available Monday - Friday: 9AM - 6PM. Support is unavailable on U.S. Federal holidays. Talk to a human today.