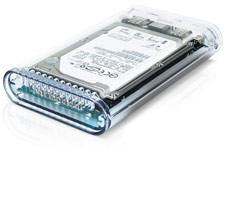
Installation of your hard drive mechanism is an easy process, please use this guide to help get you up and running quickly!
This manual covers installation of the drive mechanism in the following OWC Mercury products:
1. Unpackage

Your contents should include:
- 2.5" Case kit shell
- 2.5" PCB Board (green blue circuit board)
- 1 package of screws
- 1 package of stick on feet
- 110v AC adapter
- FireWire Cable and USB Cable (depending on case ordered)
- Leather carrying case
You will need the following to complete assembly of this hard drive case:
- Philips Screwdriver – #1 size bit preferred
2. Insert HD Mechanism
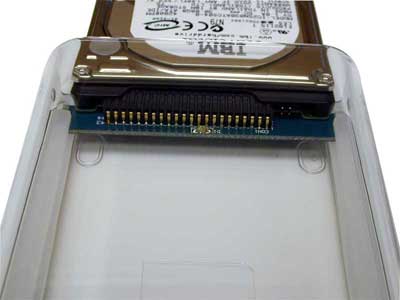
Start by placing the HD mechanism on the PCB board as shown. Line up the pins - the end 4 pins will not be needed and not attached.
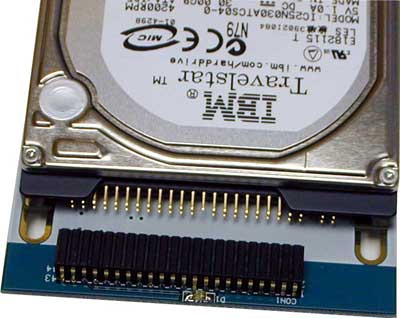
Fully seat the HD mechanism on the edge connector as shown.
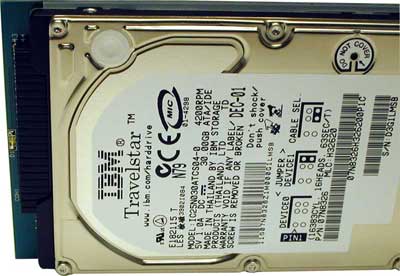
3. Attach HD Mechanism
Once the HD mechanism is fully seated into the edge connector, turn the PCB board over and locate the 4 screw holes to attach the mechanism to the board.
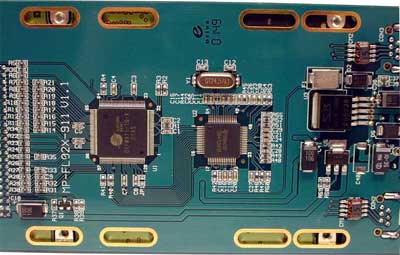
Insert the 4 included screws to attach the mechanism as shown. Do not overtighten!
4. Insert PCB assembly
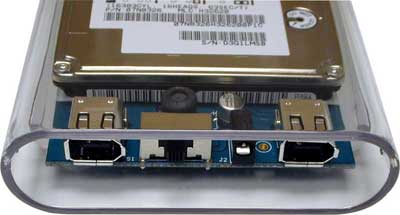
Insert the PCB board / HD mechanism into the enclosure as shown. The side rails are made of silicone rubber and once inserted, it is difficult to remove. There are grooves that the PCB board will ride on and guide itself into the case.
Fully insert the board assembly as shown.
5. Insert endcap
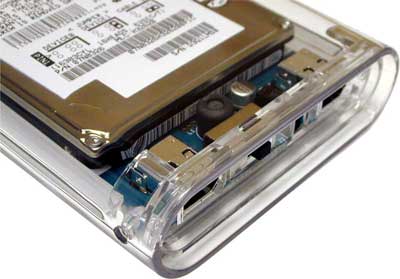
Insert the endcap as shown. You will know that it is fully seated when the screw holes on the sides line up with the holes in the endcap.
6. Attach endcap
Insert screws into endcap as shown - use the 2 small pointed screws included in the kit.
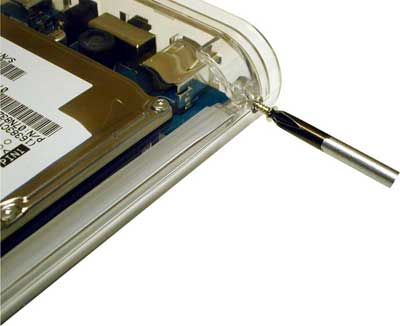
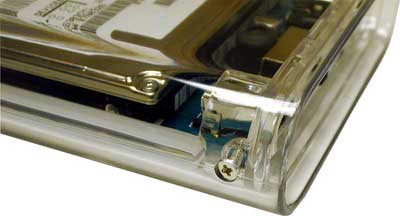
Fully insert the screws as shown. They will recess into the plastic a small amount.
7. Attach feet
Attach the 4 feet to the bottom of the case
8. About the power selector button
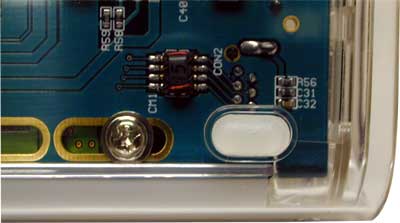
To use bus power (no 110v wall plug), move the selector switch to the LEFT, towards the FireWire port. To use 110v wall power, move the selector switch to the RIGHT, towards the round power jack. The middle position is off.

Please note - if you have a FireWire/USB combination case, the power switch is different, it is a 2 position On/Off switch ONLY. There is no middle position, to select FireWire bus powered use, flip the switch toward the FireWire port. To select A/C power, flip the switch toward the power port. There is no parking or "off" position with this case.
9. Drive formatting / Setup
For information about formatting your drive view our
Drive formatting / Setup Guide
1-800-275-4576


