With each new version of the Mac OS come new tips and tricks hidden away in the operating system. While new discoveries are fun to find and share with Rocket Yard readers, it’s also fun to rediscover tips for past versions of the OS for features that are still available.
All of our tips are from older versions of OS X; we verified that they’re still functional with macOS, although in some cases, there’s been a slight change or two, which we note.
If you’re ready for this trip into the past, let’s get started.
Add Your Signature to Documents
It used to be a bit cumbersome to add a digital signature to a Mac document, at least until 2011, when OS X Lion first appeared. Along with Lion came an updated Preview app that included the ability to create, manage, and apply signatures to PDF documents.
The signature management system in Preview hasn’t changed too much, though some of the tools have been moved about. Originally, the signature creation function was part of the Preview preferences, but it now resides within the toolbar, as well as the menus.
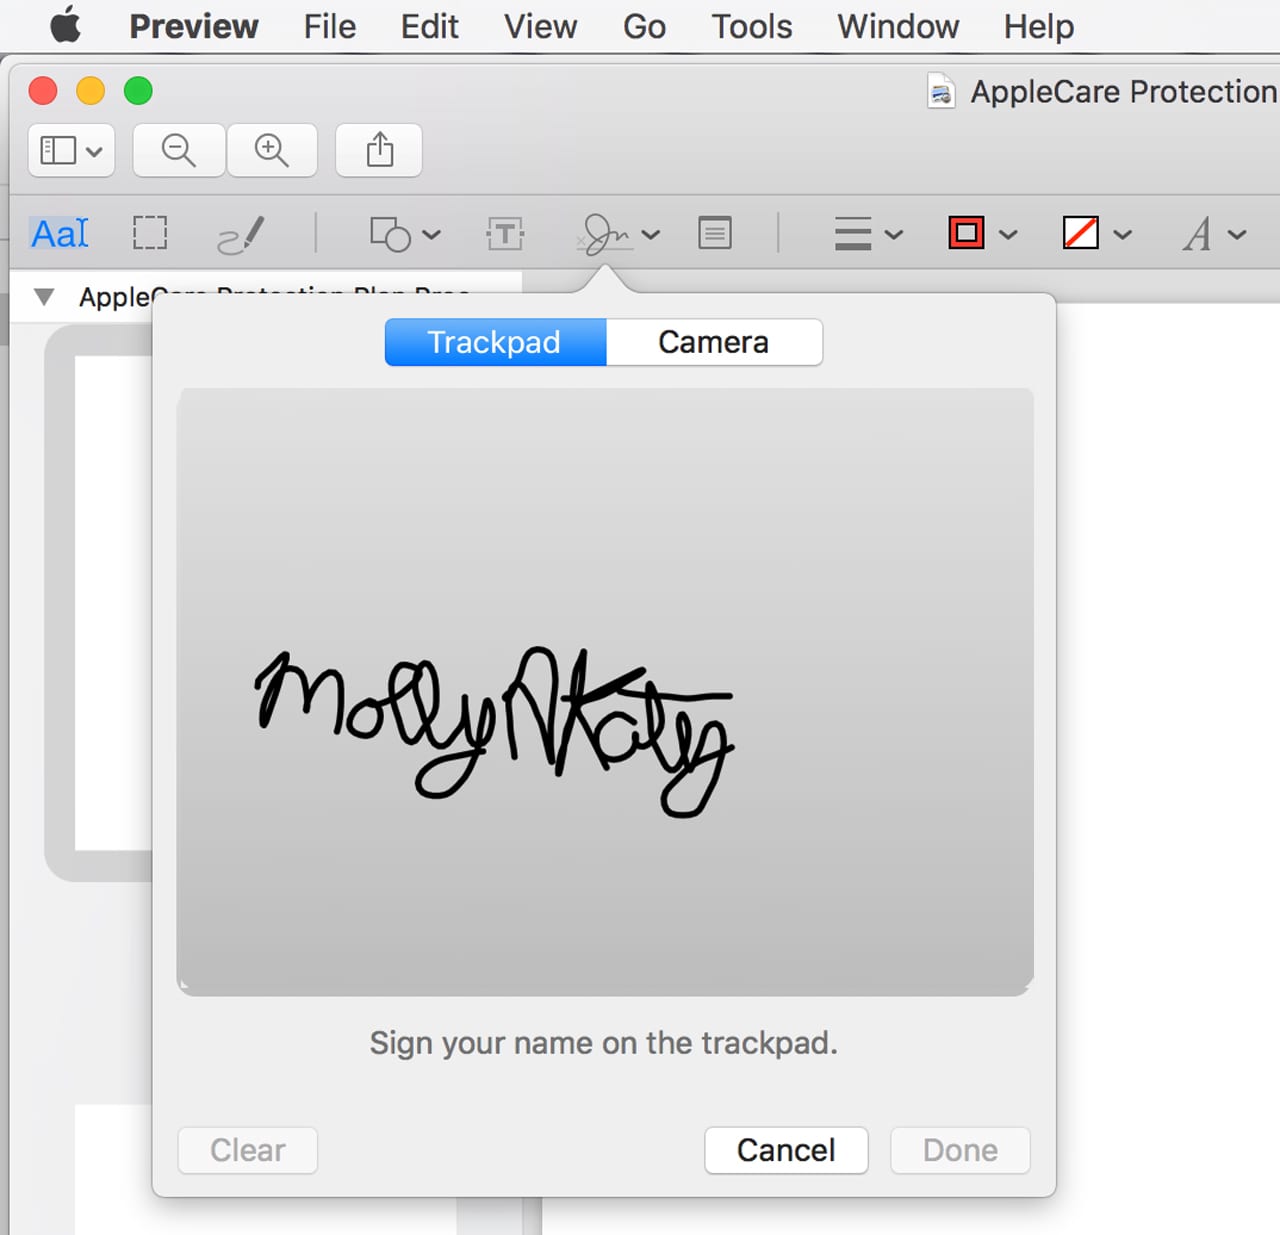
You can create signatures by using your Mac’s built-in iSight camera to “scan” your signature on an existing paper document. You can also use your Mac’s trackpad to sign your signature with your fingertip, or better yet, an Apple Pencil, or any capacitive stylus, for that matter.
Launch the Preview app included with your Mac.
Open any PDF file.
From the Tools menu, select Annotate, Signatures, Manage Signatures.
Click the Create Signature button.
Preview will display a signature window with two tabs, labeled Trackpad and Camera. Select the tab for the method you wish to use.
Camera – Write your signature on white paper, and then hold the paper up to your camera. You’ll notice a faint horizontal blue line in the image. Align your signature so that it sits on the top of the line. For best results, move the paper close to the camera and hold the paper still. Your signature will appear in the Capture window. If you’re satisfied with the signature, click the Done button; otherwise, click Clear, and try again.
Trackpad – Click the ‘Click Here to Begin’ text, then using your finger or a stylus, write your name on the trackpad. When complete, press any key on your keyboard. Click Done to accept the signature, or Clear to try again.
Deleting a Signature: You can remove a signature you created by opening a PDF file in Preview, and then selecting the Markup Toolbox icon from the toolbar.
The Annotation bar will be displayed.
Select the Signature button.
All of the signatures you’ve created will be displayed. Hover the cursor over the signature you wish to remove, and then click the X that appears.
Using a Signature: From the Annotation toolbar, click the Signature button.
Click the signature you wish to use; it will appear on your document. Drag the signature to where you want to use it; you can resize it to fit the available space.
Adjust Your Mac’s Volume in Smaller Steps
If you use your Mac’s keyboard to adjust the volume, you may discover that one step up or down can be too much of a change; it either becomes too loud too quickly, or mutes the volume too soon.
One of our favorite tips, which has been available at least since OS X Snow Leopard, is a way to adjust the volume in quarter-step increments. This gives you much finer control, and protects your ears from being blasted by sudden changes.
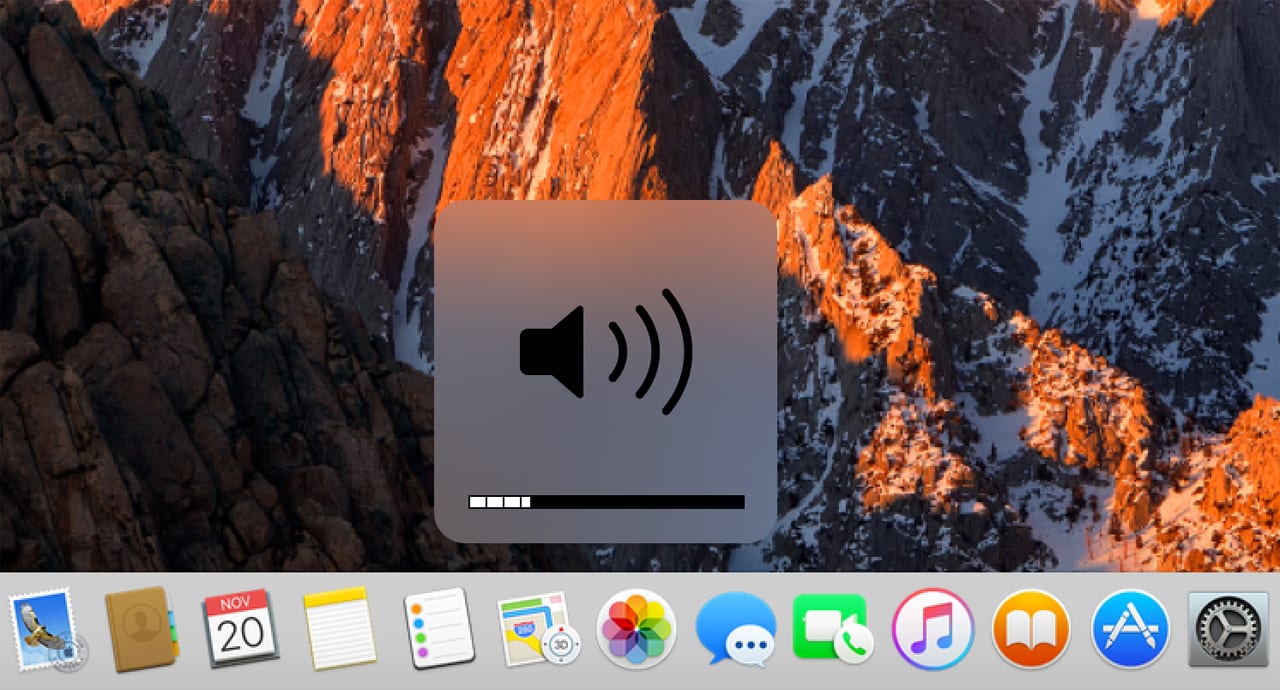
The next time you want to adjust the volume, hold down the shift and option keys, and then click the keyboard’s volume up or down keys. As long as you hold down the two modifier keys, each click of the volume up or down will only move the volume in quarter-step increments.
Bonus tip: If you hold down just the shift key while changing the volume from the keyboard, you won’t hear those annoying “pop, pop, pop” sounds as you move through the volume range.
Change Audio Source From Menu Bar
Here’s another oldie but goodie. You don’t need to open the Sound preference pane just to switch from one audio source to another. This tip works for selecting both audio in and audio out.
For this tip to work, the volume must be displayed in the menu bar. If it isn’t, open System Preferences and select the Sound preference pane.
Make sure there’s a tick mark in the ‘Show volume in menu bar’ box.
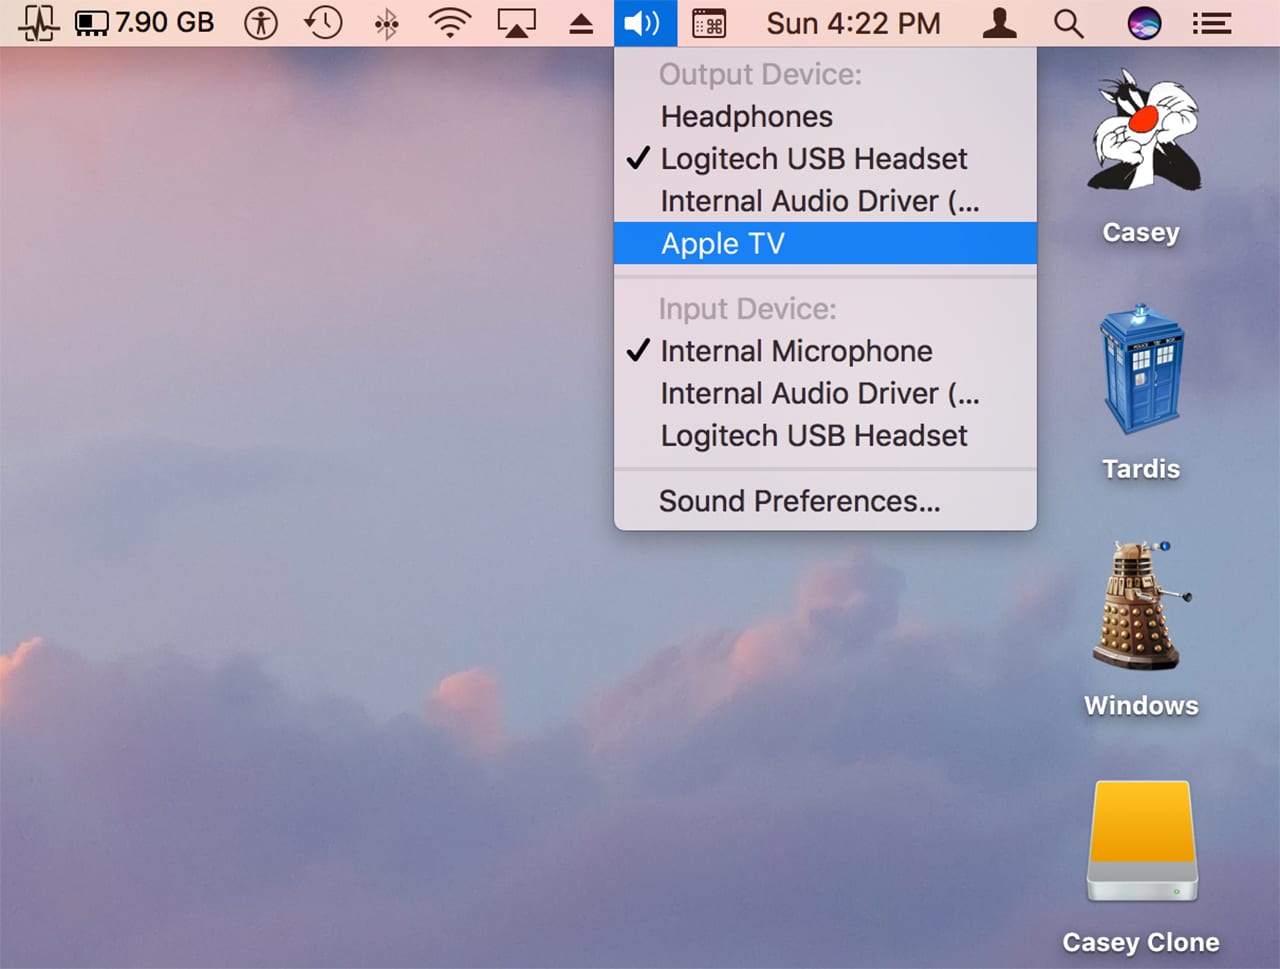
Hold down the option key and click the volume menu bar item. A list of audio in and audio out devices that are connected to your Mac will be displayed. You can change the selection by clicking on the device you wish to use.
macOS Sierra note: This tip works in Sierra, but Sierra already shows audio output devices in the menu without having to hold down the option button. You still need to hold the option button to display audio input devices.
Window Resizing
Before OS X Yosemite, the green button in the top left corner of a window was used to maximize the window; that is, enlarge it just enough to show all of the content in the window, or failing that, enlarge it enough to show all content in either the vertical or horizontal dimension. Or failing that, enlarge it to show as much as possible.
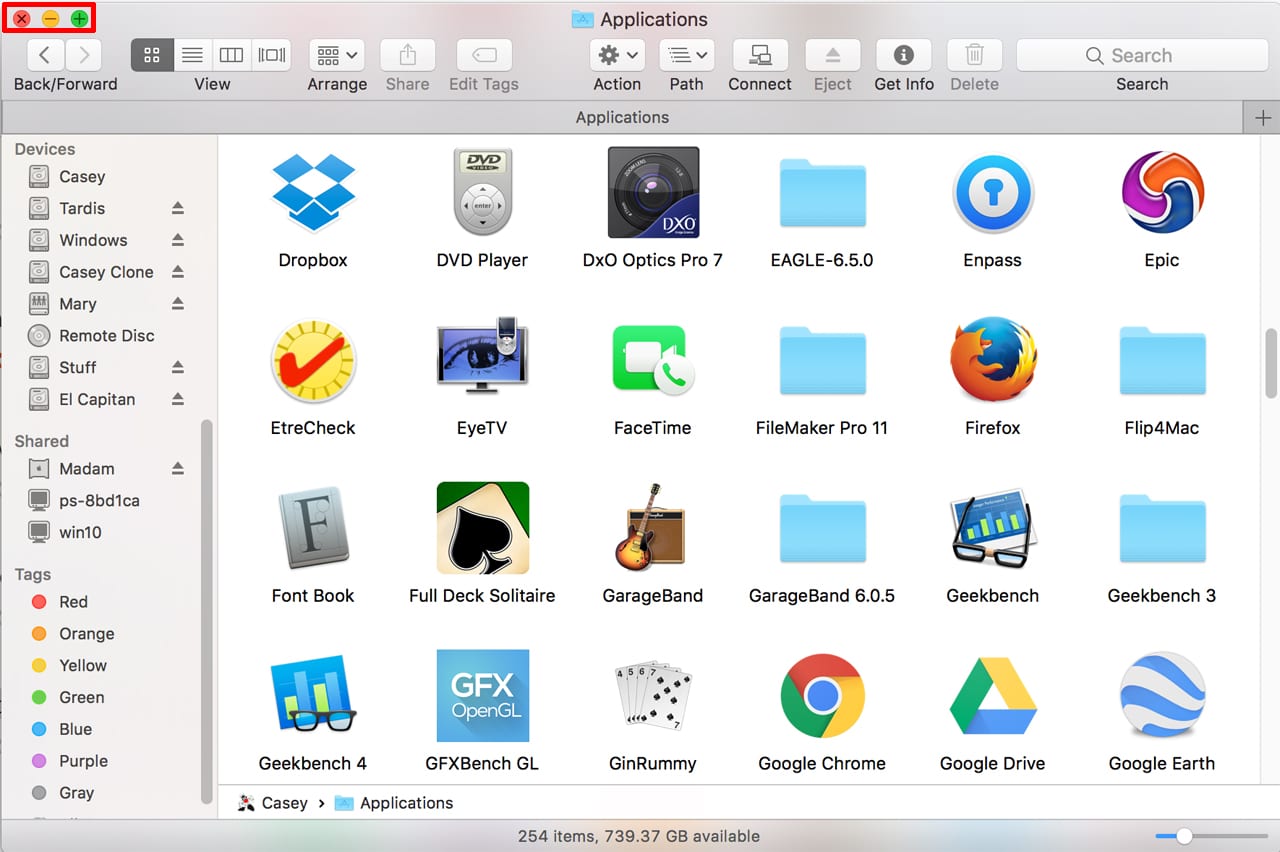
The point is, maximizing a window didn’t mean taking over the display by going to full-screen mode, as it does now.
You can return to the old maximize function by holding down the option key when you click the green window button.
The option key can be used to perform even more window magic. Ever since OS X Lion, if you hold down the option key while dragging from the side or corners, the opposite side or corners will resize along with the side you’re dragging.
Bonus trick: Hold down the option and shift keys while resizing, and the window will retain its original aspect ratio.
Those Special Characters
The Mac has long paid special attention to typography, making it one of the leading choices in print publications almost since the day in 1984 when it was first taken out of its bag by Steve Jobs. Ever since that day, the Mac has had one or more special character viewers to allow users to easily access characters not found on standard keyboards. This includes punctuation symbols, pictographs, currency, emoji, math, and many other special symbols and characters.
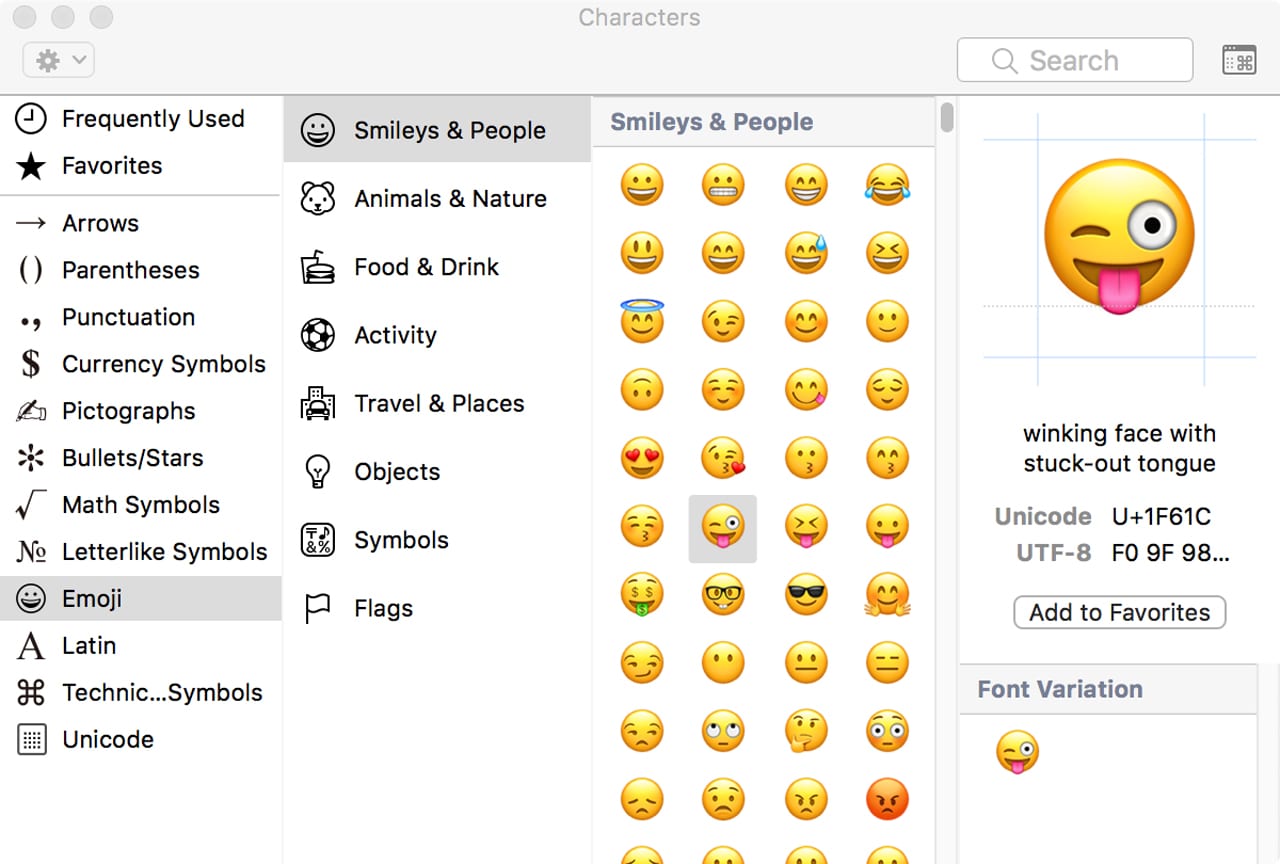
You can access the character viewer in most apps via the Edit menu, by selecting either ‘Special Characters’ or ‘Emoji & Symbols,’ depending on the version of the Mac OS you’re using.
An alternate way to access the character viewer is to launch System Preferences, and select the Keyboard preference pane.
Select the Keyboard tab, and then, depending on the version of the Mac OS you’re using, put a tick in the ‘Show Keyboard & Emoji viewers in menu bar’ box or the ‘Show Keyboard & Character Viewers in menu bar’ box.
With the character viewer open, you can browse through the many characters, organized by category, and insert one into the currently open app, provided it supports text input, by simply double-clicking the character or using copy/paste.
Those are my favorite tips from past versions of the Mac OS. Do you have a few old favorites to share?



A sixth “forgotten” tip that few people learn: customize the images of your files’ and folders’ icons! For file or folder icon pictures: Open a picture image, click and drag diagonally and release to select an area, and select “copy” (or “Command-C”) … select a target icon (file or folder) and (under “File”) “Get Info” or “Command-I” … When the window of info pops up, on the top line, click the icon at the upper left to select it, then go to the menu “File” and “Paste” (or do “Command-V”). Or copy an existing icon’s image to a new file or folder by using the same sequence of “Get Info” – “Copy” (or “Command-C”) the internal icon image, open the target file or folder’s “Get Info” and select its internal icon then “Paste” (“Command-V”) … put a friend’s portrait on your HD icon, whatever. Have fun!
thanks for the volume adjustment tip. How did I not already know this?
And it looks to work with the Keyboard Backlighting too on the MacBook Pro’s. 1/4 step increments up & down.
Press the Option Key plus (speaker/keyboard lighting/or screen brightness key) will open that particular System Pref directly.
After seeing your volume adjustment tip, i tested shift-opt with screen brightness too. it does the exact same 1/4 step increments!
Much easier than opening system preferences.
Well, I’ll be. I didn’t think of trying it on the brightness. Great find!
Tom N