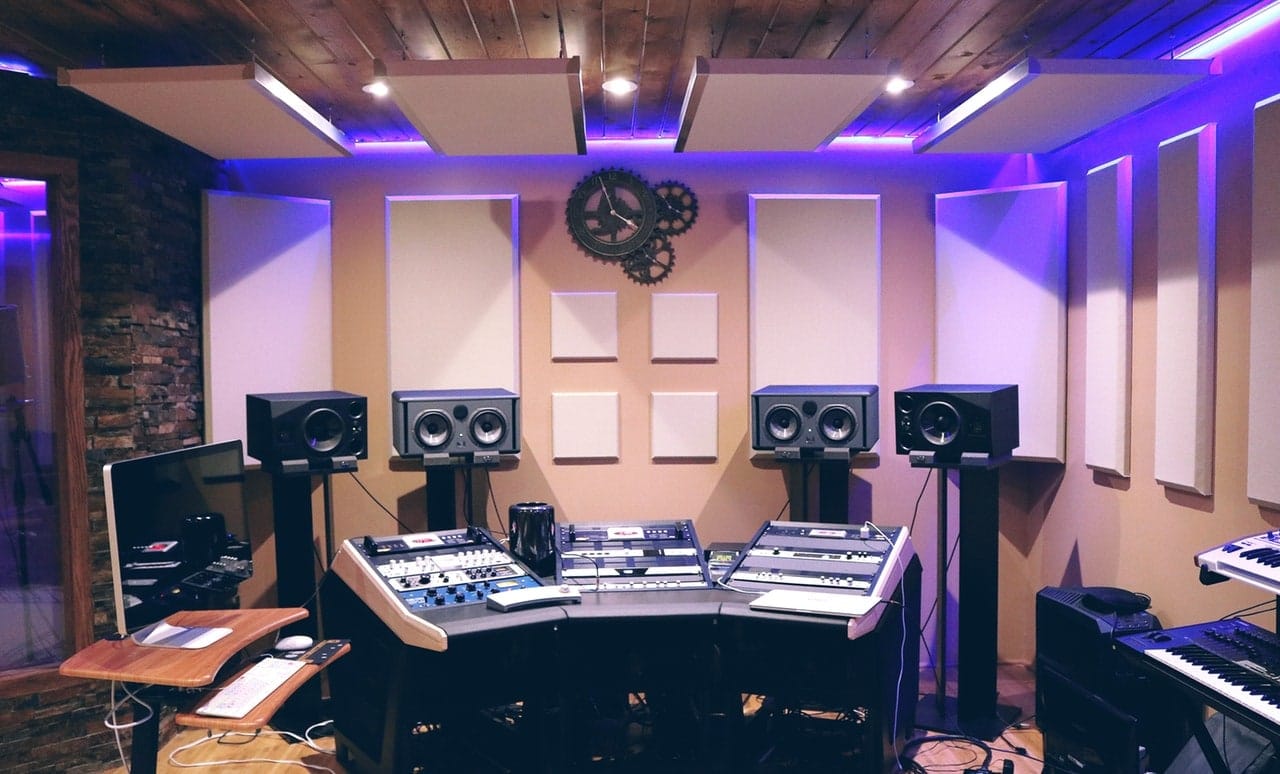
Professional studio facilities spend thousands, and sometimes millions, to build inspiring recording spaces that feature impeccable sonic performance without unflattering acoustic anomalies. They do this partly to provide a place to capture pleasing-sounding recordings, and partly to make sure that the final product translates well to listening environments outside of that particular studio.
If you’re using a spare room in your house, you’re unfortunately starting at a disadvantage. But, fear not, there are some easy steps you can take to significantly improve the sonic characteristics of your home studio environment, for both recording and mixing.
Due to the amount of information we’ll be covering, this will be a two-part article. In part one, we will cover some of the most common problems present in smaller rooms and home studios. By understanding these issues, you’ll be better positioned to make the most of the next article, where we’ll learn about different types of acoustic treatments, how these treatments work, and how to make the most of a shoestring budget. You’ll also have a great foundation to understand how to best invest your dollars in your home studio’s acoustic treatments, and consequently avoid wasting money on popular, yet ineffective solutions.
Also, as a quick side note: acoustic treatment is entirely different from soundproofing. Acoustic treatment is about treating the sonic performance within a space, while soundproofing is all about preventing outside sound from getting in and inside sound from getting out. The distinction between these concepts is really important, and they are often used interchangeably and improperly.
Common Acoustic Problems in Home Studios and Small Rooms
If you want your recordings and mixes to have their best chance to sound good outside your home studio, there are a host of acoustic issues that will need to be treated in your room. These can include flutter, comb filtering, room modes, and decay time. We’ll define these terms shortly. Still, it’s essential to know that smaller rooms, like those often used for home studios, can need additional treatment to remedy an uneven frequency response. The goal here is to achieve as even a frequency response as possible, particularly at the mixing (or listening) position.
We are covering the concepts at a very basic level. There is a wealth of more advanced information out there, written by people who are smarter than me. So, if you find yourself eager to learn even more, Google and Wikipedia can be great resources as you expand your horizons when it comes to the physics of sound.
What is Flutter?
If you’ve ever clapped your hands loudly in a room and heard quick echos that almost sound “springy,” that effect is known as flutter echo. It’s caused by the reflecting of soundwaves bouncing between parallel surfaces, often opposite walls, or a floor and ceiling. It is often more pronounced in smaller, boxy rooms.
Flutter echo is usually quick to fade away, but it can significantly impact critical listening environments and recording spaces in a negative way. It’s actually relatively easy to treat flutter echo, and in part 2 of this article, we’ll offer some options to do so once we’ve defined the other common acoustic problems.
What is Comb Filtering?
Comb filtering is an effect that results in certain frequencies being either being notched (canceled out), or in some cases, reinforced (amplified). In a home studio environment, this mostly occurs when the direct sound from a speaker is combined with the sound of its reflection, usually off a wall, floor, or ceiling. If your home studio does not have any acoustic treatment, there’s a good chance you are experiencing comb filtering on everything you are monitoring. In practical terms, this means that you’re not hearing an accurate representation of the frequency spectrum that is being produced by your source material. This may result in severe dips at specific frequencies, and perceived significant bumps at others. One of the most critical aspects of acoustic treatments for listening environments is getting first reflection points under control so that you can minimize comb filtering.
What are Room Modes?
There’s already a ton of advanced information on the internet regarding terms like room modes, standing waves, and more. Since we are first getting acquainted with the idea of acoustic treatment, the most important thing to know right now is that there are going to be specific locations within your home studio where sound energy will be in abundance and other spots where there will be a null. You’ve probably experienced this if you’ve walked around a room while listening to music through a home stereo system; notice the extra bass in the corners? Maybe there are even a couple spots where you feel like all the low-end energy has been sucked out. This is all related to room modes, standing waves, nodes, and anti-nodes.
There are different strategies to treat this, and in smaller rooms, it will never be perfect. However, there is definitely a path forward to control this phenomenon, even if perfection is likely to elude you. Just remind yourself, the average home studio was built to be a bedroom, or a basement, or an office, and as a result, it’s virtually impossible to achieve a level of acoustic performance on par with that of a facility designed specifically for the purpose of recording and mixing. Don’t worry, we’ll get to some remedies in part 2, and they do make a big difference.
What is Decay Time?
Often people will refer to a room as too “live” or too “dead.” These adjectives are in direct correlation to the room’s decay time. Decay times are a way of measuring the amount of time it takes for sound to diminish across a variety of frequencies. It’s not uncommon for decay times to be different between high and low frequencies, and it’s something the best acoustic room designers work to control. Without controlling decay times, it can be easy to make misguided decisions during the mixing process, like using too much or too little EQ, compression, or effects. In short, the ability to control decay times in a studio environment is critical to ensure that you hear your speakers exactly as they were intended, and with a minimal amount of artifacting created by the room itself.
Next Steps
Now that we’ve identified some of the basic concepts we need to consider to achieve a balanced, accurate sound in your home studio, we’re ready to review some common acoustic treatment strategies. In the second part of this article, we’ll review acoustic treatment concepts like absorption and diffusion. By the end of part two, you’ll be able to make an educated decision about how much you’re ready to invest in acoustic treatment for your home studio, and how much you can expect to benefit from making such an investment. Acoustic treatments are arguably one of the least exciting aspects of investing in a home studio. Still, when implemented correctly, they actually make one of the most significant impacts on the quality of your recordings.


Excellent Start-up Article. I started here because, well, it’s the beginning, but I know there’s a part 2 to this topic (i.e. Pro Audio: Understanding Basic Acoustics in Your Home Studio (Part 2), but darned it I can find it. Rocket Yard’s web search proves fruitless. Can anyone assist?
Thanks,
D Collins
Here you go!
Pro Audio: Understanding Basic Acoustics in Your Home Studio (Part II)