Your Mac has a “Safe Mode” designed to help when you run into trouble with your computer. It’s a diagnostic mode of macOS that boots up your desktop or laptop without any other apps running.
You won’t be able to do things such as share files, use iMovie, access any fonts you’ve installed, etc. To start in Safe Mode:
Click the Apple icon in the top left corner of your Mac and select either “Shut Down” or “Restart.”

As your Mac is starting up (or restarting), press and hold the Shift key until the Apple logo appears on your screen. If it doesn’t appear, chances are you have a hardware issue, not a software problem.
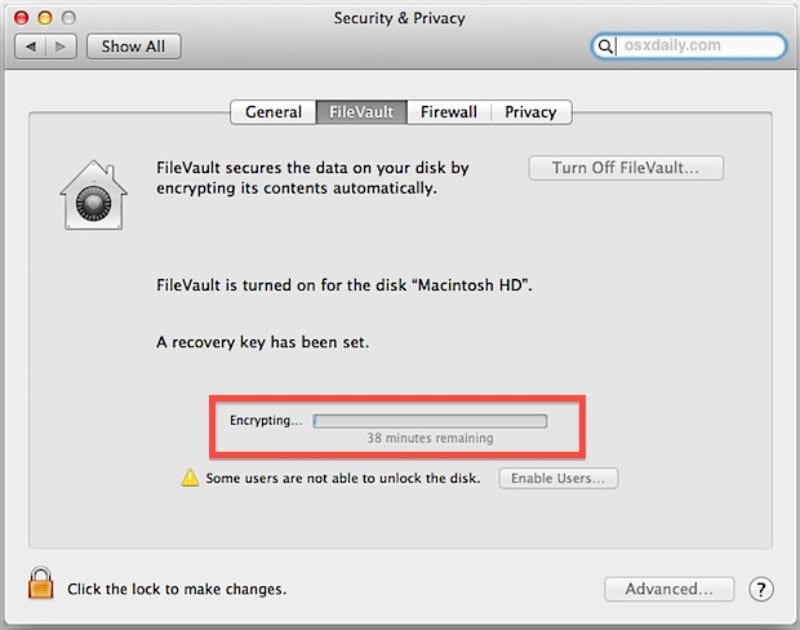
When you see the login window appear, release the Shift key. If you’ve encrypted your Mac with FileVault, you may have to log in twice. (FileVault is a feature Apple bakes into macOS. Enable it from the Security & Privacy pane of System Preferences, and encryption and decryption of all your hard drive data is performed on-the-fly.)

To make sure you’re in Safe Mode, click the Apple icon in the upper left corner of your Mac and choose “About this Mac.” Select “System Report,” then click” Software.” The word “Safe” should be visible next to “Boot Mode.”
If your Mac quits misbehaving when it’s started in Safe Mode, try restarting without pressing any keys. If the issue comes back, you might have incompatible login items. If the problem doesn’t come back, it was probably caused by a cache or directory issue with your startup disk, which Safe Mode fixed.
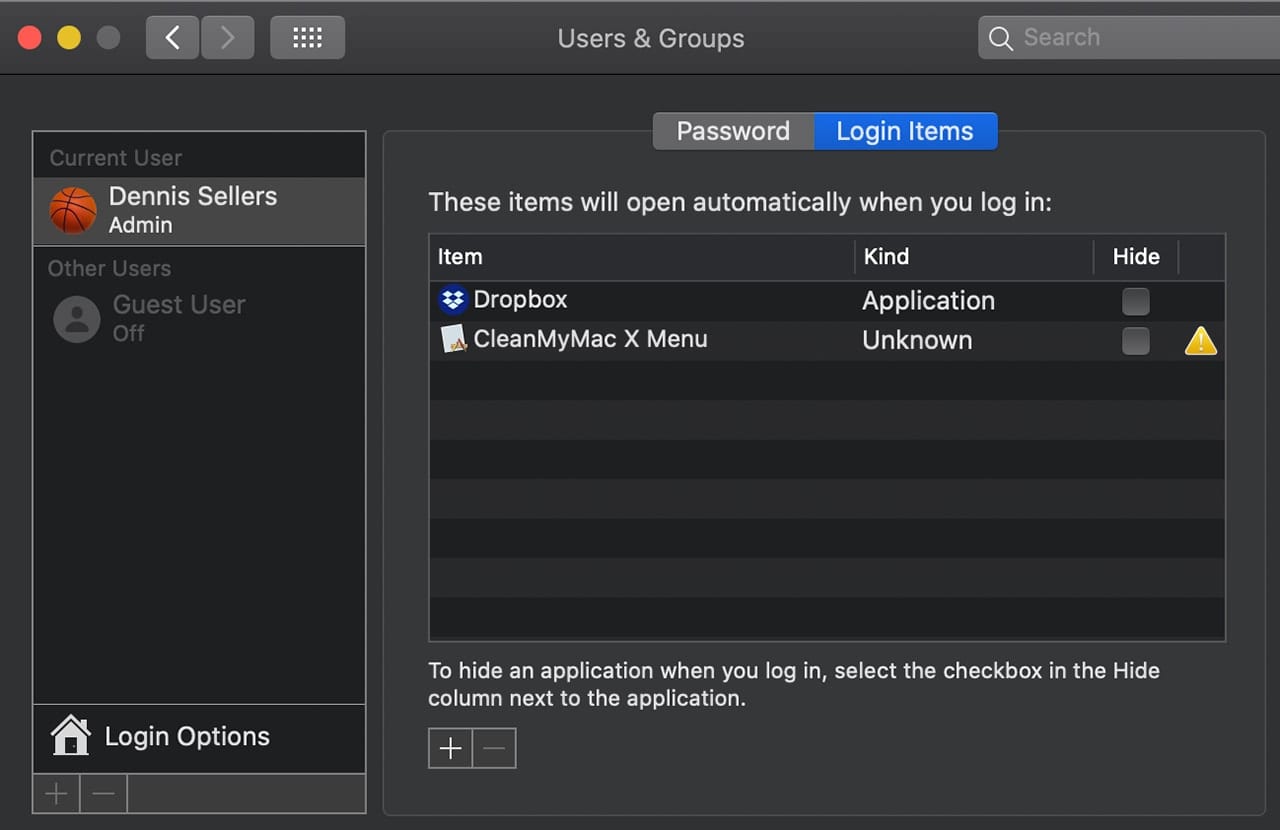
To test your login items (apps that open automatically when you start up or log in to your Mac):
Choose the Apple menu (in the top left corner of your screen) > System Preferences, then click Users & Groups.
Click your account name below Current User, then click Login Items at the top of the window.

Make a list of the login items – you’ll need to remember them later.
Select all of the login items, then click the Remove button.
Choose Apple Menu > Restart.
If this solves the problem, open Users & Groups preferences again, add the login items back in one at a time, and restart your Mac after adding each one. When the problem occurs again, remove the last login item you added.
Your Mac automatically checks the directory of your startup disk when you start up in Safe Mode. If the directory has been repaired, your Mac automatically restarts. And — sorry — if your Mac keeps on restarting or shutting down when it’s in Safe Mode, you’ll likely have to contact Apple Support or consult with an Apple Authorized Service Provider or Apple Store for help.
To exit Safe Mode, restart your Mac without pressing any keys during startup.
Related: Safe Mode & Single-User Mode: What They Are, How to Use Them


Restart with the RIGHT side of the keyboard. Didn’t go to safe using the LEFT SHIFT.
Updated to Catalina today on MacBook Air and cannot open anything, try to open finder and get a message saying it cannot be opened, cannot get to apple logo in safe mode or open anything??? Incl safari etc? Any ideas? Cannot even get online to search issue
Hi my catalina os not working
When I restart pressd shift key for safe mode but it is not going on .its struckd what can I do ?
Catalina has brought a new feature after its installation and start up on desktop a file “UN replaced?items” after last update was installed my iMac didn’t recognise my login password it offered me to replace password when I tried this the screen changed to a locked firmware screen” big padlock with entry box beneath “
My computer is a refurbished bought from Apple. I assume the password is a throw back to previous owner. I never set this password because of my bad memory and writing.
Is there anyway to unlock other return for Apple repair
how about “relocated items” explanation
“If this solves the problem, open Users & Groups preferences again, add the login items back in one at a time, and restart your Mac after adding each one. When the problem occurs again, remove the last login item you added”.
It would be great to have a utility like Conflict Catcher (Mac Classic)
https://en.wikipedia.org/wiki/Conflict_Catcher
but for macOS now to automatically do the above procedure and much more.