For many artists and home audio enthusiasts, the mixing process can seem like a daunting task. If you feel unsatisfied with your mixes and they don’t hold up the way you like when compared to commercial releases, here are a few tips that can go a long way in improving the final result. What are your favorite mixing tips?
1) Use a High Pass Filter
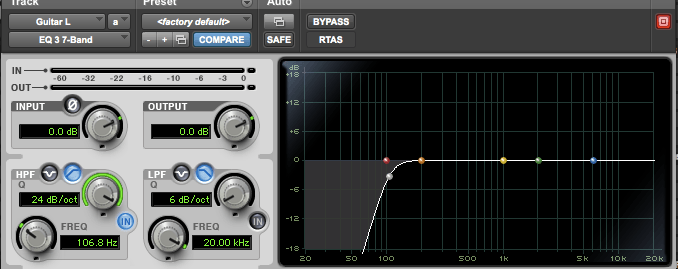
I’m starting off the list by talking about high pass filtering because it is one of the easiest ways to clean up the low end and make your track easier to mix.
A high pass filter can serve a few purposes:
- Remove or reduce rumble, plosives, etc
- Remove or reduce AC / electrical noise
- Removes potentially inaudible low frequencies
Let’s talk about that third item, inaudible low frequencies. While they may be inaudible, low-frequency energy has the potential to build up over the course of many tracks in your session. When you use a high pass filter on vocals, guitars, keys, and others, you free up space for low-end instruments like the kick and bass to sit more easily in the mix. If done correctly with a relatively gentle slope, nobody will ever know you have a high-pass on vocals at 90-100 Hz. I like to boost the fundamental frequency of instruments at a selected frequency just above the high pass filter. So I may boost 120 Hz slightly and then have a gentle slope set for my high pass filter at 100 Hz.
Use a high pass filter across a number of your recorded tracks and not only will mixing be easier, but you’ll also find yourself with some additional headroom as well. Any modern DAW should have a high pass filter built into the stock EQ plugin.
2) Use Panning Creatively
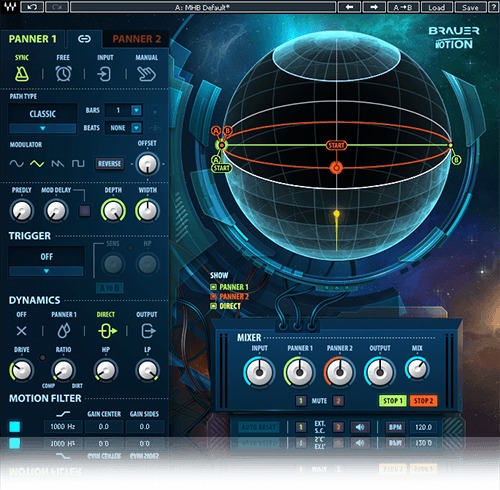
The vast majority of mixes tend to have static panning — for example: a vocal panned dead center, acoustic guitar partially panned left, stereo piano panned hard left and hard right, etc. I encourage you to think of ways to use panning (whether you automate it or not) to control the overall width of your mix through various sections of the song. For example, you might start with a very narrow stereo field in the first verse, and then widen core elements (like electric guitars or a piano bed) when the first chorus hits. You’ll find that the contrast can really keep things interesting.
3) Experiment with Serial Compression
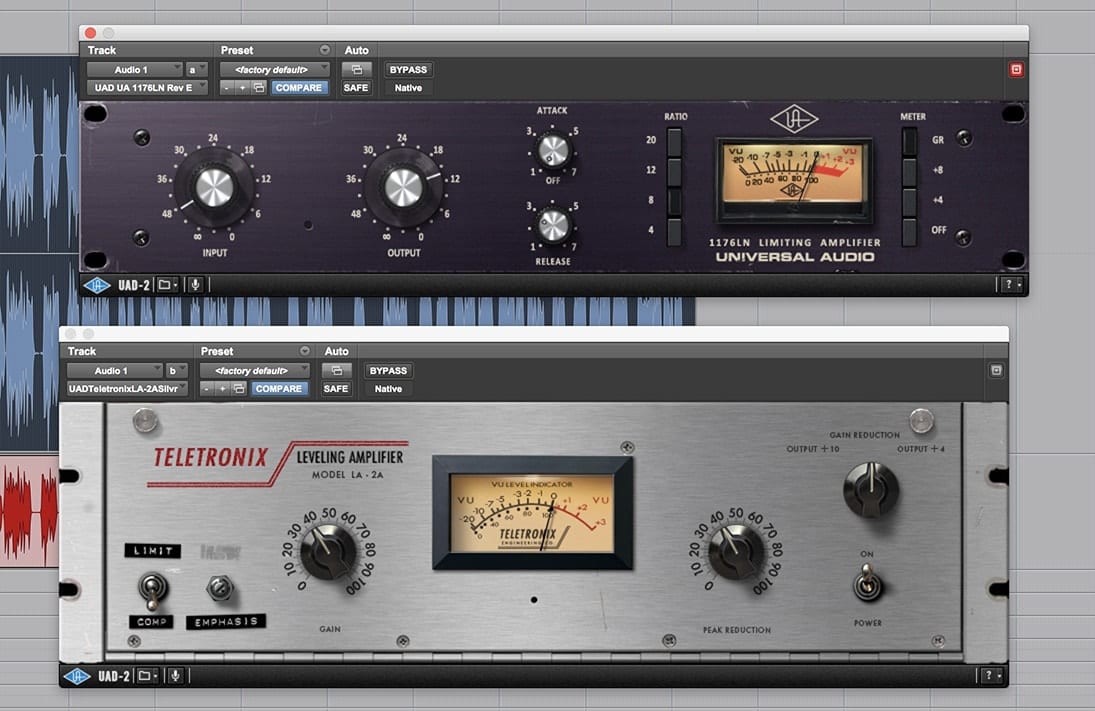
For our purposes, we’ll define serial compression as using multiple compressors, one after another, in succession. The most common application of serial compression is on a lead vocal track.
If you only use one compressor, you limit yourself to one set of attack and release times. In this case, and depending on the vocal performance, you may find that while the compressor is at times working the way you want, other times it will simply not grab enough or worse yet, grab too much and choke the tone. By using multiple compressors and applying a gentler amount of compression (perhaps 2 to 4 dB of reduction per compressor), you’ll be able to dial in different attack and release times for each and bring the vocal more forward in the mix without sacrificing the singer’s natural tone.
Serial Compression Tip: Try using the first compressor with a slow attack and fastest release possible. Then set the second compressor with a medium attack and slower release. The first compressor should help control any sudden transient peaks in the performance, while the second compressor will act as a moderate leveler. When done right, the vocal should be pushed forward in the mix without sounding unnatural or breathy.
4) Gain Stage Your Mix
While it may seem like I’m going back to the basics, I cannot stress how important it is to make sure you are gain-staging your tracks properly. You will save yourself a headache later if you take care early on in your mixing process to allow for enough headroom on your master bus. If you find yourself pushing +6 or +12 fader positions across multiple tracks, you are pretty certain to be clipping the master output.
Gain Stage Tip: When starting a mix, I often (but not always) begin with drums. I usually start with the kick and aim for a master bus output level of around -16 to -10 dB, depending on the source material and genre. Sometimes it can be a little hotter, but I find this level works for me and usually gives me enough headroom to build my mix.
5) Use Processing on Your Stereo Mix Bus
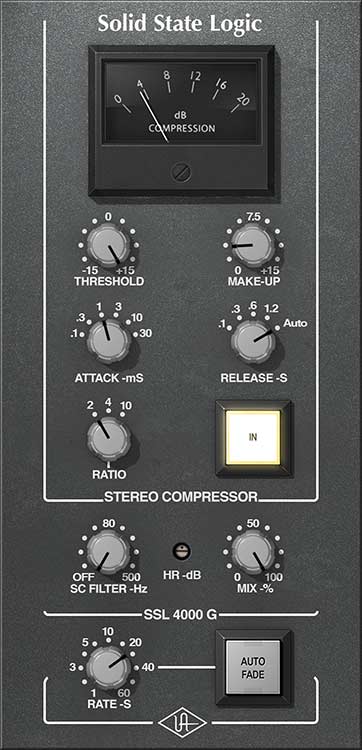
Do not be afraid to use multiple plugins on your master bus during mixing. I prefer to get these up and dialed in within the first 15 or 20 minutes of my process. When I first start mixing, I tend to work very quickly, simply reacting to the music and getting rough fader positions by instinct. Once I feel things are in a good place, I add my master bus plugins, which typically consist of routing a mastering EQ into a stereo compressor (often an SSL Bus Compressor or Manley Vari-Mu) into an analog tape modeling plugin (UAD Studer A800 is my favorite). When done correctly, the use of stereo compression and analog tape modeling plugins should add some bounce, life, and “glue” to your mix.
Mix Bus Tip: I aim for 1 to 3 dB of gain reduction on my mix bus compressor. Once you get to 4 dB or more, you are likely to hear unpleasant, audible pumping. For most mixes, I find a simple “smiley” EQ curve (gentle boosts to the bass and treble), seem to work well.
Time to Get Mixin’
If you are a newcomer to the world of mixing, I recommend reading this article a couple times so that you can really internalize these concepts. If you can develop the skills to execute these approaches, I promise that you will notice a dramatic improvement in your mixes rather quickly.
To recap:
- use high pass filters to clean up the low end and make room for critical instruments like kick drum and bass guitar
- use panning creatively; experiment with keeping your mix narrow in the verses, and widen various elements in the choruses.
- experiment with serial compression by using two or more compressors on one track (like a lead vocal); compress less to achieve a natural sound that cuts through the mix
- gain stage your mix properly, so you do not clip and distort the master mix bus
- use mastering EQ, compression, and tape modeling on your mix bus to “glue” your mix together
That’s it for this installment! Get mixing and stay tuned for the next article, where I’ll be offering five tips for recording at home.
Have questions? Ask in the comments and I’ll do my best to provide helpful answers!








Awesome article! For compression, how important is it to have external compressors (which cost $$$) attached vs. using plugins?
Hey Phillip
Loaded question! :)
IMO, you can get pretty close to the sound of hardware by using certain high-quality plugins. But, not all plugins are created equal. The best UAD stuff can get you 90 or 95% of the way there. It just depends on how much that little extra mojo means to you.
Lately my favorites on the mixbus are Plugin Alliance Townhouse, Slate VBC (which i didnt use to like very much honestly, but has really grown on me), the Waves SSL G Bus compressor is pretty good, the UAD version is killer. On your mix bus, you’ll be surprised how big a difference it will make if you use two or three compressors in succession. Just don’t make any one of them work to hard. 1-3 db of compression max. It will really glue things together.
What app(s)
Hey Moses, what are you trying to do with these “apps”? If you’re looking to try the tips in the article, you can probably start with just about any modern DAW and use the built-in tools. Pro Tools, Cubase, Reaper, Logic, Studio One, you name it. Most of these offer a 30 day trial or free versions with limited features.
yeah- thanks, that was what I was asking…I’m trying to remove the sound of waves in the background of an interview I was doing
If you’re trying to remove or reduce background noise from spoken word audio, you might want to look into Izotope RX — they have some very powerful tools. There might be a trial, it’s not inexpensive. Waves also has a plugin called X-noise, which you can train to learn the background noise if it’s relatively constant.