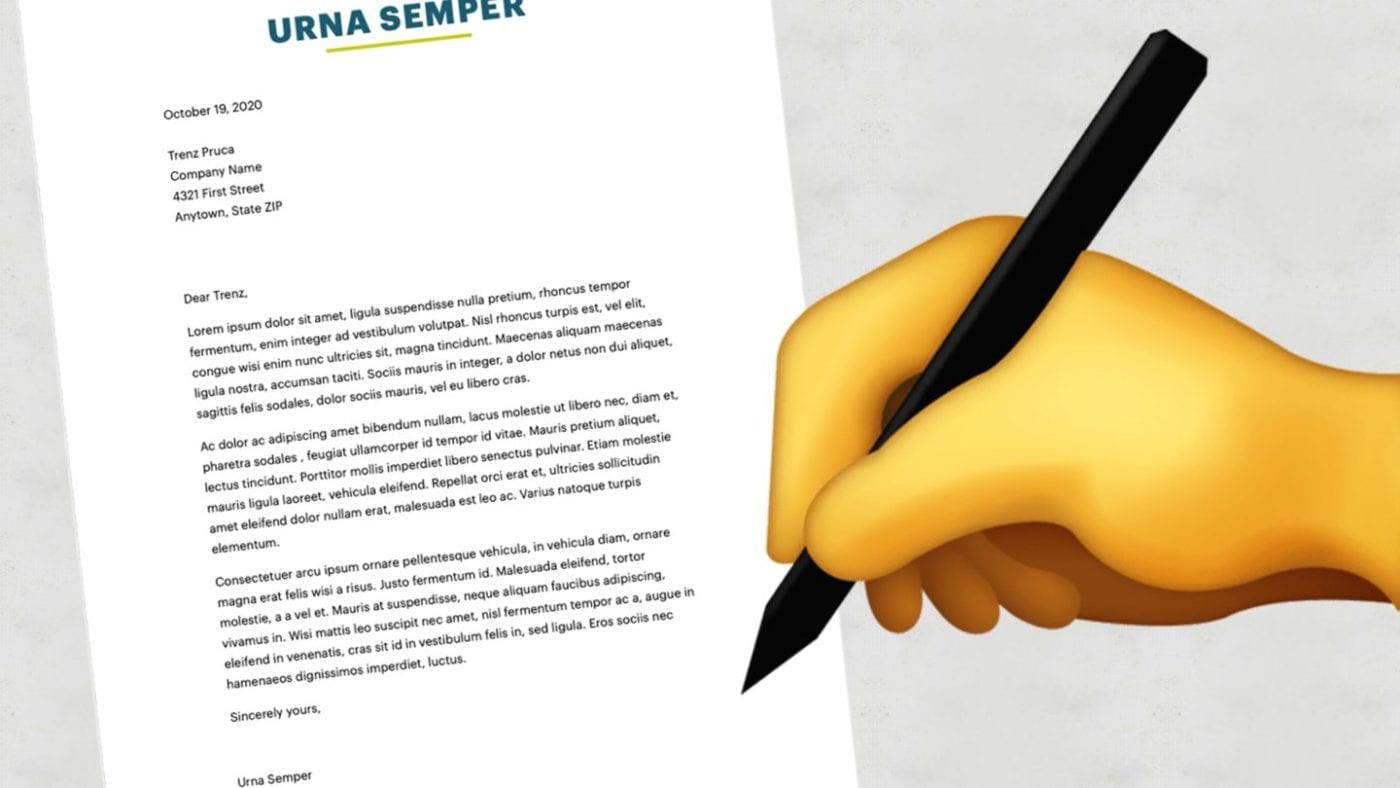
A lot of legal and work documents need a signature. These days the use of digital signatures is increasing with more and more folks working at home. Using digital signatures is easy, and it’s simple to add one using Apple’s Pages in macOS.
Here’s how:
- Launch Pages.
- Move your cursor to the place in a document where you want to add your signature.
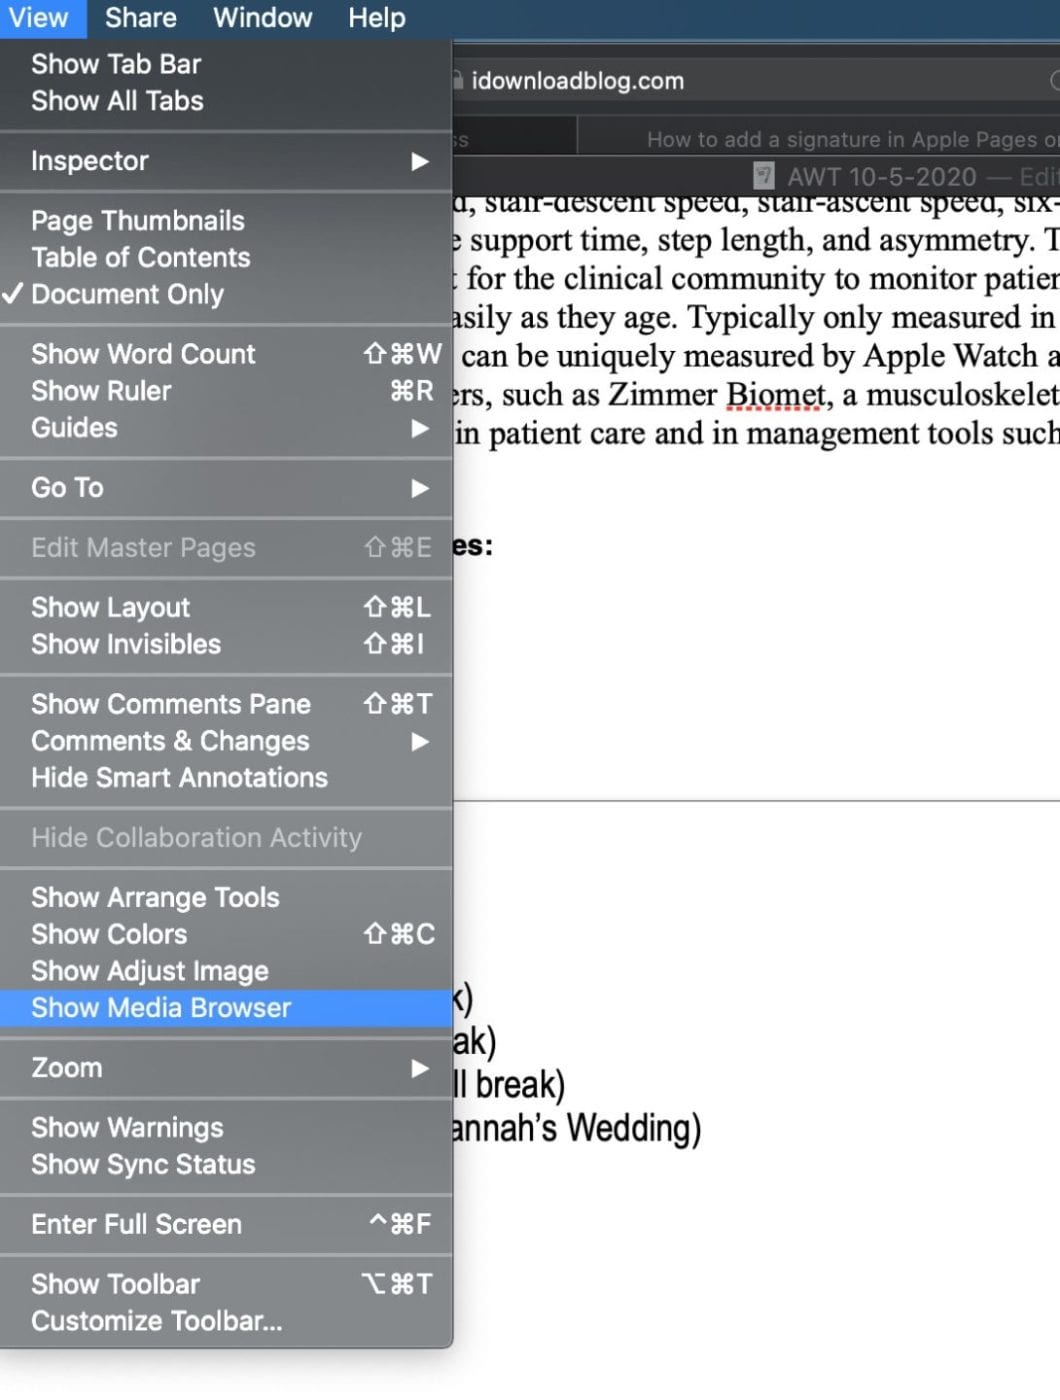
- Make sure you can see the Media browser. If you can’t, go to View on your toolbar and select Show Media Browser.
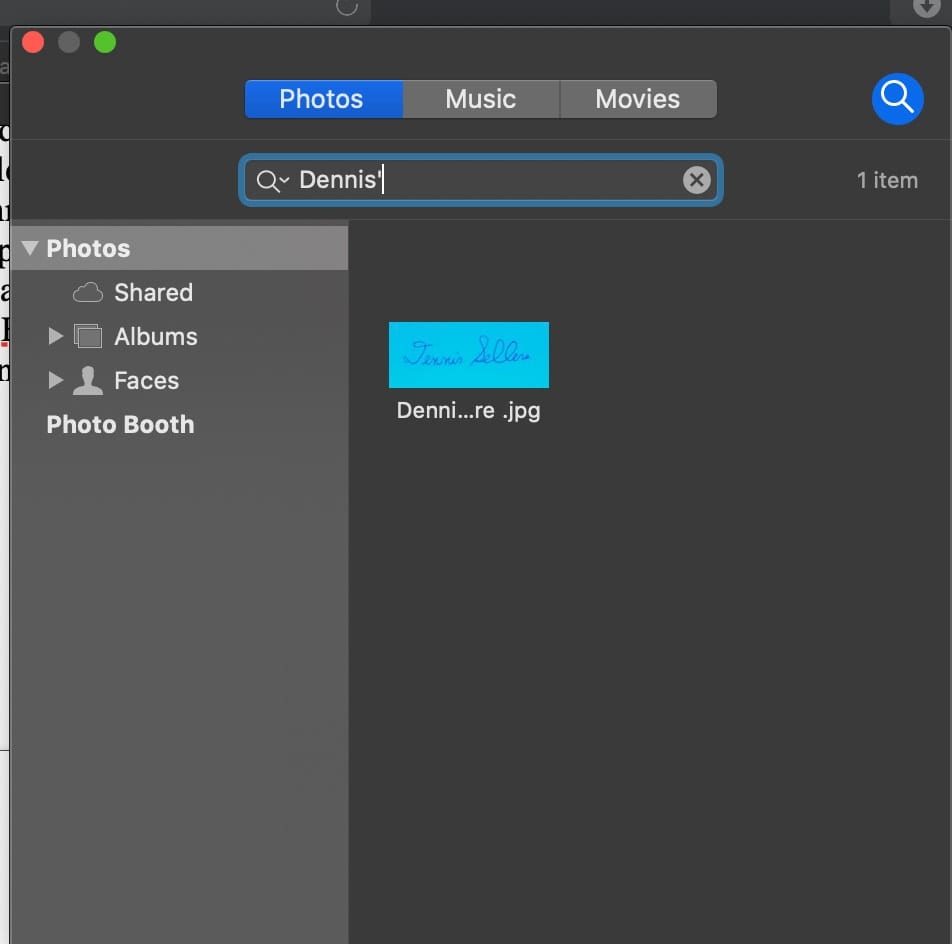
- Click the Media button in the toolbar and cruise on over to the location of your signature image.
- Find your image, select it, and click Insert.
Your signature image will show up in your document at the place where you moved your cursor. You can edit it using the Format button on the top right, move it by selecting and dragging it, or resize it by holding a corner and dragging.
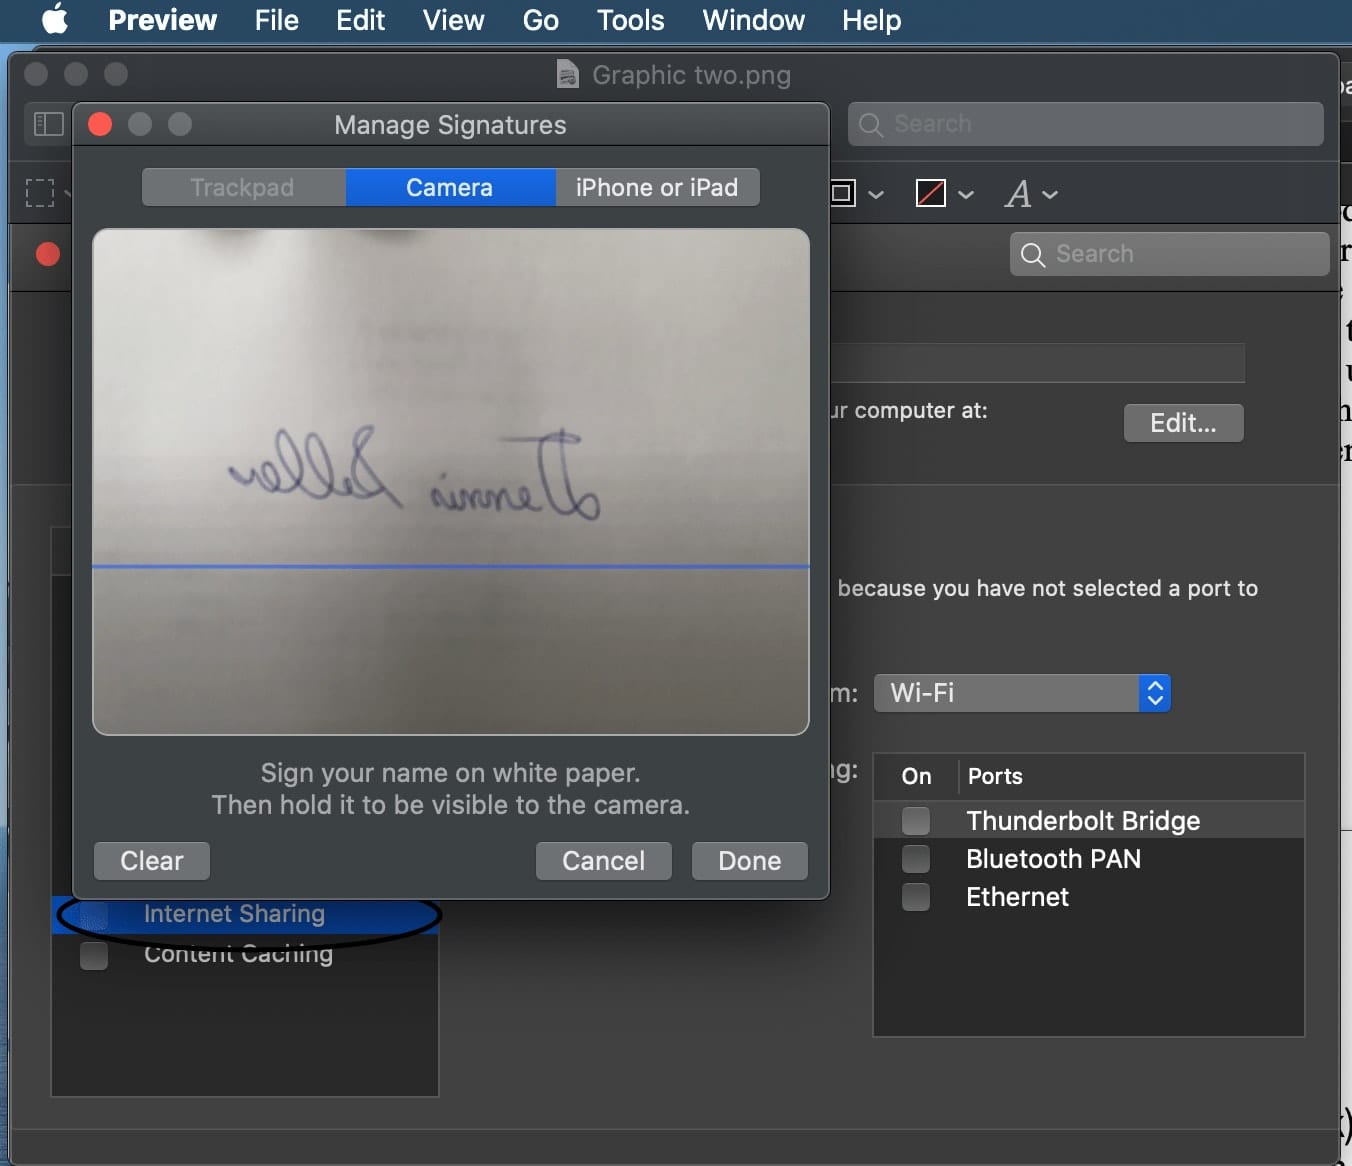
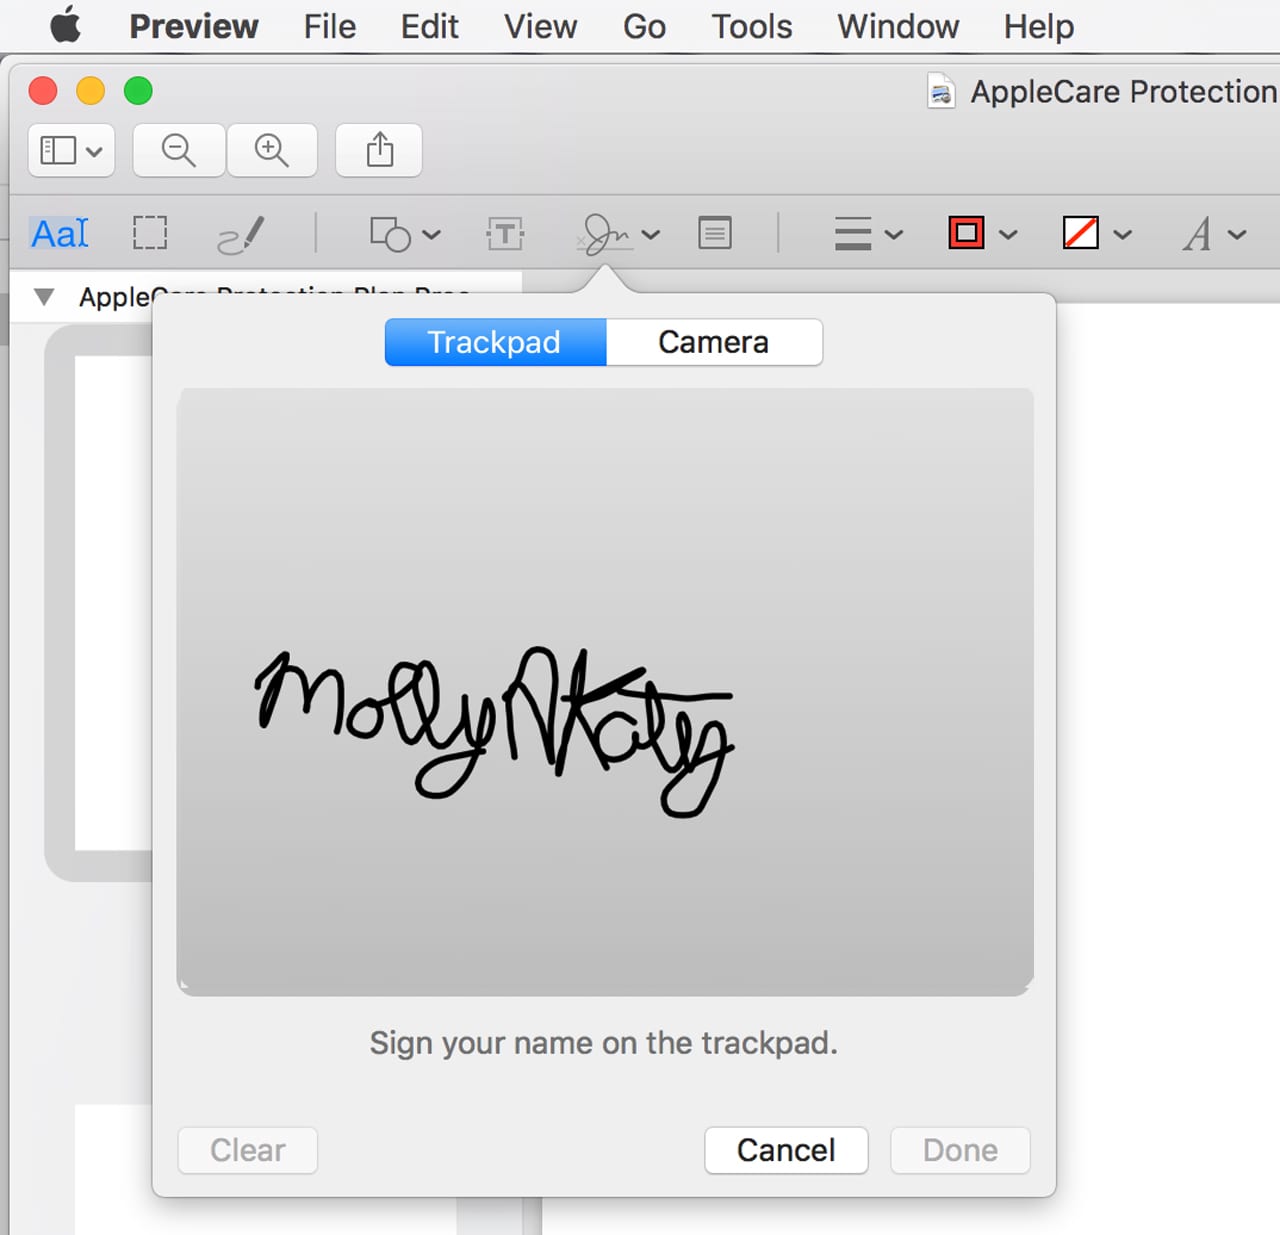
If you haven’t created and saved a signature image, you can create one using the built-in Preview app on your Mac to capture an existing one or create a new one. Then, just display it, screenshot it, and save it.



That is nice, but the real digital signature is the one generated using certificates, like the one that can be done using applications like Adobe Acrobat DC (both Reader and Pro).
Technically this is not a true digital signature (see: https://en.wikipedia.org/wiki/Digital_signature ) this is just adding a digital image that is a picture of something that you are calling a “signature”. That “signature” picture could be copied, photoshopped, forged, and is no more significant than an emoji.
A true digital signature is a cryptographic addendum that can only be added by somebody who has control over the digital key assigned to the person in question, cannot be copied/forged and proves that the document has not been altered.
This article is a good tip for adding a picture to a document but calling it a “digital signature” may be a bit misleading.