Tax time. It usually means gathering all sorts of paperwork together, stuffing it into an envelope, and then getting it to an accountant. This year, many accountants are trying to do less face-to-face, and asking clients to scan and upload documents to a shared folder. Anyone with an iPhone or iPad has a scanner that works beautifully. It’s in the Files app, and today I’ll show you how to use it.
Finding The Scanner
Gone are the days when scanning documents meant buying an “all in one” printer with features you’d never use most of the time. Apple added the ability to scan documents to the Files app, the same app you use to organize and find files stored on your device, in iCloud Drive, and on attached storage.
Launch the Files app and tap the Browse button. That button looks like a small file folder and is located in the lower right of the screen.
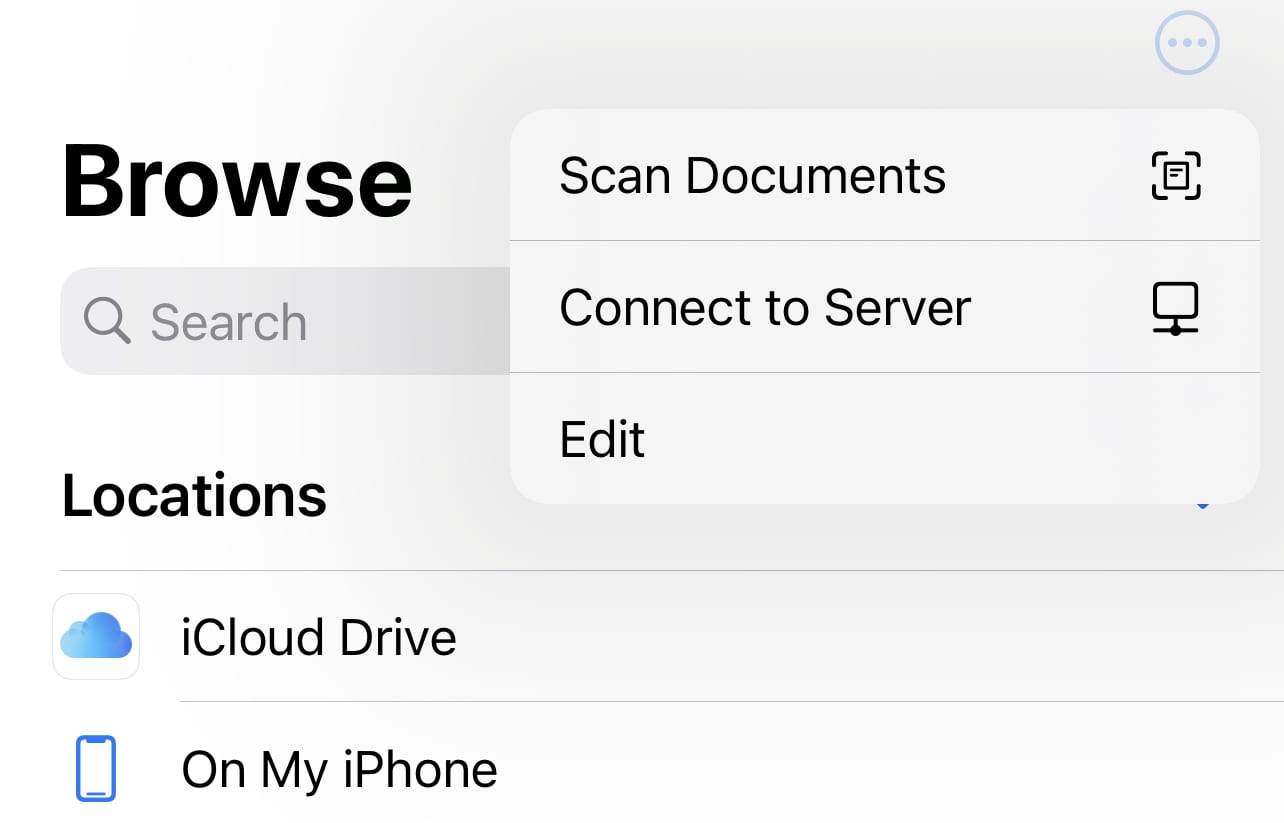
At the top right of the screen is the “more” button, which looks like a circle containing an ellipsis (…). Tap it.
The screenshot above shows the menu that appears. If you’ve already tapped “iCloud Drive” as the location, that menu is a bit different:
Time to Scan
Whichever menu appears, you’ll notice the Scan Documents menu item. Select that item to launch the scanner.
Before you scan, here are two suggestions for getting the best possible image:
- Place your document on a dark background so the scanner has no problems finding the edges
- Make sure the document has proper lighting
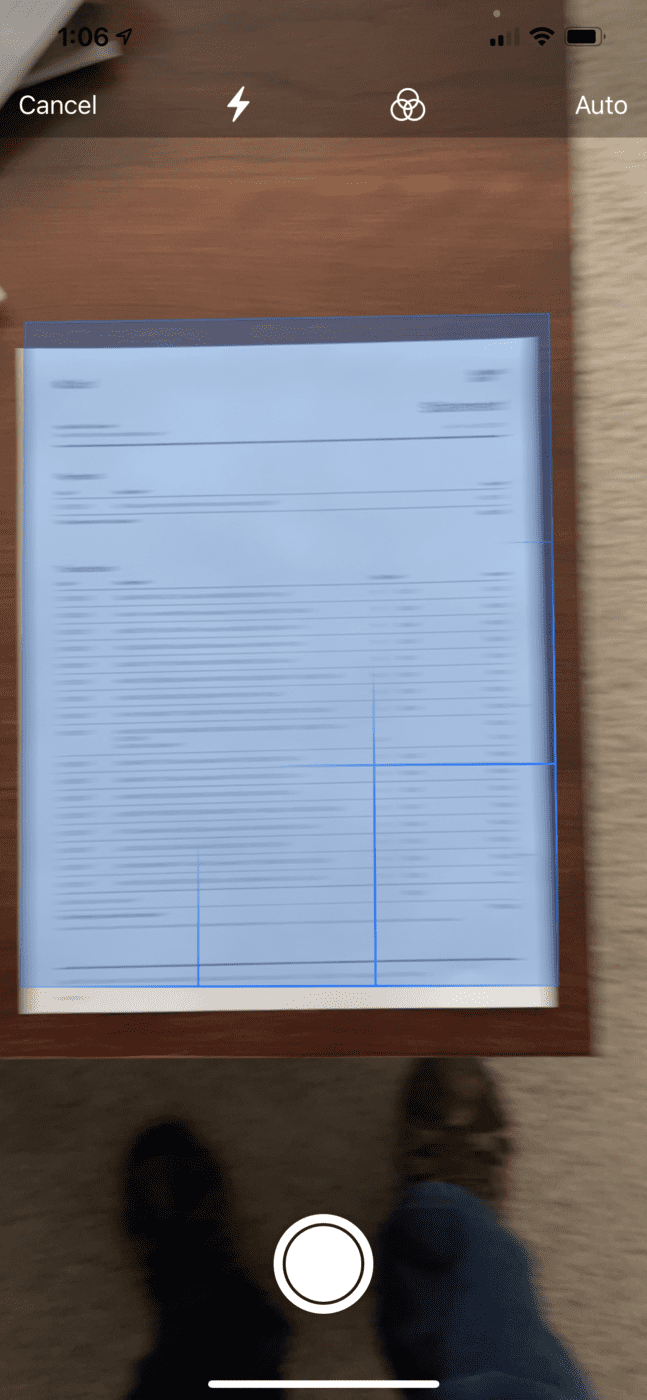
Aim the iPhone or iPad camera at the first page of the document. Within moments, it detects the edges of the document and places a blue rectangle over the page (see image at right).
See the shutter button at the bottom of the screen? If you’re holding the iPhone or iPad steady, you don’t even need to touch it to scan the image — you’ll see a “flash” on the screen to indicate that the scan has taken place. If you have a second page, place it in front of the scanner and scan it. Continue as needed until all pages of the document are scanned.
Sometimes this automatic mode causes unexpected results by scanning documents that you didn’t really want scanned! In that case, tap the “Auto” button at the top of the scanning window and select “Manual”.
Manual Mode
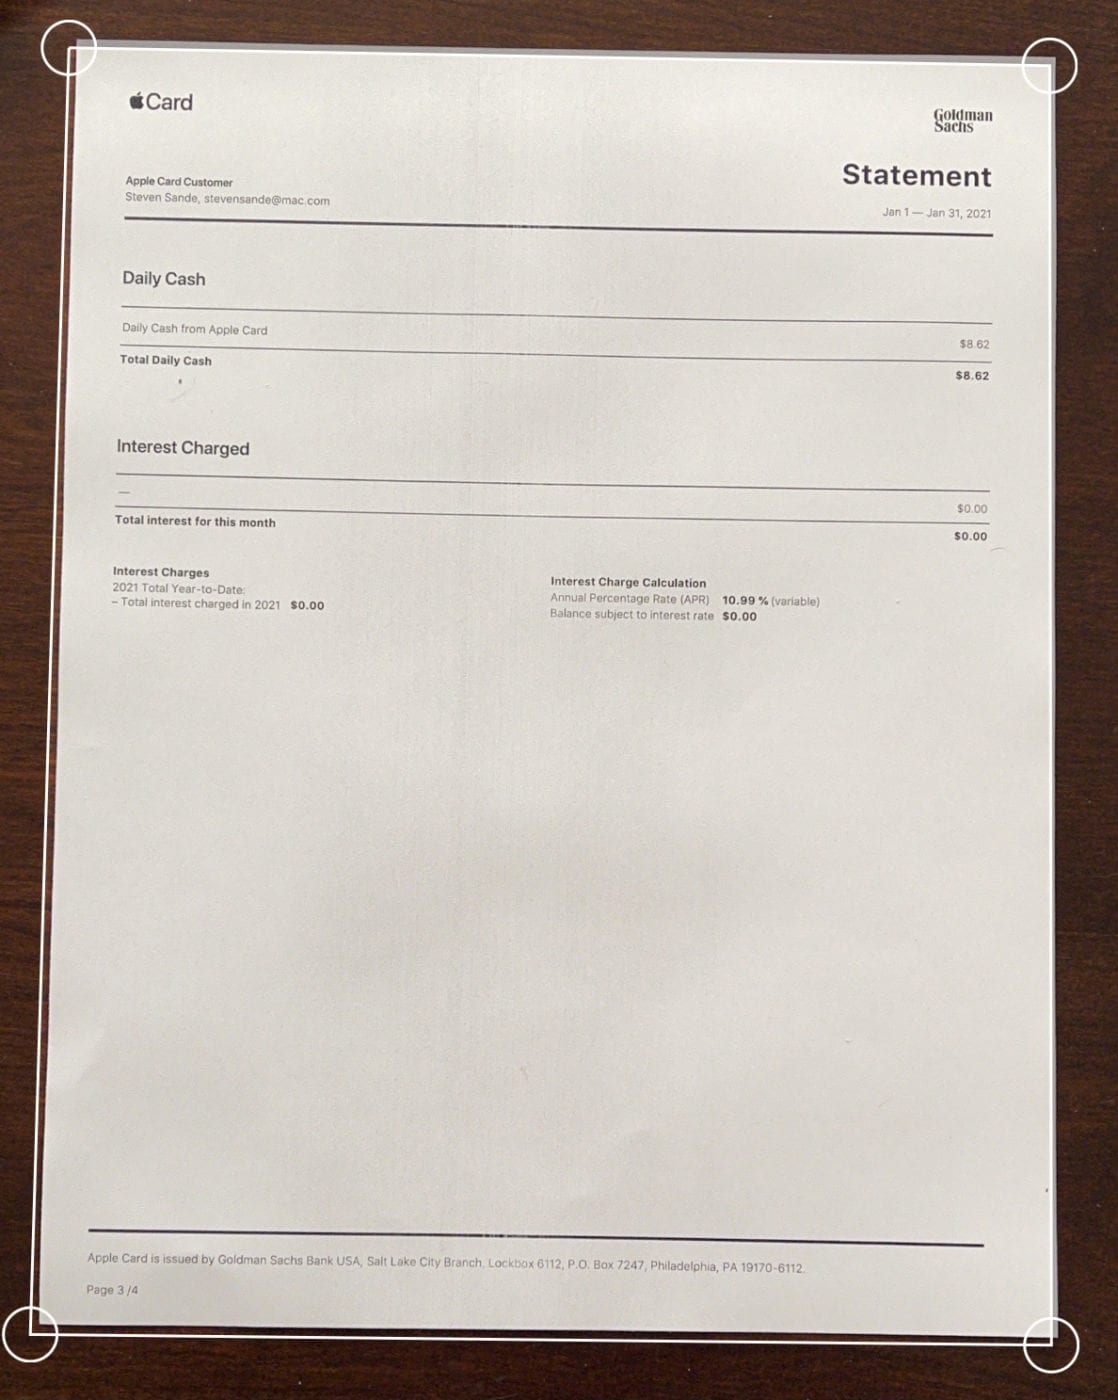
Manual mode provides extra control over the scanning of documents, although you need to tap the shutter button. Once the page has been scanned, you have the option of dragging corners to straighten out a document scanned at an angle. This editing also deletes the background if a small fringe of it is visible (see image below).
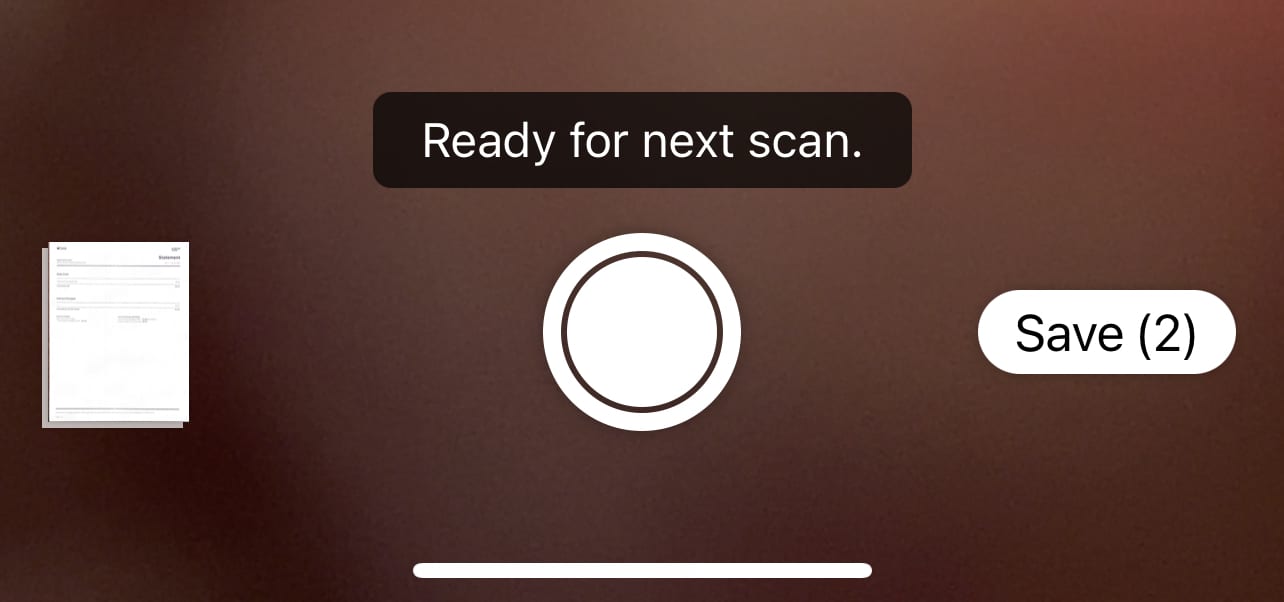
The “Save” button displays how many pages you’ve scanned. In this screenshot, two pages are scanned and ready to be saved.
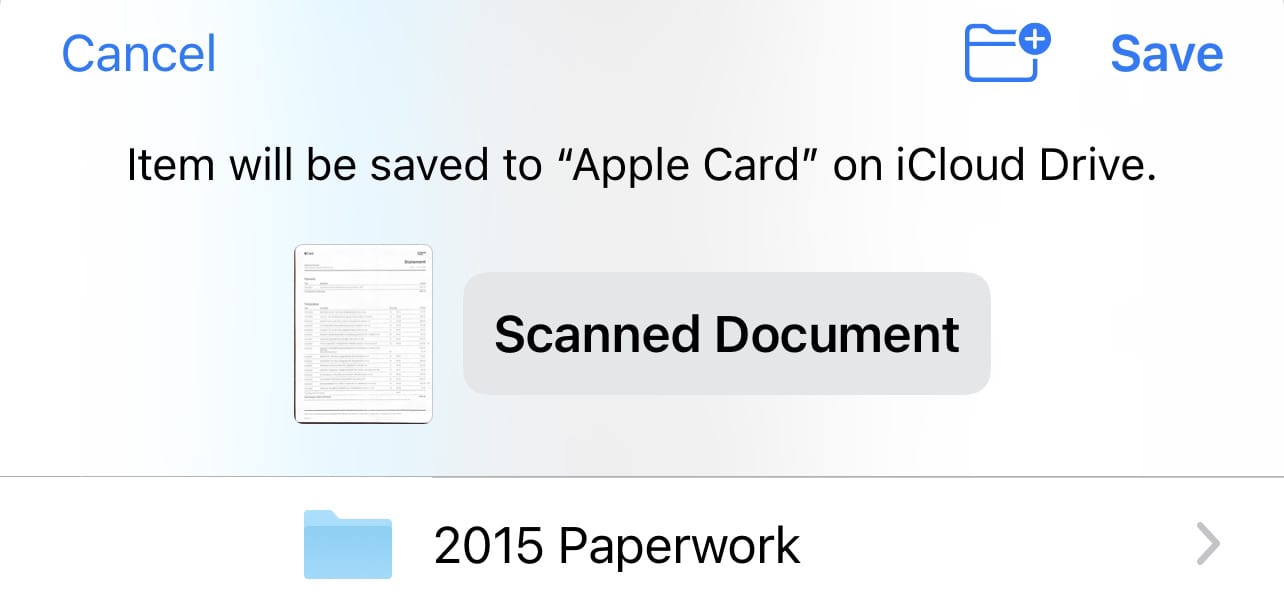
Tap the Save button. The file will be saved in folder “Apple Card” on iCloud Drive. The destination folder can be changed by tapping the correct one in the list of iCloud Drive folders.
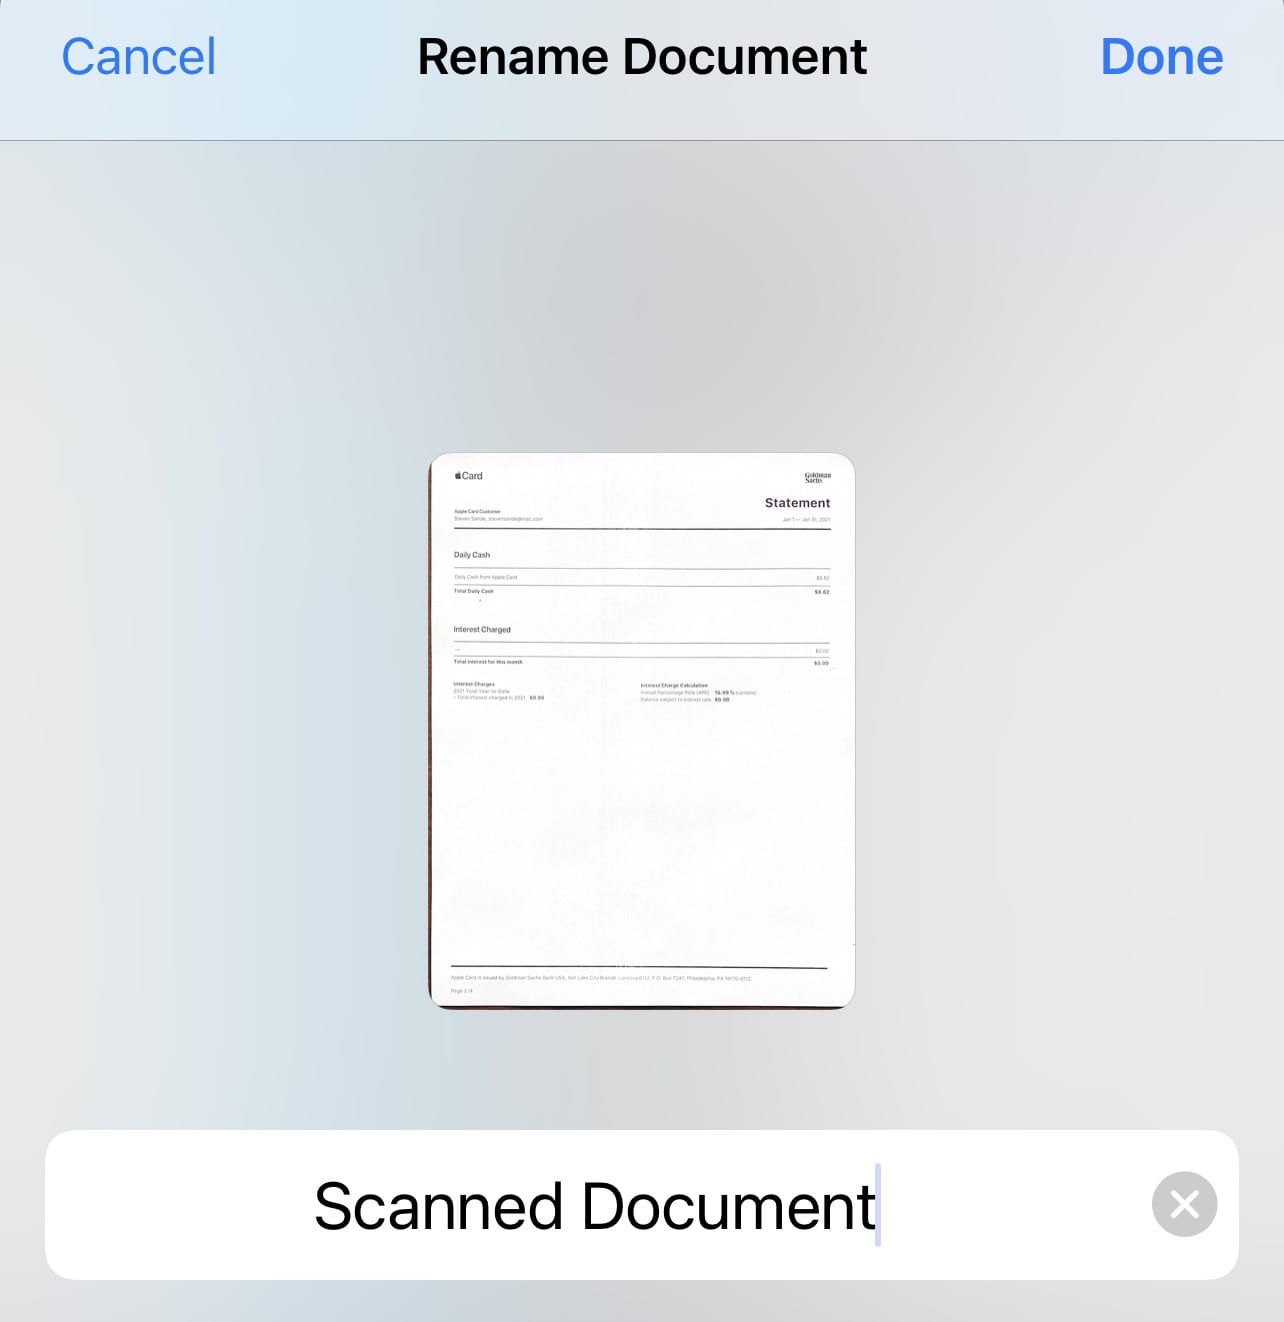
Each document has the same name by default — Scanned Document. Tap the name and a Rename Document dialog appears. Type in the new name, tap Done, and then tap Save to store the renamed document into the proper folder.
An Alternative
There are many alternatives to the Files scanner if you want extra features. For example, the Files app scanner doesn’t seem to compress the PDF files it creates, and the text in a document is not searchable.
For years, I have been using SwiftScan (previously known as ScanBot), which does a very good job of compression and does optical character recognition on documents to make them searchable. However, the developers have now gone to a $34.99 annual subscription for those features. As much as I like supporting developers through my purchases and subscriptions, I personally found the new pricing to be a bit much. I’ll be using the Files scanner in the future.





Anyway to make the PDF file size smaller?
RE: ” For example, the Files app scanner doesn’t seem to compress the PDF files it creates”
… However the Notes app does compress the files! I began using the Files app to scan because it was less steps, but quickly realized this issue, therefore I use the Notes app for multi-page scans.
Any problem with camera shake blurring images?
You might consider a bit about how one sensor shares such stored documents.
Also you might elaborate on howto organize scanned files for easy retreival
Another alternative is Genius Scan. I’ve used it for years. Works almost exactly as you described above.
DropBox offers similar scanner for those not using iCloud.
I’ve found for whatever reason the scanner included with Microsoft OneDrive is far better at scanning books and other targets that aren’t 100 percent flat.
Others mileage may vary…
Consider Scanner Pro app for $7 once.
Regularly updated and works very well.
Hi,
You can olso scan documents with Notes apps too (for those who not familiar that option).
Thanks for the article.
Where is the “FILES” app.
Is this for Mac OS or iOS?
Hi Zeal, it says in the opening paragraph: “Anyone with an iPhone or iPad has a scanner that works beautifully. It’s in the Files app…” So, this method works with both iOS and iPadOS.
Thank You.
I did see that statement but my search for the Files app in iPhone was -ve. I just went thru all my iPhone apps & sure enough it is there. Not sure why not listed in my initial alphabetical search.
I see tons of files that are in that folder, most appear from my iMac but I guess the cloud connection put them in that File folder for some reason.
Thanks
My iPad (14.4) does not seem to have this feature. However, to scan a document, open NOTES, create a new note and then choose the camera icon at the top. the rest is the same as your description.