Staring with macOS Monterey, iOS 15, and iPadOS 15, Apple added the ability to use custom email domains in emails.
Upgrade to iCloud+, and you can personalize your iCloud Mail address and invite family members to use the same domain with their iCloud Mail accounts.
Did we say “upgrade”? Yep. To learn how to get iCloud+, see Upgrade to iCloud+ and manage your subscription. For information about plans and pricing, see the Apple Support article iCloud+ plans and pricing.
Before you begin
Upgraded to iCloud+? Good. However, before you begin to create custom email domains, you should do the following:
Step one. If you have existing email addresses at your domain that you want to keep using, make a list of them so you can configure them in iCloud. If you don’t have existing email addresses, you can create them after you add the domain to iCloud. You can have a total of three email addresses per domain. To create an email address:
- Go to System Preferences > Apple ID > Name, Phone, Email.
Select the domain you want to create an address for, then click the “+.”
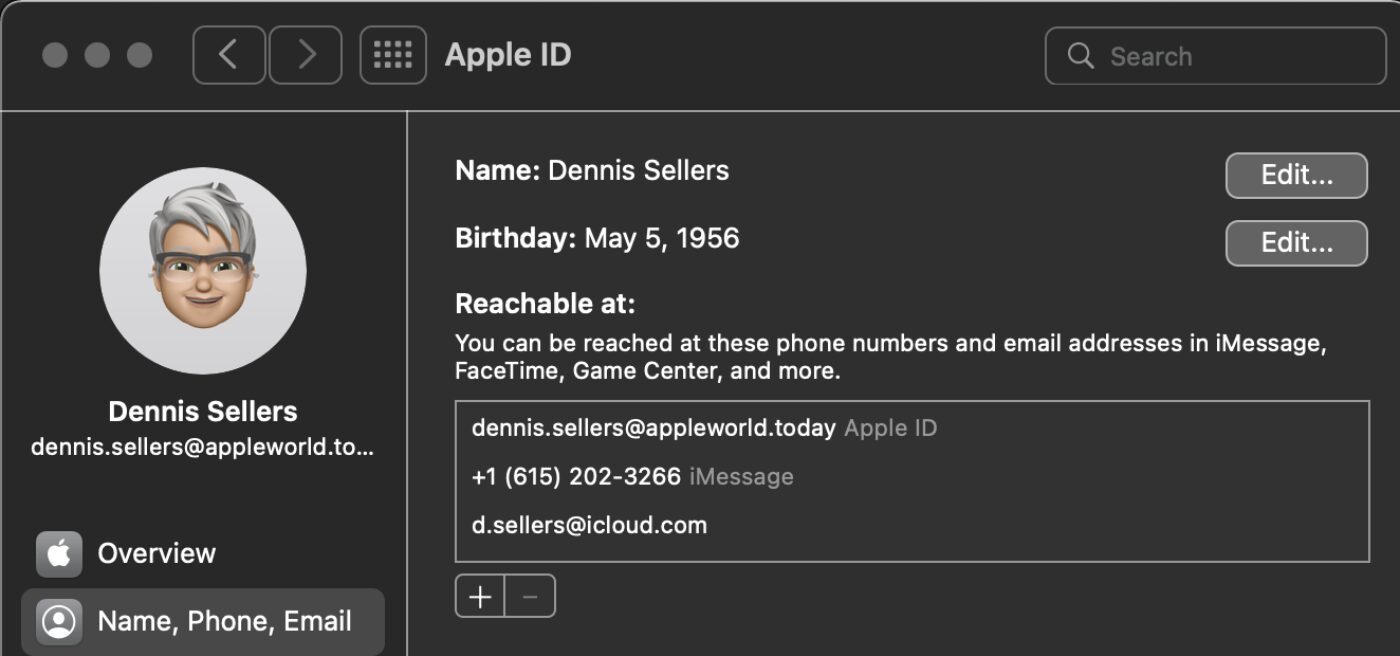
- Enter the new address in the text field, then click “Add email address.”
Step two: You need to have two-factor authentication enabled for your Apple ID. Read this article to learn how to implement two-factor authentication.
Step three: You must have a primary iCloud Mail email address set up to use a custom email domain. If you don’t:
- On your Mac, choose Apple menu > System Preferences, click Apple ID, then click iCloud.
- Select iCloud Mail, then follow the onscreen instructions to create an iCloud Mail address.
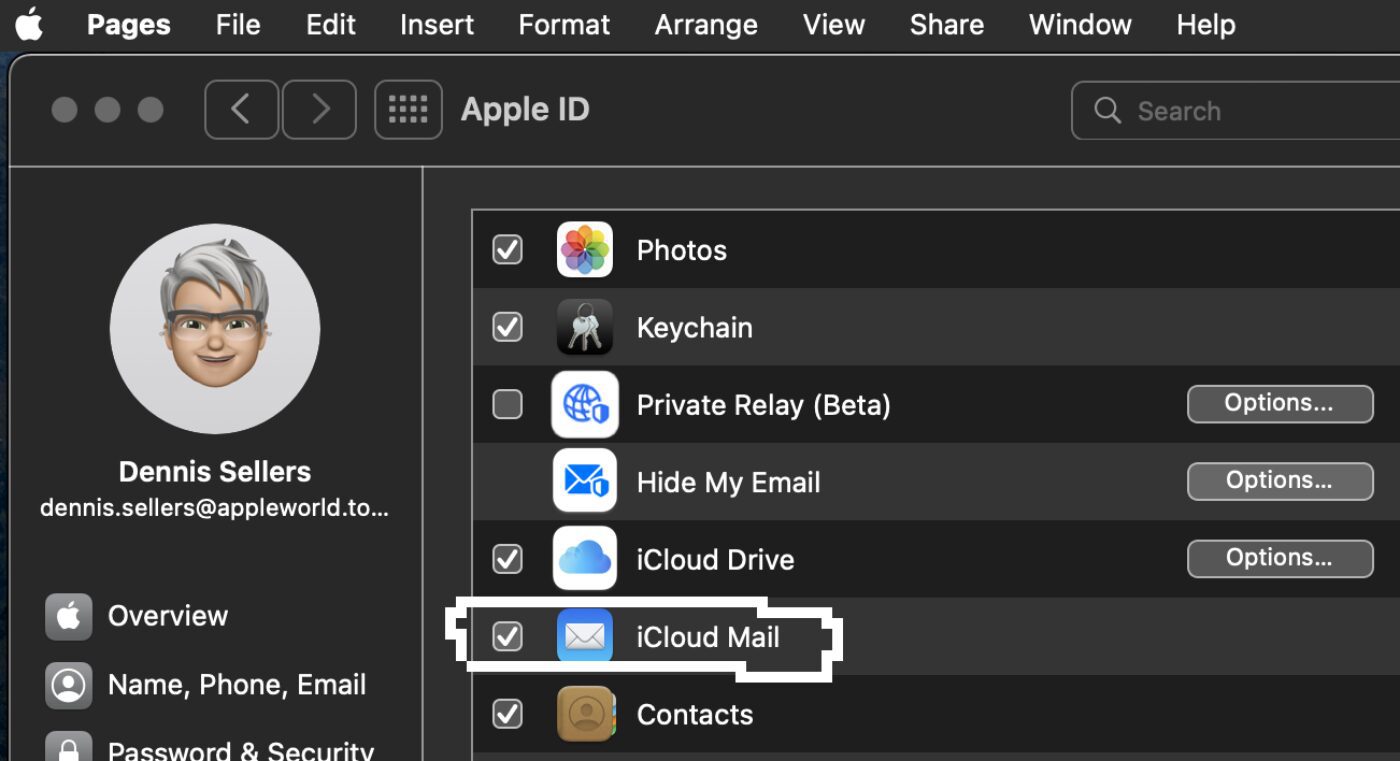
If you don’t see onscreen instructions after turning on iCloud Mail on your Mac, congratulations—you already have a primary iCloud email address!
Step four: If you want to share a domain with your family, make sure you have Family Sharing set up. See our guide to family sharing here.
Okay, now we’re ready to set up a custom email domain in iCloud Mail.
How to create a custom email domain
Step one: On iCloud.com, go to Account Settings. Scroll down until you see “Custom Email Domain.” Click Manage. Choose who gets to use the domain. Choose one of the following:
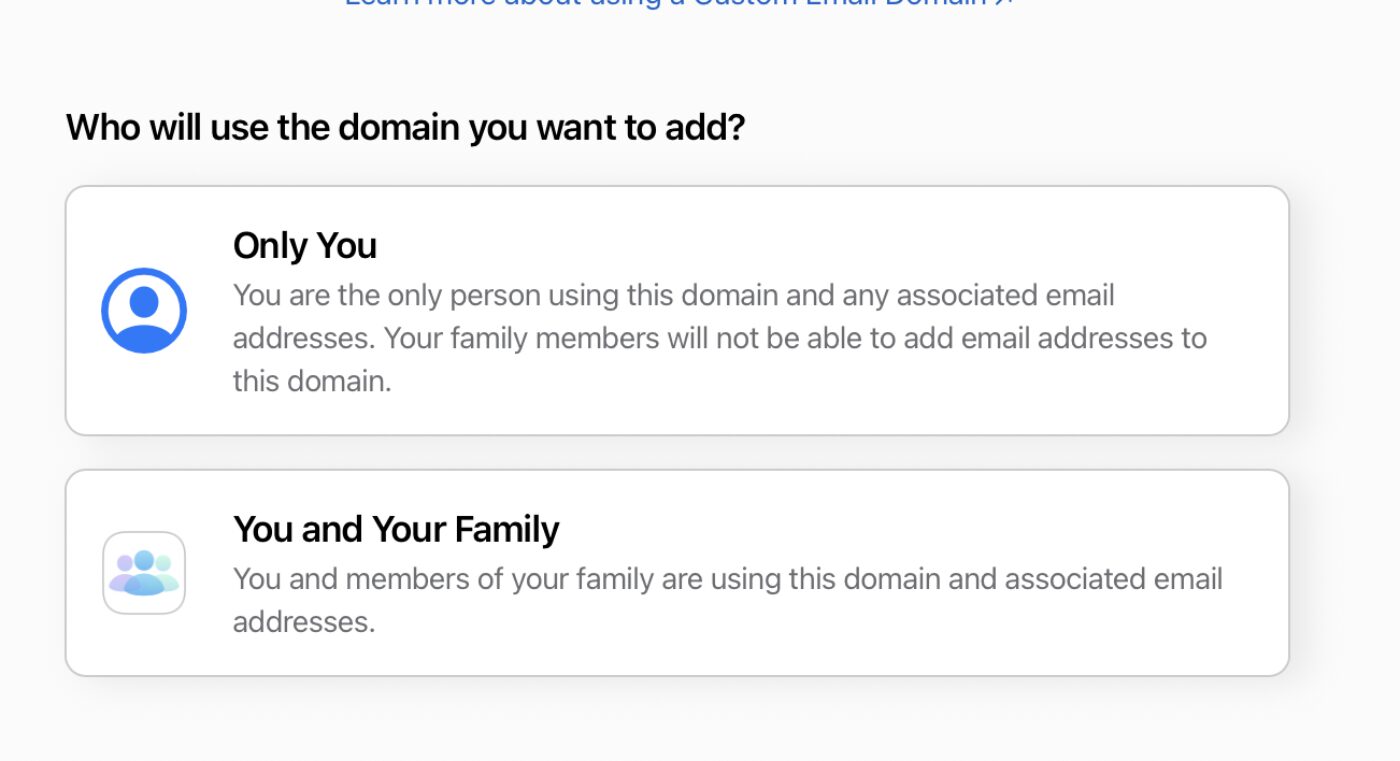
- Only You: Choose this option if you don’t have Family Sharing set up, or if you’re part of a Family Sharing group but don’t want to share the domain with the group.
- You and Your Family: Choose this option if you want to share the domain with members of your Family Sharing group. During setup, you can configure email addresses for each member of your Family Sharing group.

Enter the domain name, then click Continue.
Step 2: Enter the email addresses you already use with this domain name. Locate the person to who the email address belongs. If you’re sharing the domain with your Family Sharing group, you see all your Family Sharing members listed. If not, you only see yourself.
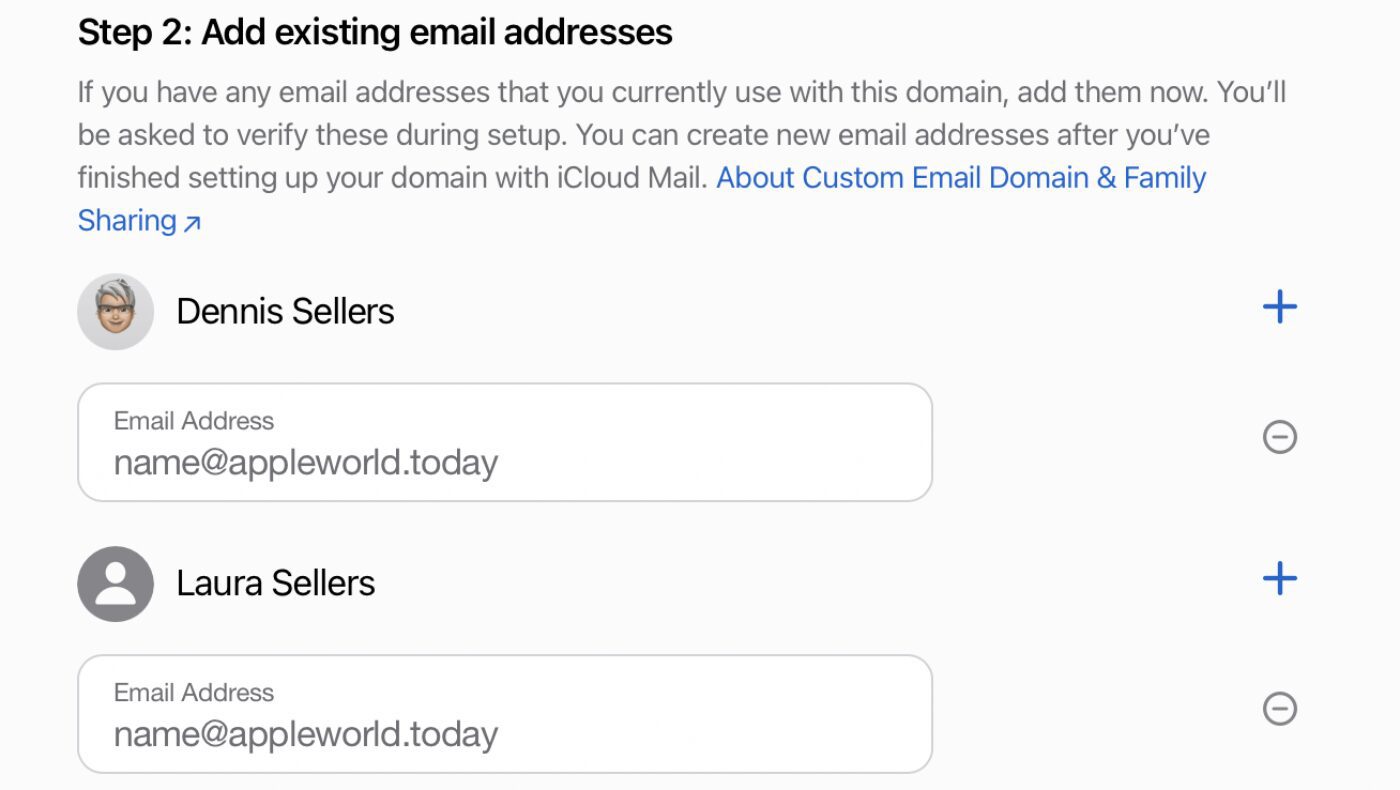
Add an existing email address in the field below their name. If you want to add an additional email address for any person, click the “+” button by their name. Type the additional address in the text field. Each person can have a maximum of three email addresses for a domain.
After you finish adding all existing addresses, click “Add email address(es).” A verification email is sent to each of the email addresses you added.
Step 3: Follow the on-screen instructions to finish setting up your domain. Depending on the domain, you may be prompted to sign in to your domain registrar to automatically update your records.
Otherwise, you need to manually update your DNS records. For information on how to update your MX, TXT, and CNAME records, see the Apple Support article: Set up an existing domain with iCloud Mail.
Finally, choose a default email address to use when you send iCloud mail. You can change this at any time in Mail preferences.