With a wide range of excellent pocket-sized cameras on every iPhone, iPod, and iPad, there has never been a better time to take photos. Here are a few tips for managing a photo library with iCloud, and getting the most out of Apple’s Photos app. A free iCloud account can help clean up even the messiest (digital) folder.
To get started you will need an iCloud account. iOS and macOS users can freely create an iCloud account that comes with 5GB of complimentary storage, which is enough to get started managing photos.
Sift quickly by adding hearts
When launching the Photos app, having every photo you’ve ever taken appear in the Camera Roll is intimidating. Along the bottom of the application is a small heart icon. Keep this in mind the next time you’ve got a dozen cute puppy photos and mark a favorite by tapping the heart. Now, step out to the Photos home menu and select the favorites folder. Everything you’ve hearted is sifted down and can be easily shared.

The auto-adjust is quite nice
Normally, I caution against using “automatic” buttons in software, the results can be unusual. However, in this instance, the “auto” button is quite nice! To adjust overall brightness in a hurry, click the EDIT button in the top right panel. A magic wand appears with an overall brightness slider. Even on maximum settings, the details are preserved in the brightest areas inside the photo, like these flower petals. No need to worry about highlights clipping here!

Geo-tag it
Photos for iOS can be used for photo management for all kinds of pictures and cameras—not just for the photos captured on the device. My friend sent me a batch of photos from our night out axe-throwing. They used a point-and-shoot camera that didn’t have a GPS onboard. Geo-tagging these photos to organize them by location is pretty quick:
- Tap Select and tap on each photo to tag.
- Tap the Share panel in the bottom left.
- Select Adjust Location.
- Type in the name (this could be the name of a city or a specific business).
Now, if I put “Woodstock” in the search field within the Photos app, my axe throwing pictures appear.

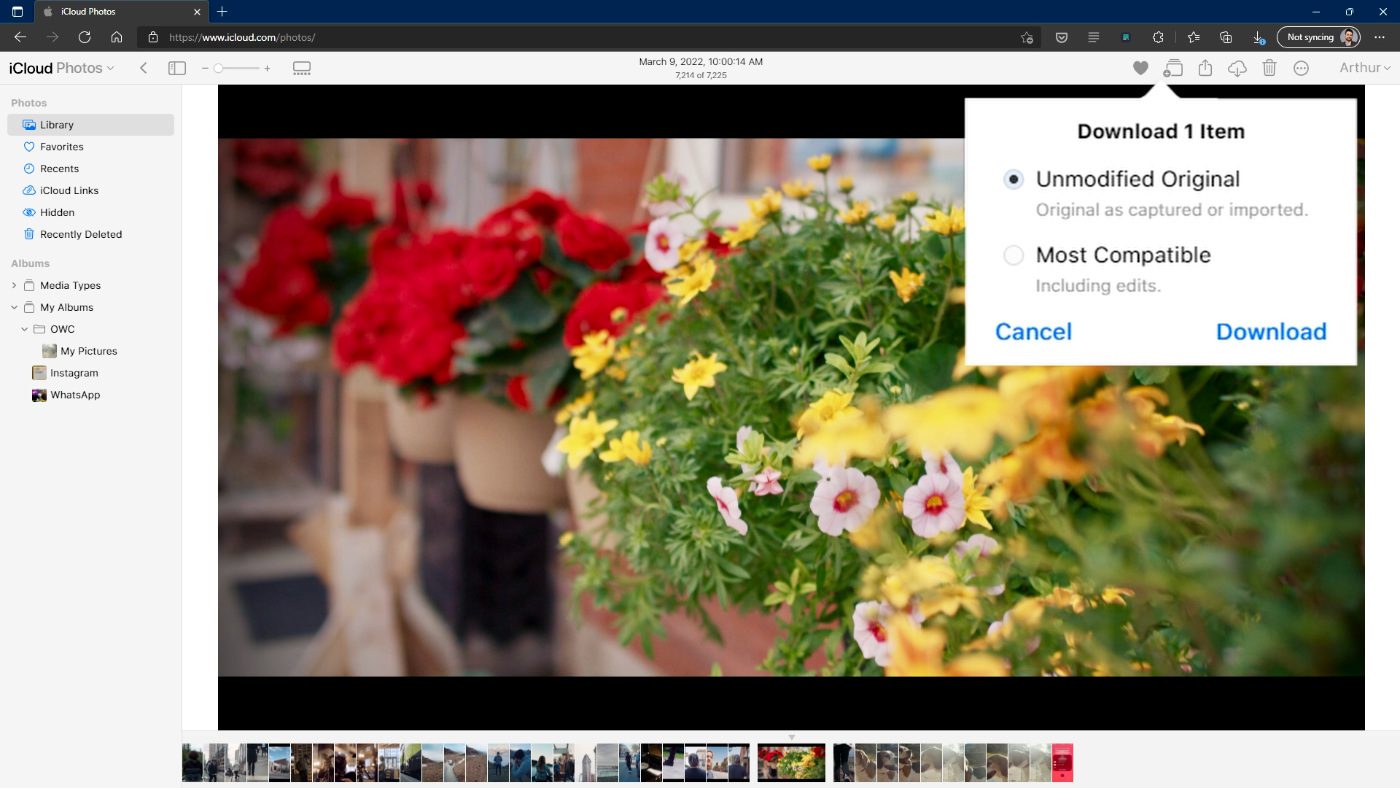
Access from any device
All iCloud documents are available from any web browser, and this includes photos. Windows and ChromeOS users are not left in the cold here. Go to www.icloud.com and sign in. All of my albums and favorites appear just as they do on my iPhone. And any image enhancements I have made on one device, carry over to another. For my flower picture, I can choose to download either the original camera file or the version enhanced by the auto tool.
Continue on the Mac
The macOS version of Photos also syncs perfectly with the work started on iOS, and has a few extra features. One of my favorite tools is Auto Enhance. It works just like the auto button shown earlier, but on the Mac, I can grab an entire photoshoot at once and process it in a single click. This works great for posting to social media quickly when there isn’t time to do a proper edit on each individual photo.
Vignettes work well too. By darkening the edges of the frame, the center of the frame appears to be brighter; which helps draw in the viewer’s focus.
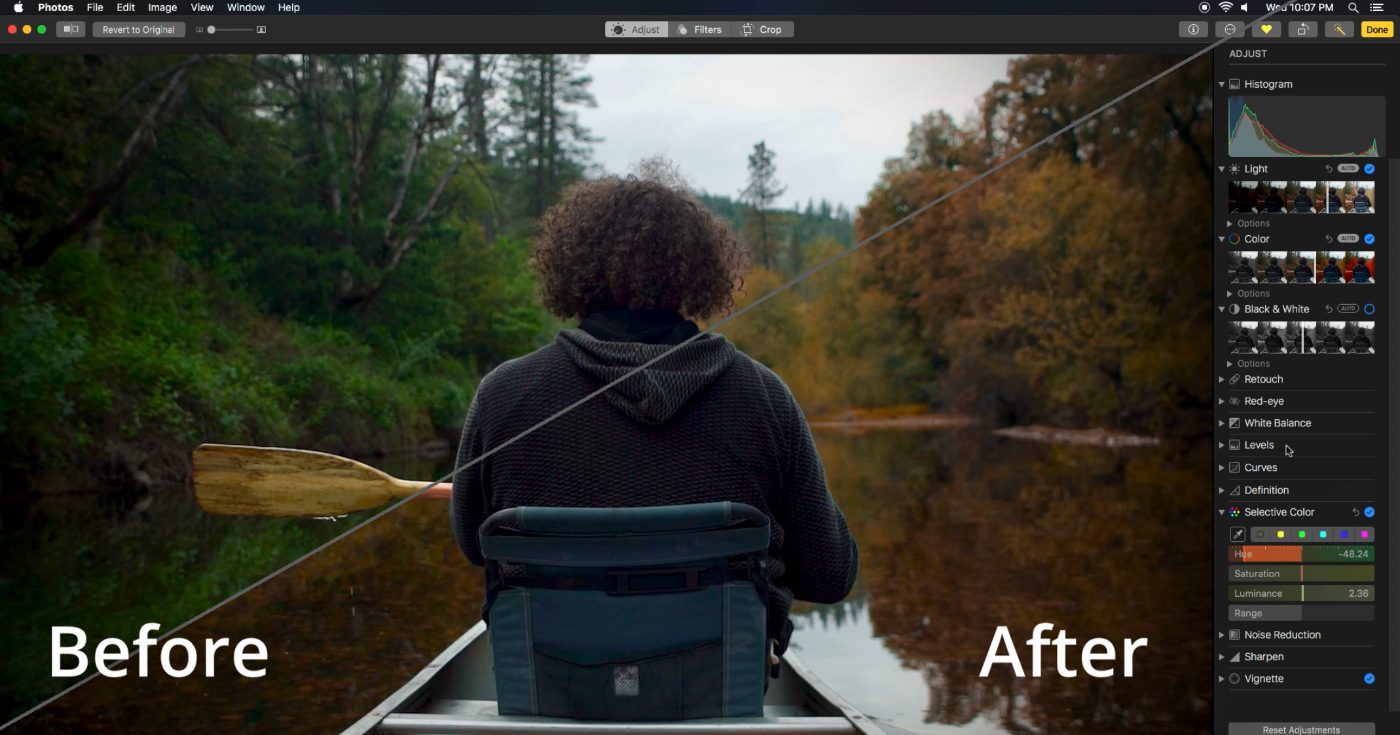
Another one of my favorites is the selective color tool which is only available on the Mac. In this picture, the trees look really nice, but since the green is so consistent, we can have a little fun. Open up the Edit panel found in the top-right of the screen and toggle selective color. Use the eye dropper icon to sample the shade we want to modify. And with the green selected, we can push this towards cyan, or gold.
These are just some of the ways to organize and enhance your pictures using Photos. Don’t let the simplicity of the app fool you, it more than punches above its weight when it comes to managing your digital life.
Have a tip about photo editing you’d like to share? Let us know in the comments below!