With iCloud Shared Photo Library in macOS Ventura (as well as iOS 16 and iPadOS 16), you can create and share a separate photo library with up to six members.
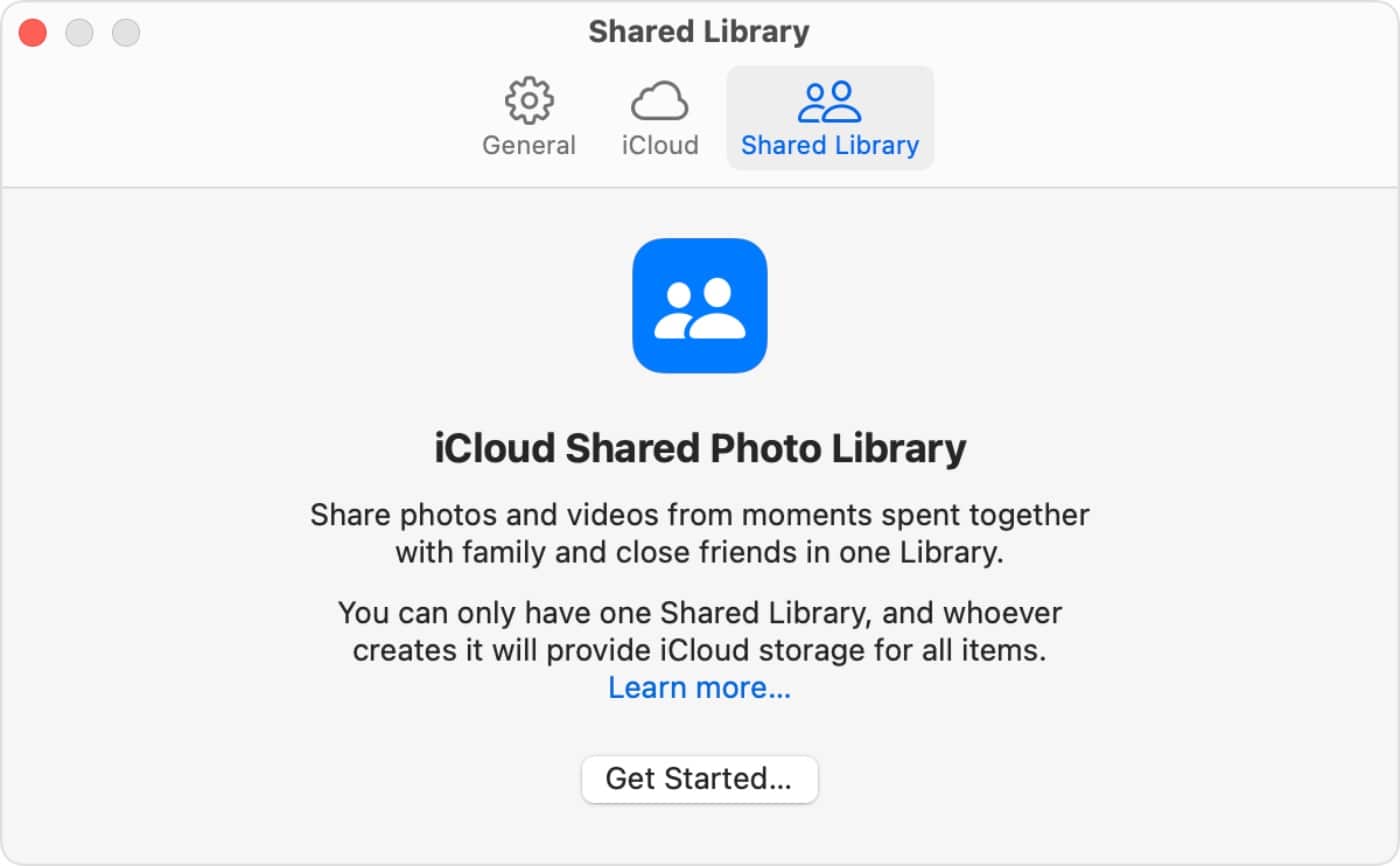
You can choose to share all of their existing photos from their personal libraries, or share based on a start date or people in the photos. To help keep their Shared Library up to date, you’ll receive intelligent suggestions to share relevant photo moments that include participants in the library and any other people they choose.
You can choose what to include based on a start date or the people in the photos. Once the Shared Photo Library is set up, you can share photos manually or get smart suggestions for adding photos to the shared library in a new For Your Shared Library sidebar item.
How to implement an iCloud Shared Photo Library
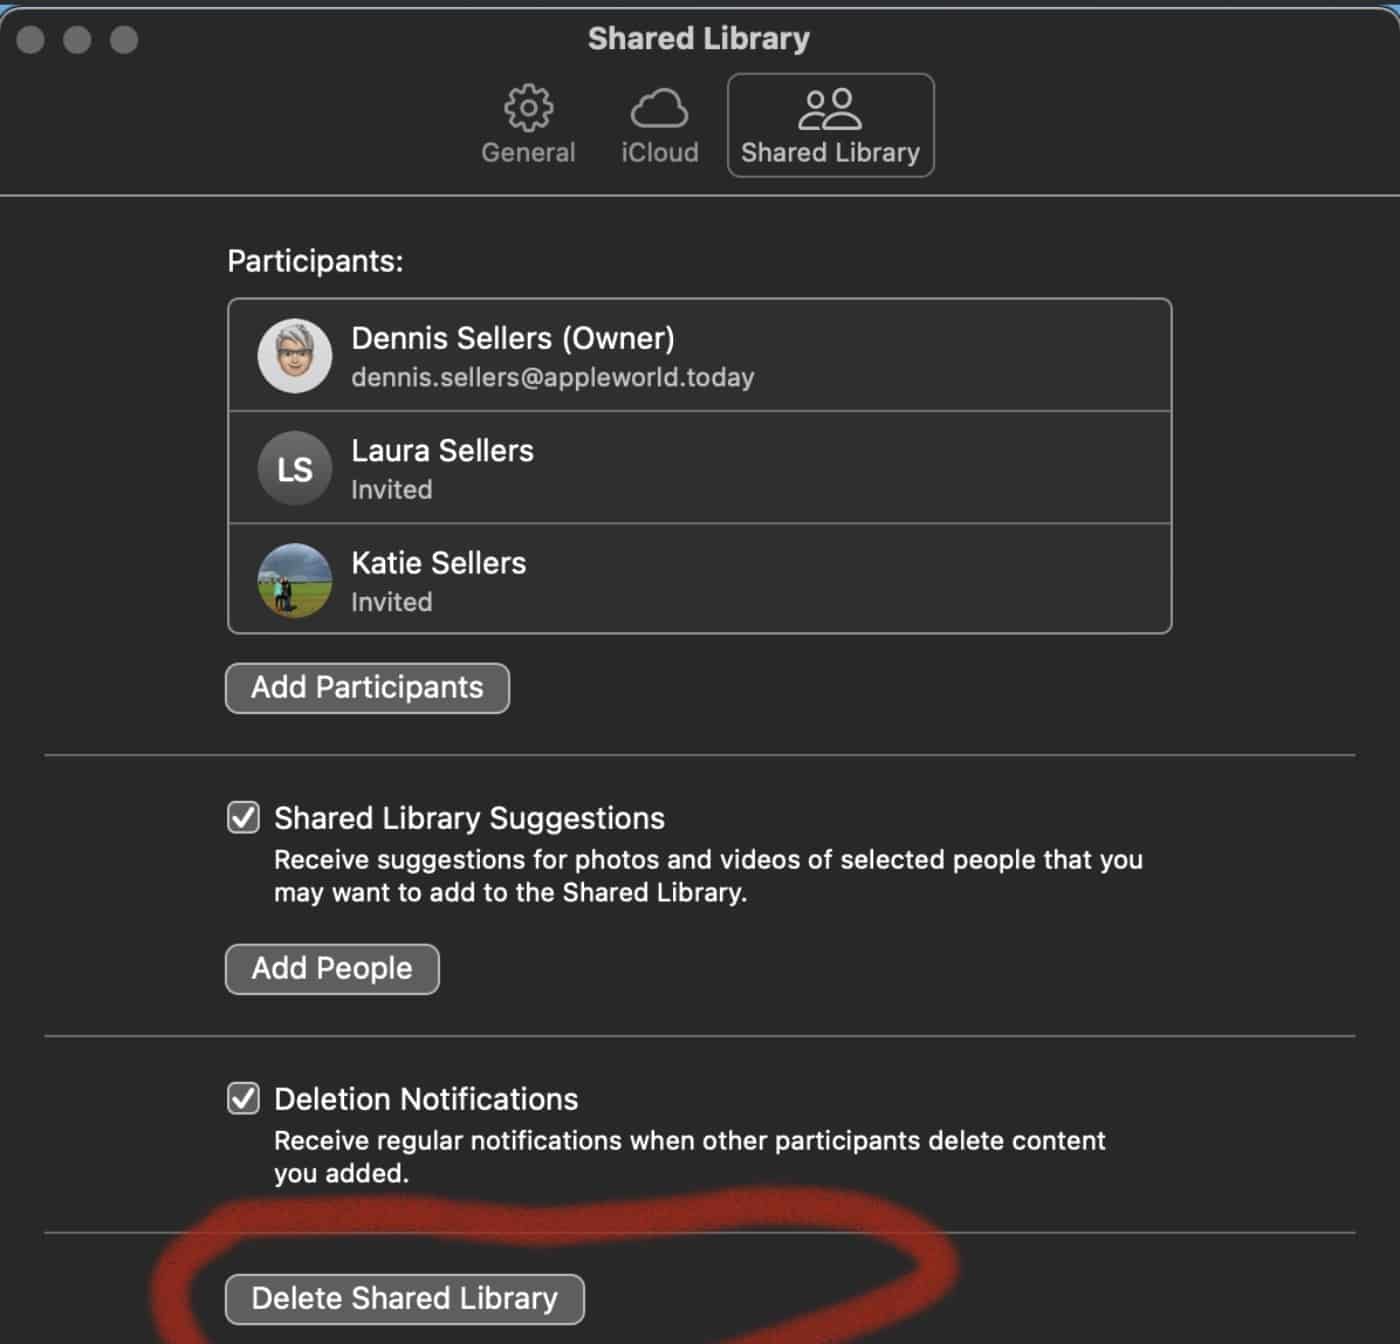
To set up an iCloud Shared Photo Library, launch the app, choose Settings, then Shared Library.
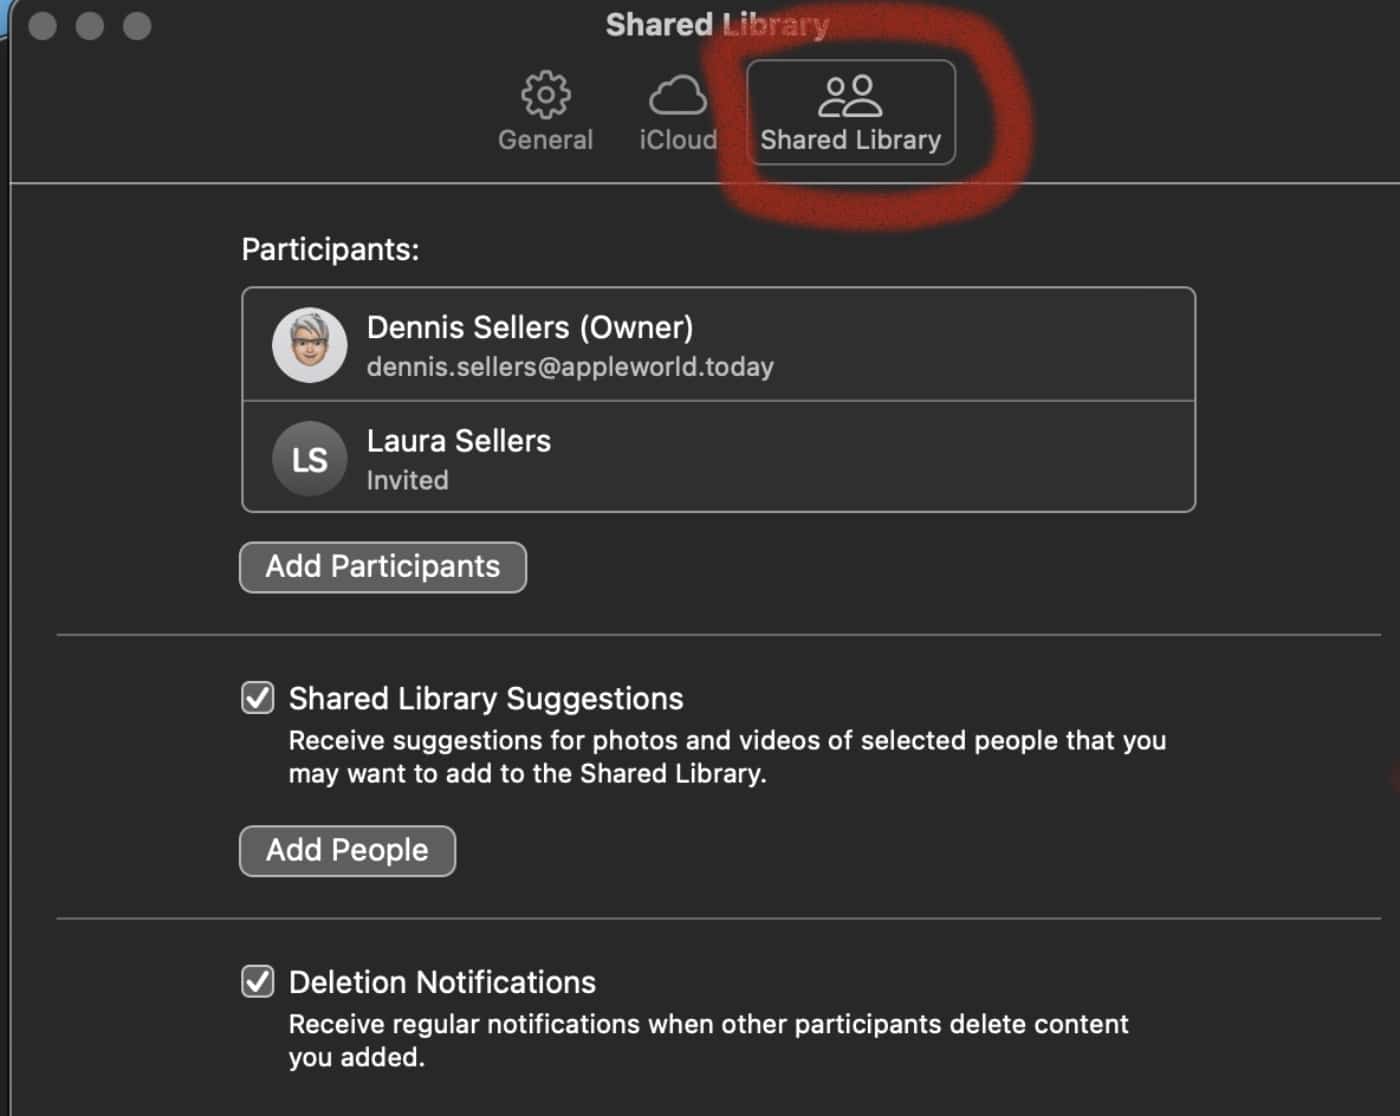
Tap on “Add Participants” to add folks you want to share with.
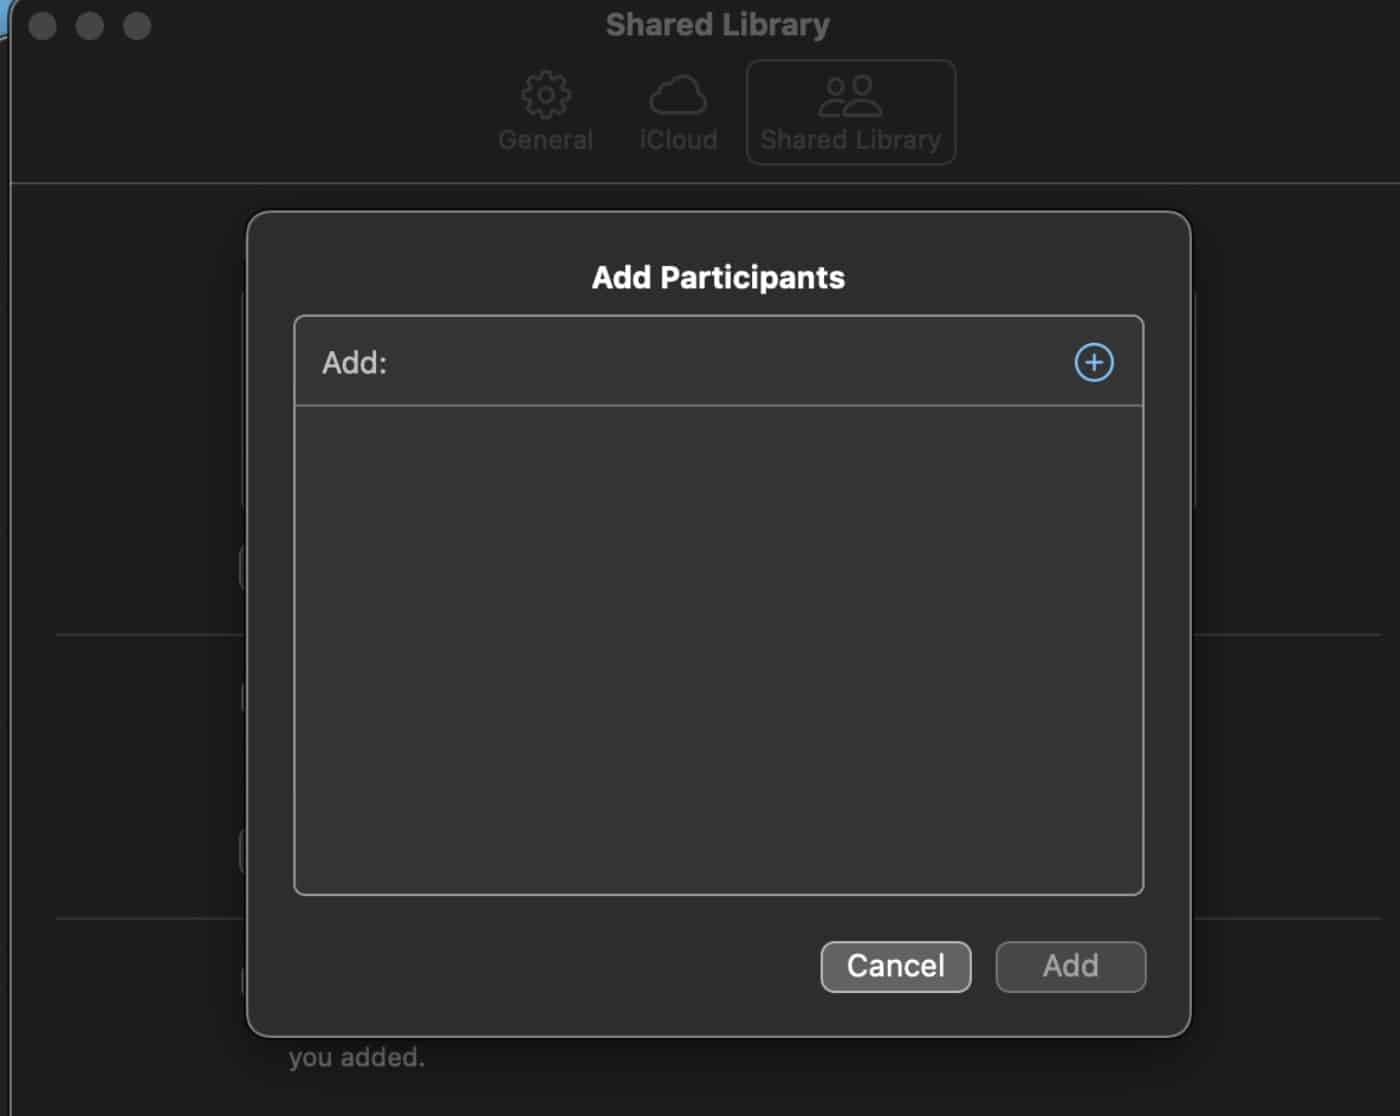
Those you add will get a Message with a Shared Library invitation. Note: Users under 13 can only join or create a Shared Library with members of their iCloud Family Sharing group.
After picking the folks you wish to share with, you can choose to move which items to move to the Shared Library. You can choose from: All My Photos and Videos; Choose By People or Date; or Choose Manually. There’s also an option to “Move Photos Later.”
Once your photos and videos are are added, you can preview the library before it’s shared. If its looks good, you can proceed to invite more participants using the macOS Messages app or a shared link.
Everyone will have equal permissions for adding, editing, and deleting photos in the shared library. Favorites, captions, and keywords sync across your Macs, iPhones, and iPads — though it may take a little time to do so. The syncing isn’t always instantaneous.
iCloud Shared Library automatically sends notifications to everyone with whom its shared when new photos are added. If someone doesn’t want to receive them, they can go to Settings > Shared Library and unclick “Delete Notifications.”
How to Switch Between Your Personal Library and Shared Library
Launch Photos
At the top, choose Personal Library, Shared Library, or Both Libraries.
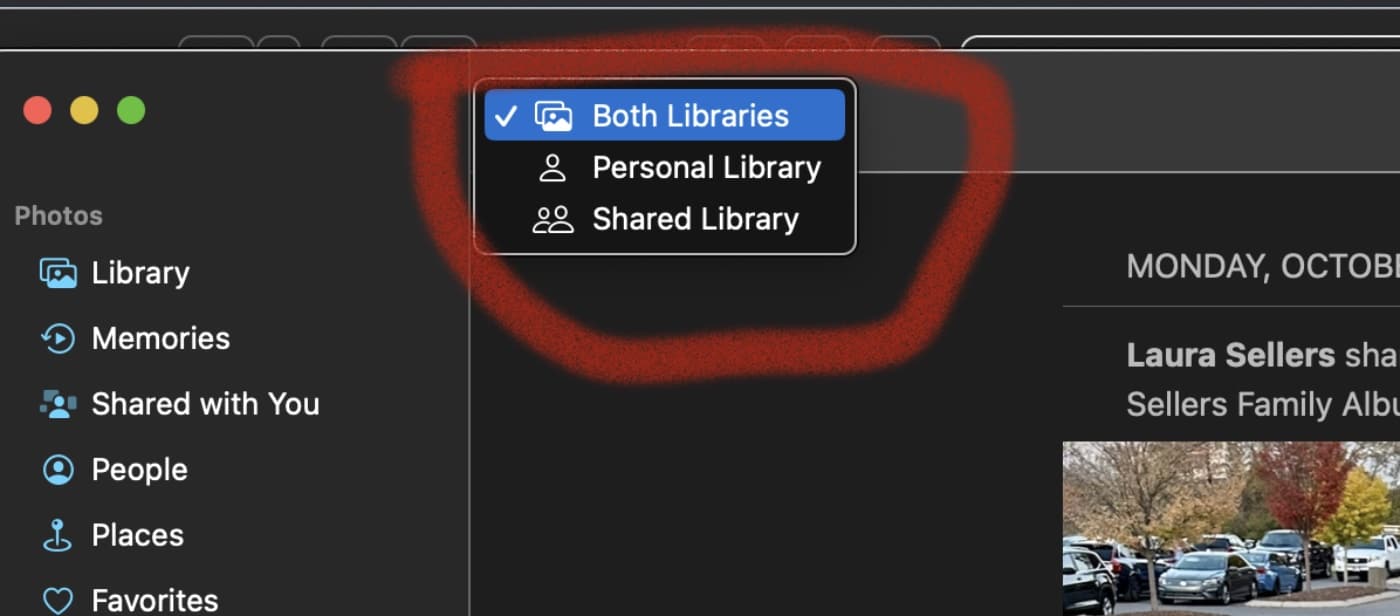
In Both or Shared Library view, photos that are in the Shared Library are badged with an icon. To turn this off, choose View > Metadata > Show In Library.
How to Leave a Shared Library
If you created an iCloud Shared Photo Library, you can remove a participant or delete the Shared Library anytime you wish. After you delete the Shared Library, all participants receive a notification.
If a participant has been in the Shared Library for more than seven days, they automatically receive everything from the Shared Library in their Personal Library. If they’ve been in the Shared Library for less than seven days, they receive only the photos and videos that they contributed.
If you’re a participant, you can leave a Shared Library at any time. You can choose to receive a copy of everything from the Shared Library in your Personal Library, or just what you contributed.
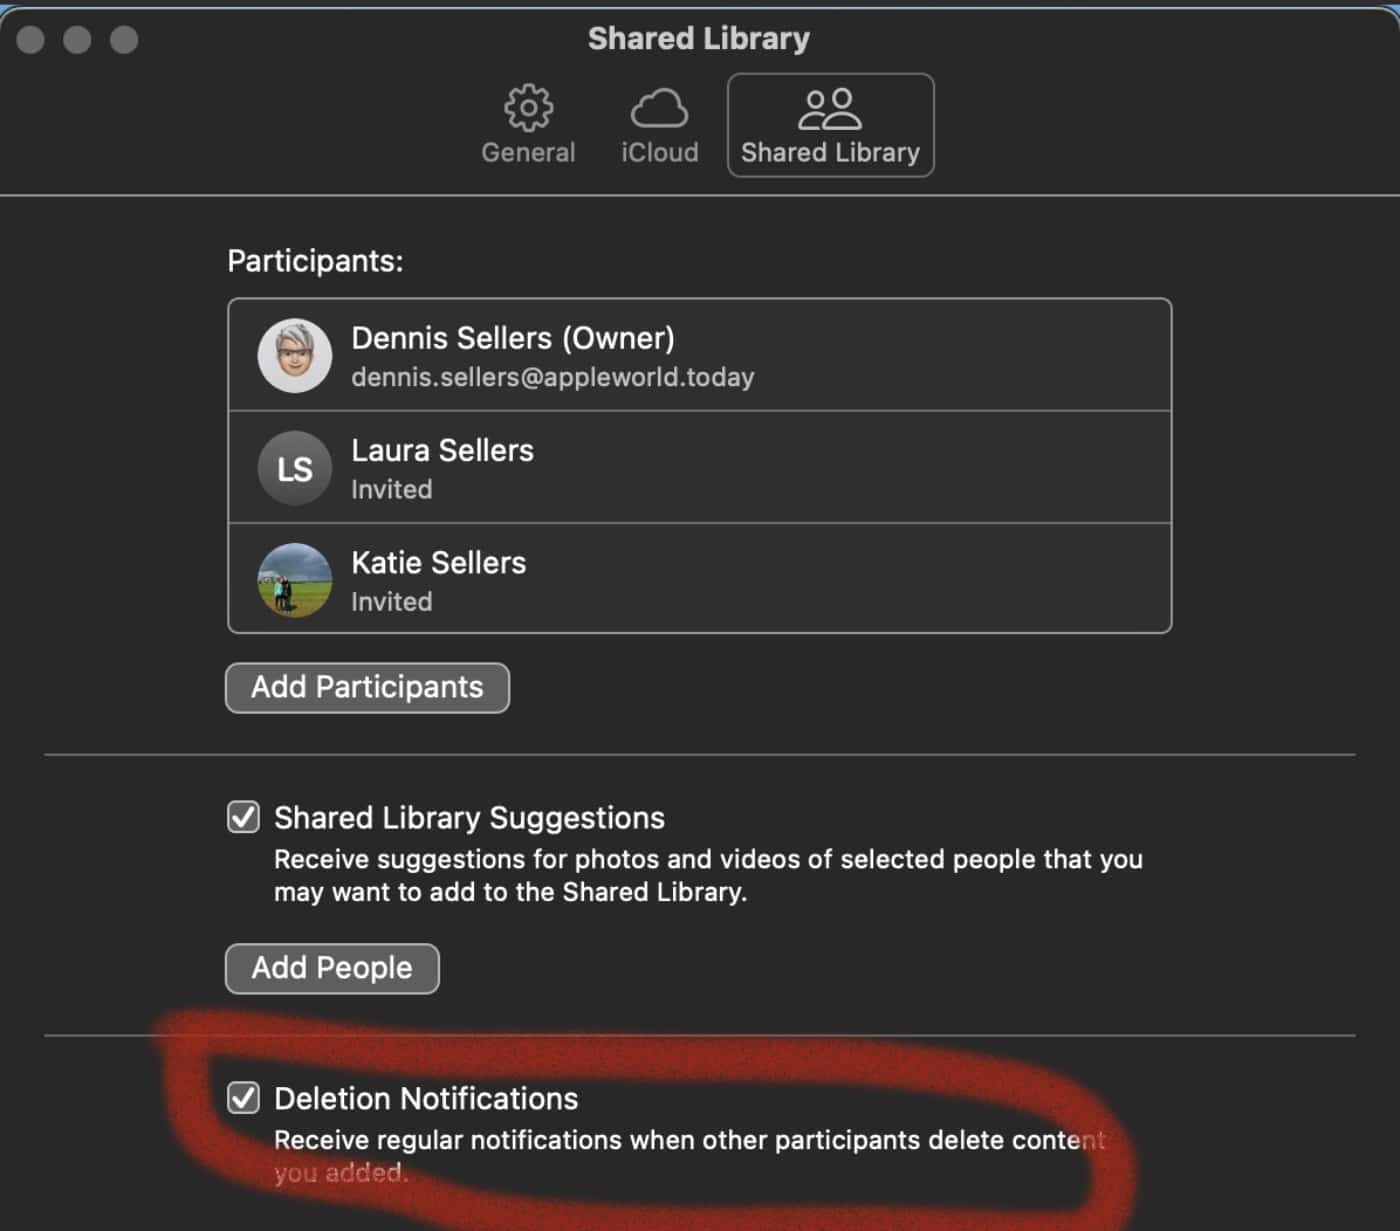
To delete a Shared Library, go to Settings > Shared Library and click “Delete Shared Library.”




The instructions say to “launch the app, choose Settings, then Shared Library. “.
It does not say what app to launch! I am guessing it’s supposed to be the Photo’s app.
When I launch the photo’s app and go to settings the resulting window has two icons at the top labeled General and iCloud. There is no Shared Library icon and thus this does not work. I am on a MacBook Pro at macOS Ventura 13.2.1
Photos is Version 8.0 (531.0.100)
Does not work.