Before macOS Ventura, you could lock notes with a special passcode, which, when forgotten, could be a pain in the butt. But with the latest rev of the operating system, things are simpler: you can now secure any note with the device password or Touch ID.
The previous way
But first let’s look at the previous method using passcodes:
° Open the Notes app and go to the menu bar.
° Click Notes → Settings.
° Choose an account beside Locked notes if you have multiple accounts.
° Enter a password in the password field.
° Enter it again in the Verify field. Add a hint if you wish to help you remember the password.
° Click “Set Password.”
The macOS Ventura way
The process is, as mentioned, simpler in macOS Ventura. To lock a note:
° Open Notes app.
° Go to the menu bar and select Settings.

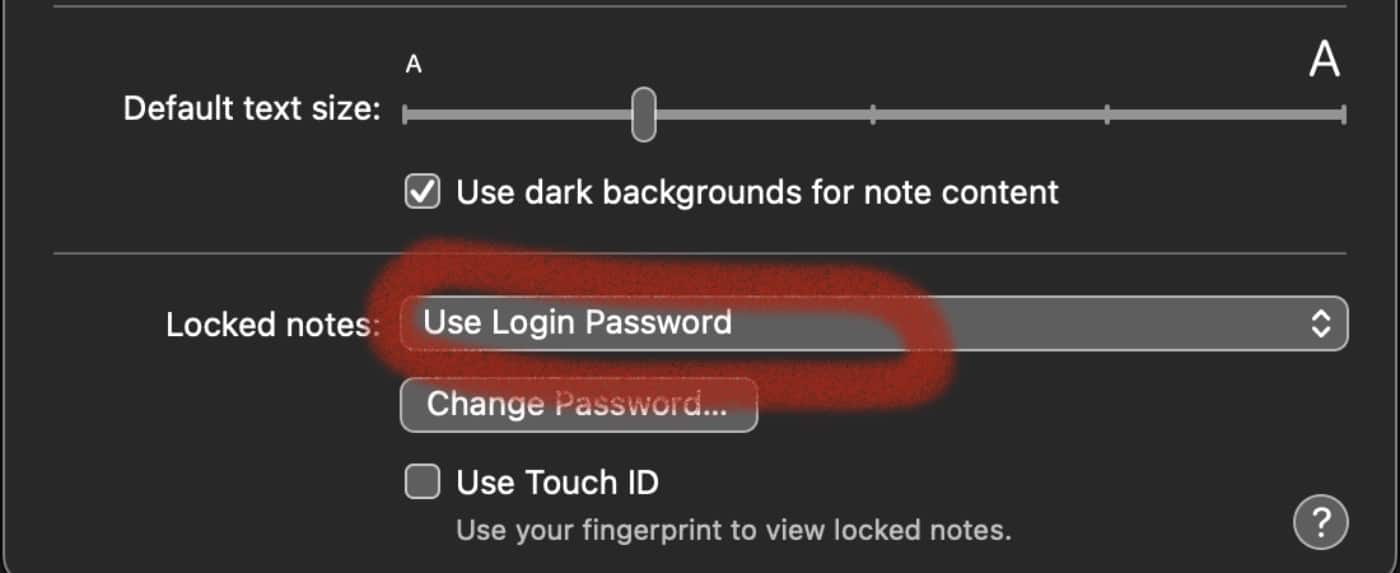
° At the bottom of the pop-up mention, you’ll see a “Locked notes” option and choices for using a login password, changing the password, and Use Touch ID
° Click “Use Login Password” and follow the prompts to set up a password. You can always change the password later by using (d-uh) “Change Password.”

To enable Touch ID to use your fingerprint to view locked notes:
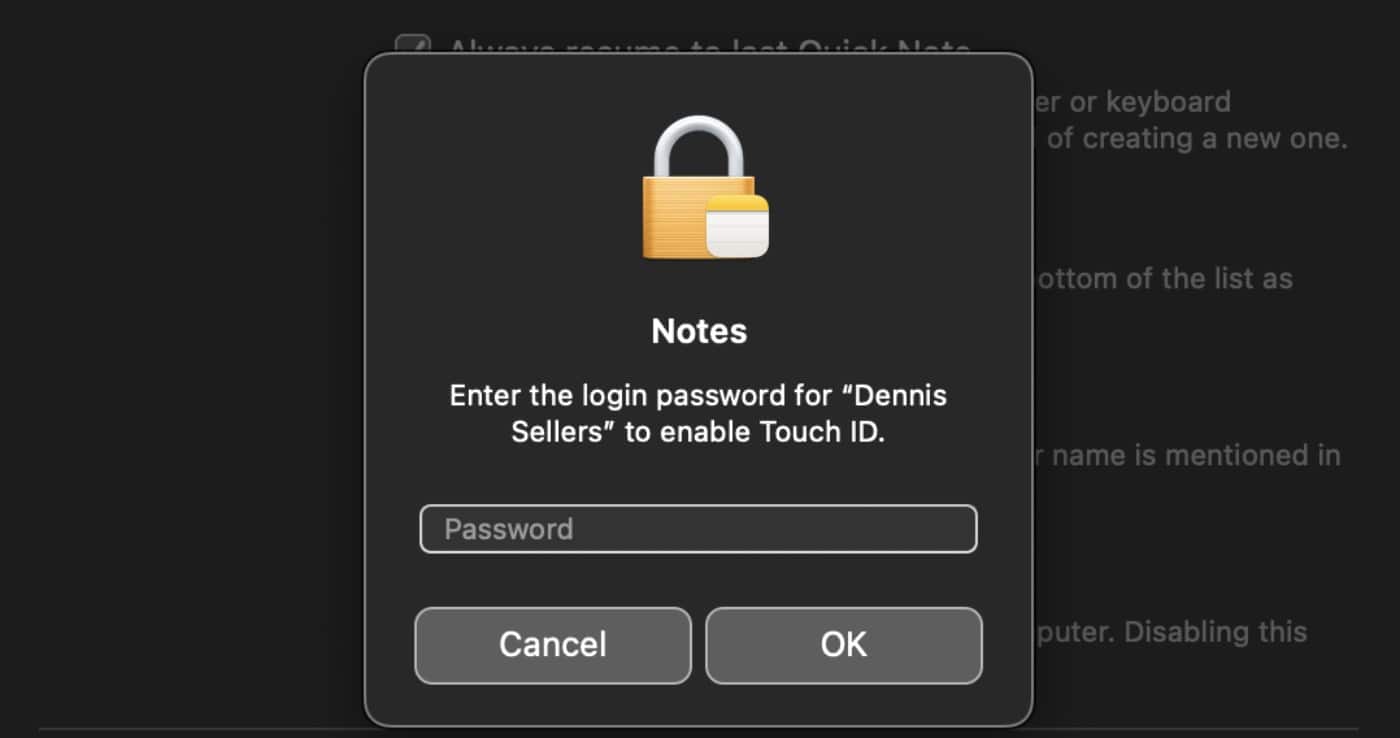
° Toggle on the Enable Touch ID box.
° Click the box.
° Enter the login password for your Mac to enable Touch ID.

° Control-click on the note you want to lock or unlock.
° Click Lock Note or Unlock Note.


NEVER use ANY form of Bioauthentication, Face Recognition, or Fingerprint ID. These are OPTIONAL on all iPhones, iPads and Macs, NEVER use them. Bioauthentication and Face ID DON’T give you the legal protection of a Passcode. The police, courts, customs, TSA, OR CRIMINALS can unlock your device with Bioauthentication or facial recognition. In multiple cases, people have been ORDERED to unlock a phone/computer via Bioauthentication, under the reasoning that their fingerprint or your face is a piece of “physical evidence”. They CANNOT order you to enter a passcode.