macOS Ventura adds a “live captioning” feature that allows you to see automatically transcribe dialogue integrated into your FaceTime video calls. Apple says that, with speaker attribution, it’s easy to follow along with group conversations.”
This should be especially helpful to folks who are deaf or hard-of-hearing. Live Captions automatically generate and transcribe captions for on-device multimedia content and real-world conversations in real time. This is also useful handy for situations where the person on the other end of your video call isn’t clearly audible.
How to Enable Live Captions
To enable Live Captions:
° Open System Settings.
° Choose the Accessibility option.
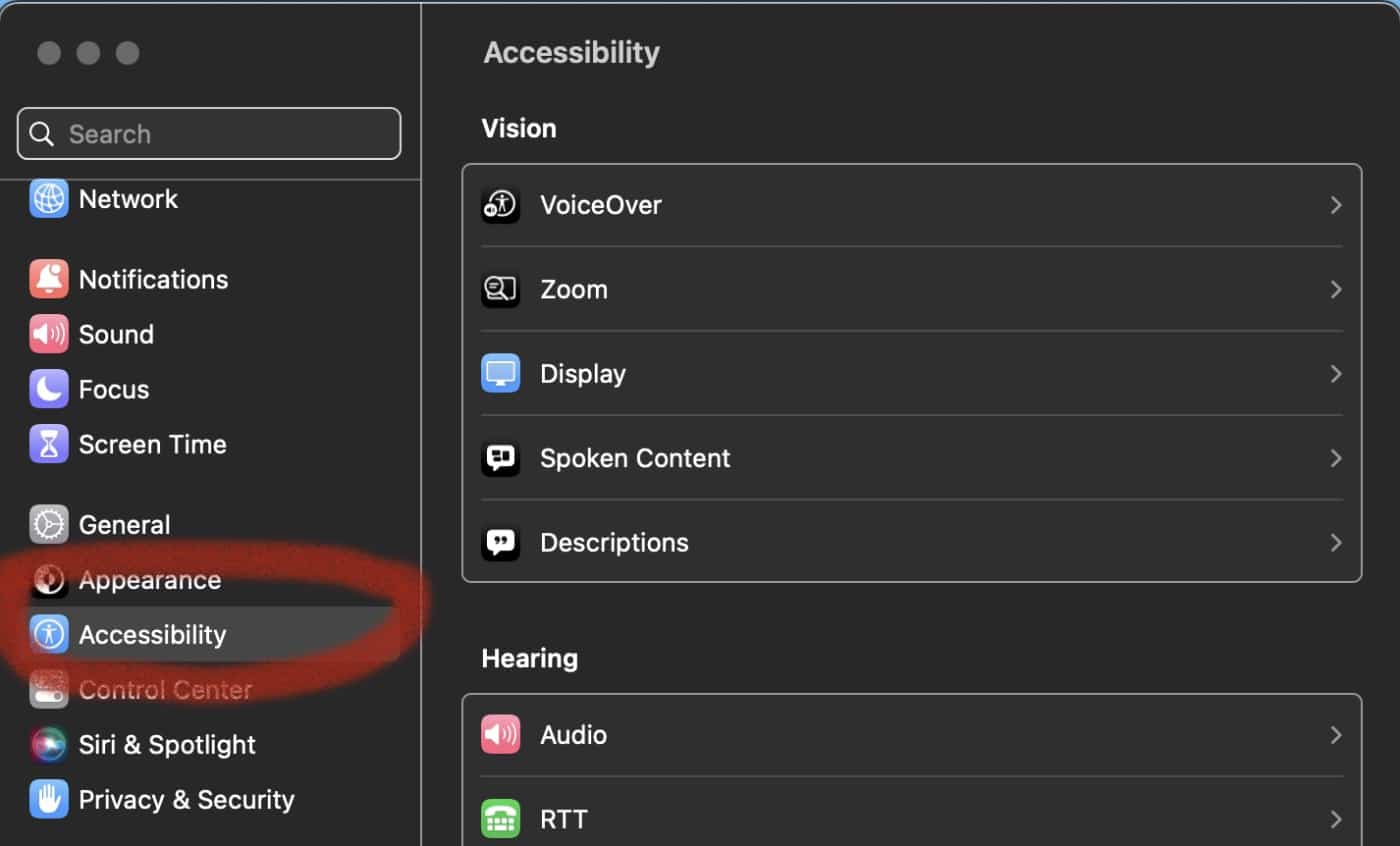
° Click on the switch next to Live Captions to enable the feature.
How to customize Live Captions
You can also customize Live Captions in macOS Ventura FaceTime. Here’s how:
° Launch FaceTime and choose System Settings.
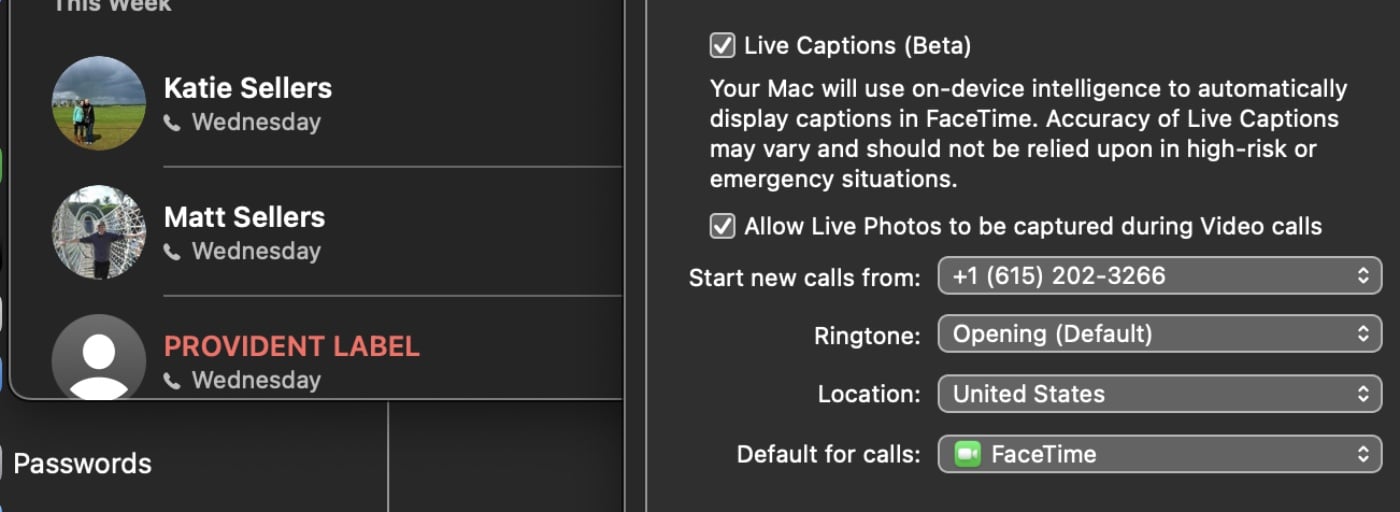
° In the Live Captions section, find the “In-App Live Captions” header.
° Toggle the switch to enable the Live Captions in FaceTime calls.
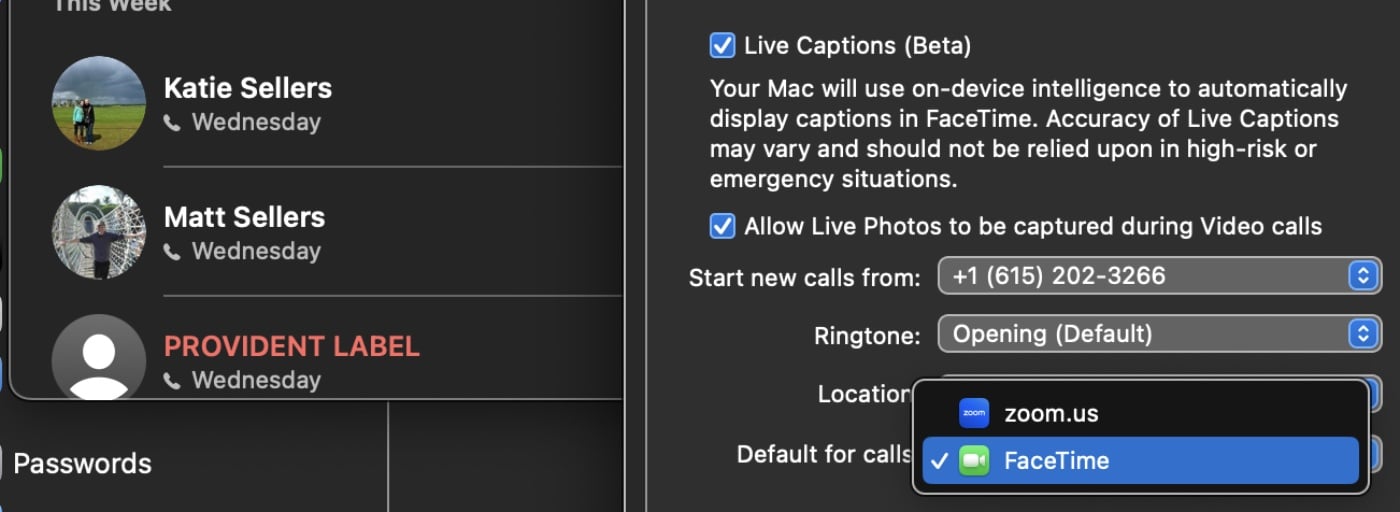
Now you can choose which number you wish to start new calls form, you can choose your ringtone, select your location, and even set the “Default for calls.”
Regarding the “Default for calls” option if, for instance, you have Zoom installed on your Mac, you can make it your default rather than FaceTime.
How to Turn Off Live Captions in FaceTime
To turn off Live Captions in FaceTime:
° Open System Settings.
° Choose the Accessibility option.
° Toggle the switch next to Live Captions to un-enable the feature.

