Gone are the days when you could only use a single SIM card in your iPhone. The latest iPhones support the use of multiple phone lines through eSIMs. But what is an eSIM, how does it differ from a traditional SIM, and how can you use it to balance your phone’s data usage?
In this article, we’ll tackle these questions and more—let’s dive in.
What is an eSIM?
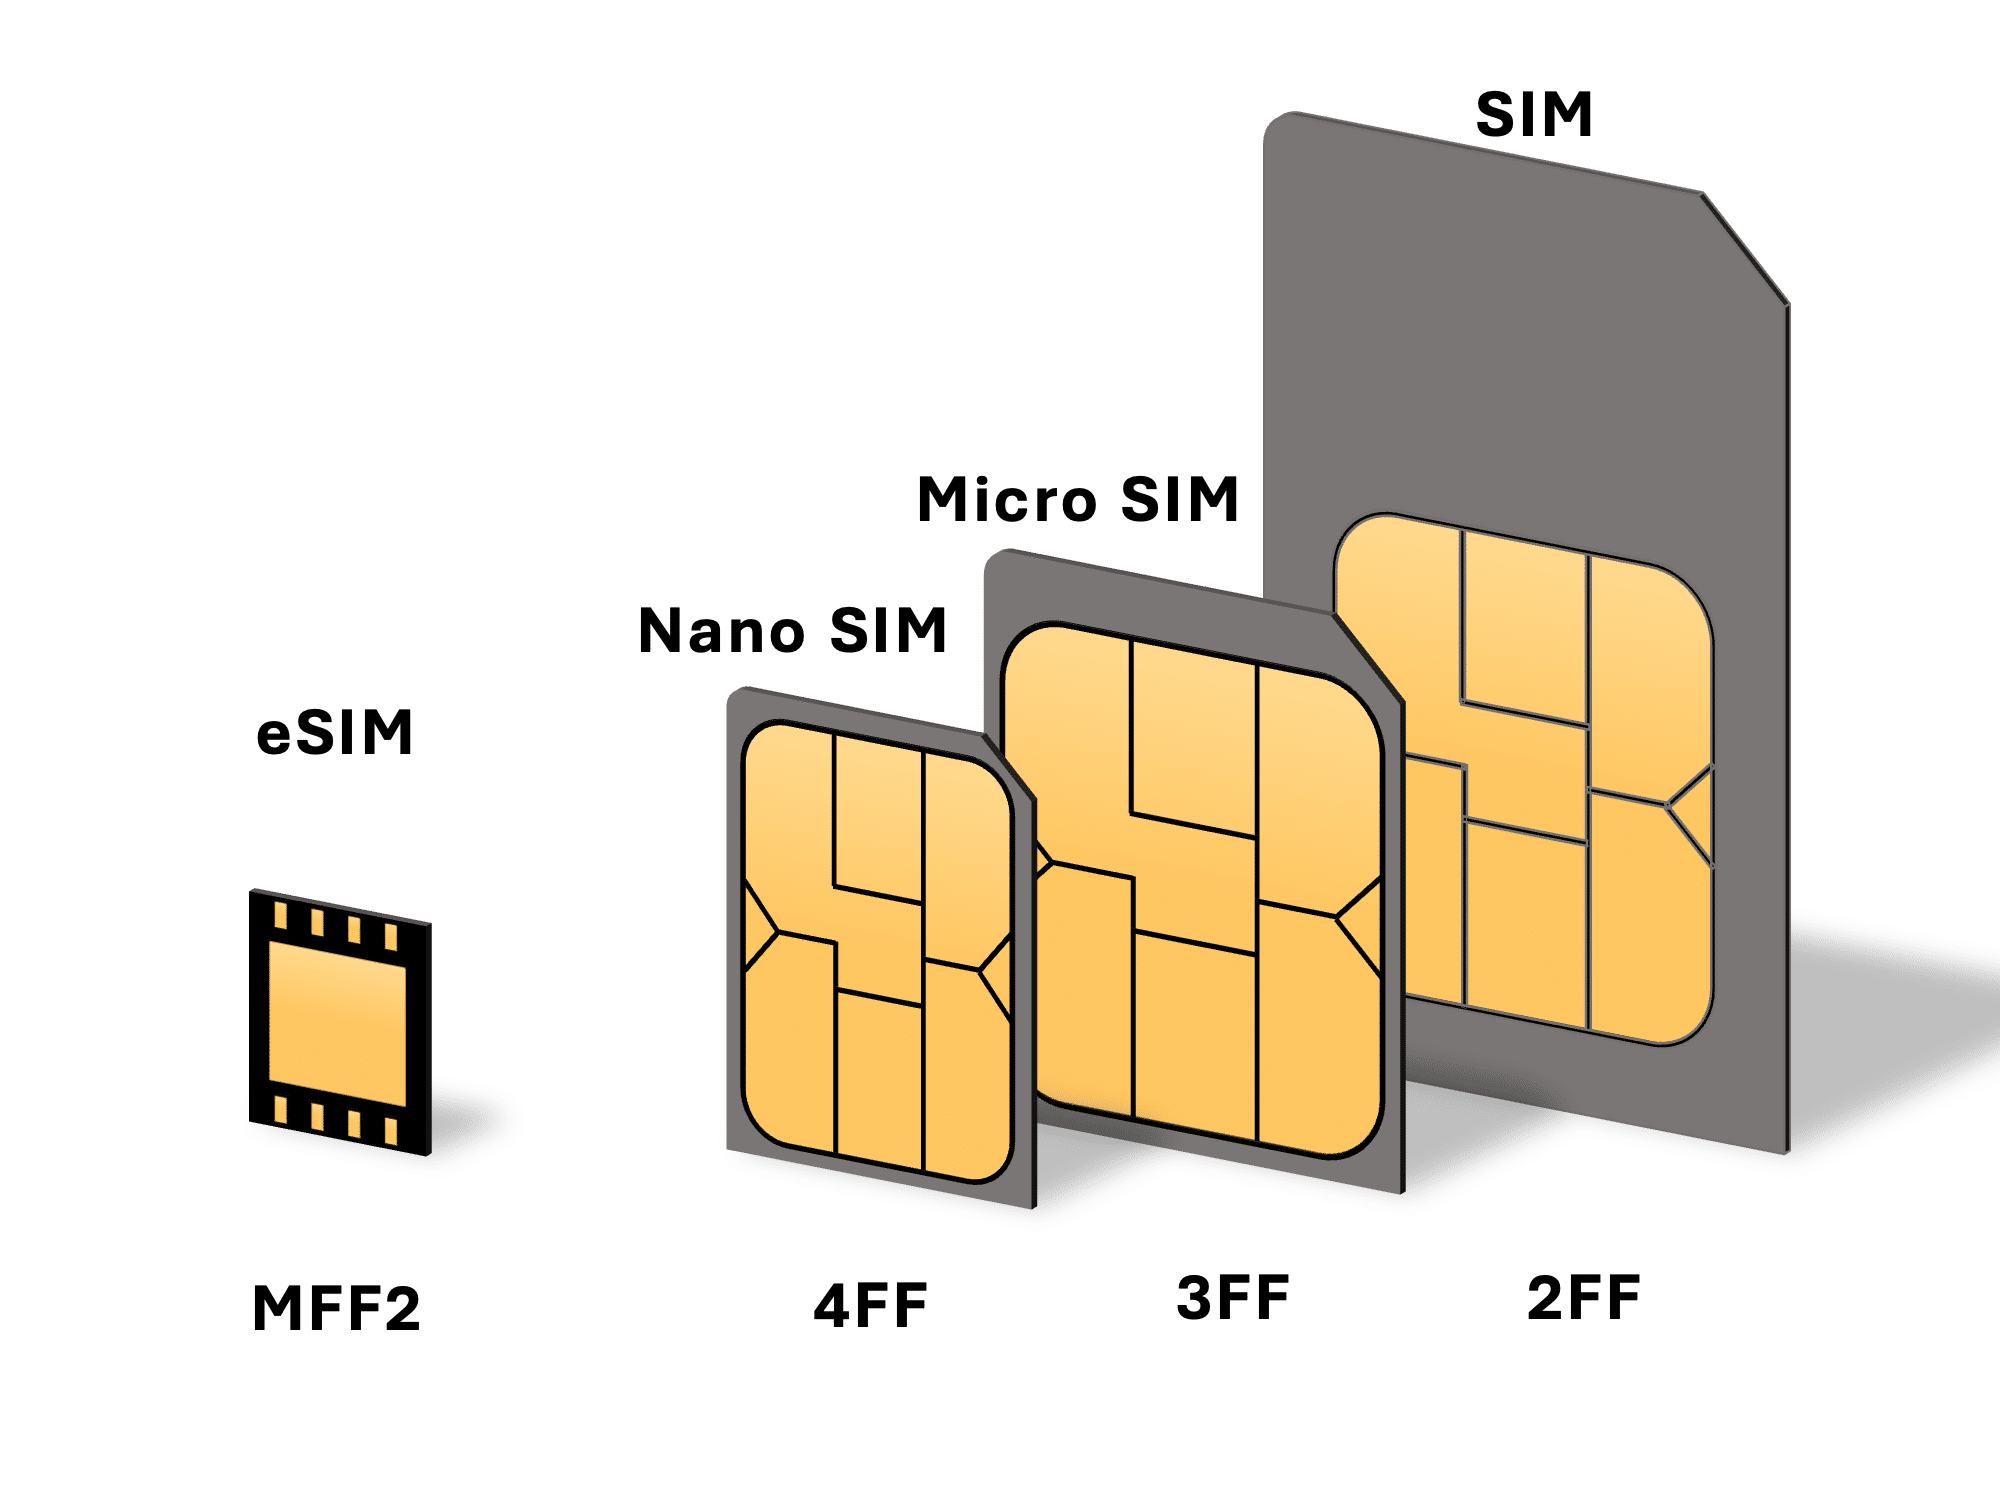
SIM stands for ‘Subscriber Identity Module.’ In traditional SIMs, integrated circuits store vital information to a physical card that is inserted into your phone to verify and validate the subscribers of cellular phone services. This data is critical in ensuring the accuracy of a user’s plan and identity.
By contrast, an eSIM is hardwired into your smartphone and is basically a digital version of a conventional SIM. The chip cannot be removed and put into a different device. Yet, it contains information that can be easily modified, which allows you to switch networks without removing your SIM and inserting a new one.
What iPhones support eSIMs?
Apple has supported eSIMs in all iPhones launched since the iPhone XS. As of this writing the following iPhones and all iPhones released following this list support eSIMs:
The following iPhones support the use of a physical SIM + 1 eSIM line:
- iPhone XS
- iPhone XS Max
- iPhone XR
- iPhone 11
- iPhone 11 Pro
- iPhone 11 Pro Max
- iPhone 12
- iPhone 12 mini
- iPhone 12 Pro
- iPhone 12 Pro Max
- iPhone SE (2nd generation)
The following iPhones have a physical SIM slot and support the use of 2 eSIM lines at the same time:
- iPhone 13
- iPhone 13 mini
- iPhone 13 Pro
- iPhone 13 Pro Max
- iPhone SE (3rd generation)
The following iPhones do not have a physical SIM slot and instead support the use of 2 eSIM lines at the same time:
- iPhone 14
- iPhone 14 Plus
- iPhone 14 Pro
- iPhone 14 Pro Max
Advantages of eSIMs
An eSIM presents several advantages over a conventional SIM. Some major ones are:
Enable you to have more than one SIM on a single device
An eSIM makes it convenient for you to have two numbers on your phone or device. It provides advantages similar to having two slots for traditional plastic SIMs. If you need a number for personal and professional use but want to operate on a single device, or you want an easy way to add data connectivity while traveling abroad, an eSIM is your best bet.
With an eSIM, you’ll still be able to receive calls and texts from both numbers while picking which one you want to use when making outbound calls, sending texts, or accessing data.
Utilize less physical phone space
eSIMs utilize less physical space in your iPhone since the physical SIM card, and its tray will no longer be needed. This creates opportunities for Apple Inc. to use this space by increasing the battery size or adding additional features to the handset. Also, since the device will have fewer openings, it could offer viable protection against moisture and dust, which would help reduce potential iPhone breakdowns.
Facilitate easy switching to other networks
With eSIMs changing mobile networks is a breeze. You can switch quickly without waiting for a new SIM or the hassle of searching for a SIM ejector tool. You need to call your current provider and use their online service, and you’ll be easily connected to your new network in no time.
How to activate eSIMs on your iPhone?
There are four major routes to activating your eSIM on your iPhone, these are:
eSIM Carrier Activation
Setting up a new eSIM for your iPhone is easy, depending on the carrier and worldwide service provider involved. For instance, if you buy an Apple-connected iPhone from the US or via a cellular carrier and share with them your plan information, they’ll likely assign an eSIM to it. In this case, you must turn on your phone and follow the instructions to activate the device with its newly added eSIM.
If you got in touch with your carrier for an eSIM after setting up your iPhone, and they set up eSIM carrier activation, you can follow these steps:
- Go to the Settings app, and tap Carrier Cellular Plan Ready to be Installed.
- Then Tap Continue towards the bottom of the screen.
- Make a call on your iPhone to determine its cellular connectivity. If you aren’t able to make a call, contact your service provider.
- If the activated plan replaces the plan on your physical SIM, then you remove your physical SIM and restart your iPhone.
eSIM Quick Transfer
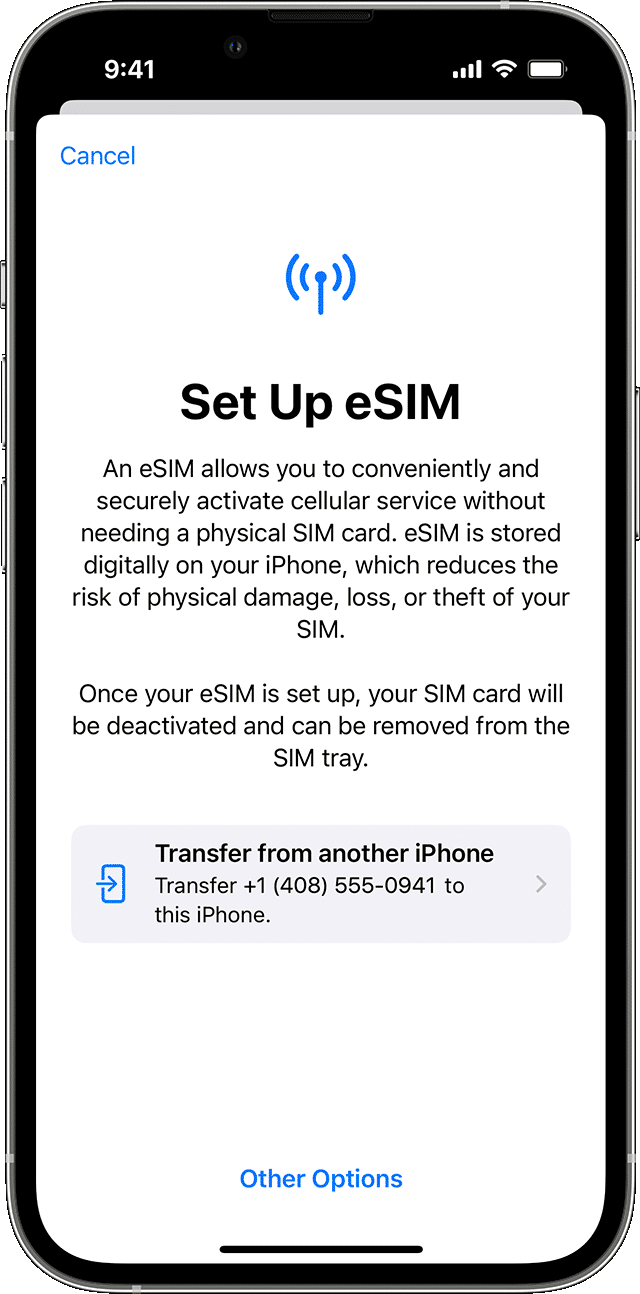
If you want to transfer your physical SIM or eSIM on your former iPhone to an eSIM on your new iPhone after setup, then you may follow these steps:
- On your iPhone, go to ‘Settings’.
- Tap ‘Cellular’, and then select ‘Add Cellular Plan’.
- Select a cellular plan to transfer from another iPhone.
- Confirm the transfer from your previous iPhone. Your new iPhone will ask for a verification code to confirm the transfer.
- Now, wait for your new iPhone to activate the cellular plan. Your previous SIM will be deactivated after the cellular plan on your new iPhone activates.
- When the banner ‘ Finish Setting Up Your Carrier’s Cellular Plan’ appears on your new iPhone, tap it. You will automatically be redirected to your carrier’s webpage to transfer your eSIM. If you face any trouble, contact your carrier.
Scan a QR code
Your carrier may not support eSIM Carrier Activation or eSIM Quick Transfer, so you may need to scan a QR code with your phone instead.
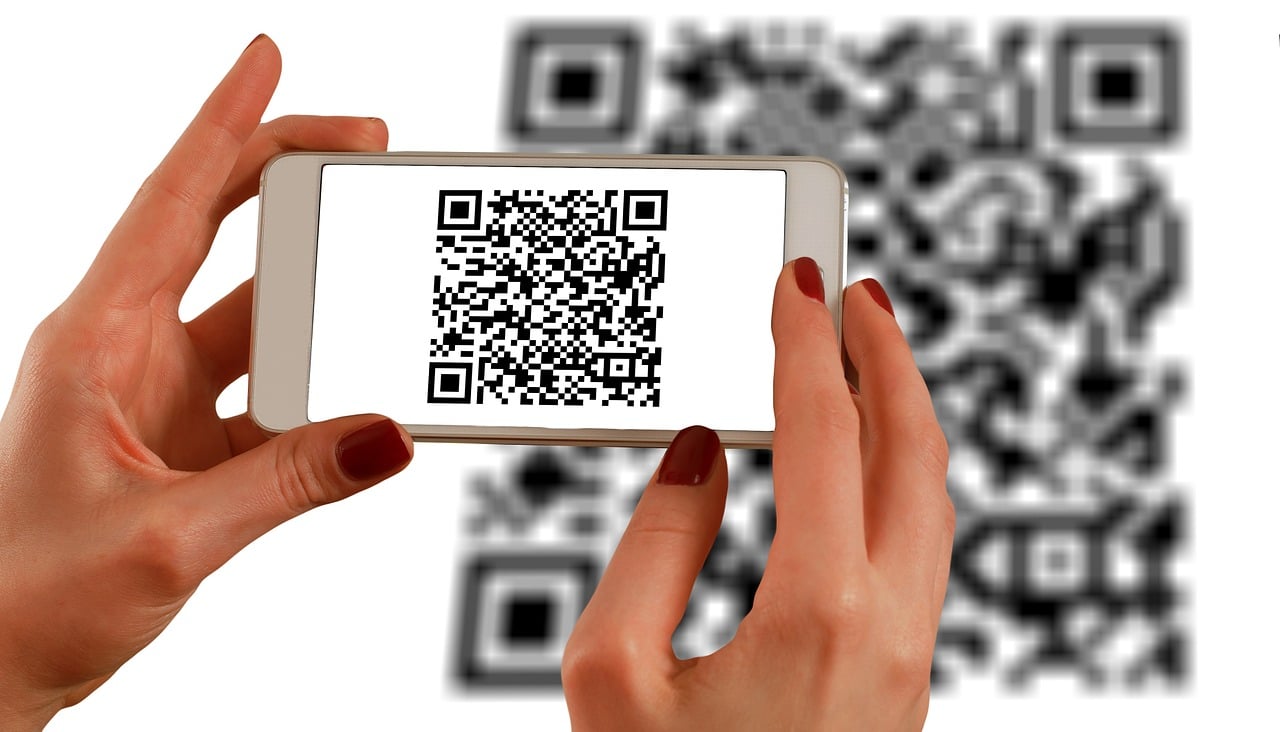
When setting up your iPhone, activate your eSIM as follows:
- When you get to the Set Up Cellular screen, tap Use QR Code.
- Follow the onscreen instructions.
If you want to activate your eSIM after setting up your iPhone, contact your carrier and get a QR code. Then, follow these steps:
- Open the Camera app and scan your QR code.
- When the Cellular Plan Detected notification appears, tap it.
- Tap Continue, at the bottom of the screen.
- Tap Add Cellular Plan.
If your carrier doesn’t support eSIM Carrier Activation or eSIM Quick Transfer, you can use the QR code scanning option from your carrier instead.
So, to activate your eSIM while setting up your iPhone:
- When you approach the ‘Set Up Cellular Screen’, then tap ‘Use QR Code’.
- Simply follow the given instructions.
If you wish to activate your eSIM after you’ve set up your iPhone, contact your carrier to get a QR code and follow these steps:
- Open the Camera app
- Scan the QR code
- Click on the notification ‘Cellular Plan Detected’
- Tap Continue, at the bottom of the screen
- Tap Add Cellular Plan
Manual entry of eSIM information
If you want to enter the eSIM details manually, you can:
- Get the eSIM details from your provider.
- Go to ‘Settings’.
Tap either ‘Mobile Data’ or ‘Cellular Data’.
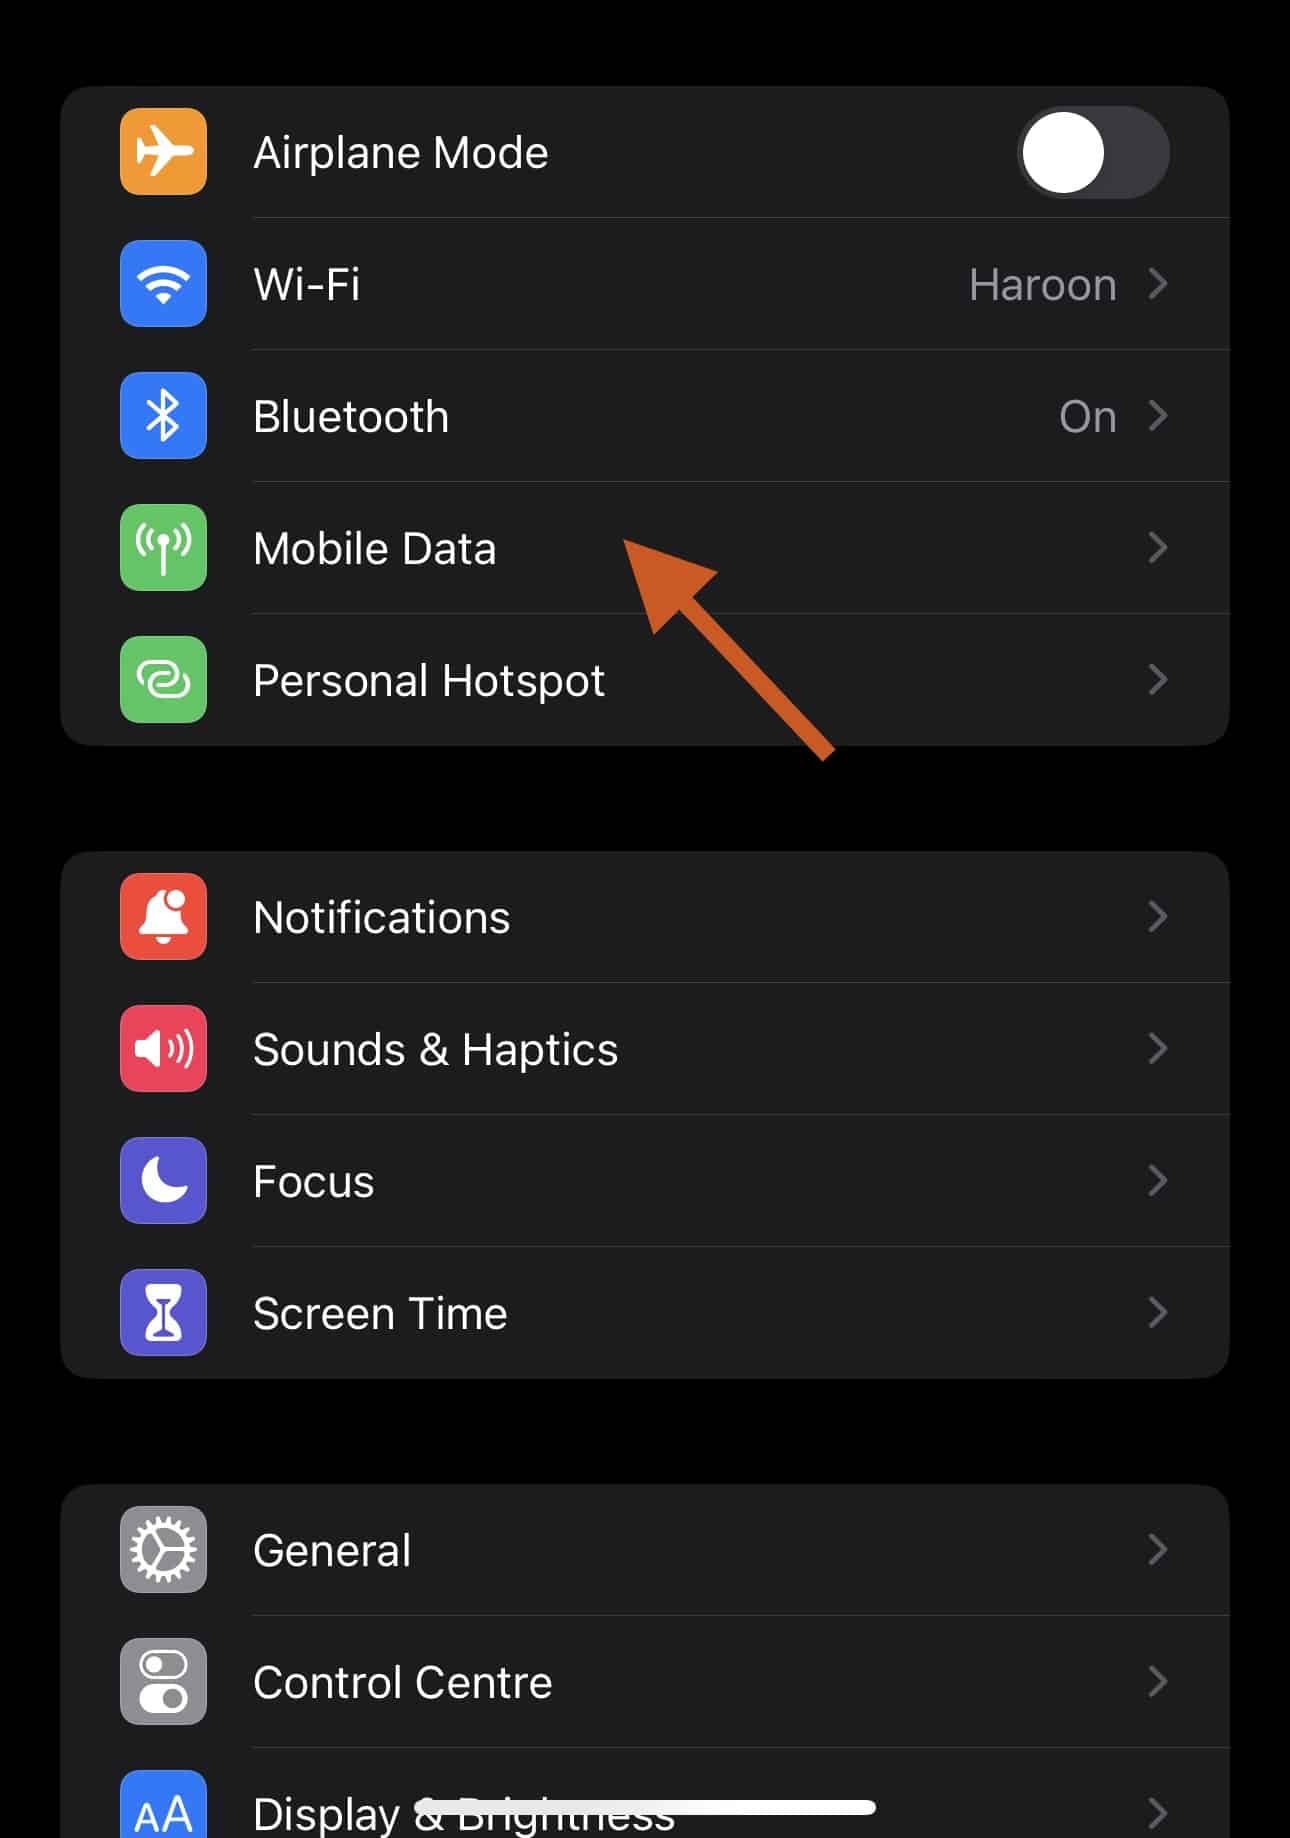
- Tap ‘Add Cellular Plan’.
- Tap ‘Enter Details Manually’ at the bottom of your iPhone screen.
How to use an eSIM to manage and balance data on your iPhone
When you have an iPhone that supports two cellular calling plans, it allows you to draw from both networks when needed. iPhones and iPads released in the last couple of years come with a physical SIM slot, allowing you to add a second one as an eSIM. The iPhone 13 and later can use two eSIMs instead of a physical SIM, while iPhone 14 models sold in the US have only eSIM support.
You may choose to use a second SIM in your home region if your network subscriptions provide different offerings in terms of nonlocal free voice calling or data limits based on network coverage. However, using a second SIM is generally more common when traveling abroad.
Apple provides a unique yet convenient way to manage cellular data consumption when you have your primary carrier and supplemental roaming SIM. In order to do this:
- Access ‘Settings’.
- Tap on ‘Cellular/ Cellular Data’.
- Select ‘Allow Cellular Data Switching.’
This feature makes it easy for users to access cellular data from either line based on coverage and availability. Apple says, “Turning this feature on will allow your phone to use cellular data from both lines depending on coverage and availability.” Switching on ‘Allow Cellular Data’

