One of the biggest benefits of using macOS is the robust support for display scaling and display options baked into the OS. In this post, we’ll take a look at how you can easily adjust display settings in macOS to optimize your display for your needs. For example, making the text size bigger is helpful for aging eyes or for folks with poor vision. Also, if you have tons of on-screen items, changing the screen resolution can allow you to fit more that are easily viewable on your Mac’s monitor.
How to Change your Mac’s Display Resolution
Your Mac display’s resolution determines the size of text and objects on your screen. By default, your Mac automatically uses the best resolution for the display.
Apple recommends that you use the default resolution. However, you can manually set the resolution to make text and objects appear larger on your screen, or adjust it to make text and objects appear smaller so you have more space on your screen.
° Go to Apple menu > System Settings.
° Choose Displays.
° Looks at the thumbnail views of the available resolutions, move the pointer over the thumbnails to see the resolution sizes, then click the one you want.
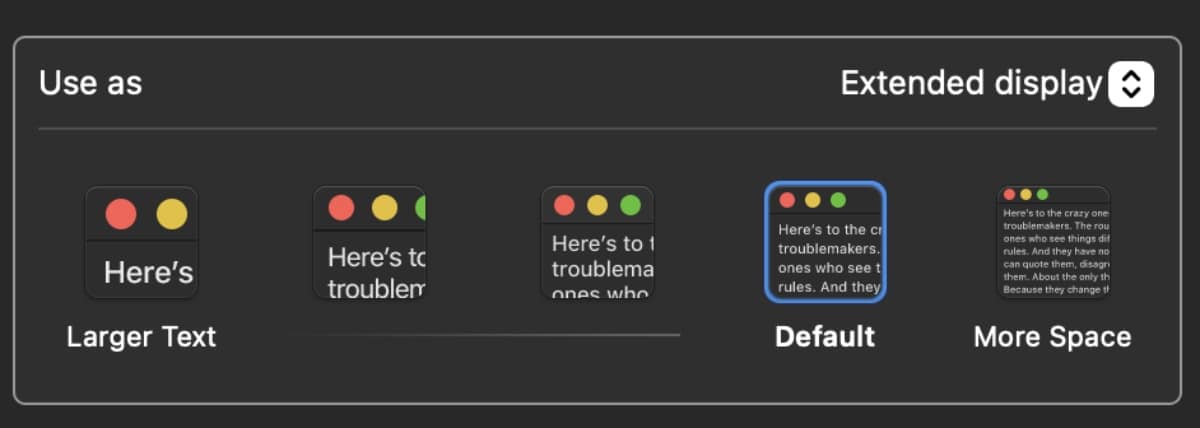
° Hover the pointer over the resolution options, and you’ll see a menu showing the resolution in pixels.
° To see the available resolutions as a list, Control-click the thumbnail view and choose Show List. Then click the resolution you want. To switch back to the thumbnail view, Control-click the list view and choose Show Thumbnail.
° To always see available resolutions as a list, click Advanced, then turn on Show resolutions as list.
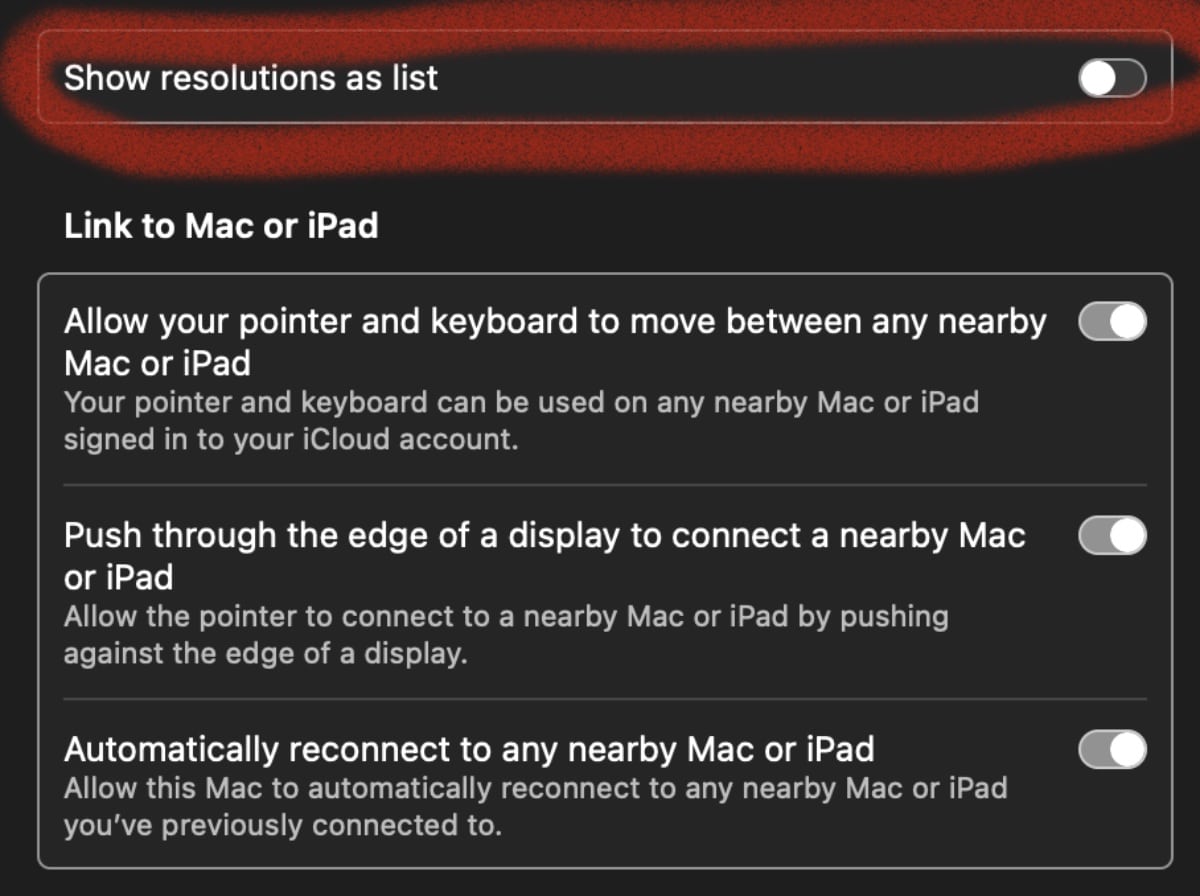
You can change your Mac’s display resolution to any displayed by using the Up/Down keys on your keyboard — or by clicking on the one you want to switch to.
If you have more than one display — I have a MacBook Pro connected to a Studio Display, for instance—additional resolution options are available after the other display is connected.
° Go to Apple menu > System Settings.
° Choose Displays.
° Select the display you want to adjust, then select the resolution you want to use.
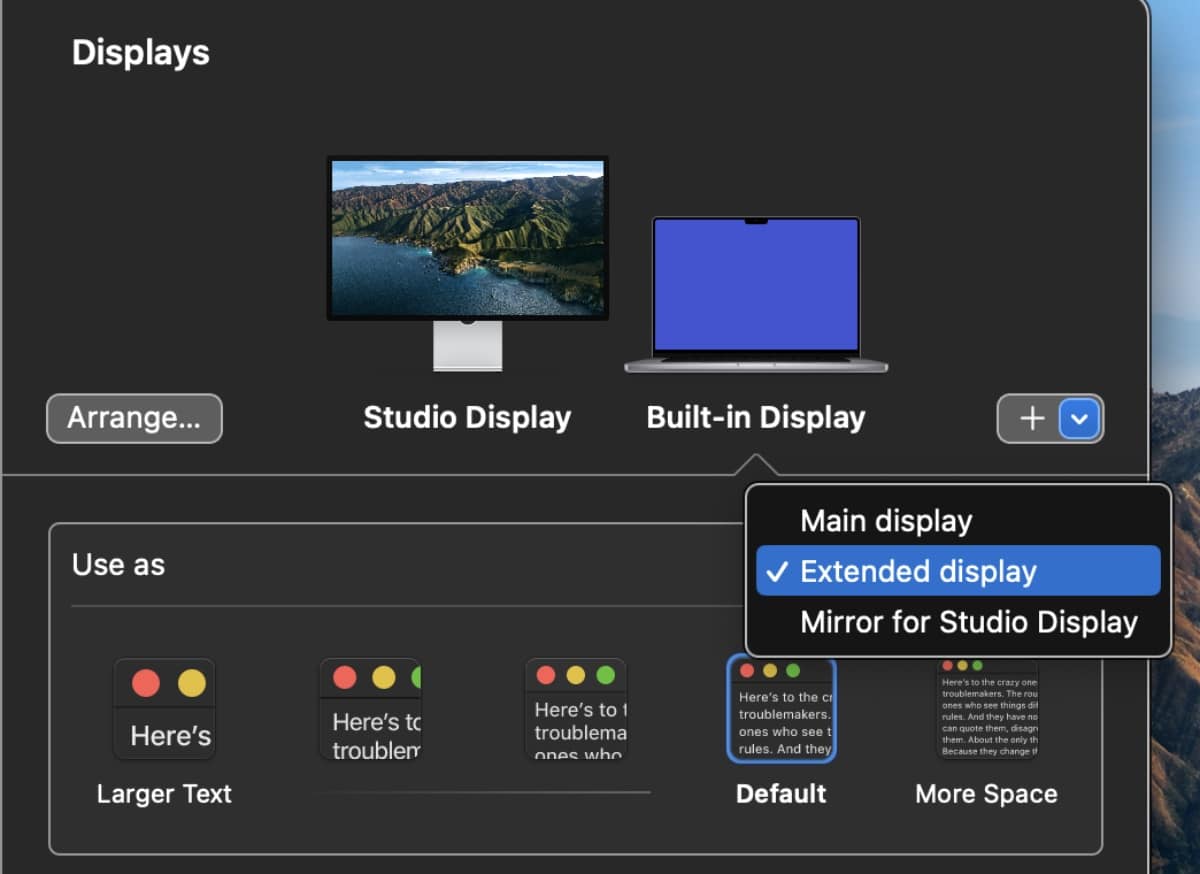
You may be able to turn on “Show all resolutions” to see additional resolutions for the display.
How to use Multiple Displays
If your Mac is using more than one display, you can choose how to arrange them. In other words, you choose which display is on the right or lift of the other. You can even have one display sit atop or beneath a second. Here’s how:
° Go to Apple menu > System Settings.
° Choose Displays.
° Click the Arrange option.
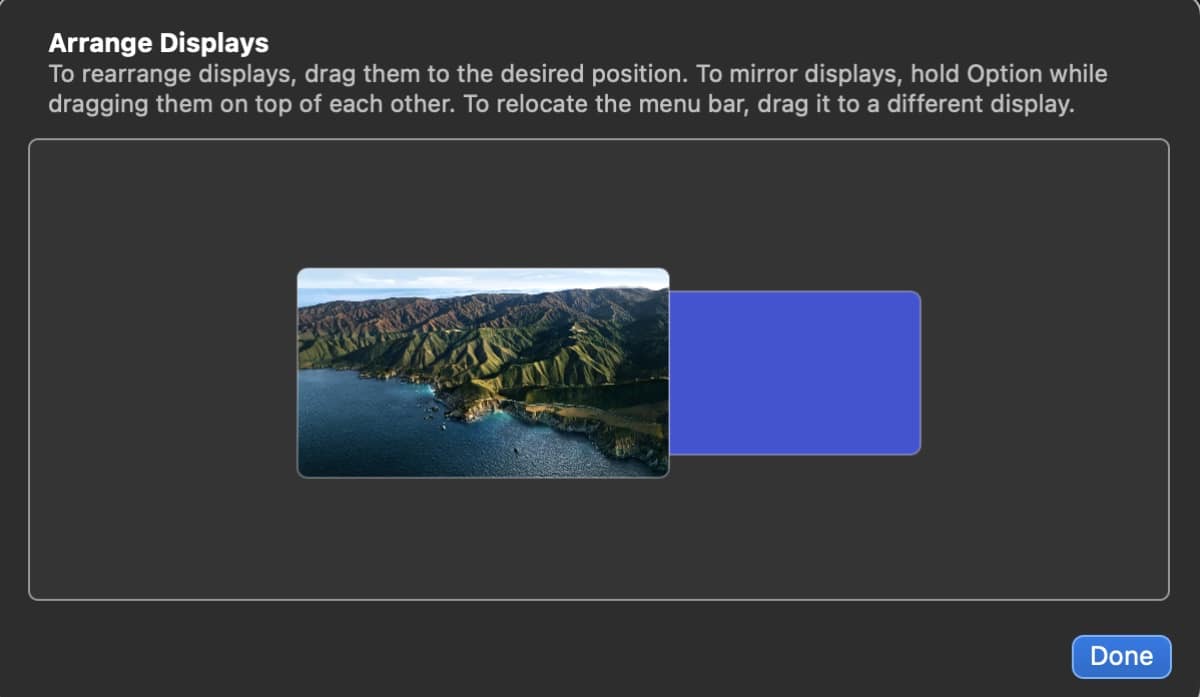
° Drag the displays to the location you wish.
° To mirror displays (have them showing the same thing), hold Option while dragging on atop the other.
° To relocate the menu bar, drag it to a different display.
° Click Done when you have everything organized to your satisfaction.
How to use Night Shift
Apple’s Night Shift feature is designed to reduce short-wavelength light emissions and improve sleep. According to Apple, this automatically adjusts the colors of your display to the warmer end of the spectrum — making the display easier on your eyes.
Night Shift uses the clock and geolocation of your device to determine when it’s sunset in your location. Then it automatically shifts the colors of your display to warmer colors. In the morning, it returns the display to its regular settings.
To set up Night Shift in macOS:
° Go to Apple menu > System Settings.
° Choose Displays and click the Night Shift tab.
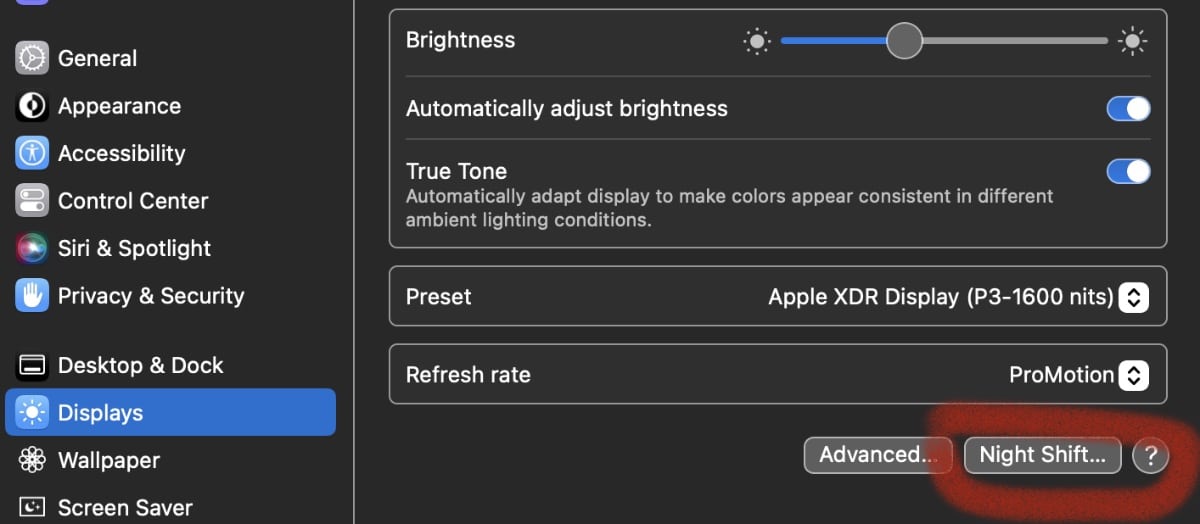
You can set Night Shift to come on from sunset to sunrise, or you can select a custom time period.
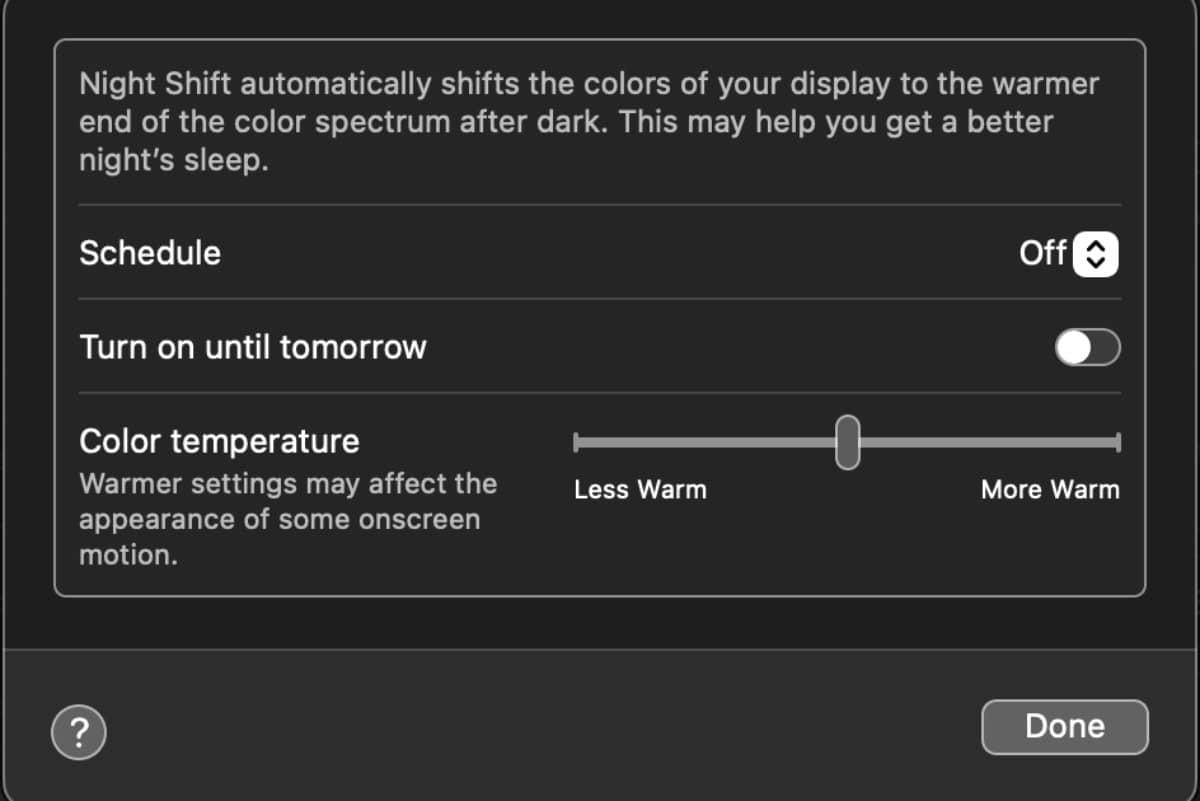
You can use the slider to adjust the color temperature of the effect between less warm and more.

