macOS Sequoia includes robust support of Apple’s lineup of wireless headphones, including the ability to customize the audio of your AirPods.
Of course, you can set noise control modes, but you can also amplify softer/lower sounds to make them more easily heard. You can also change the audio output frequencies to make audio sound more clearly.
How to change AirPods audio settings in macOS Sequoia:
° Wear your AirPods, and make sure they’re connected to your Mac.
° On your Mac, choose Apple menu > System Settings.
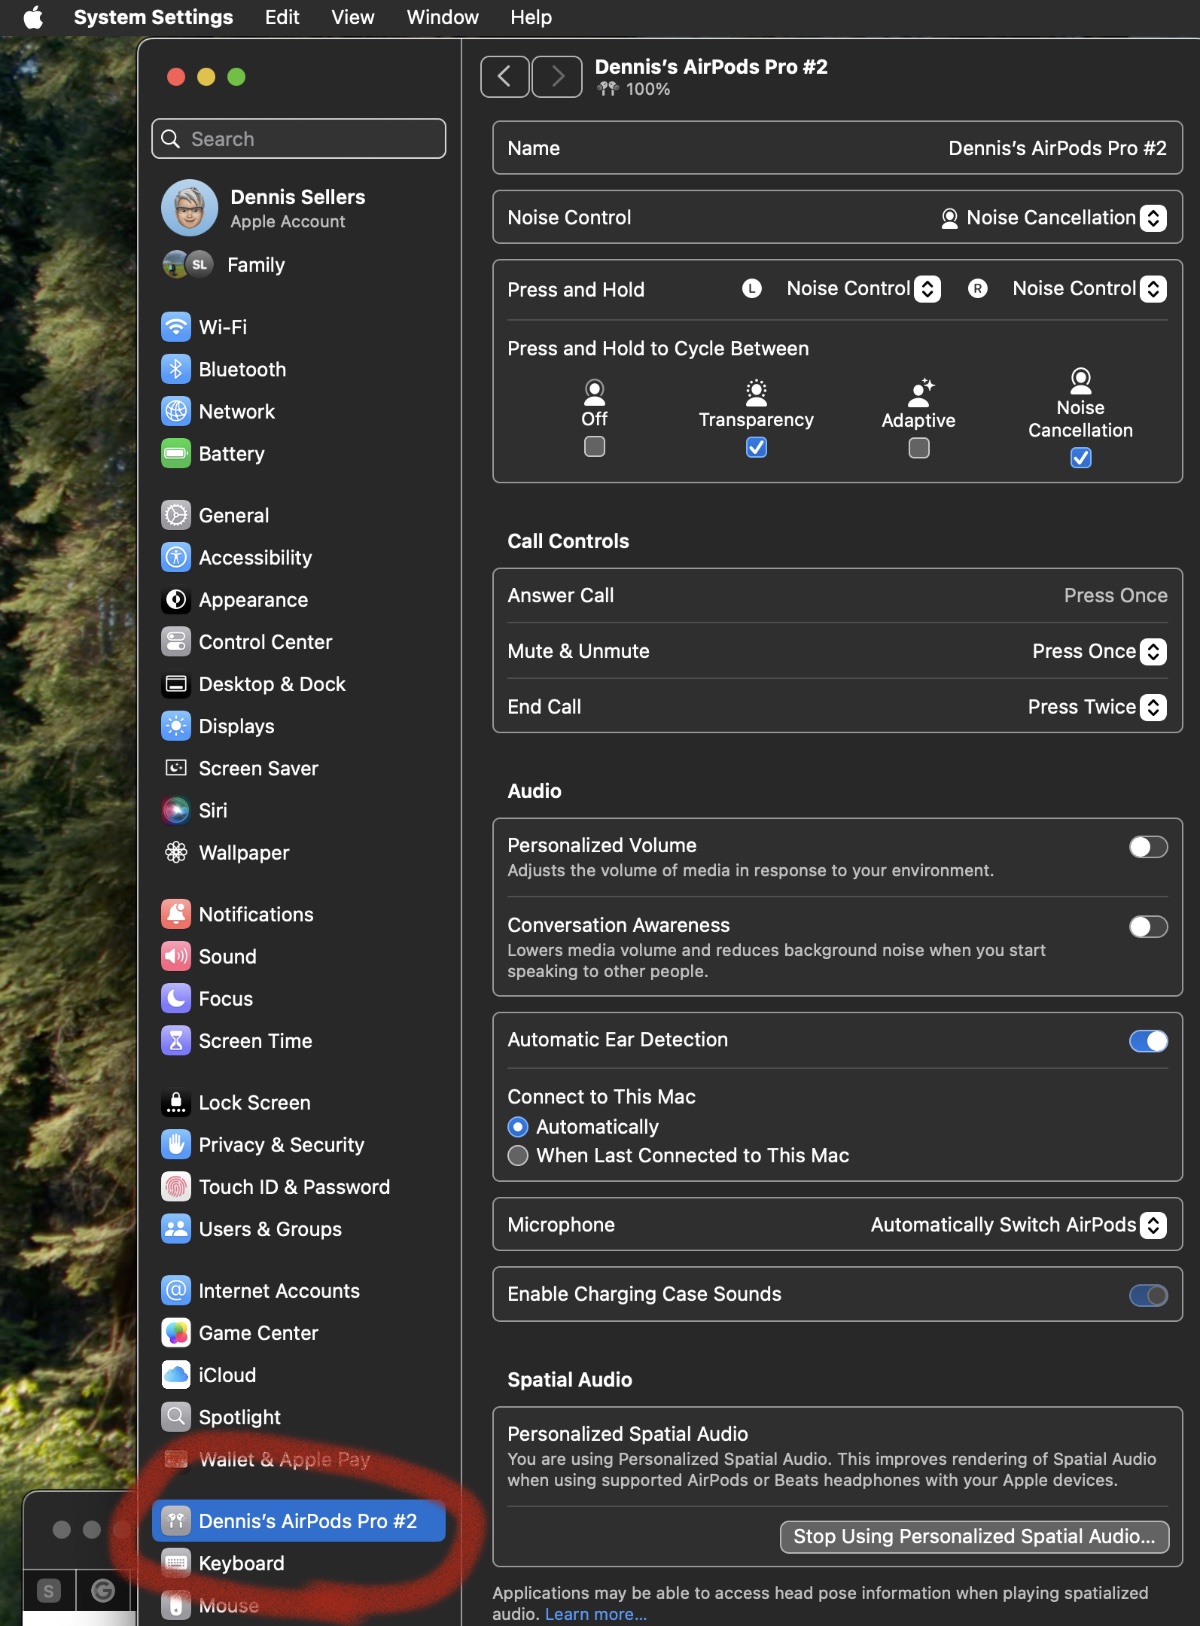
° Click the name of your AirPods in the sidebar. (You may need to scroll down.)

° From this menu, you can change the settings for your AirPods. Your options may vary by model. The graphics in this article are for my AirPods Pro 2.
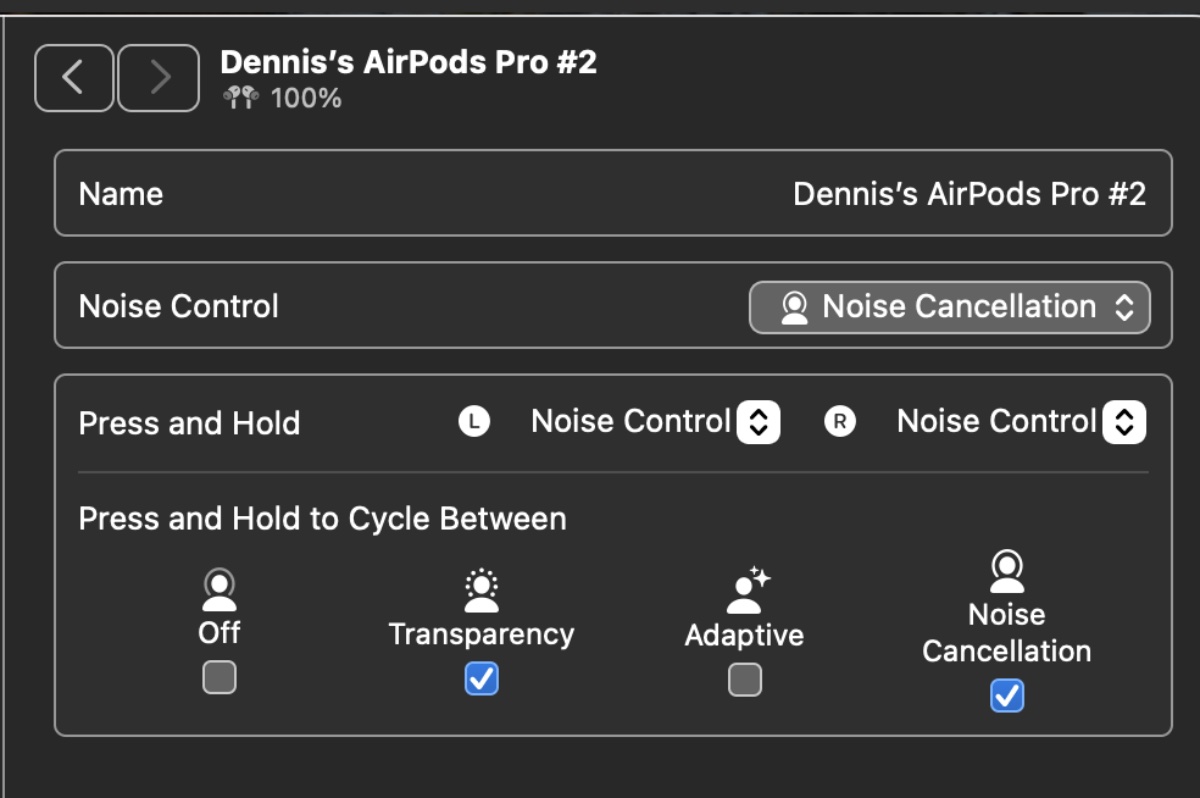
° Click on the Noise Control option to enable it, turn it off, or choose between transparency and adaptive. There’s also the option to cycle between these options by pressing and holding on the stem of your AirPods. (On AirPods Max this is done by pressing the Noise Control button on the right ear cup.)

In Active Noise Cancellation mode, an outward-facing microphone or microphones detect external sounds, which your AirPods 4 (ANC), AirPods Pro 1, AirPods Pro 2, or AirPods Max then counter with anti-noise, canceling the external sounds before you hear them. An inward-facing microphone listens inside your ear for unwanted internal sounds, which your AirPods Pro or AirPods Max also counter with anti-noise.
Transparency mode lets outside sound in so you can hear what’s going on around you. Adaptive mode blends Active Noise Cancellation and Transparency mode together to control the level of noise you hear in your headphones
° Click on Call Controls to set options for answering a call, muting and unmuting audio, and ending a call.

Click on Audio to set Personalized Volume and Conversation Awareness. The former lets you adjust the volume of media in response to the surrounding environment. The latter lowers media volume and reduces backdrop noise when you star a conversation with other folks.

The next three options allow you to:
° Enable Automatic Ear Detection: When you have Automatic Ear Detection on and you’re not wearing your AirPods, audio plays through your device’s speakers. When you turn off Automatic Ear Detection, these features are off and all audio plays to your AirPods whether or not you’re wearing them.
° Next, you can implement how you want the AirPods Pro to connect to your Mac (automatically is, I think, the best option).
° Tweak microphone settings (Automatically Switch Settings; Always Left AirPod, or Always Right AirPod), and Enable Charging Case Sounds.
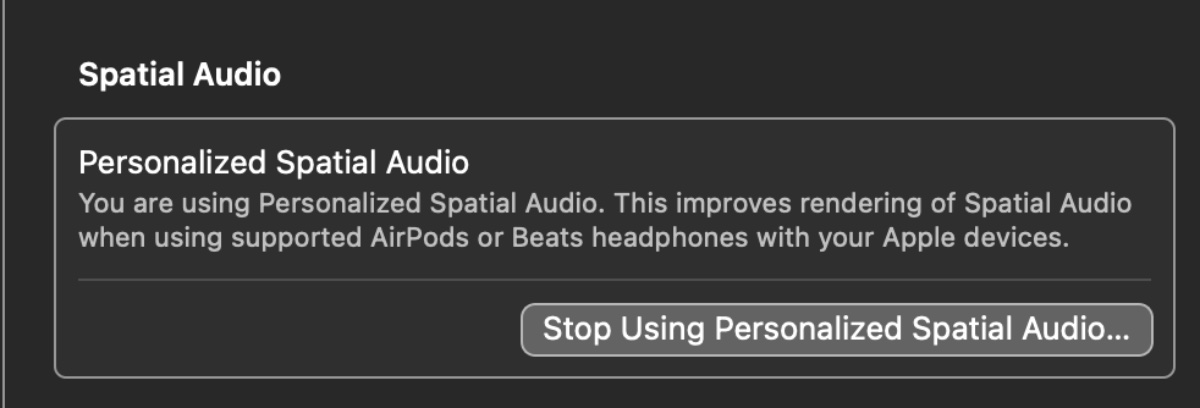
Next you can enable, if you wish, Personalized Spatial Audio. I recommend that you enable it, as it enhances rendering of Spatial Audio when using supported AirPods with your Apple devices.

But wait, there’s more. Go to System Settings > Accessibility > Audio, scroll down, and you’ll find a Headphones Accommodations option for a Custom Audio Setup.
Now you can choose the types of audio content that are affected by your Headphone Accommodations settings in the “Apply with” section under Headphone Accommodations:
° To apply Headphone Accommodations settings to phone calls, FaceTime calls, and any third-party video call apps, turn on Phone.
° To apply Headphone Accommodations settings to music, movies, podcasts, audiobooks, Siri, or voicemail, turn on Media.
You can also optimize the audio quality of your AirPods headphone accommodations. To adjust the overall tone of your audio, choose an option for the “Tune audio for” pop-up menu:
° Balanced Tone provides a boost over a wide range of frequencies.
° Vocal Range boosts middle frequencies to help hear human voices more clearly.
° Brightness boosts high frequencies, so vocal sibilance like “ess” and “shh” sounds are emphasized.
To automatically boost softer sounds, adjust the optimizations slider to change how much softer audio is automatically boosted in your AirPods: Slight, Moderate, or Strong.
With Custom Audio Setup, you listen to audio samples and choose which ones sound better to you. Then you can apply the custom settings suggested based on your choices. Here’s how:
° Wear your headphones and connect them to your Mac. Make sure that you’re in a quiet environment.
° Tap Custom Audio Setup under Headphone Accommodations.
° Follow the instructions on your screen. When finished, tap Use Custom Settings to apply the custom settings suggested based on your choices. You can switch back to standard settings at any time.
You can customize Transparency mode to fit your needs. To customize Transparency mode settings:
° Put your AirPods in your ears and connect them to your Mac.
° Turn on Transparency mode (as described above).
Now you can adjust the overall level of amplification of outside sounds, the left-right balance, the overall tone of outside sounds, and how much ambient noise is reduced.
Voila. Now you’re get your AirPods audio to your best personal settings for use with your Mac.


