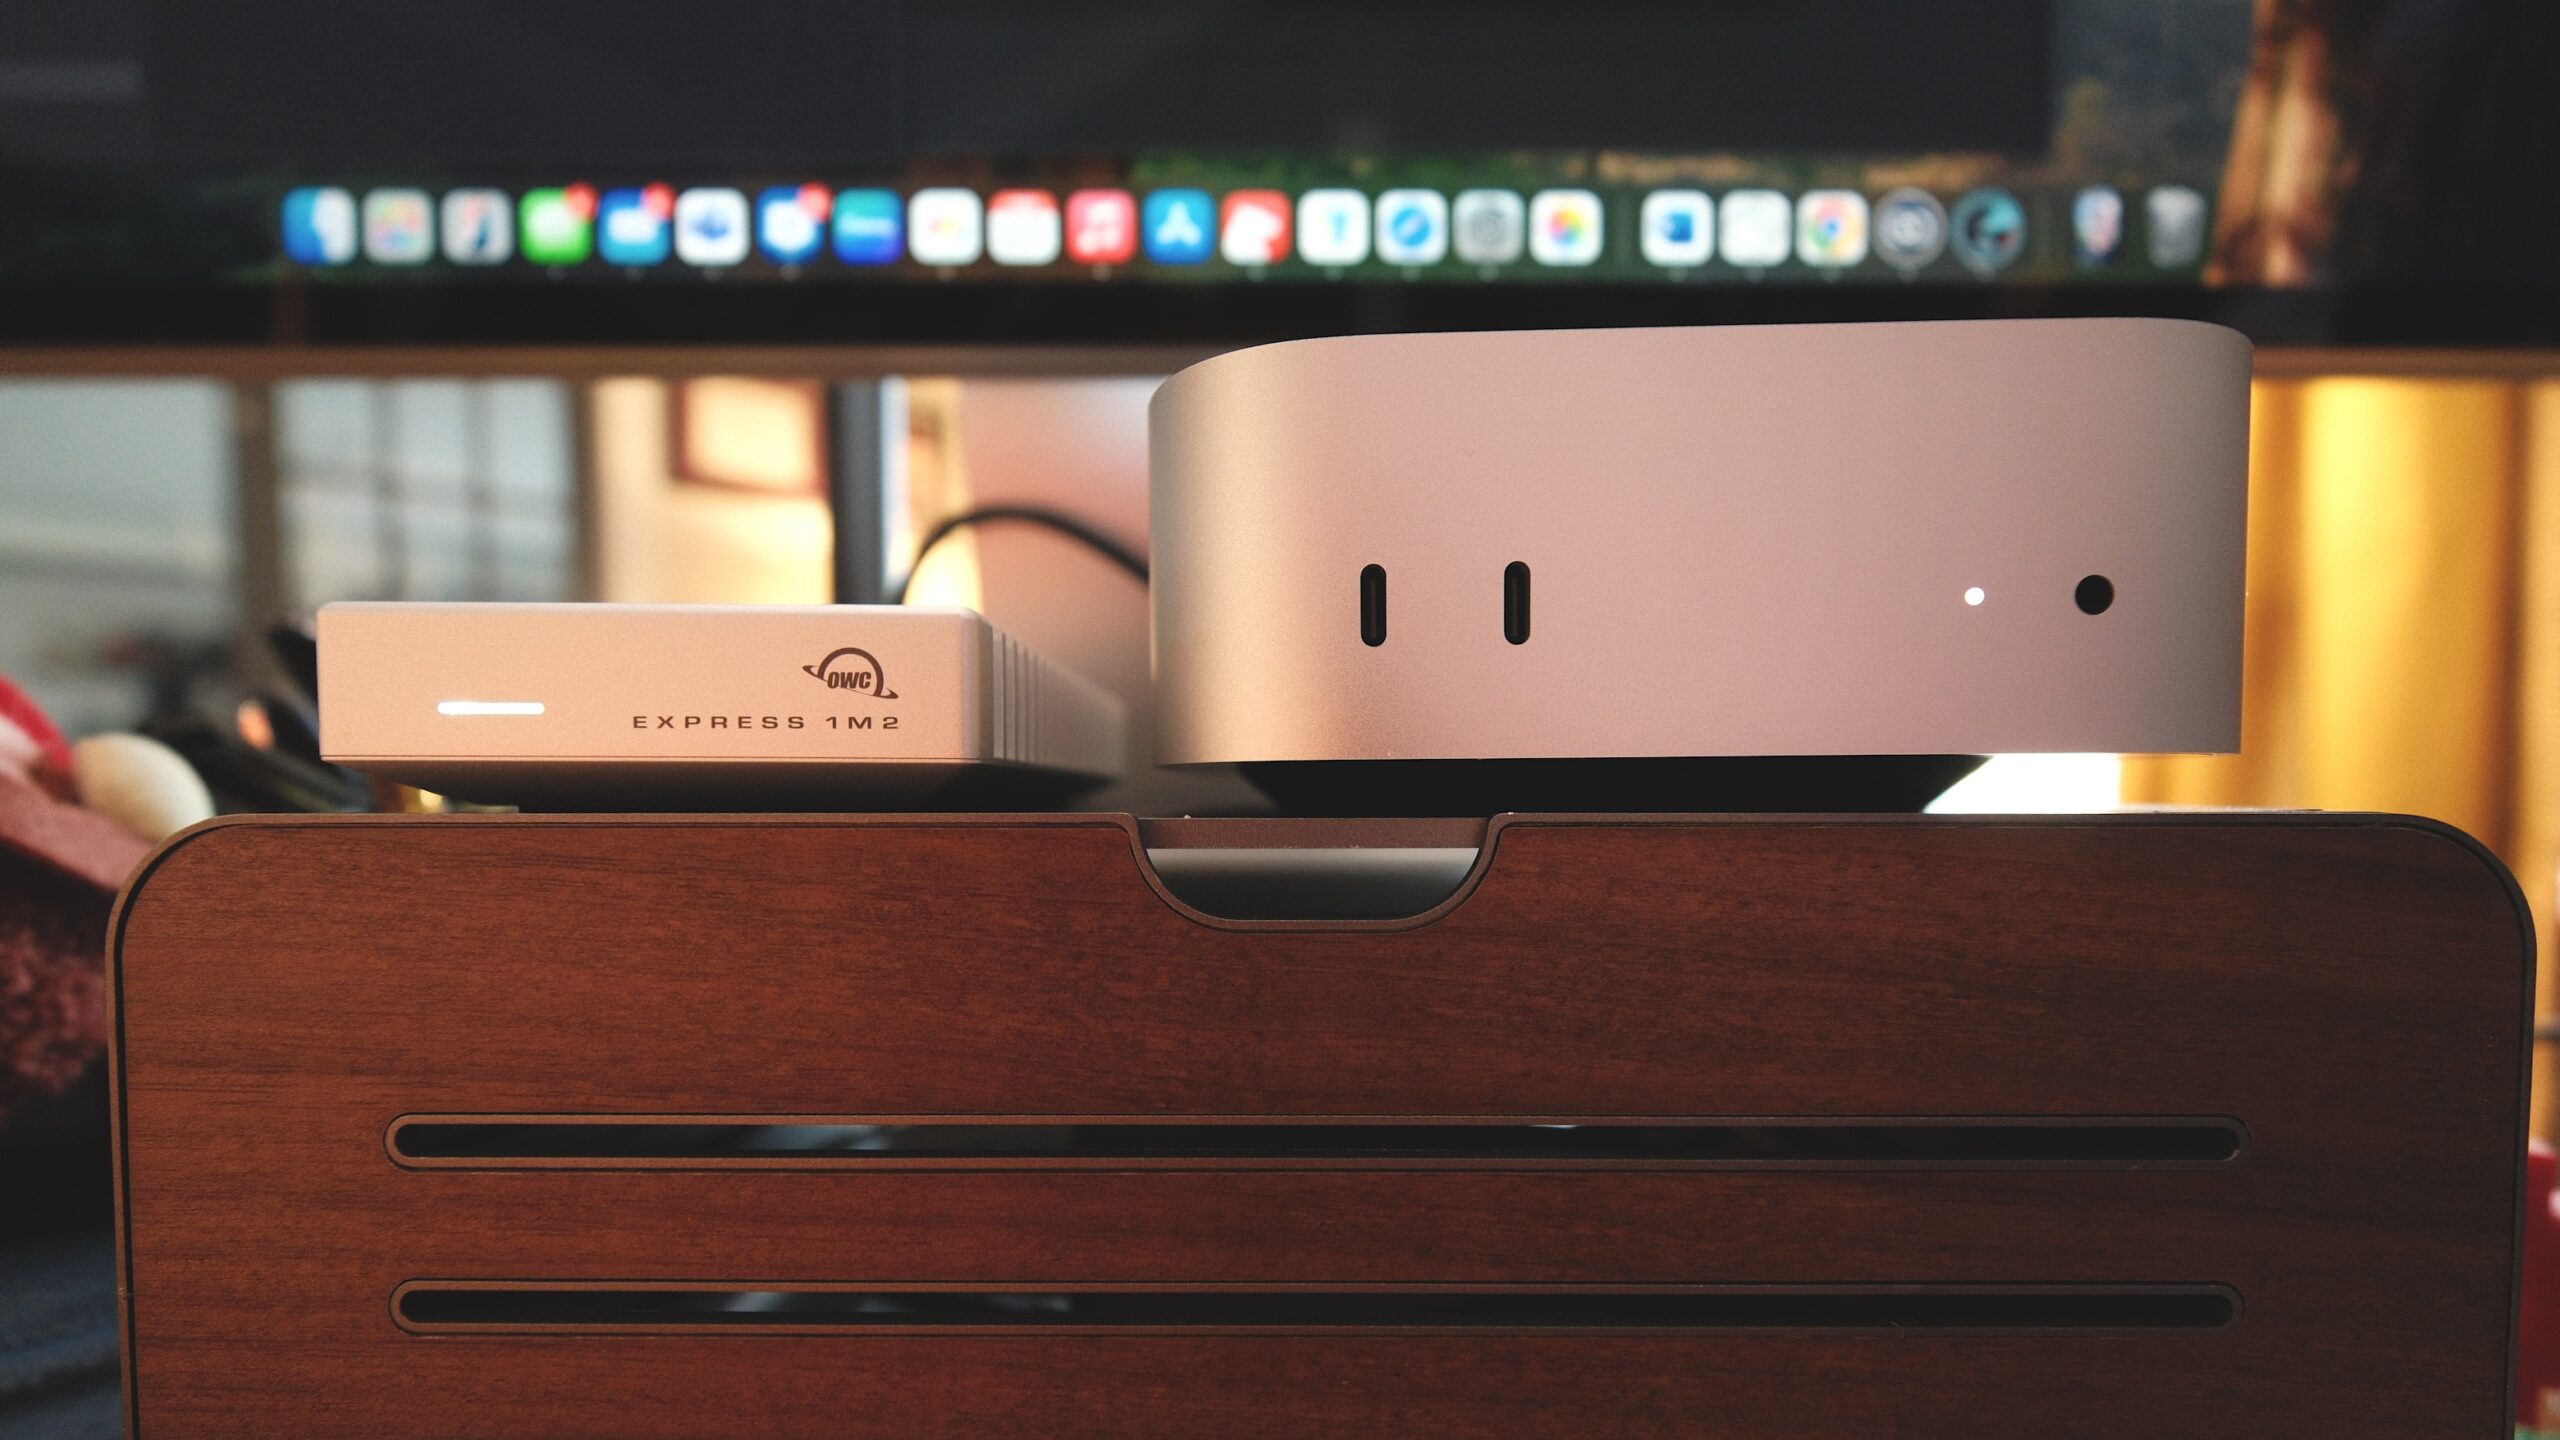
Starting at only $599, Apple’s latest generation, M4 Mac mini is probably the best deal in desktop computing today. The M4 system on a chip at the heart of this tiny Mac is capable of supporting professional workflows while upgrading to the M4 Pro chip makes this Mac a truly professional workstation.
The only downside to the Mac mini is something that can be said of just about all Apple devices: upgrading the storage isn’t cheap. While the base model Mac mini is plenty powerful, it only comes with 256GB of internal storage. Upgrading the base storage to 1TB adds $400 on top of the price tag. Upgrading to 2TB adds $800—a 75% price premium over the Mac itself!
Luckily, you don’t have to pay the Apple tax to get pro-grade storage. In fact, you can upgrade your storage capacity and your storage speed by plugging in one cable and moving your Mac’s Home folder. Specifically, we’ll be plugging in the super speedy OWC Express 1M2, a USB4-powered drive capable of speeds up to 3,151 MB/s.
In fact, with the OWC Express 1M2 plugged into your Mac mini and housing your Mac’s Home folder, you’ll be able to upgrade your storage to as much as 8TB but you’ll also see a write speed increase of around 30% over the base model M4 Mac mini’s 256GB internal SSD.
Why choose the OWC Express 1M2 to upgrade your Mac mini storage?

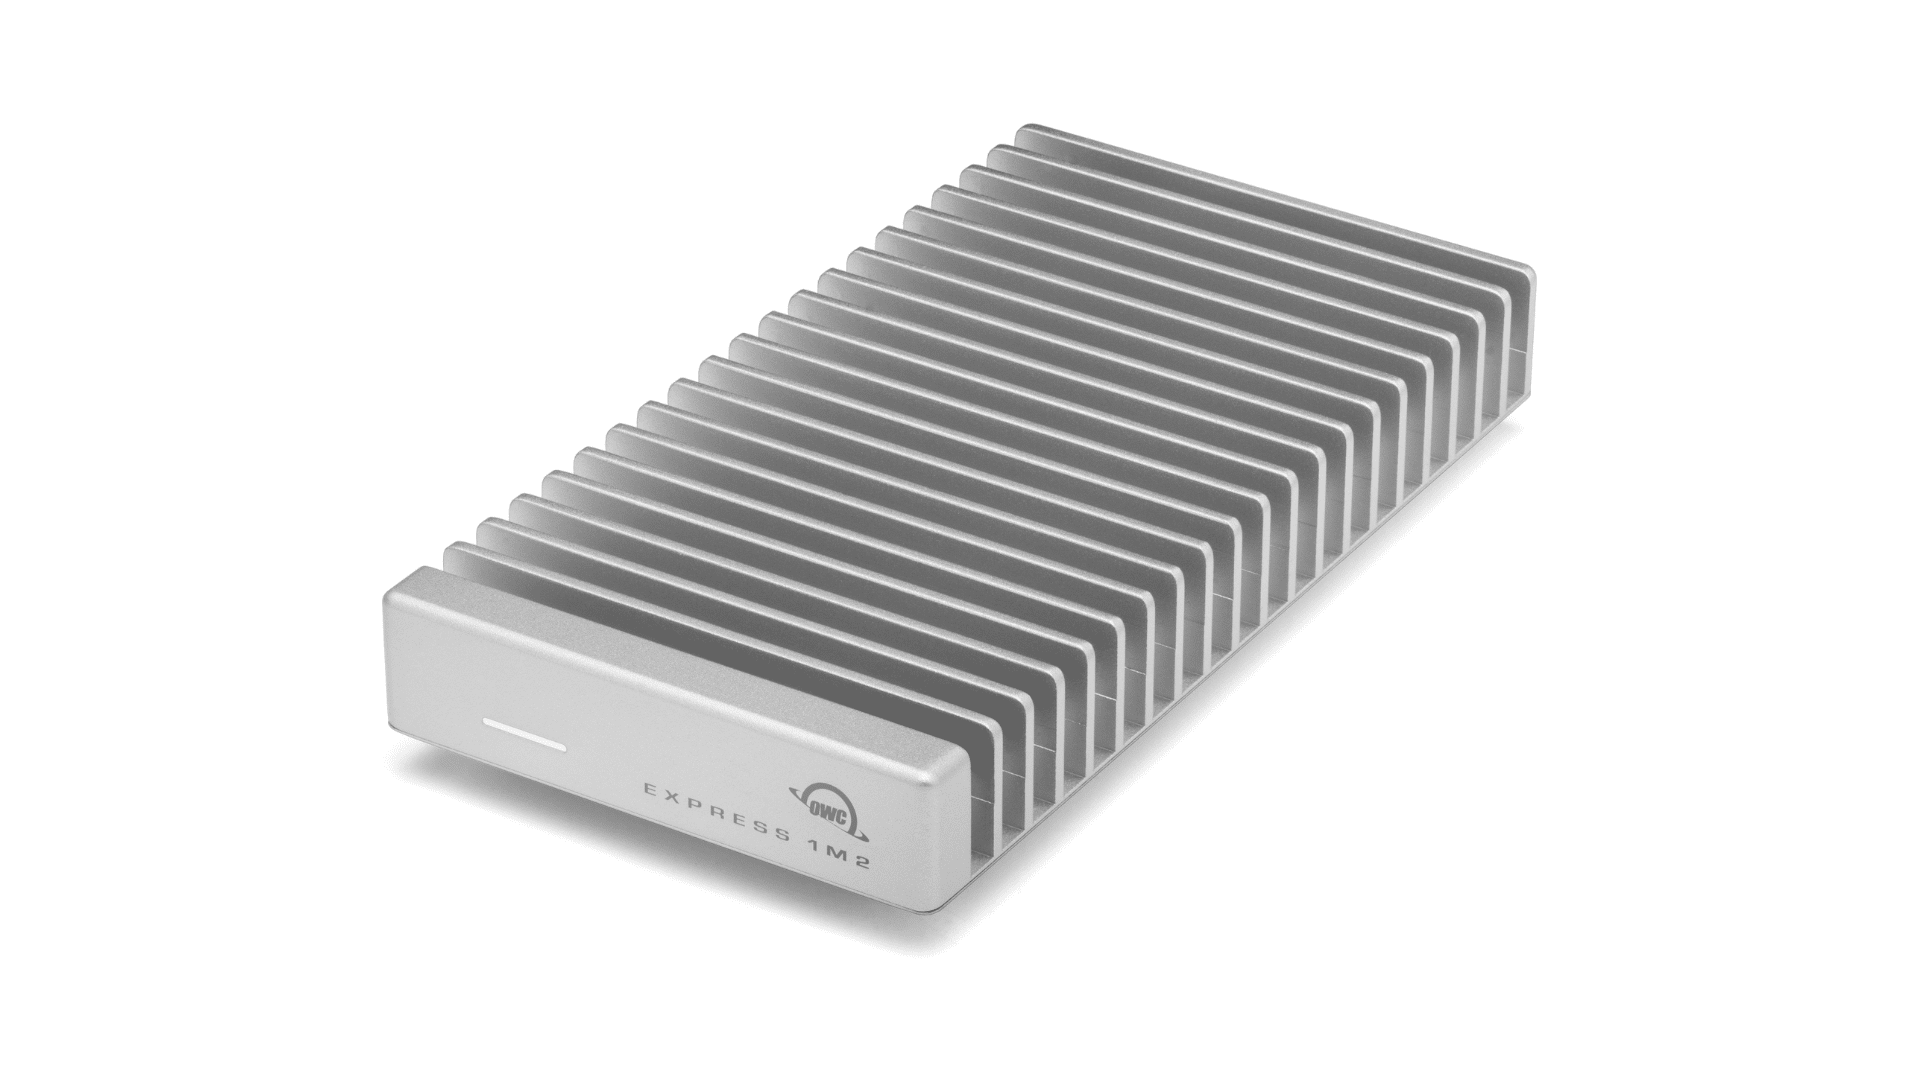
The Express 1M2 is the perfect external drive for upgrading the Mac mini’s storage capacity because it is not just fast, it is consistently fast. The OWC Express 1M2‘s enclosure is built with a solid aluminum heat sink design that properly dissipates heat to ensure throttle-free, consistent, maximum performance. This thing runs at full speed all the time.
And note that we said enclosure. This Express 1M2 is a BYOD (bring your own drive) enclosure, allowing you to buy an empty enclosure for $119 and supply your own M.2 SSD blade. Plus, if you decided to expand your storage in the future, it’s easy to swap M.2 blades in and out. Not only that, if you want to buy the Express 1M2 with a drive supplied by OWC, a 2TB Express 1M2 is only $499—just more than half the cost of what Apple is charging for 2TB of storage on the Mac mini.
How to upgrade your Mac mini’s storage with an OWC Express 1M2 external SSD
Some advice before starting
Before we start this project, we have some advice. This project is really best done if you’re starting from scratch with a new Mac install or if you don’t mind starting from scratch and signing back into iCloud and redownloading your apps through a new user account.
That’s because the core of this upgrade is moving your Mac’s Home folder—where all of your apps and files are stored—to the Express 1M2. macOS itself will remain and boot from the internal SSD, but everything else will be stored on the Express 1M2.
As part of this process, we’ll also be creating a second user account on the Mac mini. The first user account will represent the main install of macOS and will house nothing but that install. The second user account is going to be the account we’ll actually use and the one whose Home folder will be installed on the Express 1M2. And when you move a User’s Home folder, you’re essentially creating a blank slate for everything else but macOS itself. Even though it’s not a fresh re-install of the OS, it looks and acts like one because you’ve moved all content but the OS itself to a new location.
That’s why it’s best to do this project if you’re starting fresh or are in a place where you don’t mind re-signing into iCloud and redownloading your apps. In fact, when I did this, I reset my Mac mini completely as I didn’t want the initial User account to be signed into iCloud or have any files downloaded to the internal drive.
The process
As laid out above, we highly recommend you either start with a freshly opened Mac mini that hasn’t been setup yet, or perform a reset of your Mac mini to get it back to its factory state. All of the below instructions will be based on how things are done in macOS Sequoia.
If you need to reset your Mac, head to Settings > General > Transfer or Reset > Erase all Content and Settings and follow the on-screen instructions to sign out of iCloud and wipe your Mac.
With a freshly wiped Mac, you’ll go through the familiar Welcome and setup process. As you go through the setup process, skip signing into iCloud. We’re essentially creating a blank primary user account here. I called this User account “Admin,” but you can call it whatever you want.
- Once you’re on the Mac desktop within this new user account, plug in your OWC Express 1M2.
2. Then head to Settings > Users & Groups. On this screen you’ll click “Add User.” The reason we’re going to create a new user here rather than moving the Home folder of the first account we created is just in case we want to undo any of this or move back to our internal storage for any reason. In that instance, all we have to do is delete the user whose Home folder is assigned to the SSD and we’re quickly back where we started—a freshly wiped Mac.

3. After clicking “Add User” you’ll first ensure that you’re setting up this user account as an Administrator using the dropdown to the right of “New User.” Then fill in the Full Name and Account Name fields and create a password. Because this account is going to be my actual primary account, I put in my name and preferred password here and clicked “Create User.”

4. Once this new account has been created you’ll then head back to Settings > Users & Groups and right click on the new account you just created and click “Advanced Options.” Put in the password you set for the first account we created (the one I called Admin) and click “Unlock.”

5. With Advanced Options for this user account open, you’ll scroll down to where it says Home Directory. You’ll see that it’s currently set to your Mac mini’s internal storage. Click “Choose…” then select the Express 1M2 you plugged in earlier. Then click Open.

6. macOS will then prompt you to restart your Mac. Once it has restarted, you’ll be able to log in to the account you just created and your Home folder will now be held on the faster, much more spacious SSD of the Express 1M2.
7. From here you’ll be able to redownload your apps and files and sign into iCloud.
Conclusion
Using this process, I upgraded from 256GB of storage on my M4 Mac mini to a whopping 4TB of much faster storage by plugging in the Express 1M2 and moving my Home folder. The whole process took only 30 minutes.
Yes, it did require resetting my Mac, but that’s not a huge deal to me as I keep all of my important documents synced to iCloud or backed up to external storage. All I really had to do was sign back into iCloud, redownload my apps and I was back up and running with relatively little pain and a whole lot of upside.
If you’re the proud owner of an M4 Mac mini this upgrade is well worth your time. Grab an Express 1M2 and let us know in the comments if you have any issues or questions about the process.


I’m transitioning from windows 11 to a new mac mini m4 16g/256 with owc enclosure and 2 tb wd blue external drive. Should I perform the creation of a second user and home folder on my new OWC external drive before using the apple utility to move all my windows 11 data/browser links/contacts etc. to the new user/home folder on my 2 tb external drive? I assume the second home folder is created before connecting to any networks? or just before connecting to iCloud. Seems like I’d need to sign into my Apple ID before during the initial start up of my new m4. Thanks for the great article. Can’t wait for the 2tb memory stick to arrive so I can begin the transition from windows.
I tried this method with my brand new M4 mini and making my Express 1m2 as the “Home” drive, but tried to transfer all my data from my Time Machine backup drive from my old iMac, to the new “Home” external drive but it doesn’t give me that option to put it on the new external drive. It only still tries to put it directly on the Mac Mini. Any help here please I’d be grateful
I am having the same issue. Just got a new Mac Mini M4 (256GB) and OWC Express 1M2 with 2TB WD drive. Followed the instructions but when I try to transfer files from my old iMac (roughly 700 GB) to the 2TB external drive, it tries to put them on the internal drive and tells me I don’t have enough space.
Wayne,
If I understand this correctly, the OS and Apps will stay on the internal SSD, but EVERYTHING else will be on the external drive? Or ONLY the OS is on the internal SSD? I am looking to do this to keep apps and their data (Mail, Photos etc) on the external drive. Thanks
Thanks for this guide, Wayne, which seems like a smart setup to follow and which I will soon do.
I have three questions (all of which may be naive, but—):
Have you kept your primary user account whose Home folder’s on the OWC Express 1M2 as an Admin user? (On my Mac, I set my primary, everyday user account to be a Standard user, and only get into the separate, initially installed Admin account for administrative necessities, or I go to a second Admin account set up for troubleshooting. Is that a good practice?)
You note that, having created the user whose Home Directory is on the Express 1M2, “From here you’ll be able to redownload your apps and files and sign into iCloud.” I assume all the apps that come with macOS remain on the Mac’s internal drive, and “your apps” refers to any other apps the primary user has added that are or will be in its own Home Directory, yes? (My habit has been to store few added apps in my Standard-user home folder, rather storing them in the Mac’s general Applications folder, so any other users [of which there usually are none, in fact, as far as concerns other persons using the computer] can access them. So I don’t or haven’t saved my apps to iCloud.)
I back up using Time Machine and Carbon Copy Cloner; and have never had cause to back up from any volume other than Macintosh HD. Should I anticipate any difficulty in backing up from the Express 1M2 —or will I need to set up some sort of compound backup scheme to back up both macOS for updates’ sake and from my Home Directory? (I’m running an old 2012 Mac mini model, with macOS 10.14.6 Mojave, still, but have just purchased a new 2024 M4 Mac mini and will be setting it up with an Express 1M2 as you describe here; which is to say, I’m not very conversant with whatever changes may have come along in backup practices that may already have segregated OS volumes from user volumes.)
Hey Mark, thanks for reading
1) Yes, my primary account whose Home folder is on the 1M2 is an Admin account.
2) Yes, as far as I understand things, you’re correct. The system apps would still be stored on the Mac’s internal drive. The only apps that would be present on the external drive should be those that are installed for this extternal drive user.
3) Using, Time Machine, you shouldn’t have to do anything special. Time Machine understands where the system files and data are stored and knows how to backup the external Home folder. When it comes to Carbon Copy Cloner, I don’t have any insight as I’ve never needed to use that program in the past.
Thanks, Wayne.
I’ll check Carbon Copy Cloner for guidance on this.
The OWC Express 1M2 8 TB is awesome, allowing sustained writes cross all its capacity. Really awesome:
TESTED, OMG: OWC Express 1M2 USB4 SSD Trounces the Fastest Thunderbolt 3 SSD
Test results: 8TB model
The 8TB model is the highest performer, utilizing more advanced and expensive technology. You do pay a moderate per-GB premium for its high capacity and that fancier tech.
Look at those crazy-fast speeds for both writes and reads, writing the entire 8TB capacity (2 runs shown).
No external SSD I have ever tested can compete with this outrageously fast performance. Not only that, the consistency is breathtakingly solid across the two runs. Remember, this is writing and reading the entire 8TB capacity!
Average Write: 3076 MB/sec
Average Read: 3429 MB/sec
Graph at
https://macperformanceguide.com/blog/2023/images/2023-1207-graph-OWCExpress1M2-8TB.png
Review article at
https://macperformanceguide.com/blog/2023/20231207_1540-OWC-EnvoyExpress1M2.html
But we need at least 16 TB capacity. And now that is technically possible. Please, bring it. We need hundreds of them.