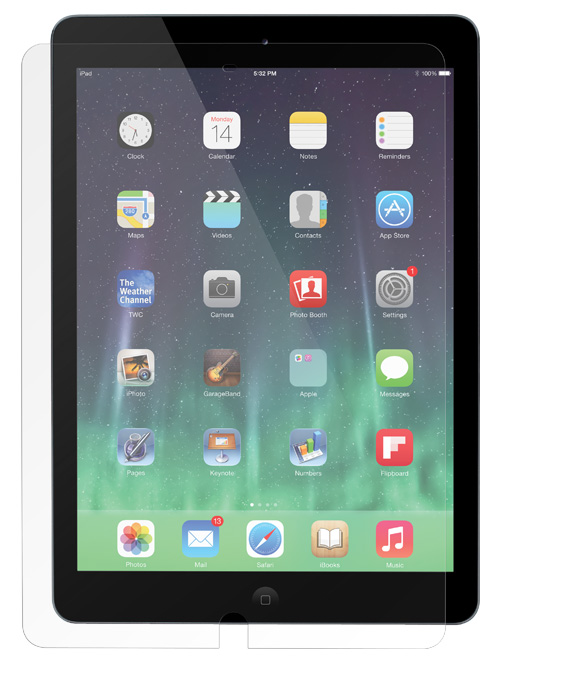
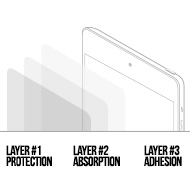
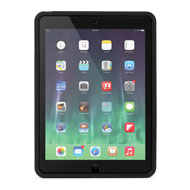
The NewerTech NuGuard KXs is compatible with...
iPad Air
(October, 2013)
Model ID: iPad4,1; iPad4,2
16GB, 32GB, 64GB, 128GB
iPad Air 2
(October, 2014)
Model ID: iPad5,3; iPad5,4
16GB, 64GB, 128GB
Installation Guide
Step 1. Make sure there are no fans blowing in the room and let any dust settle from people movement for five minutes before starting the project.
Step 2. Begin preparing your screen surface using the included lint free wipe. Remove all fingerprints, dust, and oils.
Step 3. Make sure you have the included straight edge plastic tool to help apply the protector.
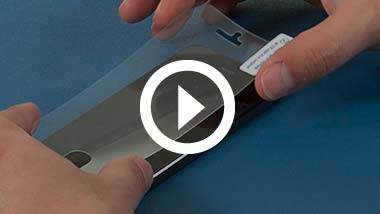
Step 4. Start applying the protective film at the home button end of the device and gently work from that bottom upwards making sure you have everything straight. DO NOT peel the protective film from the sheet it comes shipped on until it's near the edge of the surface of the glass. That keeps any contaminants from statically clinging to the screen protector. The protector will lay itself down and adhere to the screen easily.
Step 5. Work any bubbles from the center to the edge using the included straight edge tool.
Step 6. Take care not to create any fingerprints on the edge of the protective film by not touching that surface edge.
Step 7. If you have any dust under the screen, use the included blue sticky sheet to remove them. If you do have dust to remove, you should use a piece of tape to help lift the screen protector off of the device. Don't use your fingernails, as you can separate the multiple layers of screen protector accidentally.
1-800-275-4576


