


 1-800-275-4576

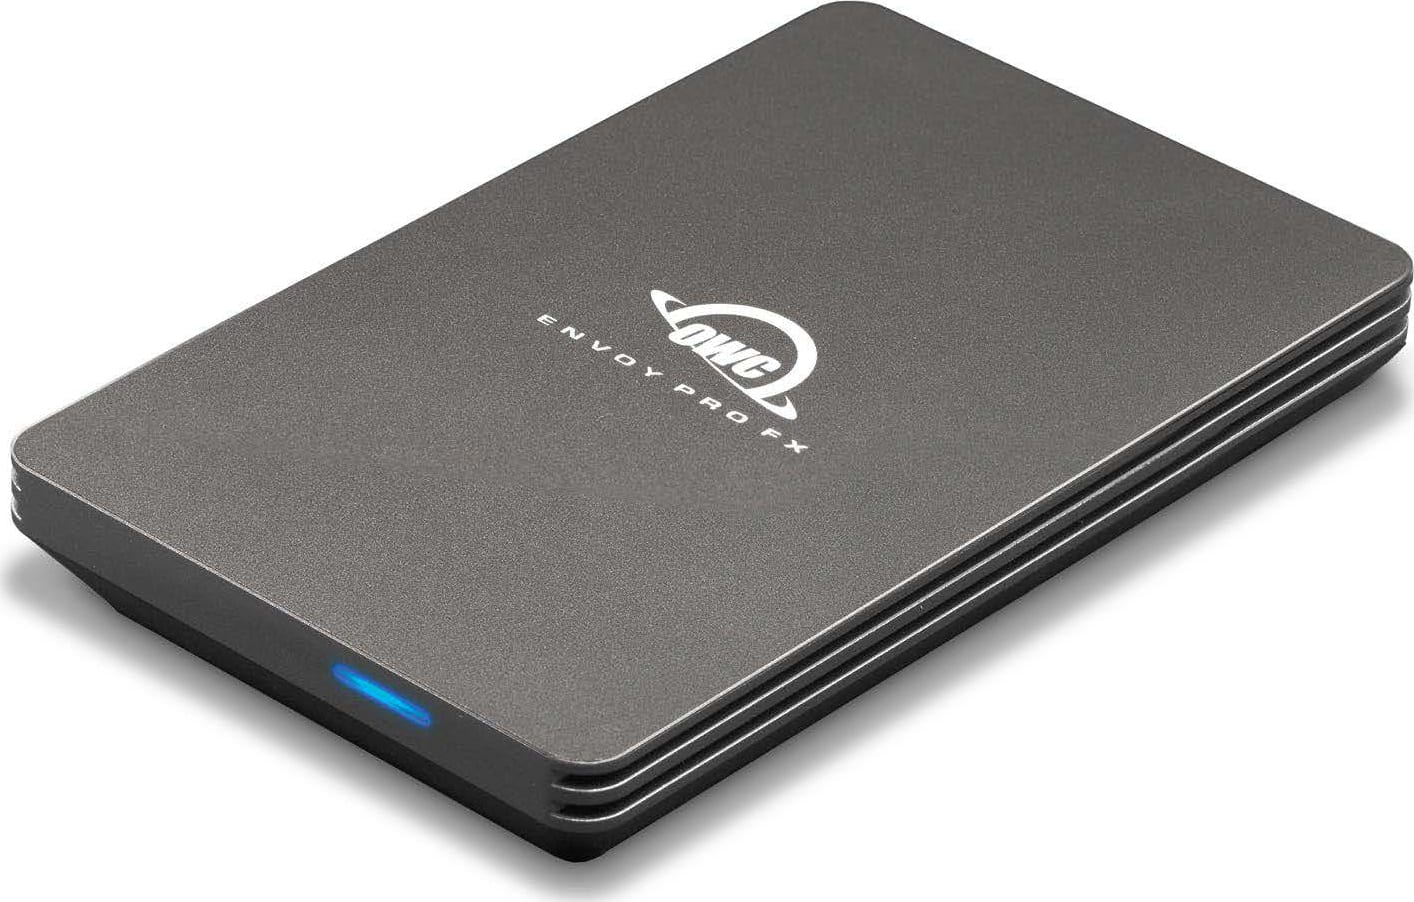
OWC Envoy Pro FX
Troubleshooting Guide
Preface - Scope of this Guide and Confirming macOS Compatibility
This guide is intended only for macOS computers. The product in this guide may support mobile devices and Windows computers, however this guide is only written to support macOS computers. If you are seeking support for something other than macOS, please contact Tech Support.
Before going through any of the specific issues it is best to confirm the computer being used with the device is compatible. At the time of writing this guide the Envoy Pro FX has the following requirements for its host computer:
Minimum macOS: 10.7.5 (USB) and 10.13 (Thunderbolt 3)
Computer connection: USB or Thunderbolt 3
A quick note about data backup
To ensure that your files are protected and to prevent data loss, we strongly suggest that you keep two copies of your data: one copy on your OWC Envoy Pro FX and a second copy on either your internal drive or another storage medium, such as an optical backup, or on another external storage unit. Any data loss or corruption while using the OWC Envoy FX is the sole responsibility of the user, and under no circumstances may OWC, its parents, partners, affiliates, officers, employees, or agents be held liable for loss of the use of data including compensation of any kind or recovery of the data.
The Envoy Pro FX is not powering on. The blue/green light is not working.
- Ensure the Envoy Pro FX is connected to the computer and the computer is powered on
- We want to confirm whether the Envoy Pro FX is mounting first. The Disk Utility application needs to be opened. From Finder, click on the “Go” menu in the menu bar and then select “Utilities.” Disk Utility will be found in the window that opens. If available, click on the “View” menu in the menu bar and select “Show All Devices.” On the left sidebar the Envoy Pro FX should be listed.
- If the Envoy Pro FX is mounting properly, it means the LED is faulty.
- If the Envoy Pro X is under warranty you may request a return for warranty work
- If the Envoy Pro FX is not under warranty there are a few options. The LED is not a user serviceable part. While the LED is convenient to tell when the drive is on and the drive is in use, it is not an essential component, and the drive can still be used as usual. If desired, an out of warranty repair could be an option, contact Tech Support for details.
- If the Envoy Pro FX is mounting properly, it means the LED is faulty.
- If it is not seen in Disk Utility
- Try a different Thunderbolt or USB-C cable, preferably one that is known to be functional.
- If the Envoy Pro FX is still not listed, try a different Thunderbolt or USB-C port on computer. Also, if an adapter, hub, or dock is being used, if possible, bypass the hub, adapter, or dock.
- If other bus‑powered devices are connected, eject and disconnect them.
- Reconnect the Envoy Pro FX and check if it powers on.
- If this resolves the issue, the Envoy Pro FX requires sufficient power and we recommend using a powered hub such as the OWC Thunderbolt Hub or OWC MiniStack STX for best results. Visit our KnowledgeBase for more info on this.
The Envoy Pro FX does not power down or sleep with computer
- If the Envoy Pro FX is connected to a powered dock or hub this is expected behavior.
- Even with a powered dock or hub disconnected from a computer the Envoy Pro FX will remain powered on.
- While generally not a cause for concern, if desired the Envoy Pro FX would need to be disconnected from the powered dock or hub
- If the Envoy Pro FX is connected directly to the computer, this may be expected behavior.
- macOS may put disks to sleep while the computer is asleep, however it also will run various activities via Power Nap and other basic maintenance scripts which can power up external drives
- If a concern remains please contact the computer manufacturer for guidance.
The Envoy Pro FX drive icon is missing on the desktop
- Make sure the Envoy Pro FX is connected to the computer.
- There is a setting in macOS that will not show external drives on the desktop, this is typically enabled by default.
- We want to confirm the Envoy Pro FX is properly mounting first.
- On the Mac click on Finder located on the dock, this will open a Finder window if one was not already open. Navigate up to the “Go” menu in the menu bar and select “Computer.” Within, the Finder window the Mercury Elite Pro’s volume(s) will be listed.
- If it is not mounting, you’ll want to skip down to the Envoy Pro FX is not mounting or will not mount section
- If the drive is there, we can enable the drive to show on the desktop by clicking on the Finder menu and then choose “Settings” (on older OSes it may be called “Preferences”). Under the General tab we need to check the “External disks” under the “Show these items on the desktop:” section.
The Envoy Pro FX is not mounting or will not mount
- It is important for us to make sure we are only working with the Envoy Pro FX, so unmount and disconnect any other drives that are connected to the computer.
- Make sure the Envoy Pro FX is connected to your computer, if possible, connected directly to the computer (do not use a hub, dock, or adapter). If the blue LED on the front is not coming on, first work through The Envoy Pro FX is not powering on. The blue/green light is not working. section above.
- The Disk Utility application needs to be opened. From Finder, click on the “Go” menu in the menu bar and then select “Utilities.” Disk Utility will be found in the window that opens.
- If available, click on the “View” menu in the menu bar and select “Show All Devices.” On the left sidebar the Envoy Pro FX should be listed.
- If the Envoy Pro FX is not listed.
- Unplug the Envoy Pro FX and try a different Thunderbolt or USB-C cable, preferably one that is known to be functional. Plug in the Envoy Pro FX and check to see if it shows in the left side bar again.
- If the Envoy Pro FX is still not listed, unplug the Envoy Pro FX and try a different USB or Thunderbolt port on the computer. Also, if an adapter, hub, or dock is being used, if possible, try a different adapter, hub, or dock.
- If the Envoy Pro FX continues to not be listed, if possible, try connecting the Envoy Pro FX to another computer. If the Envoy Pro FX works on the new computer, but not the original computer please contact the computer manufacturer for assistance in troubleshooting the computer’s USB or Thunderbolt port.
- If the Envoy Pro FX is still not seen and the Envoy Pro FX is under warranty you may request a return for warranty work
- If the Envoy Pro FX is listed on the left sidebar. Below the Envoy Pro FX the volume name will be indented.
- If the volume name is correct, click on the volume name, and then click on the “Mount” button in the upper right of the window.
- If the drive still does not mount or the volume name is not correct, try running First Aid.
- On the left side pane of Disk Utility find the Envoy ProFX. Select the lowest disk icon on the hierarchy of the drive.
- Click on the “First Aid” button and then click on the “Run” (on older macOSes it might be “Repair Disk” button). When the repair is complete review the results. If there is any entry that states something was fixed, click the “Done” button and click the “First Aid” button again and run through the process once more. Repeat this process working up the disk hierarchy, running first aid on the remaining disk icons. Once complete click on the volume name and then click on the “Mount” button in the upper right of the window.
- If a First Aid fails, try running it once more. If it continues to fail, please have a screenshot of the results, and then contact Tech Support.
Drive shows wrong capacity
- It is important for us to make sure we are only working with the Envoy Pro FX, so unmount and disconnect any other drives that are connected to the computer.
- The Disk Utility application needs to be opened. From Finder, click on the “Go” menu in the menu bar and then select “Utilities.” Disk Utility will be found in the window that opens.
- If available, click on the “View” menu in the menu bar and select “Show All Devices”
- On the left sidebar the Envoy Pro FX should be listed. Click on the top level (left most justified icon). On the right side of the window, the capacity of the Envoy Pro FX will be listed.
- If the capacity is only slightly lower than expected (e.g. 1TB showing as 960GB) this can be normal due to built-in over-provisioning. Please contact Tech Support if there are questions or concerns remaining.
- If the capacity shows 33KB, 36KB, 1.08GB, or 1.2GB. This is generally a sign the drive has failed (not the Envoy Pro FX enclosure).
- If the Envoy Pro FX is under warranty, a request to return it for warranty work can be submitted.
- If the Envoy Pro FX is not under warranty an out of warranty repair could be an option. Please contact Tech Support for details.
- For any other capacity concerns please contact Tech Support.
The Envoy Pro FX seems slow when transferring files
- There are many factors that can affect the transfer speed of drives. Just to name a few: How a drive is connected to the computer. The type of files being transferred. The type of drive the data is being transferred from and being transferred to. In the case of SSDs (all Envoy Pro FX), if and how large of a cache it has for writes. In most cases where drive performance comes into question there is nothing wrong with the drive. Most of the time for drive performance concerns there is a realignment of performance expectations needed.
- The Envoy Pro FX can function through USB or Thunderbolt which can impact its maximum performance. The amount of data being written can also impact performance. This is due to the cache mechanism found in the SSD. When the cache becomes full, write performance can have a notable drop. Note that read speeds are not impacted by the cache.
- With the Envoy Pro FX powered on and connected directly to the computer, we will want to open System Information. From Finder, click on the “Go” menu in the menu bar and then select “Utilities.” System Information will be found in the window that opens.
- Click on the “Thunderbolt/USB” section in the left sidebar. In the top section find “Envoy Pro FX” and click on it. In the bottom section find the “Link Speed:” it should say “Up to x Gb/s.” If the Envoy Pro FX is not found under the "Thunderbolt/USB" section, click on the "USB" section and look for it there.
- When connected via Thunderbolt 3, x should be 40 Gb/s. This is the ideal connection for the Envoy Pro FX and will give the best performance possible.
- When connected via USB, x could be 10 Gb/s or 5Gb/s. This connection type will be the performance bottleneck of the Envoy Pro FX.
- If it reads “Up to 480 Mb/s” then it is only working at USB 2 speeds.
- If a MacBook Neo is being used, be sure to use the rear USB-C port (closest to screen hinge). The rear USB-C is USB 3 capable of 10 Gb/s while the forward USB-C is USB 2 capable of only 480 Mb/s.
- This generally means a USB-C charging cable is being used instead of a USB-C or Thunderbolt data cable. Please try another USB-C or Thunderbolt cable. After changing cables, within System information click on the File menu and select "Refresh Information". If the link speed is still showing "Up to 480 Mb/s" please contact Tech Support.
- To gauge the performance of a drive our preferred benchmarking tool to recommend is the free application, AJA System Test Lite. Please download and install AJA System Test Lite.
- If we want an accurate measurement of the true performance of the Envoy Pro FX it needs to have no data on it or very little data. With the computer powered on and the the Envoy Pro FX connected, it should sit idle for at least 10 minutes before running AJA system test. This will ensure the cache in the SSD has settled from any previous transfers.
- If possible, backing up the data on the Envoy Pro FX to another drive and then erasing it is recommended. If you have any questions or need help with this process, please contact Tech Support. This will give us the best numbers to compare to OWC’s baseline benchmarks
- Open AJA System Test Lite from the Applications folder.
- The settings OWC most often uses for the Envoy Pro FX are:
- Under the Resolution menu select “8192x4320 8Kl”
- Under the Test File Size menu select “64 GB”
- Under the Codec menu select “16bit RGBA”
- Under the Target Disk select the name of the volume for the Envoy Pro FX.
- Click the “Start” button. The test will begin, which can take a few minutes to complete.
- Based on the connection:
- As previously mentioned, results may vary due to a variety of reasons. If the numbers are lower than expected please contact Tech Support. Please have a screenshot of the test results ready.
- Up to 5 Gb/s: Writes should be between 350-500 MB/s; Reads should be between 350-500 MB/s
- Up to 10 Gb/s: Writes should be between 800-1000 MB/s; Reads should be between 800-1000 MB/s
- up to 40 Gb/s: Writes should be between 1500-2400 MB/s; Reads should be between 2650-3050 MB/s
- If we want an accurate measurement of the true performance of the Envoy Pro FX it needs to have no data on it or very little data. With the computer powered on and the the Envoy Pro FX connected, it should sit idle for at least 10 minutes before running AJA system test. This will ensure the cache in the SSD has settled from any previous transfers.
Free Support Chat
Our free award-winning support team is ready to answer all of your questions. Technical support is available Monday - Friday: 9AM - 6PM. Customer Support & Sales is available Monday - Friday: 9AM - 6PM. Support is unavailable on U.S. Federal holidays. Talk to a human today.