 1-800-275-4576
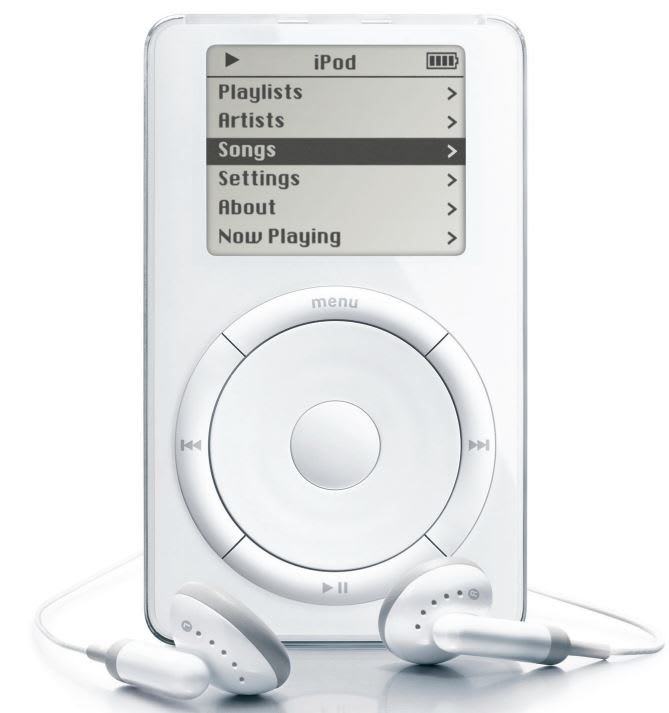
iPod Replacement Battery
1st & 2nd Generation
Attention: Observe Precautions For Handling Electrostatic Sensitive Devices
Please observe all static safe precautions while working inside of your iPod. Newer Technology, Inc. takes no responsibility for damage occurring to your iPod while installing this replacement battery. If you are concerned or unable to perform this installation process, please contact a sales representative for a quote on our professional installation service.

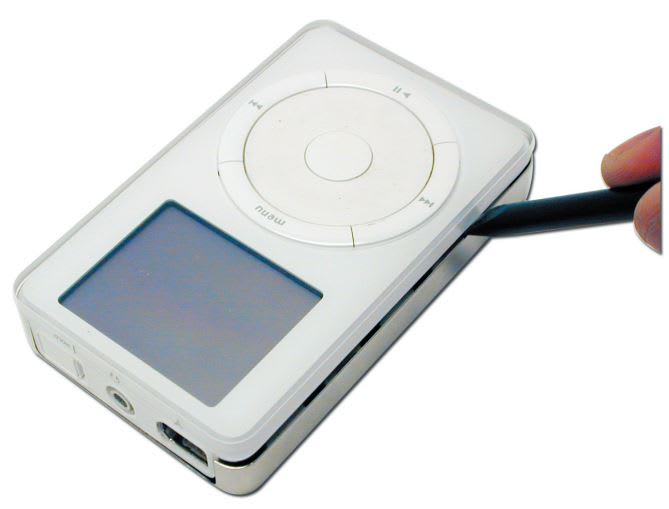
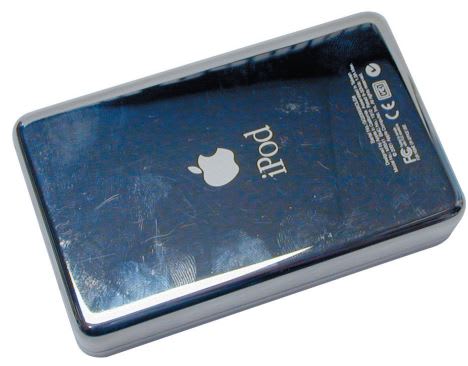
Begin by laying your iPod on it’s back on a soft work surface.

Using the included nylon screwdriver tool, gently insert the pointed end between the metal back casing and the acrylic front of the iPod, at the top of the unit as shown.
Using a gentle prying motion, work the nylon tool down the length of the iPod toward the bottom as shown. The concealed clips will release as you slide the tool down the iPod’s back shell.
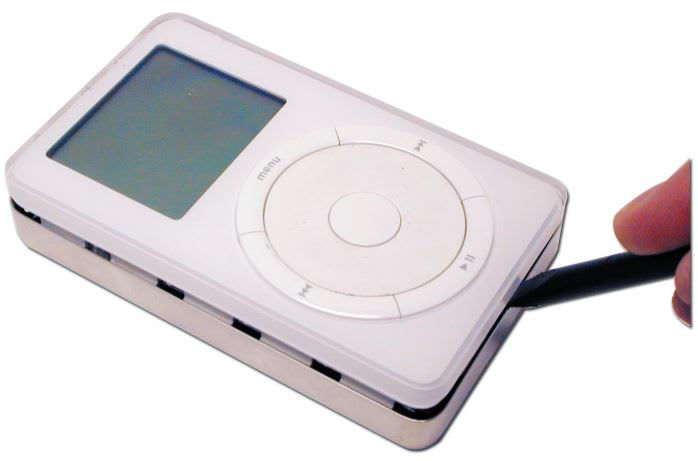
Work the nylon tool in from the bottom of the unit once you have the left side released. There are 2 clips on the bottom to unlock. Be careful to not put pressure on the back of the case and accidentally close the top left side where you began the process.
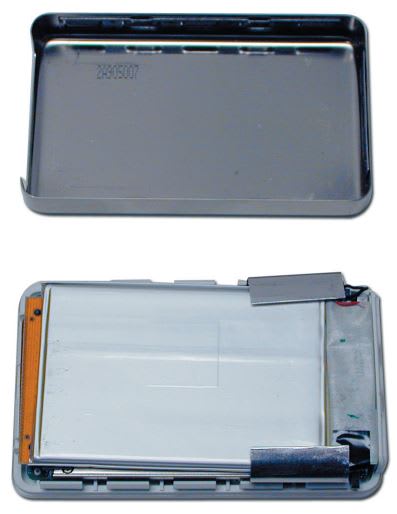
Once the bottom shell is free, it will easily come off of the iPod. Set it aside.
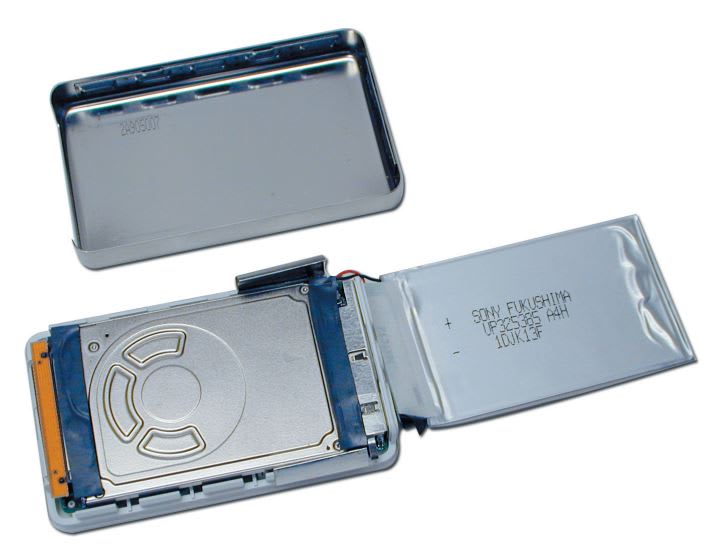
Gently work the battery from the iPod, there are 2 black adhesive strips on the top and bottom of the battery to release. If they stick to the battery, simply peel them off and reapply them to the top of the hard drive as shown here. It may take some force, and you may use the nylon tool to pry the battery off, using gentle force.
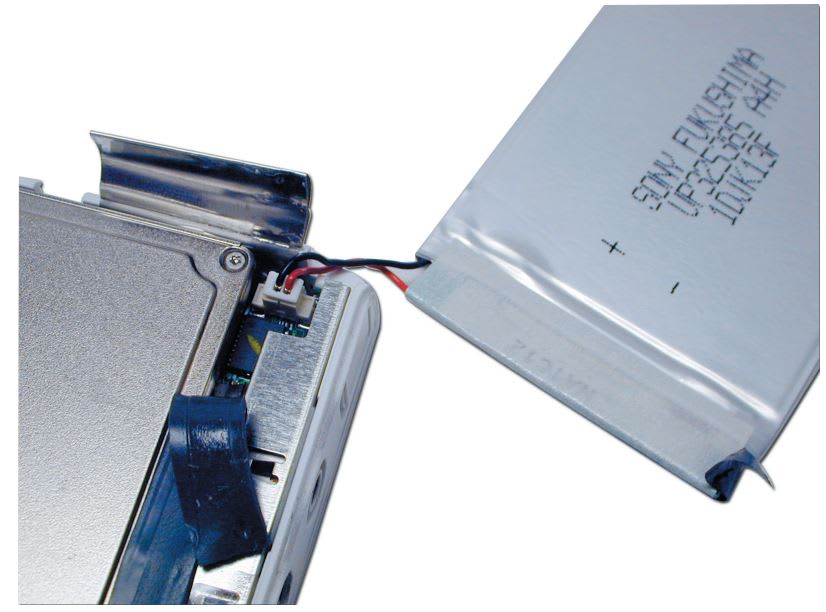
Disconnect the battery from under the top adhesive strip, from it’s mounting point on the logic board.
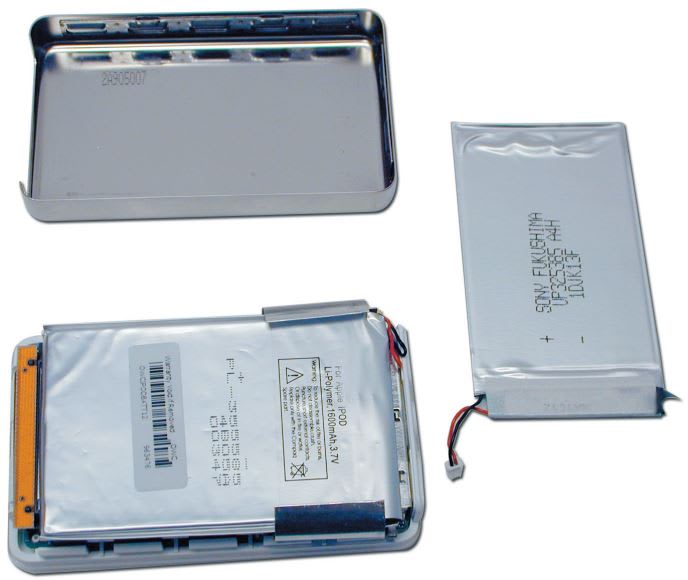
Insert the replacement high-capacity battery onto the logic board socket, it will only plug in one direction. Then, place the battery back onto the adhesive strips, centering it’s position on the iPod as shown. Tuck the wires in neatly to the top of the battery, making sure they do not protrude from the inside of the case.
Slide the iPod back cover onto the front shell and gently press toward the front to snap it back on.
Your iPod is now ready to be charged and used! Enjoy your new battery and thank you from all of us at Newer Technology Inc.!
Free Support Chat
Our free award-winning support team is ready to answer all of your questions. Technical support is available Monday - Friday: 9AM - 6PM. Customer Support & Sales is available Monday - Friday: 9AM - 6PM. Support is unavailable on U.S. Federal holidays. Talk to a human today.