 1-800-275-4576
MacBook, MacBook pro and iMac Memory
Apple MacBook Pro 15" & 17" Memory Installation
Make sure your computer is turned off and follow static safe precautions!
1. MacBook Pro systems, both 15" and 17", are very simple to upgrade memory in. Start by shutting down the computer, and remove the battery using the spring latches on the case. Unscrew the Phillips screws that secure the inspection plate using a small Phillips P0 screwdriver. Place the removed screws in a secure location, and detatch the cover from the bottom of the computer. Once the bottom cover is removed, you will see the memory already installed from the factory. You need to remove the memory to make room for the large chip or chips that you are going to install.
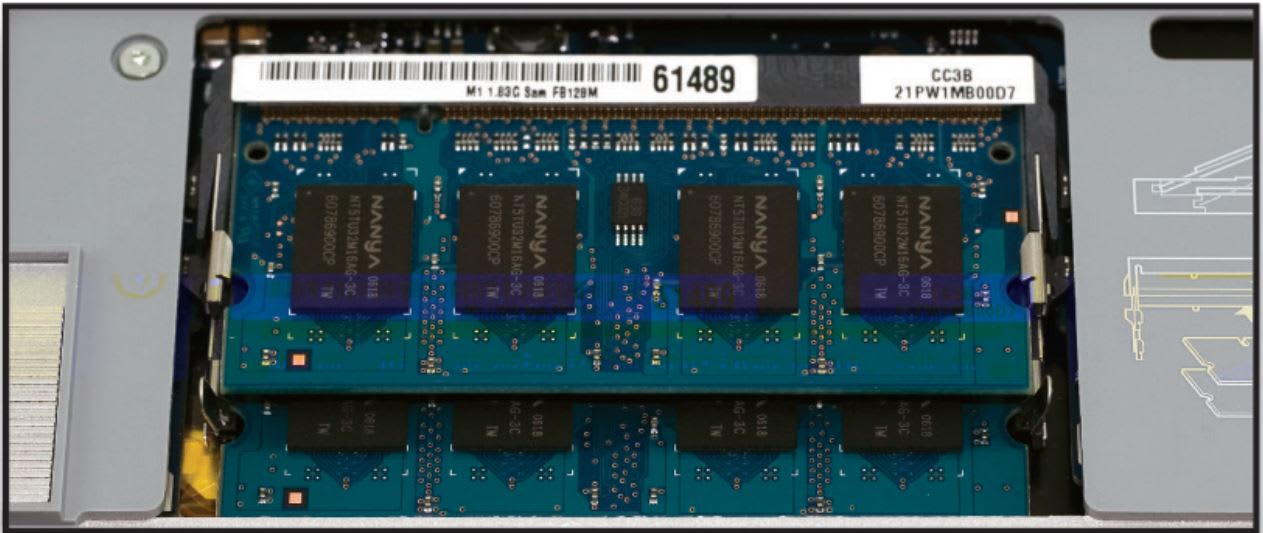
2. Gently pull the metal clip latches at the sides of the memory you want to remove away from the chip. Oce you do that, the memory will spring upwards to the angle you see here, and pulling it out of the socket will easily remove it making way for the new chip to be installed. If you are only installing once piece of memory, you can do so now by placing the chip into the slot at the same angle shown here and press firmly into, and then down, into the computer. If you are installing 2 pieces of memory, the lower slot RAM comes out the exact same way as the top.
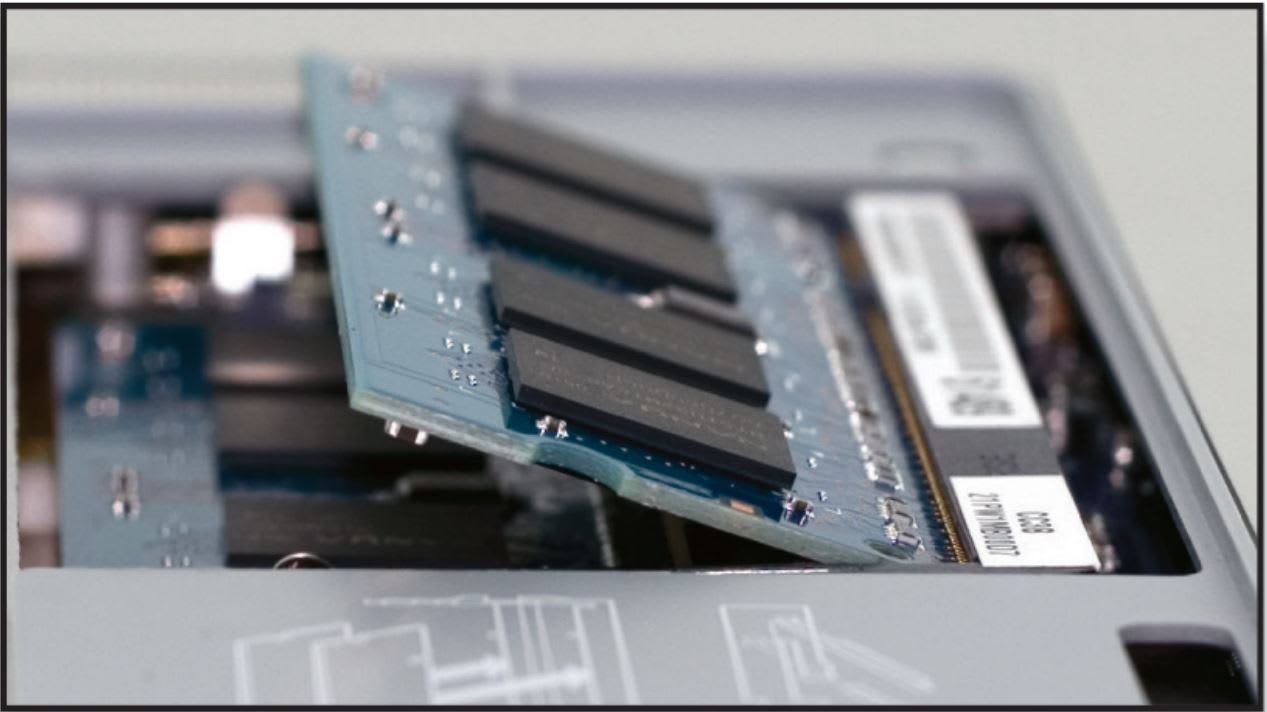
3. Insert your new RAM into the MacBook Pro in the opposite manner that you removed the original RAM. Insert the lower slot RAM first, fully locking it under the metal tabs, and then insert the top RAM module. Replace the protective cover and insert the Phillips screws that you removed from it. You're all set! Enjoy your new RAM!
Apple MacBook Pro 13.3" Memory Installation
Make sure your computer is turned off and follow static safe precautions!

1. Remove the battery from your MacBook using a coin to unlock it from it's bay; a quarter or nickel works great. Once the battery is removed, consult the instructions printed on the right side of the battery bay and take out the 3 captive Phillips screws (a very small Phillips P0 screwdriver is required) so you can remove the metal cover and shield from the memory and hard drive bays.

2. The factory installed memory modules are removed using spring-loaded flip lever mechanisms. Flip the lever to the left to lift and extract the memory from the slots. Use care while doing so as the extractor is not very strong. Gently pulling on the lever toward you while flipping it can aid in the extraction process. If the memory seems stuck on the left side, you can press the memory back into the slot on the right side just a bit, and flip the lever again and that should pop it free from the left side of the slot. Do not use pliers! Fingers ONLY!
3. Insert the new chip into the memory bay, the slot is keyed to only allow the memory to fit in one direction. The memory chip needs to be oriented with the cutout notch on the left side of the chip to fit into the memory slot, as pictured in the battery bay. Once you insert the memory into the battery bay, you will feel resistance with the memory still sticking out of the bay by about 1/8th of an inch. The memory is not fully seated into the computer yet - you need to press the memory chip down into the computer with more force than you would expect to fully seat it. We suggest turning the MacBook so that it is facing opposite of what is shown in the above picture, so you can PULL the memory toward you, down into the MacBook. Replace the EMI/RFI shield back into your MacBook, and replace it's battery. You're all set! Enjoy your new RAM!
Want to see movies on how to do this? View video installation guide on our website at: http://eshop.macsales.com/tech_center/installation.cfm
Apple iMac Intel (White) Memory Installation
Make sure your computer is turned off and follow static safe precautions!
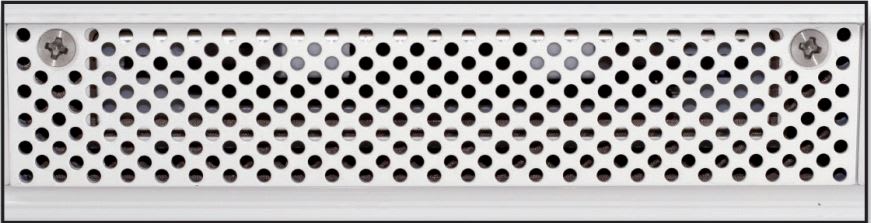
1. To upgrade RAM in an Apple iMac (White bezel), you need to place the computer face down on a soft towel to begin. Once you have done that, look at the bottom foot of the computer and you will see a silkscreen showing instructions from Apple on how to perform this procedure - use it for reference. Start by removing the memory cover on the bottom of the computer, it's attached with 2 Phillips P1 screws that are captively held and will not fall out.
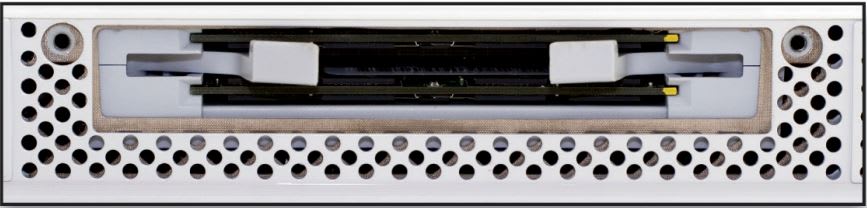
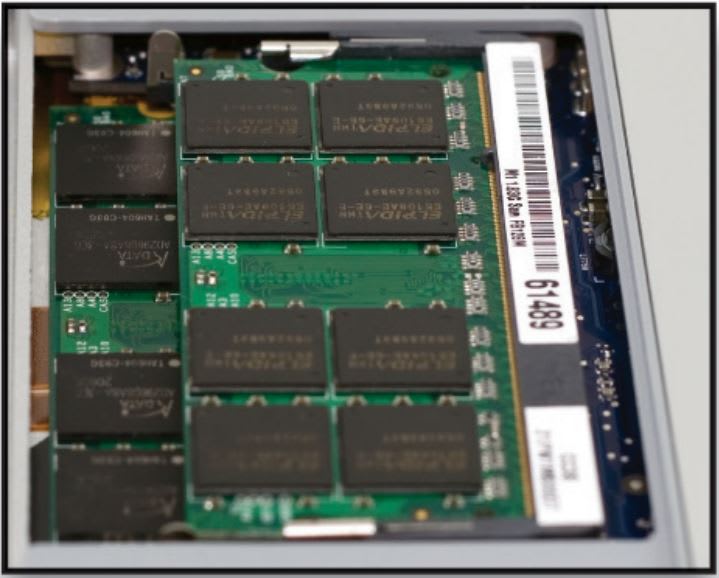
2. Once the cover is removed, you will see the memory slots and the factory memory already installed. You will need to lift up on the 2 gray plastic flip levers to extract the memory from the slots. The levers will need to be lifted together, at the same time to evenly pop the memory loose from the slot. Slide the memory our of the computer and note the orientation of the memory, which side of the slot the guide notch is located on. If you need a visual guide for this step, simply look at the metal foot on the iMac, the silkscreen from Apple shows the notch clearly.
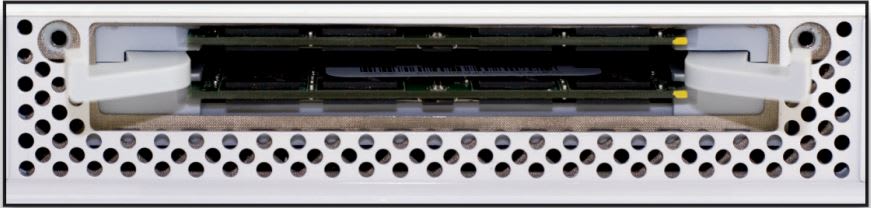
3. Slide the new RAM into your iMac's memory slots, one piece at a time until you feel resistance. The RAM should be nearly all the way in. Then, at the same time, using your thumbs, snap the RAM into the computer - you will feel a "crunch" when it is fully installed. Once the RAM is all the way in, flip the levers back into the computer at the same time, you will feel some resistance. Replace the RAM cover and tighten it's 2 Phillips screws - you're all done!
Apple iMac Intel (Aluminum) Memory Installation
Make sure your computer is turned off and follow static safe precautions!

1. Installing RAM into a Mid-2007 (Aluminum) iMac is very straightforward procedure. Begin by placing the iMac face down on a soft towel. Tool on the bottom of the aluminum foot - there is a silkscreen of the RAM installtion procedure for reference. Unscrew the Phillips P2 screw from the memory cover, exposing the RAM. Set the cover aside.
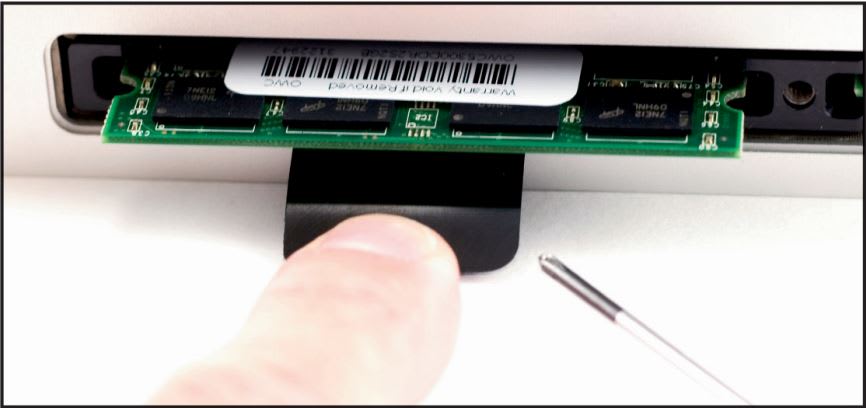
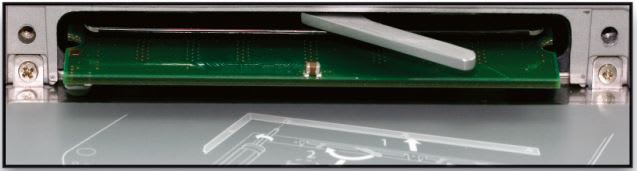
2. Each memory slot has a small plastic flap that you use to lift the memory chip out of the slot. Using a small screwdriver release the plastic flap so that you can pull on it. Pull teh flap straight toward you, releasing the RAM. Slide the memory out of the computer and note the orientaion of the memory, which side of the slot the guide notch is located on. If you need a visual guide for this step, the silkscreen from Apple shows that notch clearly.
3. Slide the new RAM into your iMac's memory slots, one piece at a time until you feel resistance. The RAM should be nearly all the way in, Then, using your thumbs, snap the RAM into the computer fully - you will feel a "crunch" when it is fully installed.
Repeat for the other memory module. Once both of the RAM modules are installed, tuck the plastic pull tabs back into the computer. Replace the RAM cover and tighten it's Phillips screw - you're all done!
Want to see movies on how to do this? View video installation guide on our website at: http://eshop.macsales.com/tech_center/installation.cfm
Free Support Chat
Our free award-winning support team is ready to answer all of your questions. Technical support is available Monday - Friday: 9AM - 6PM. Customer Support & Sales is available Monday - Friday: 9AM - 6PM. Support is unavailable on U.S. Federal holidays. Talk to a human today.