 1-800-275-4576
MacBook & MacBook Pro (Late 2008)
SO-DIMM Installation Instructions
Thank you for choosing Other World Computing for your MacBook/MacBook Pro memory needs. Please read over these instructions to ensure proper installation and maximum performance with your new memory.
Step 1:
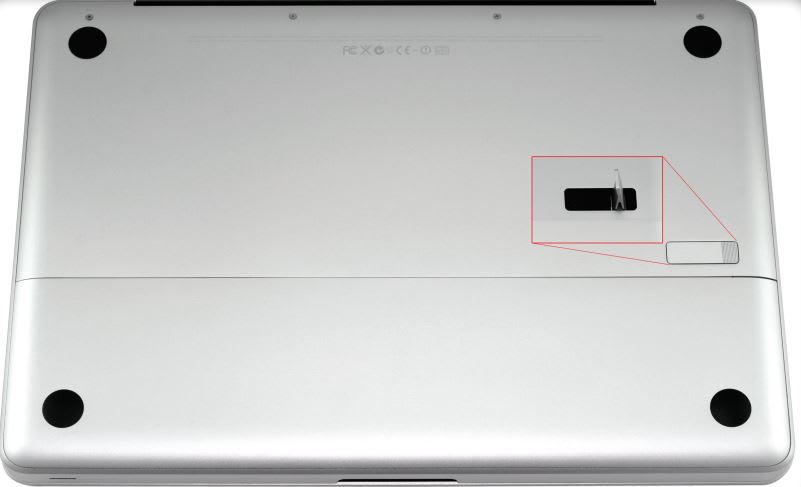
Shut down your MacBook or MacBook Pro and place it upside down on a soft work surface.
Step 2:
Using the the battery bay release latch (inset in red in this photograph), release the battery bay cover and remove it. The MacBook and MacBook Pro are identical in appearance and internally other than the release latch is on the left side for the MacBook Pro.
Step 3:
Notice on the inside cover of the battery bay there are silkscreened instructions for the memory installation procedure, as well as instructions on how to upgrade your hard drive.

Step 4:
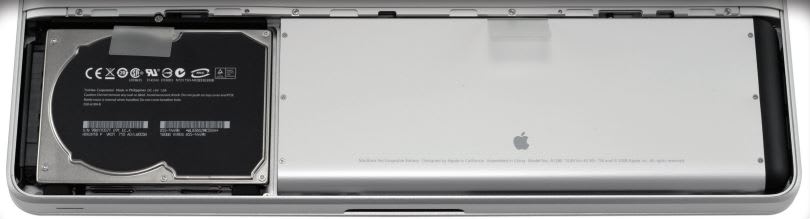
Lift up on the clear plastic pull tab attached to the battery and remove it from the laptop. Set it aside.
Step 5:
- Remove the 8 screws circled in red in the bottom right photograph on this page;
- Remove the 4 short screws (all are identical) across the lower portion of the bottom cover.
- Remove the 4 screws from across the top portion of the bottom cover, starting with the left screw. The top left screw is a short screw, and the remaining 3 are long screws.

Video installation instructions can be found on the OWC Web Site http://eshop.macsales.com/tech_center/installation.cfm
Step 6:
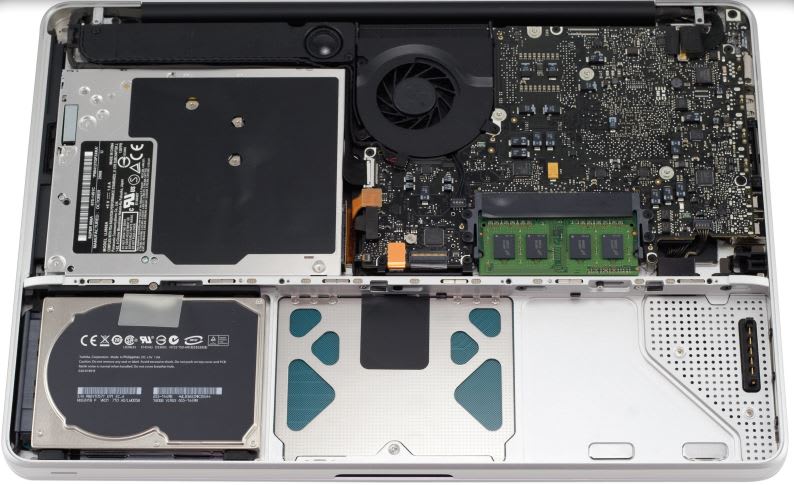
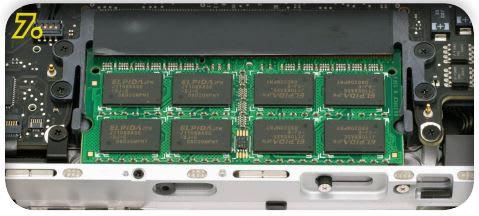
Remove the bottom cover, exposing the optical drive, logic board, and RAM (The green, or blue SO-DIMM modules in the center right of the photograph).
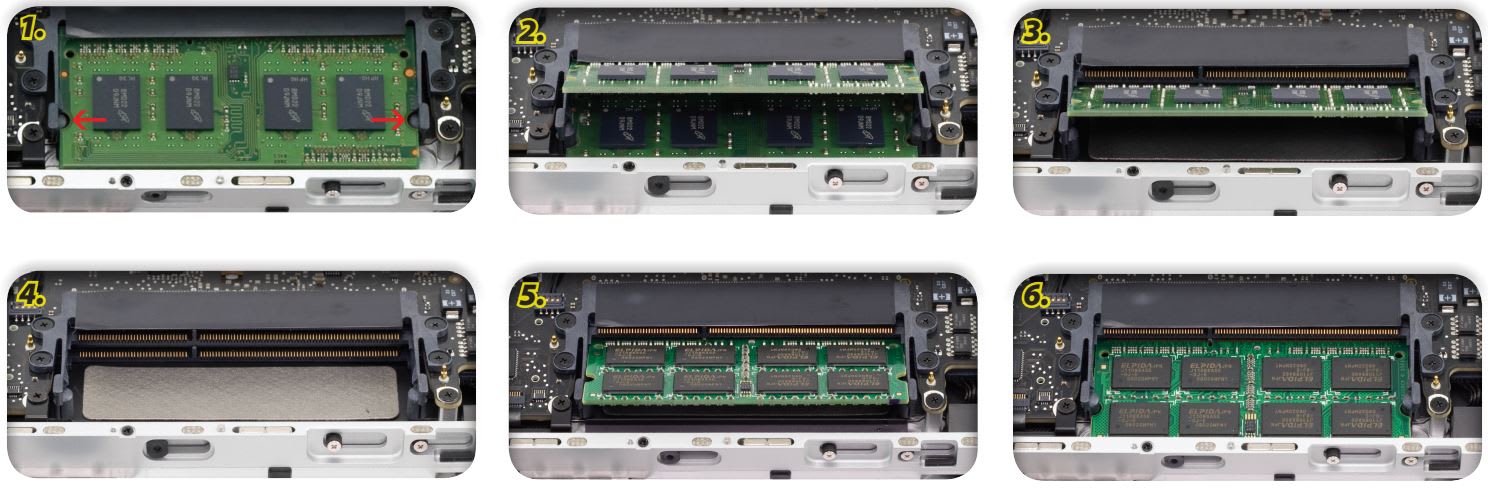
Follow the photographs in order to replace both SODIMMs.
To release the clips holding the SO-DIMMs into the memory slots, gently pry the clips apart with your thumbnails at the same time, and the module will spring up to a 30 degree angle (2nd photograph). You can then pull the module straight out of the slot. Removal of the lower module is the same procedure but will require releasing the upper memory module retaining clips after the lower clips are released, the module will only spring up about 10 degrees before coming into contact with the upper slot retaining clips. Releasing the second set of clips (3rd picture) will allow you to remove the lower module. Install the new lower module (5th picture), with the module at a 30 degree angle to go into the slot, releasing the upper retaining clips to allow the new module to pass by before fully locking into place (6th picture). The last photo is the upper module inserted.
Step 7:
Repalce the bottom cover on the laptop and then work backwards from step #5 to reassemble your Macbook / MacBook Pro.
Step 8:
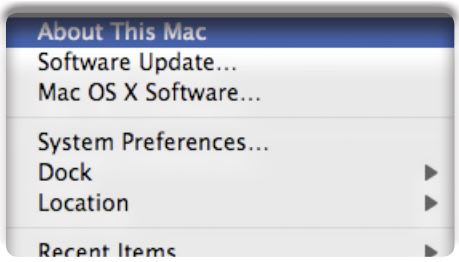
Boot your MacBook / MacBook Pro. You should be able to see your new RAM by going to the Apple menu and selecting “About this Mac.”
If the RAM does not show up properly, try removing and reseating the RAM.
Free Support Chat
Our free award-winning support team is ready to answer all of your questions. Technical support is available Monday - Friday: 9AM - 6PM. Customer Support & Sales is available Monday - Friday: 9AM - 6PM. Support is unavailable on U.S. Federal holidays. Talk to a human today.