Created on: June 9, 2022
Last updated: April 12, 2024
Many OWC products are sold and shipped with pre-installed drives that contain a Mac RAID volume, most often one created in SoftRAID. Windows users who purchase these select OWC products will need to convert the Mac volume to a Windows SoftRAID volume. Please be sure to verify that the volume has not been used to store any information, prior to following the steps below. If data is present, a backup should first be created.
Download and install SoftRAID for Windows, which has a feature for converting Mac SoftRAID volumes to Windows SoftRAID volumes. The Windows version can be found at download.owc.com/softraid/windows
- Connect your OWC product to a Windows device.
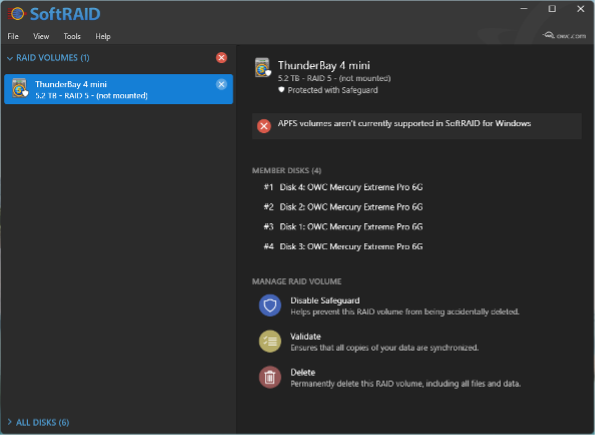
- Launch SoftRAID for Windows. The Mac SoftRAID volume will appear as an option under “RAID VOLUMES”. The listing will contain a notice: “APFS volumes aren’t currently supported in SoftRAID for Windows”.
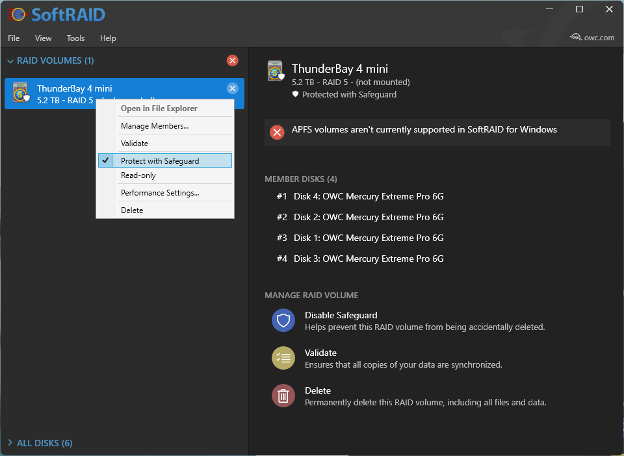
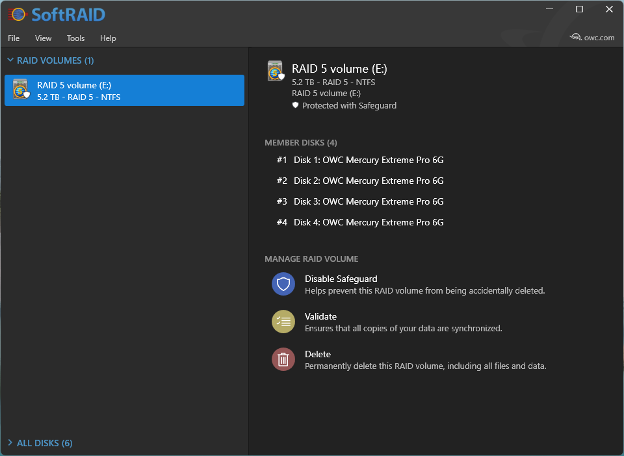
- Right-click the device to check if Safeguard is checked and enabled. Safeguard will have a check mark next to it if enabled (as shown below). Click on “Protect with Safeguard” to disable it. Confirm your choice to disable this feature when prompted.
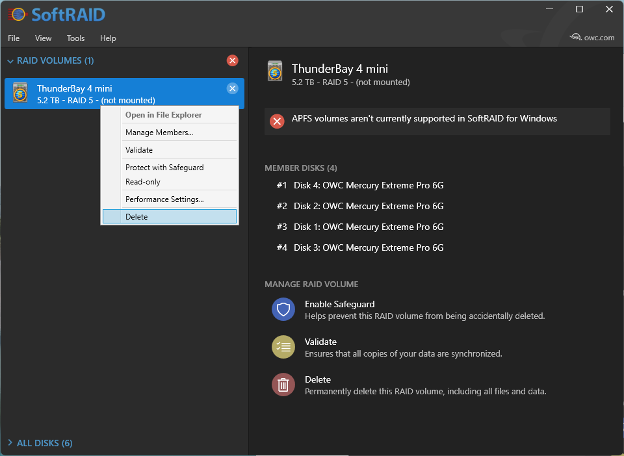
- After ensuring Safeguard is disabled, right-click on the device and delete the volume by selecting “Delete”. Confirm this action when prompted.
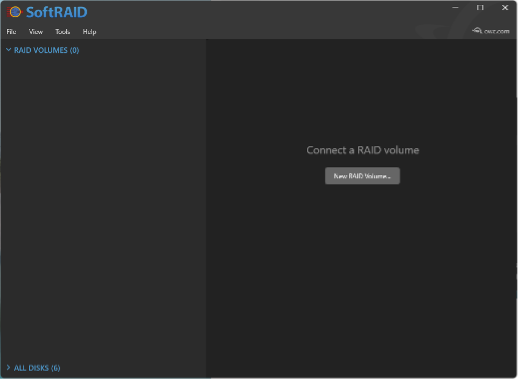
- After the cleaning process completes or has been canceled, a new Windows SoftRAID volume can be created under the “RAID VOLUMES” category. Select “New RAID Volume…” to create a Windows SoftRAID volume.
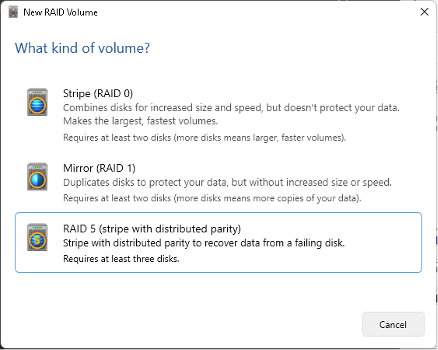
- Select the desired RAID volume among RAID 0, 1, or 5.
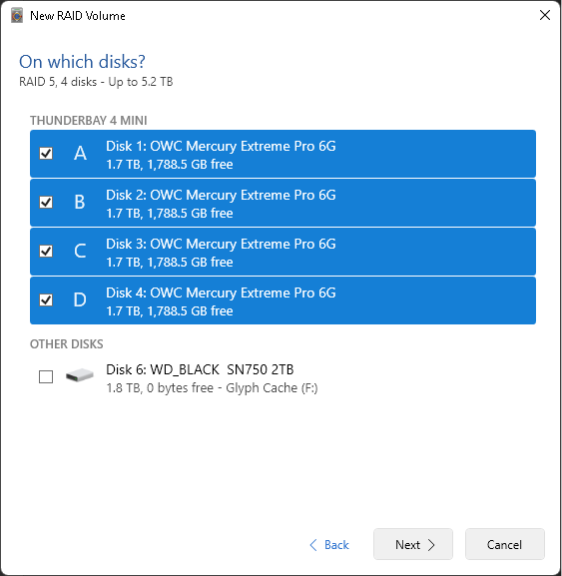
- Choose the disks that should be used in the RAID volume and click “Next”.
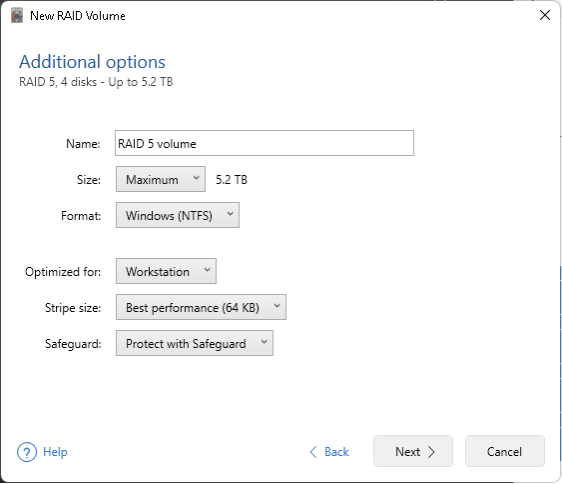
- Edit the RAID settings as desired and click “Next” (Default selections highlighted).
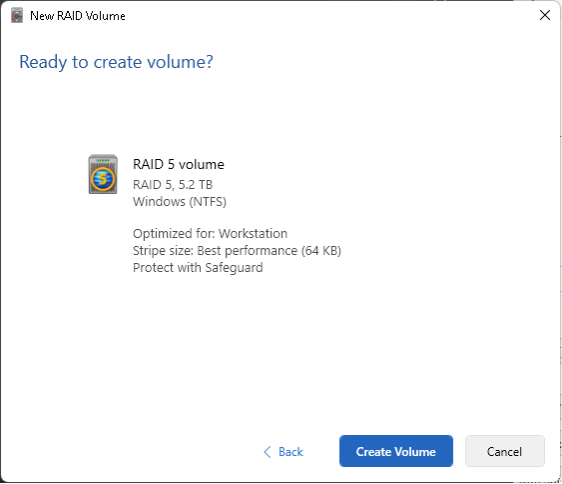
- Select “Create Volume” to complete the Windows SoftRAID volume creation process.
- The created volume will appear under the “RAID VOLUMES” category and is ready for use in Windows.
 1-800-275-4576