OWC Best Practice: (Windows) Multiple SoftRAID Volumes with OWC ThunderBlade X8

Created on: March 4, 2024

Relevant Part Numbers

Details

  • OWC generally recommends the use of 8 disk RAID volumes when using the OWC ThunderBlade X8. Some users may desire or need to operate the OWC ThunderBlade X8 using multiple RAID volumes. This is a supported function through SoftRAID. Users will need to delete the OWC ThunderBlade X8 SoftRAID volume, and identify\label the disks in the OWC ThunderBlade X8 before creating multiple RAID volumes.

    • NOTE: OWC recommends backing up your data before proceeding with deleting the OWC ThunderBlade X8 SoftRAID volume.

Instructions

Deleting the ThunderBlade X8 RAID Volume

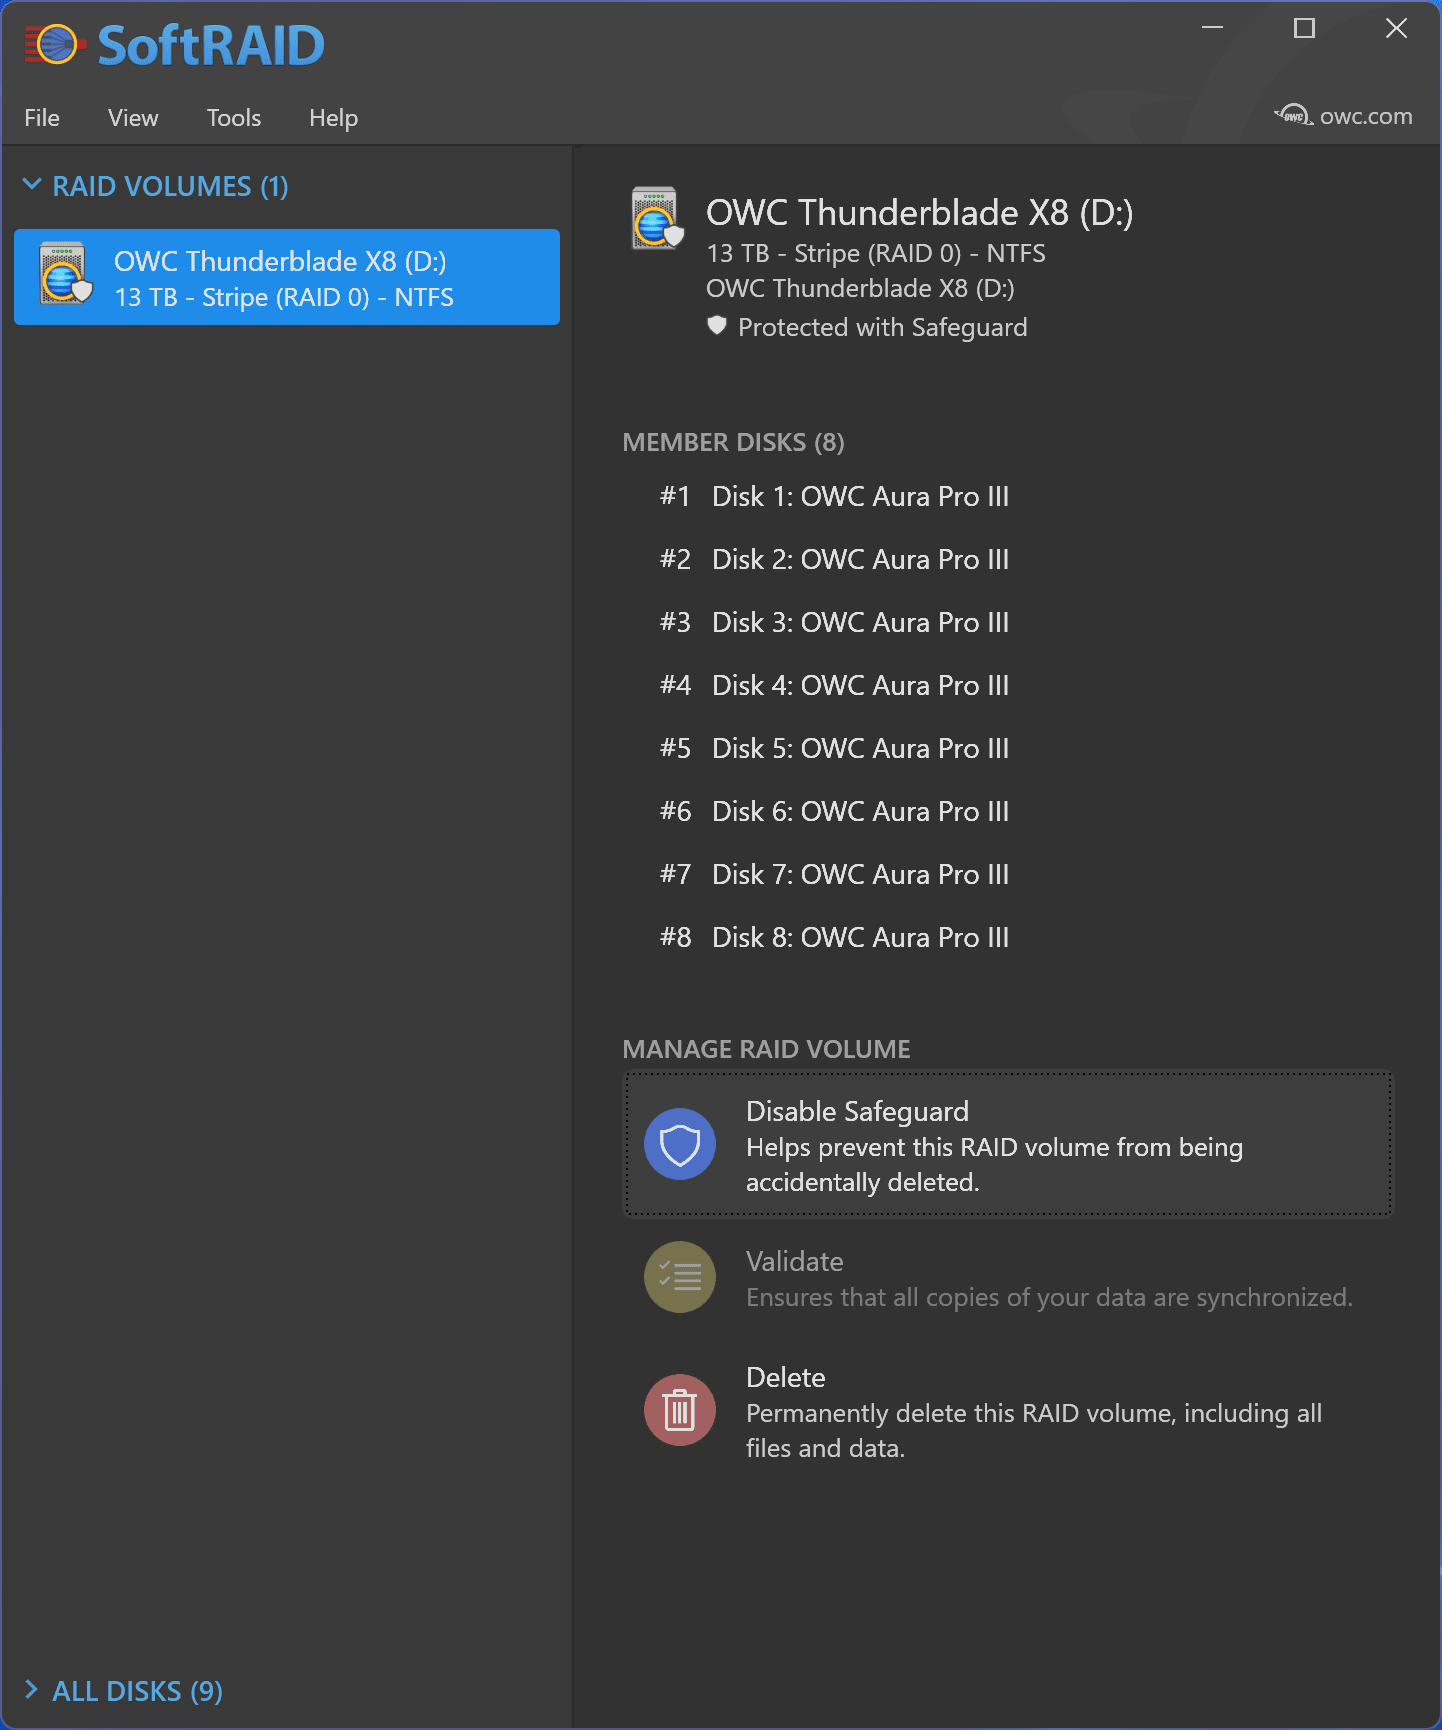
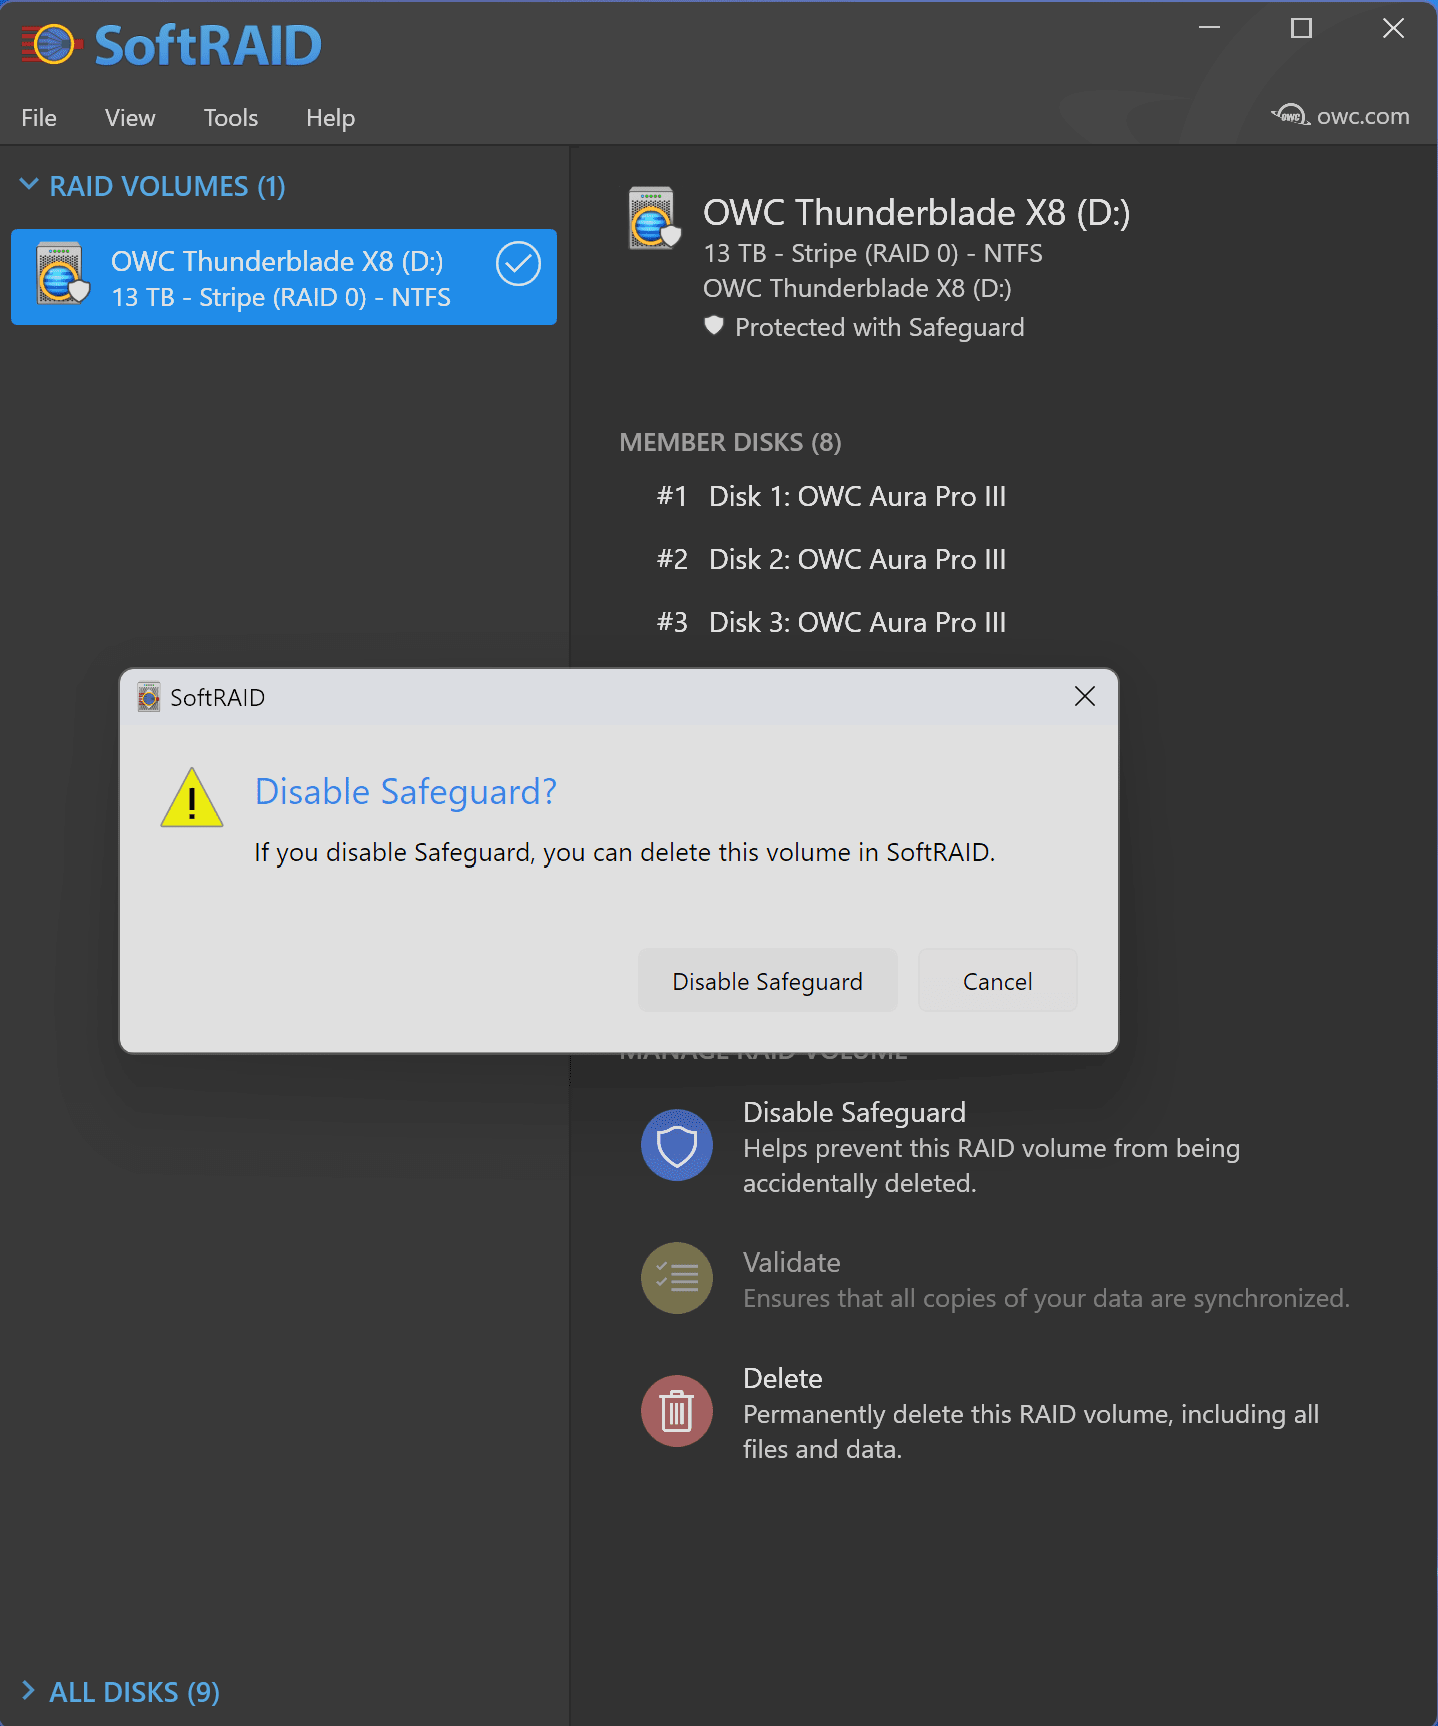
1. The ThunderBlade X8 SoftRAID volume is protected from deletion by a SoftRAID feature called Safeguard. This feature will need to be disabled in order for the ThunderBlade X8 SoftRAID volume to be deleted.

  • Locate and select the OWC ThunderBlade X8 SoftRAID volume.

  • Click "Disable Safeguard" to turn off the feature.

  • Confirm the choice to disable Safeguard when prompted.


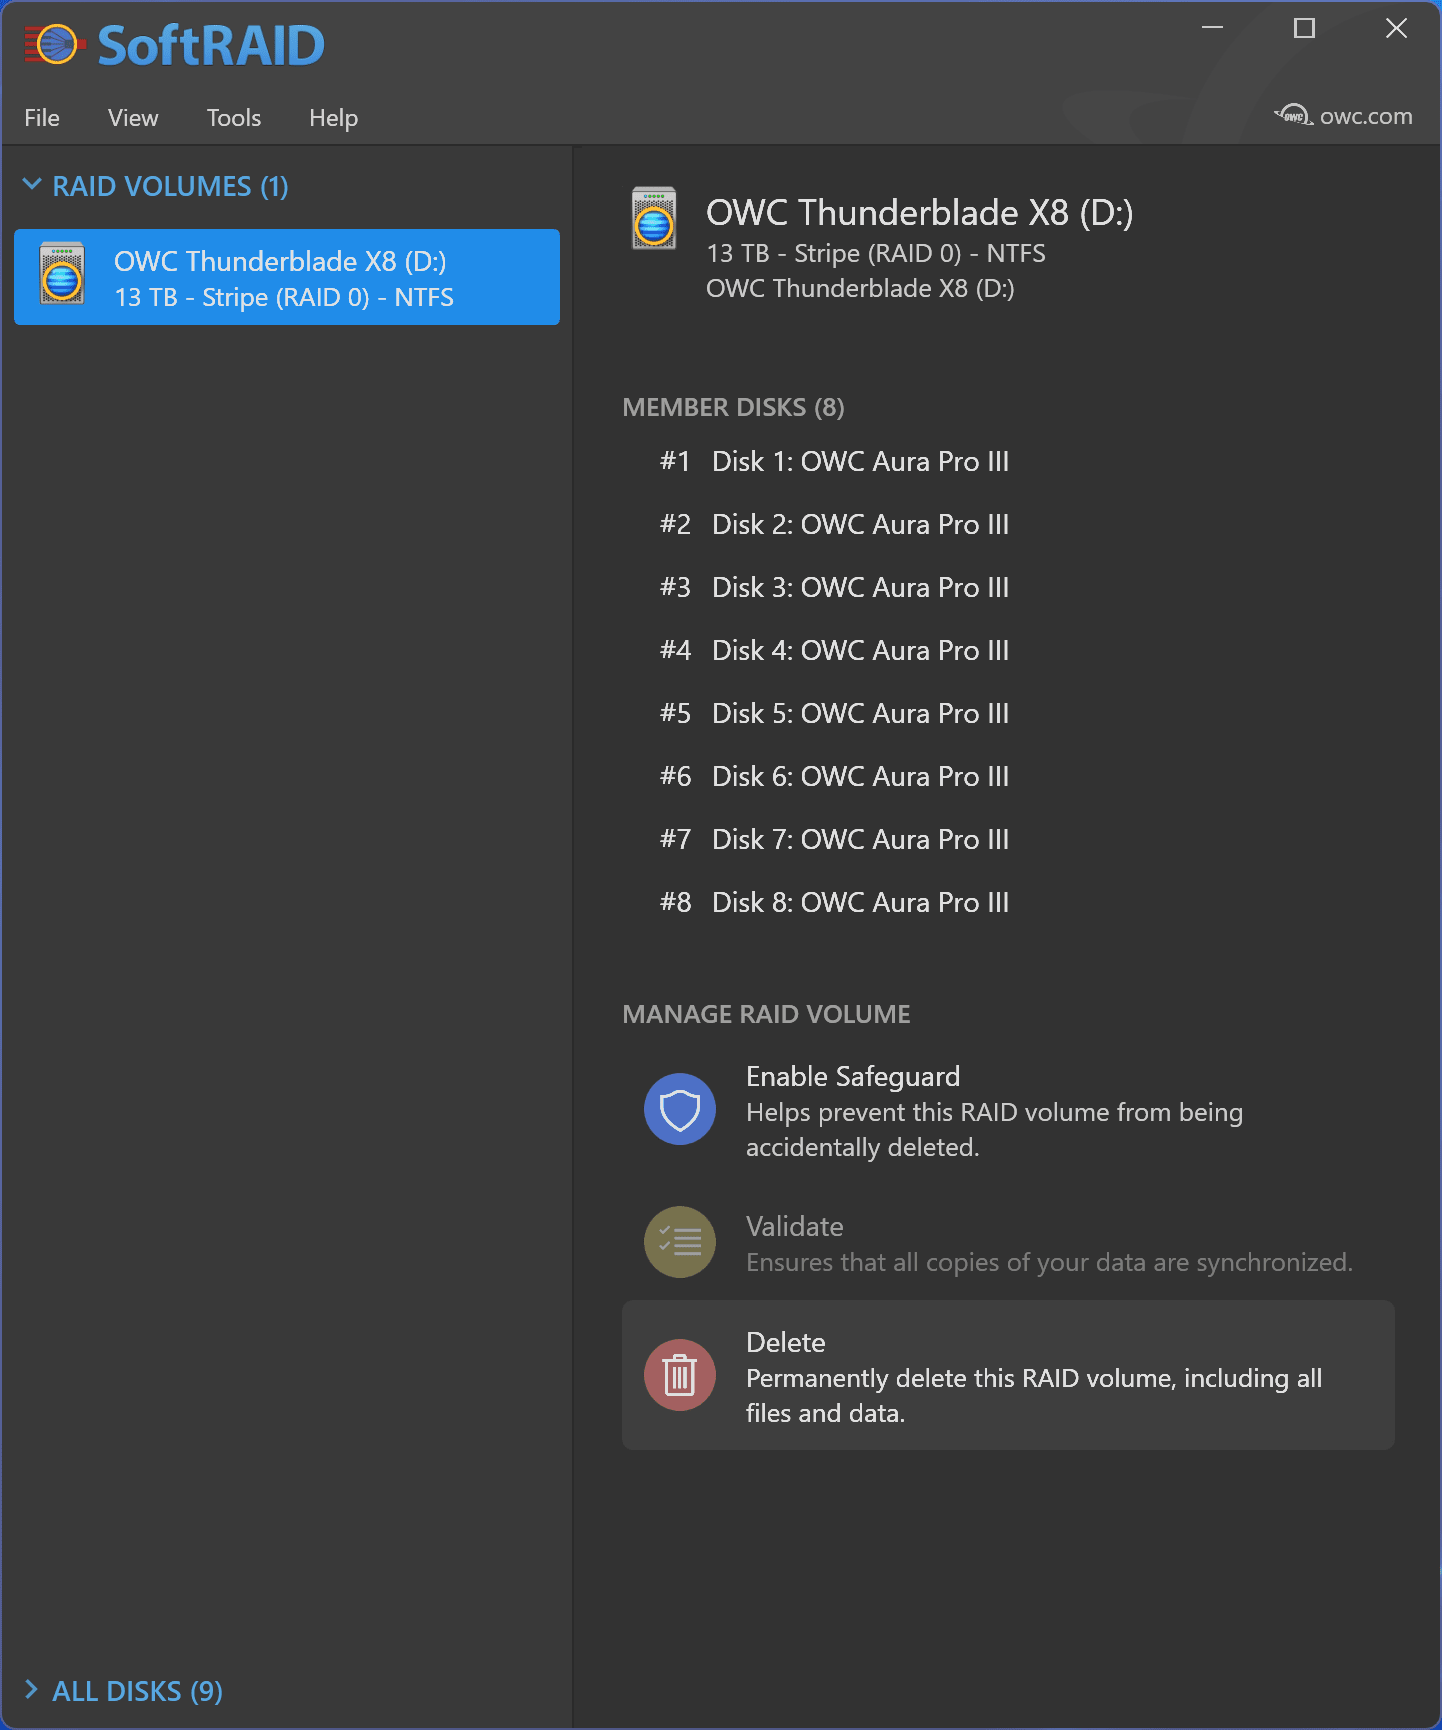
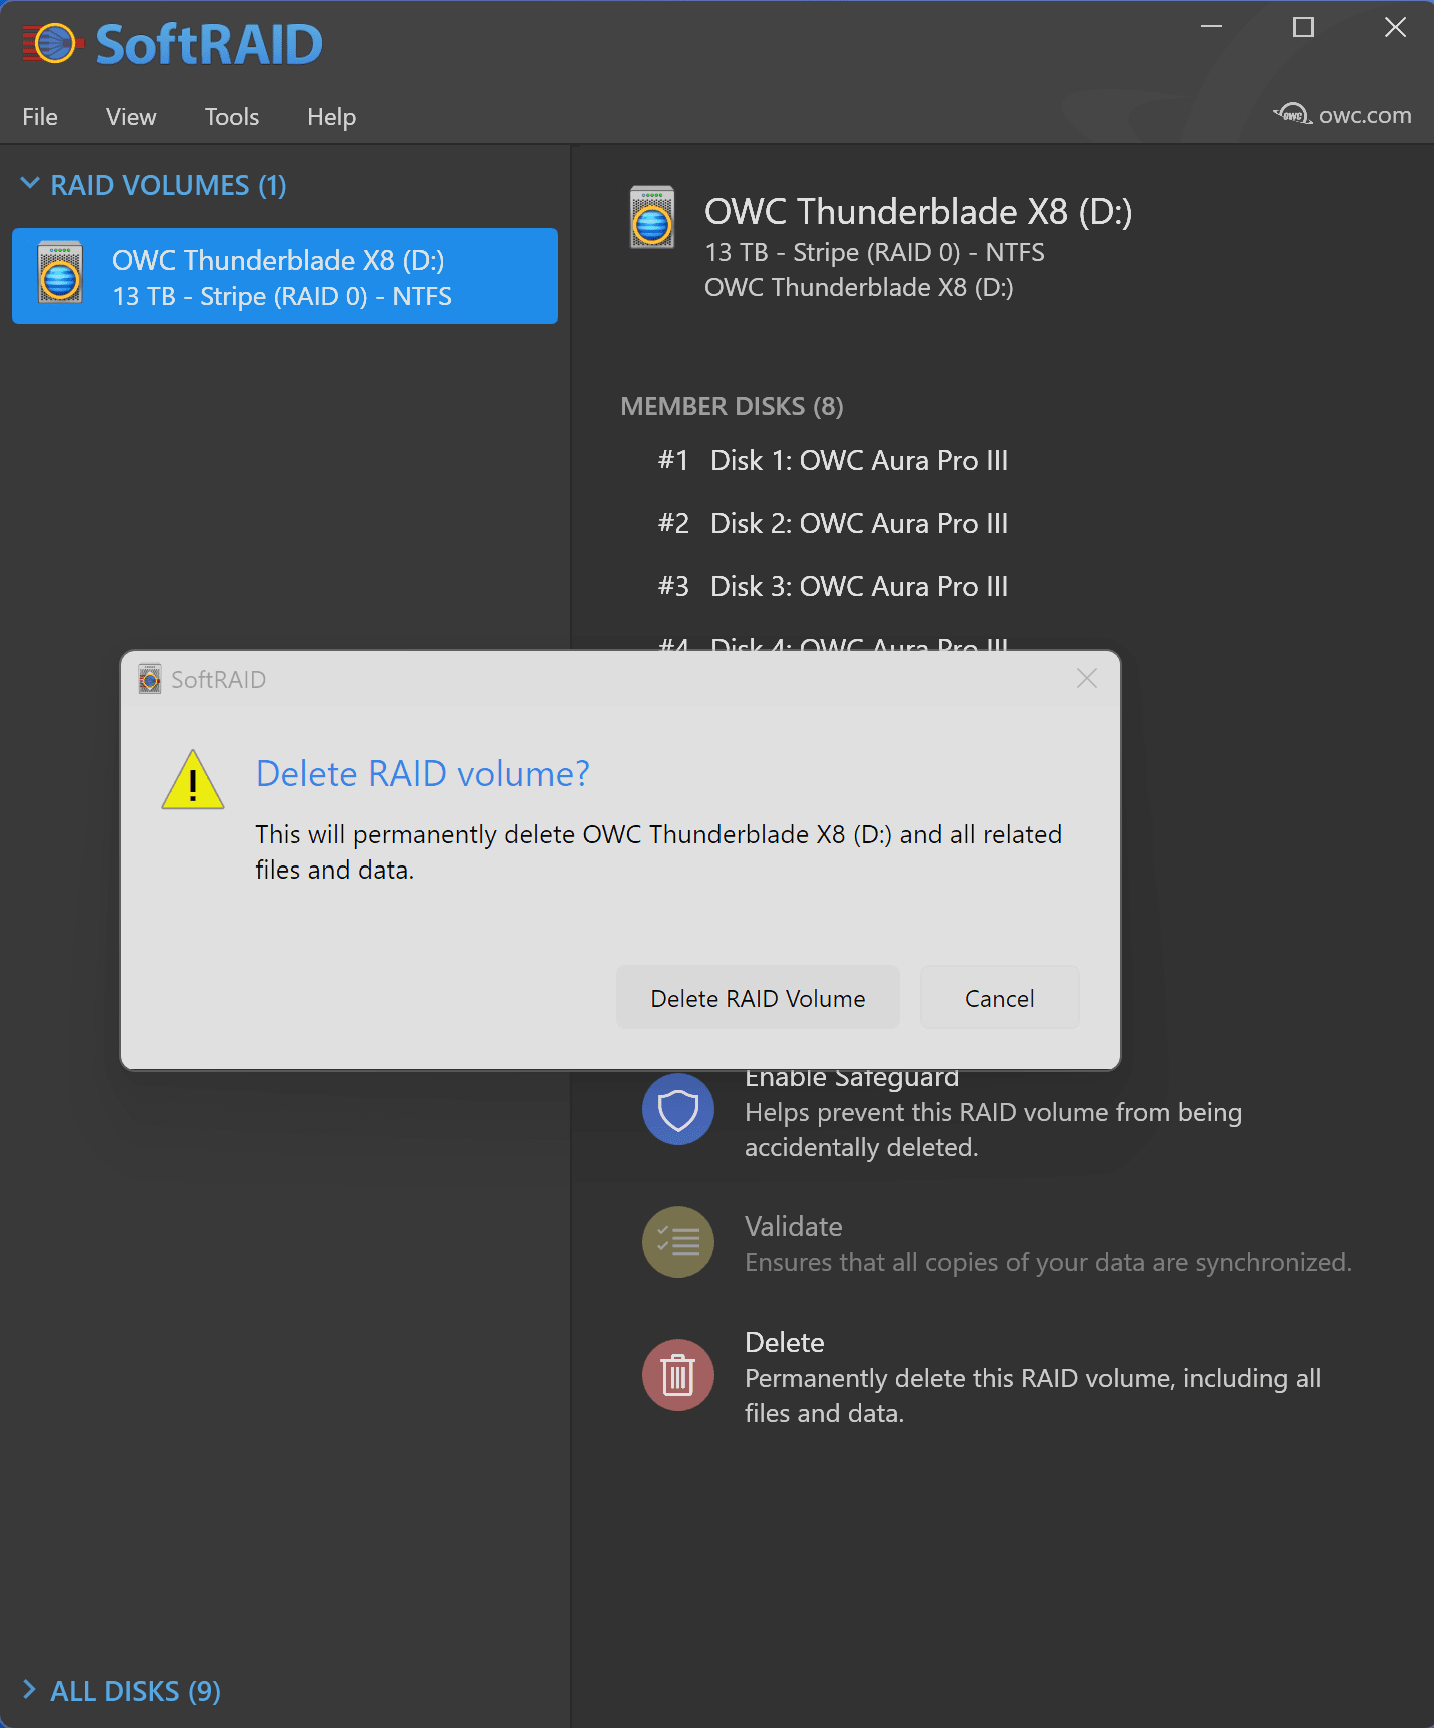
2.
 After disabling Safeguard, select the ThunderBlade X8 SoftRAID volume.

  • Delete the volume by clicking “Delete”.

  • Confirm this action when prompted.

3. Once the ThunderBlade X8 SoftRAID volume is deleted, users will need to identify and label the disks in the ThunderBlade X8 before creating multiple RAID volumes.

Identifying and Labeling Disks

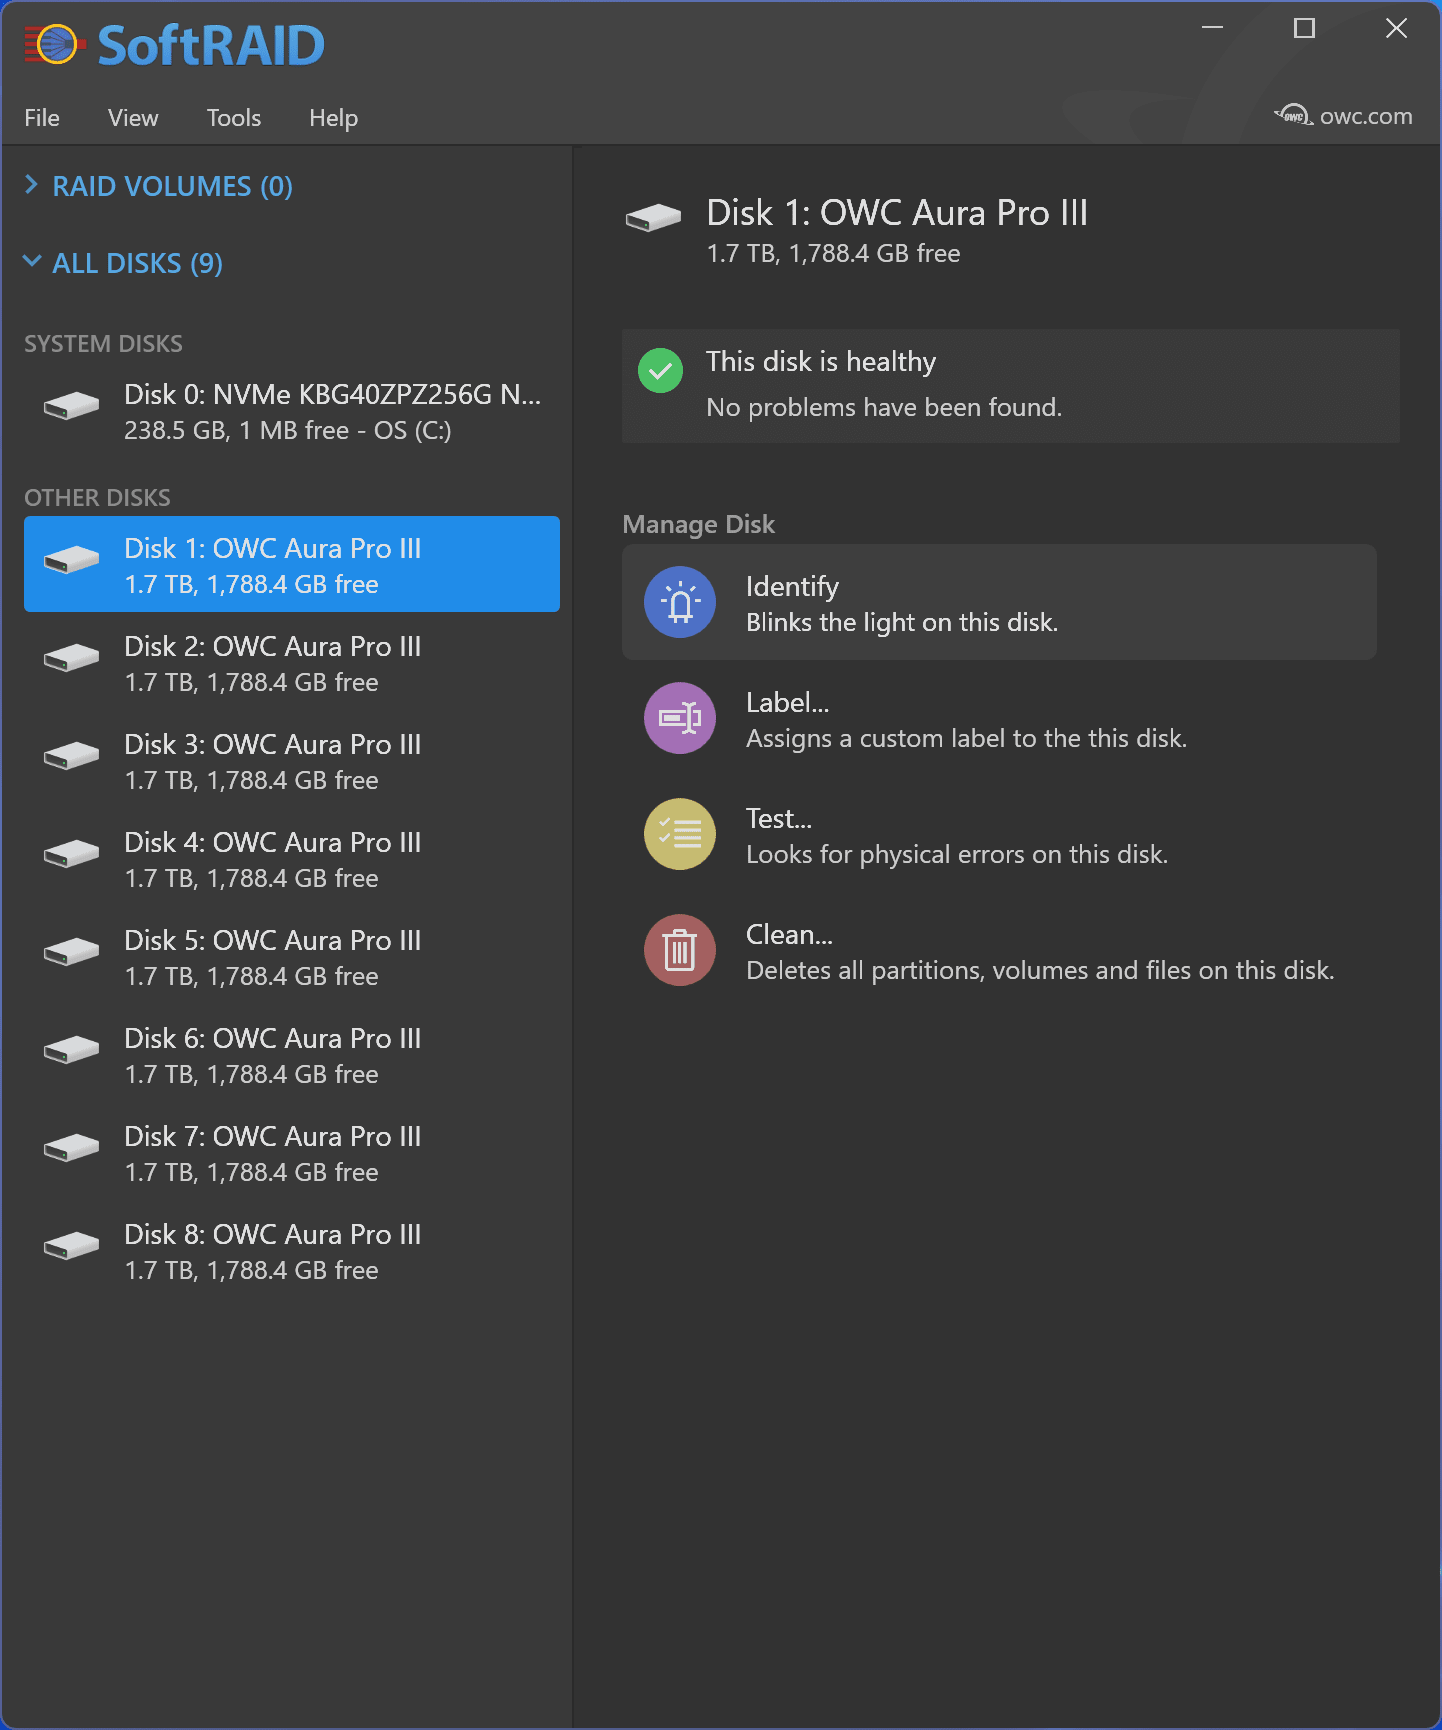
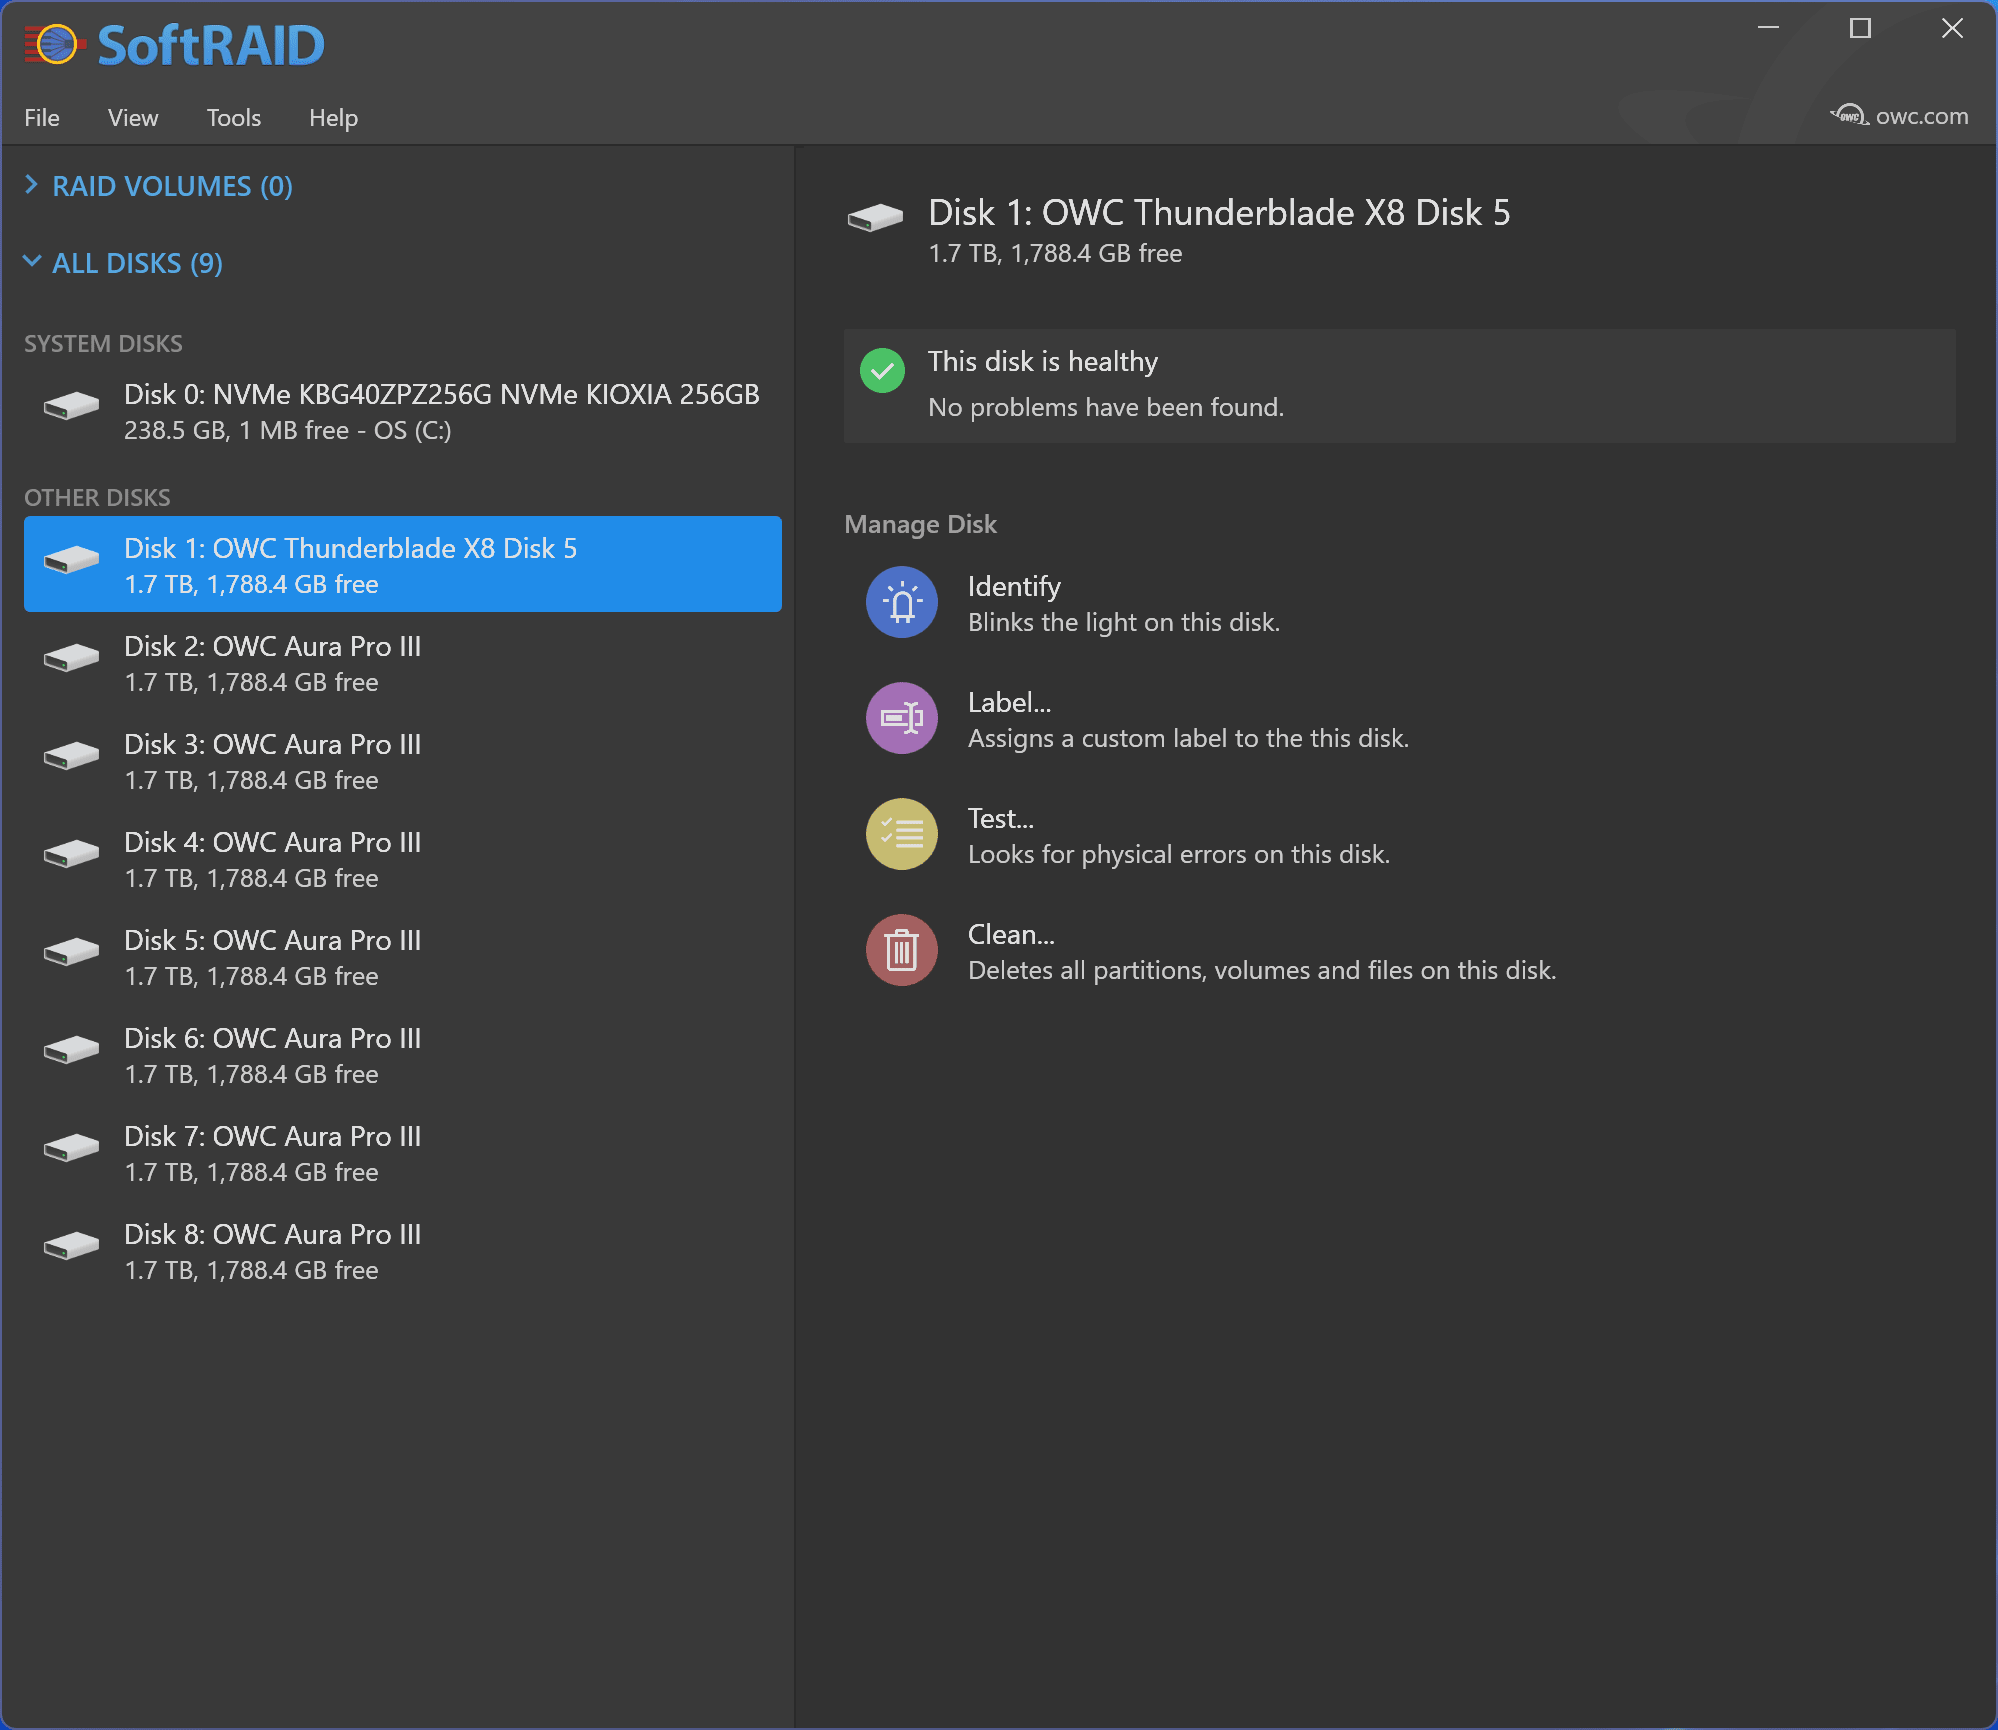
1. Users should identify which disks within SoftRAID correlate to the number physically on the ThunderBlade X8.

  • Select a disk in SoftRAID and click "Identify".


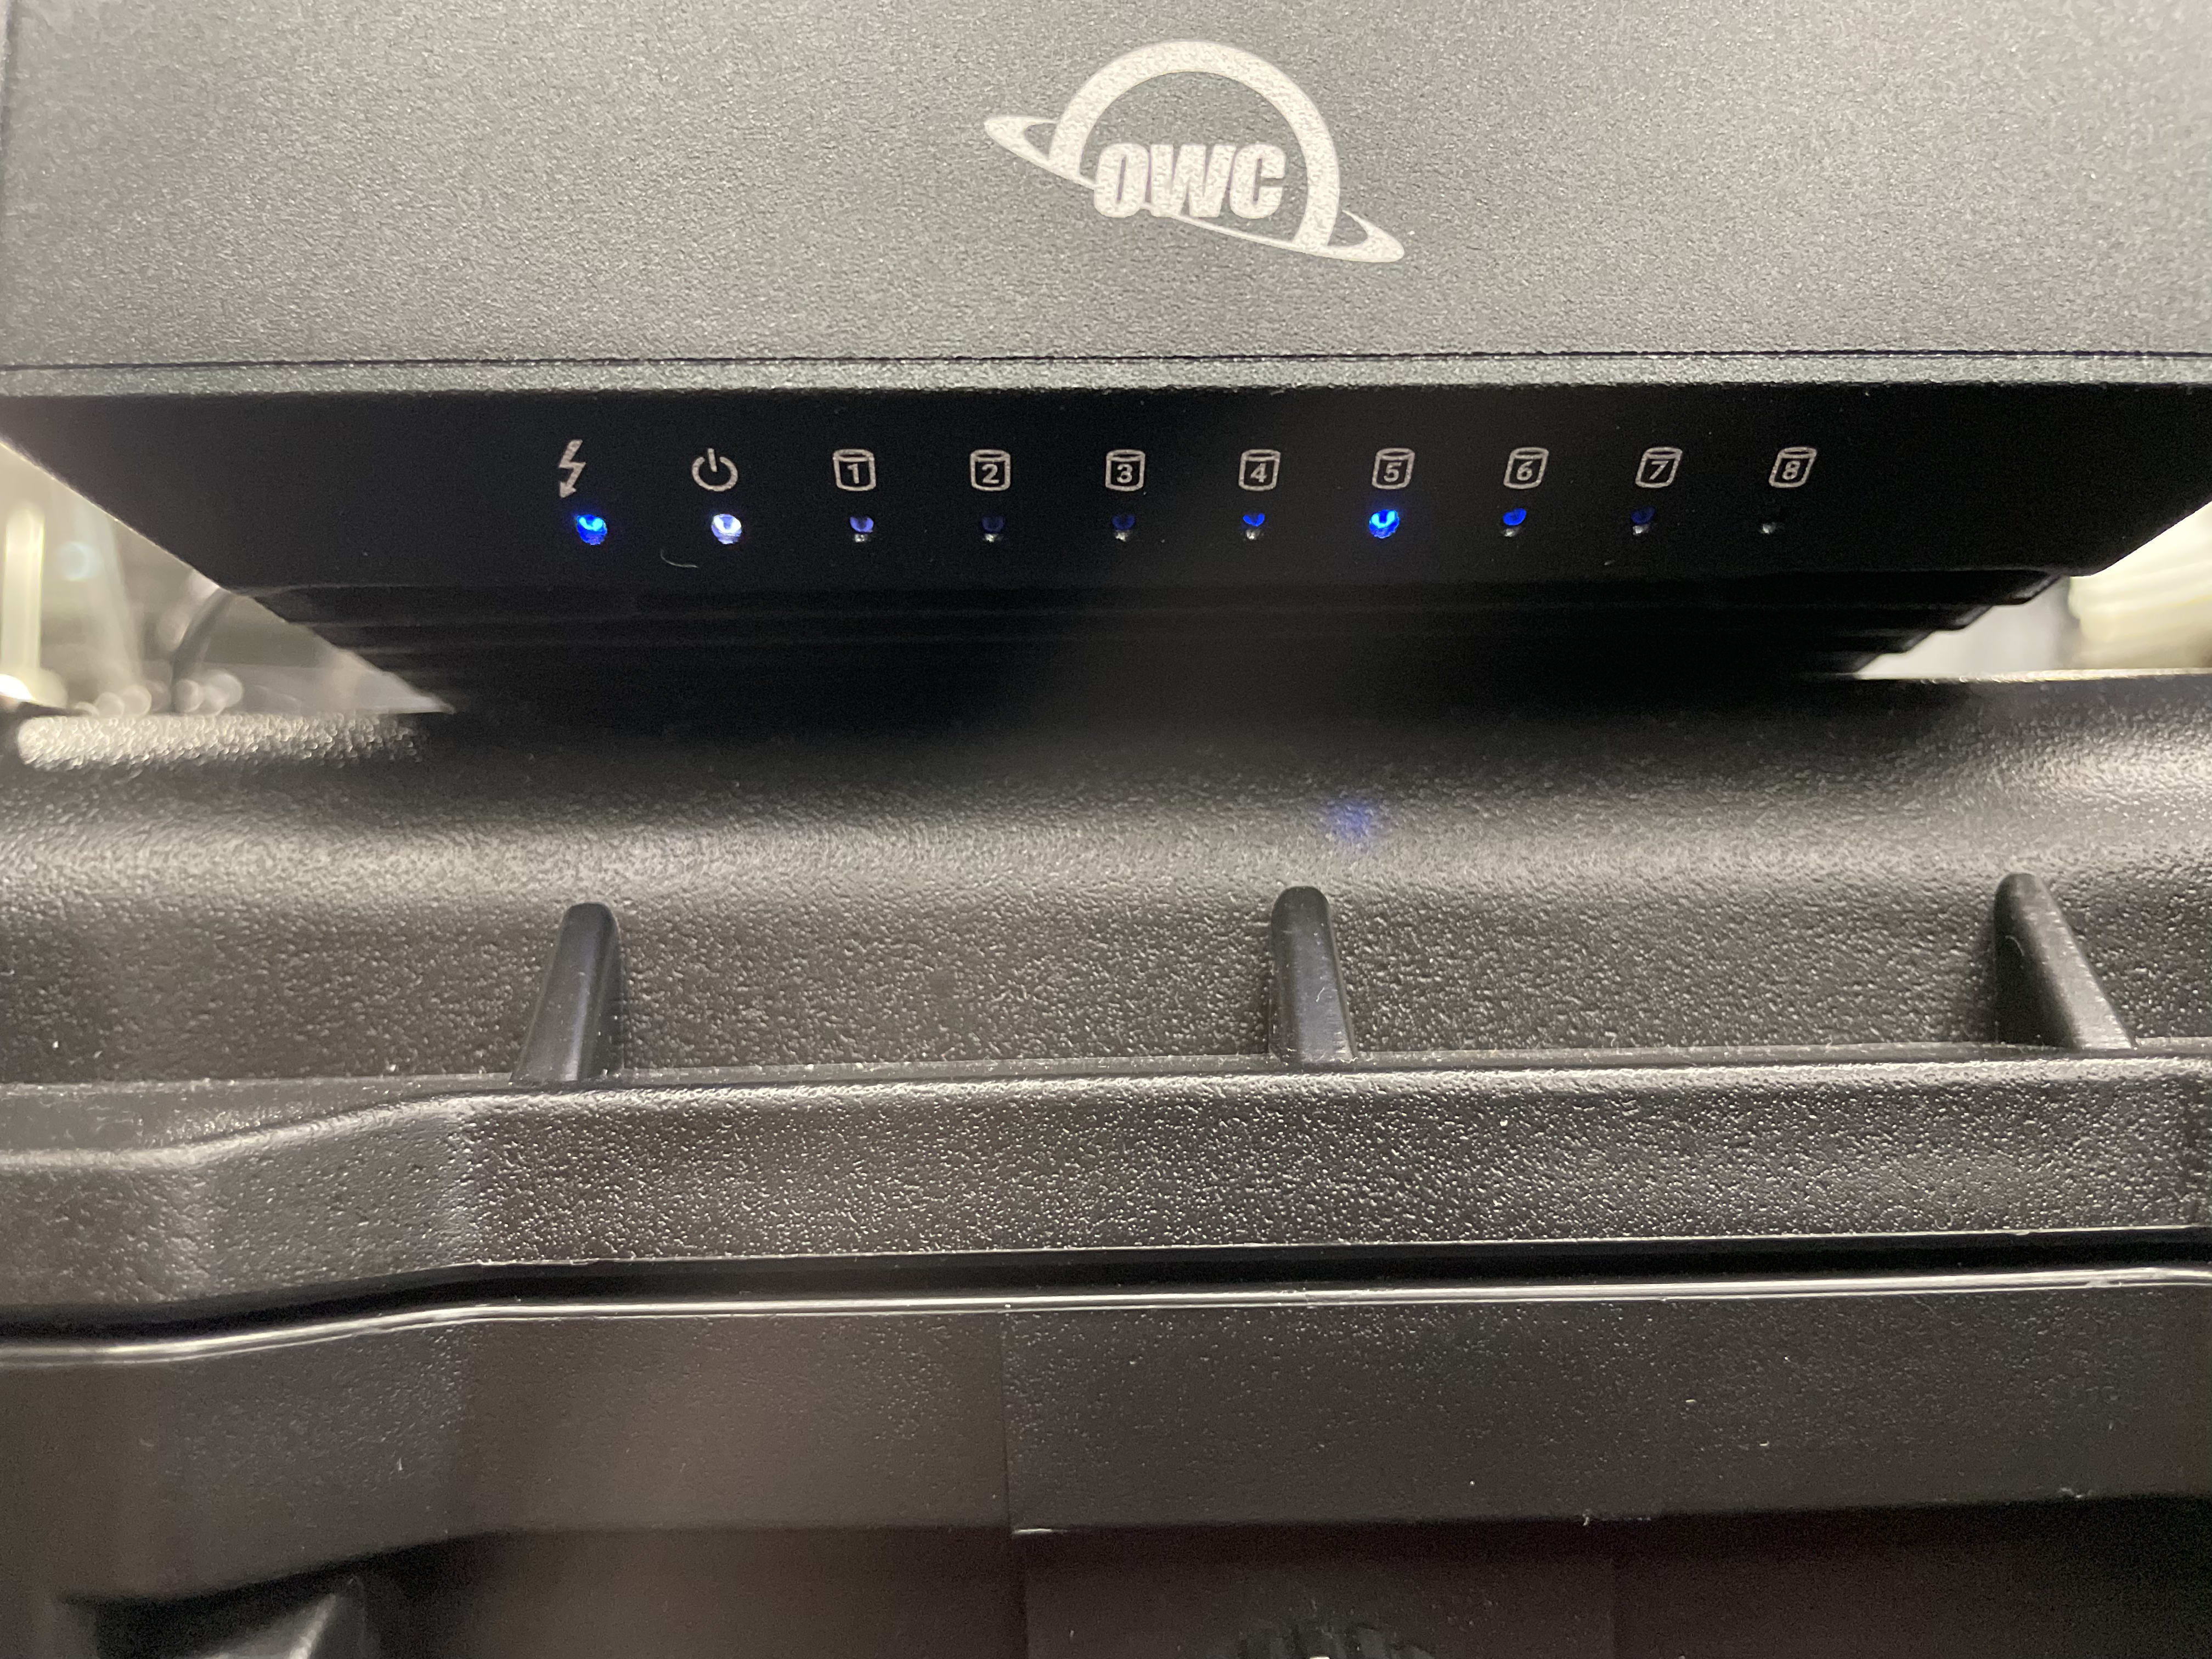
2.
 Look at the front of the OWC ThunderBlade X8 to identify which LED status light is blinking. This example shows disk 5 blinking.


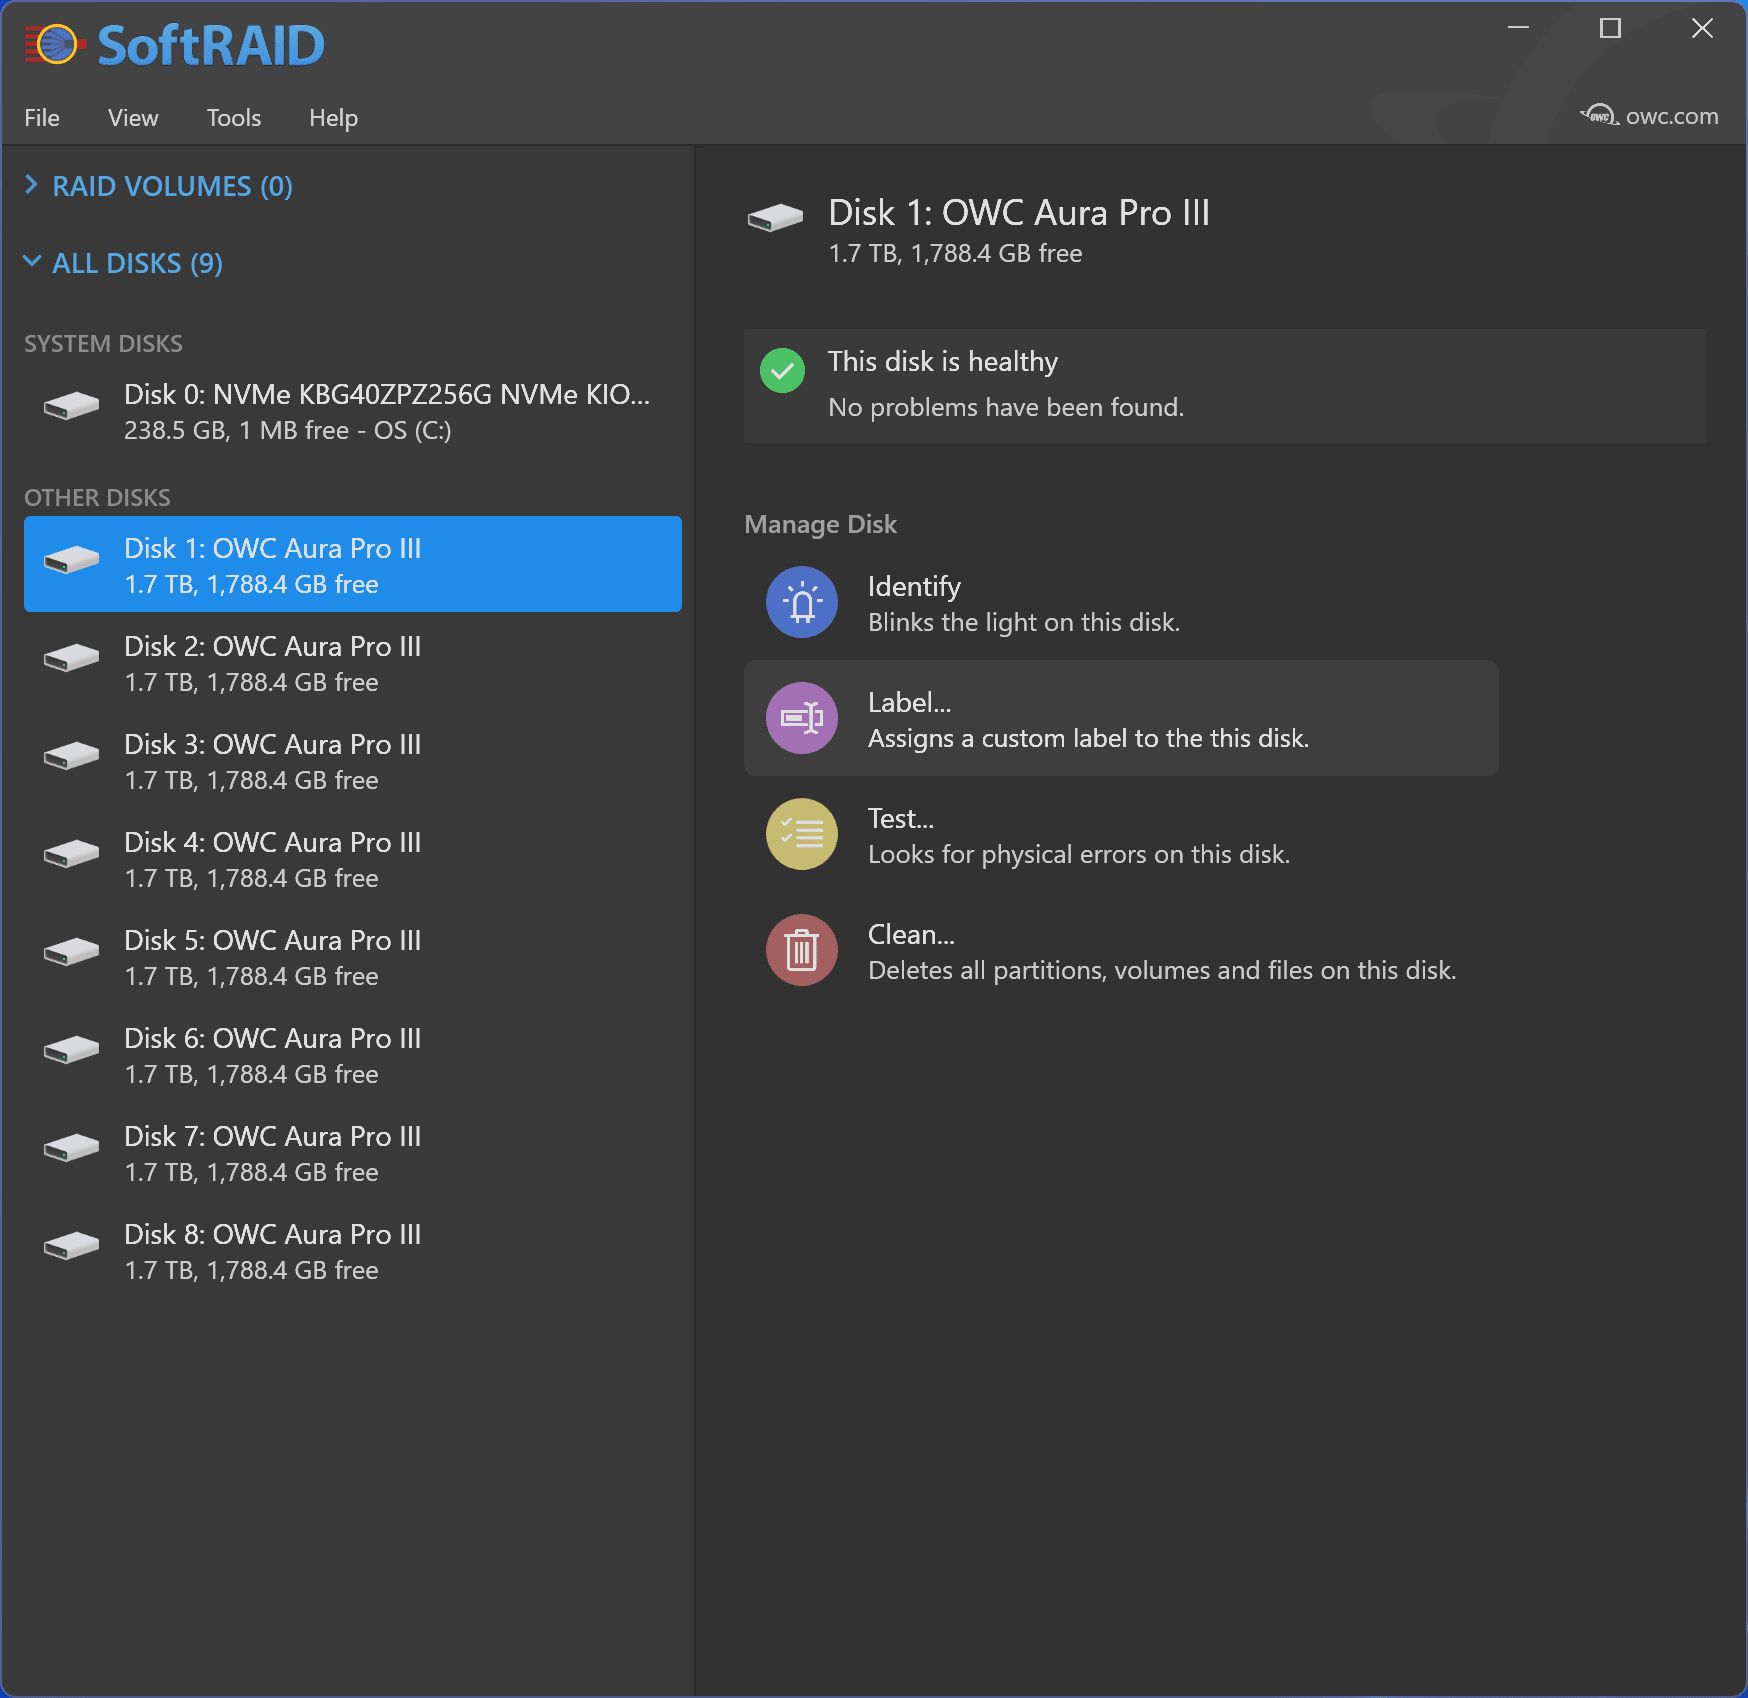
3.
 Select the same disk and click "Label".

  • Label the disk to identify which disk slot is associated with the disk in SoftRAID.


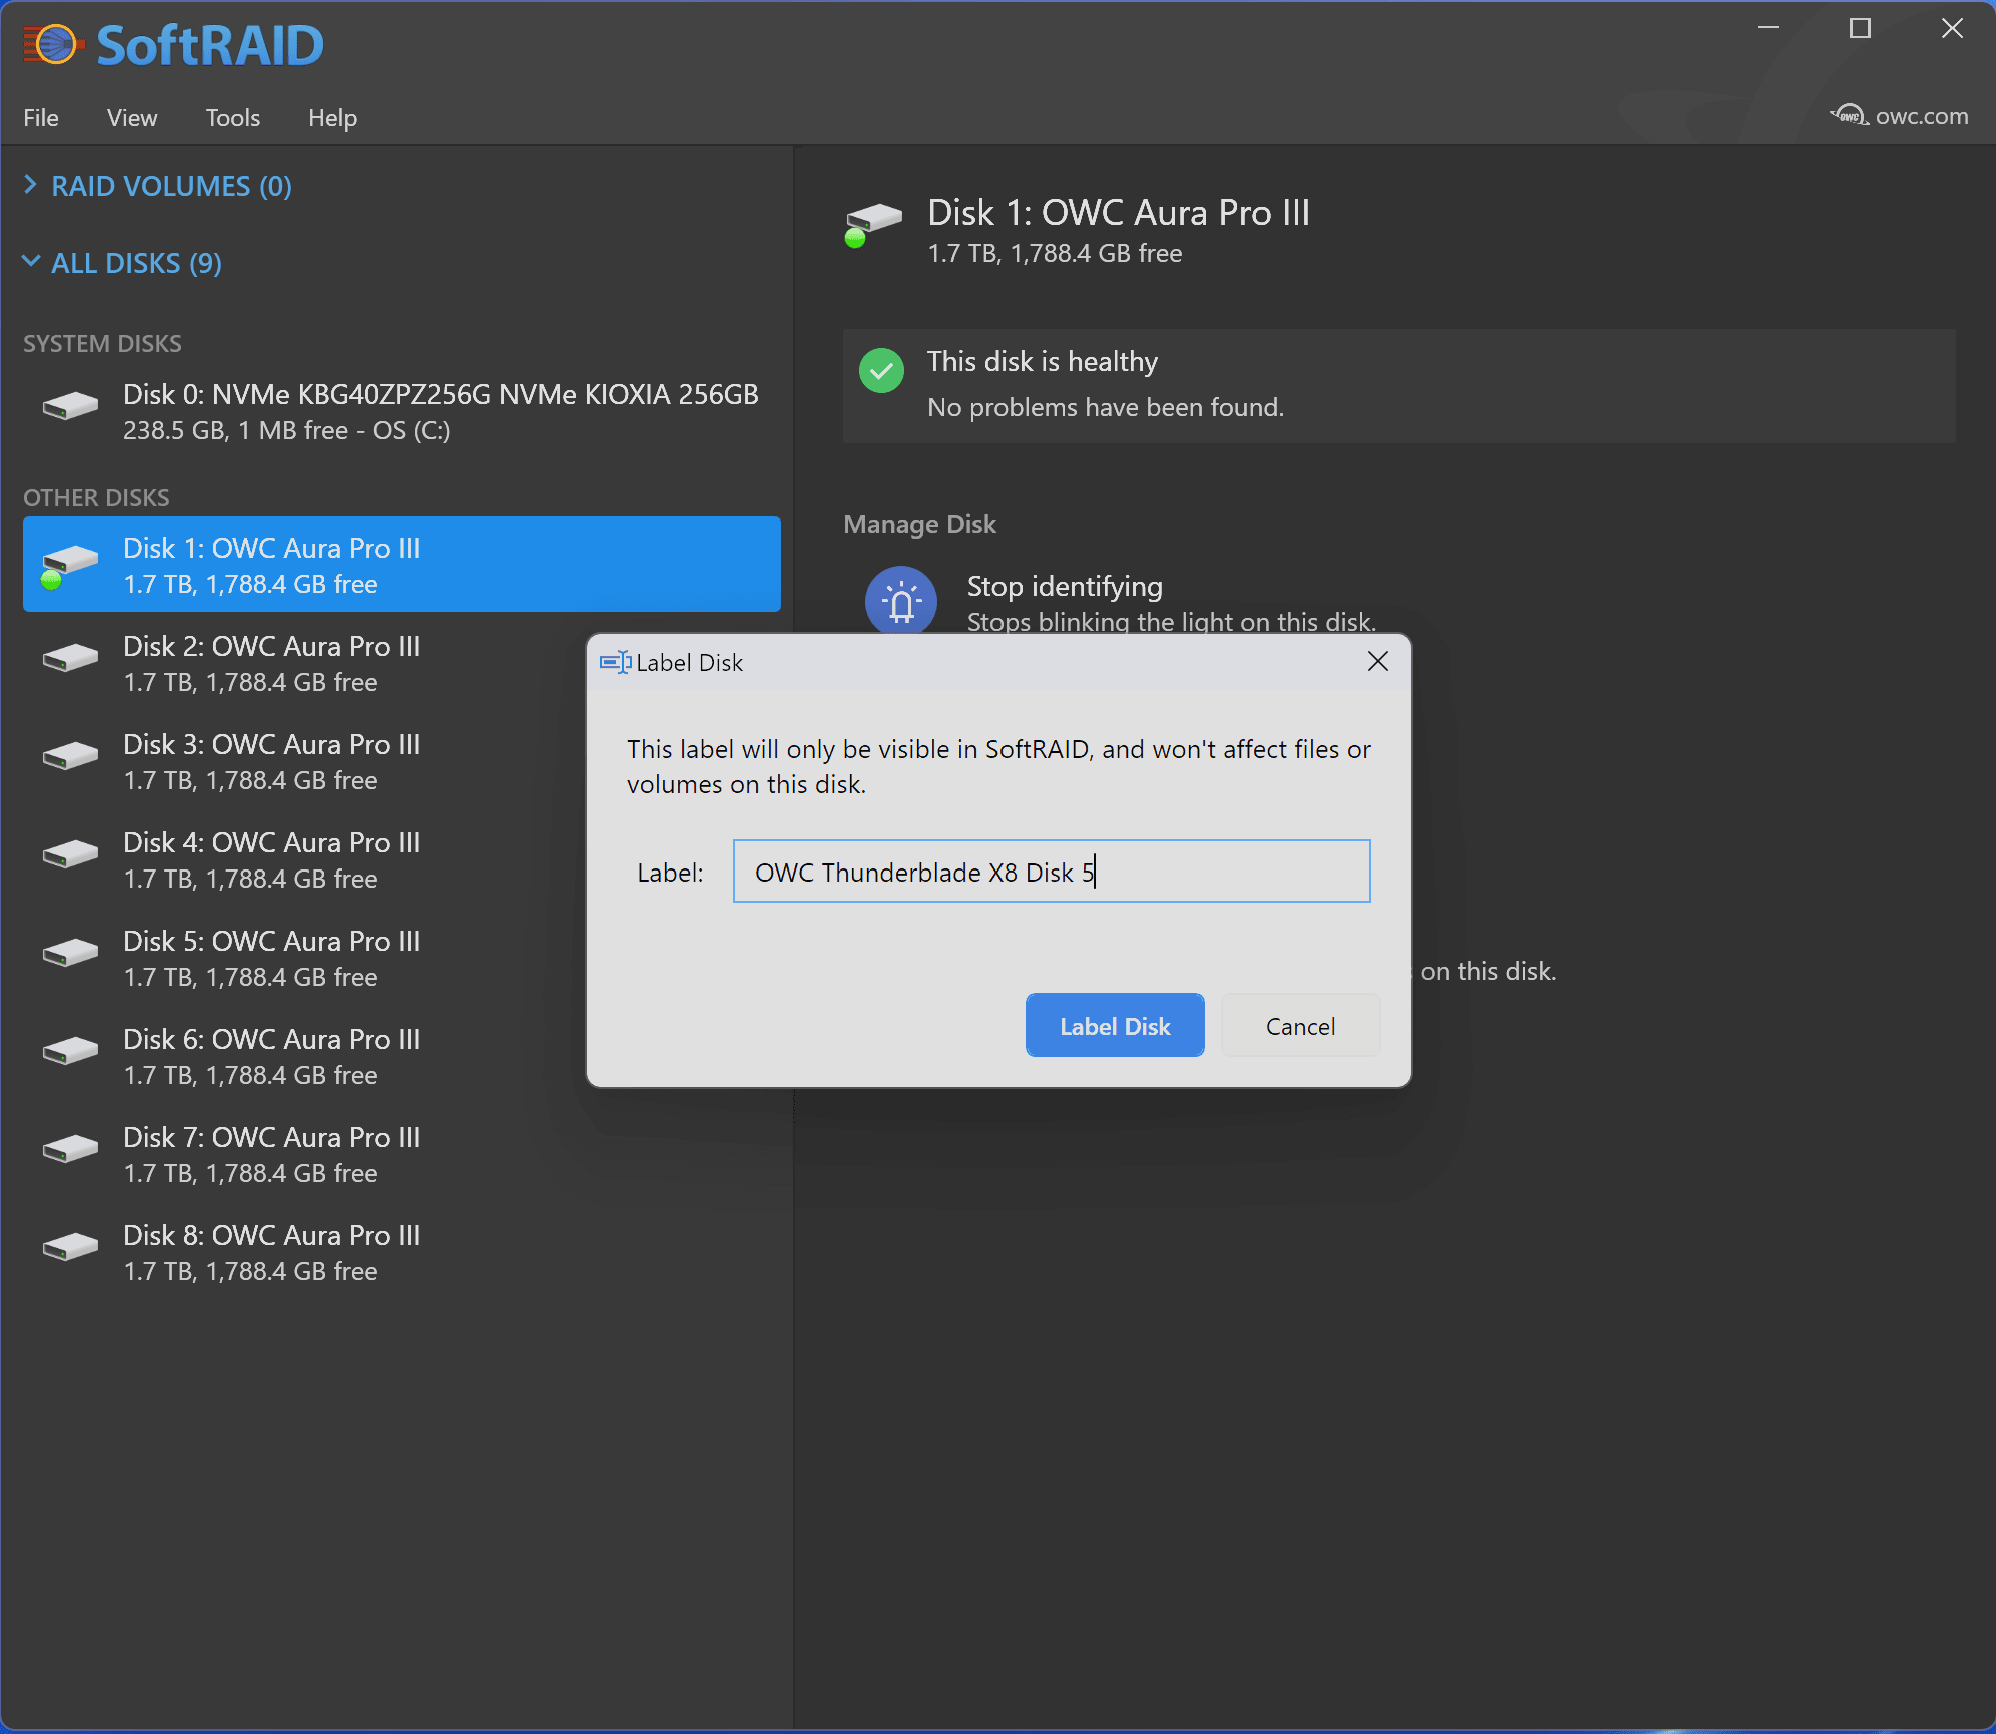
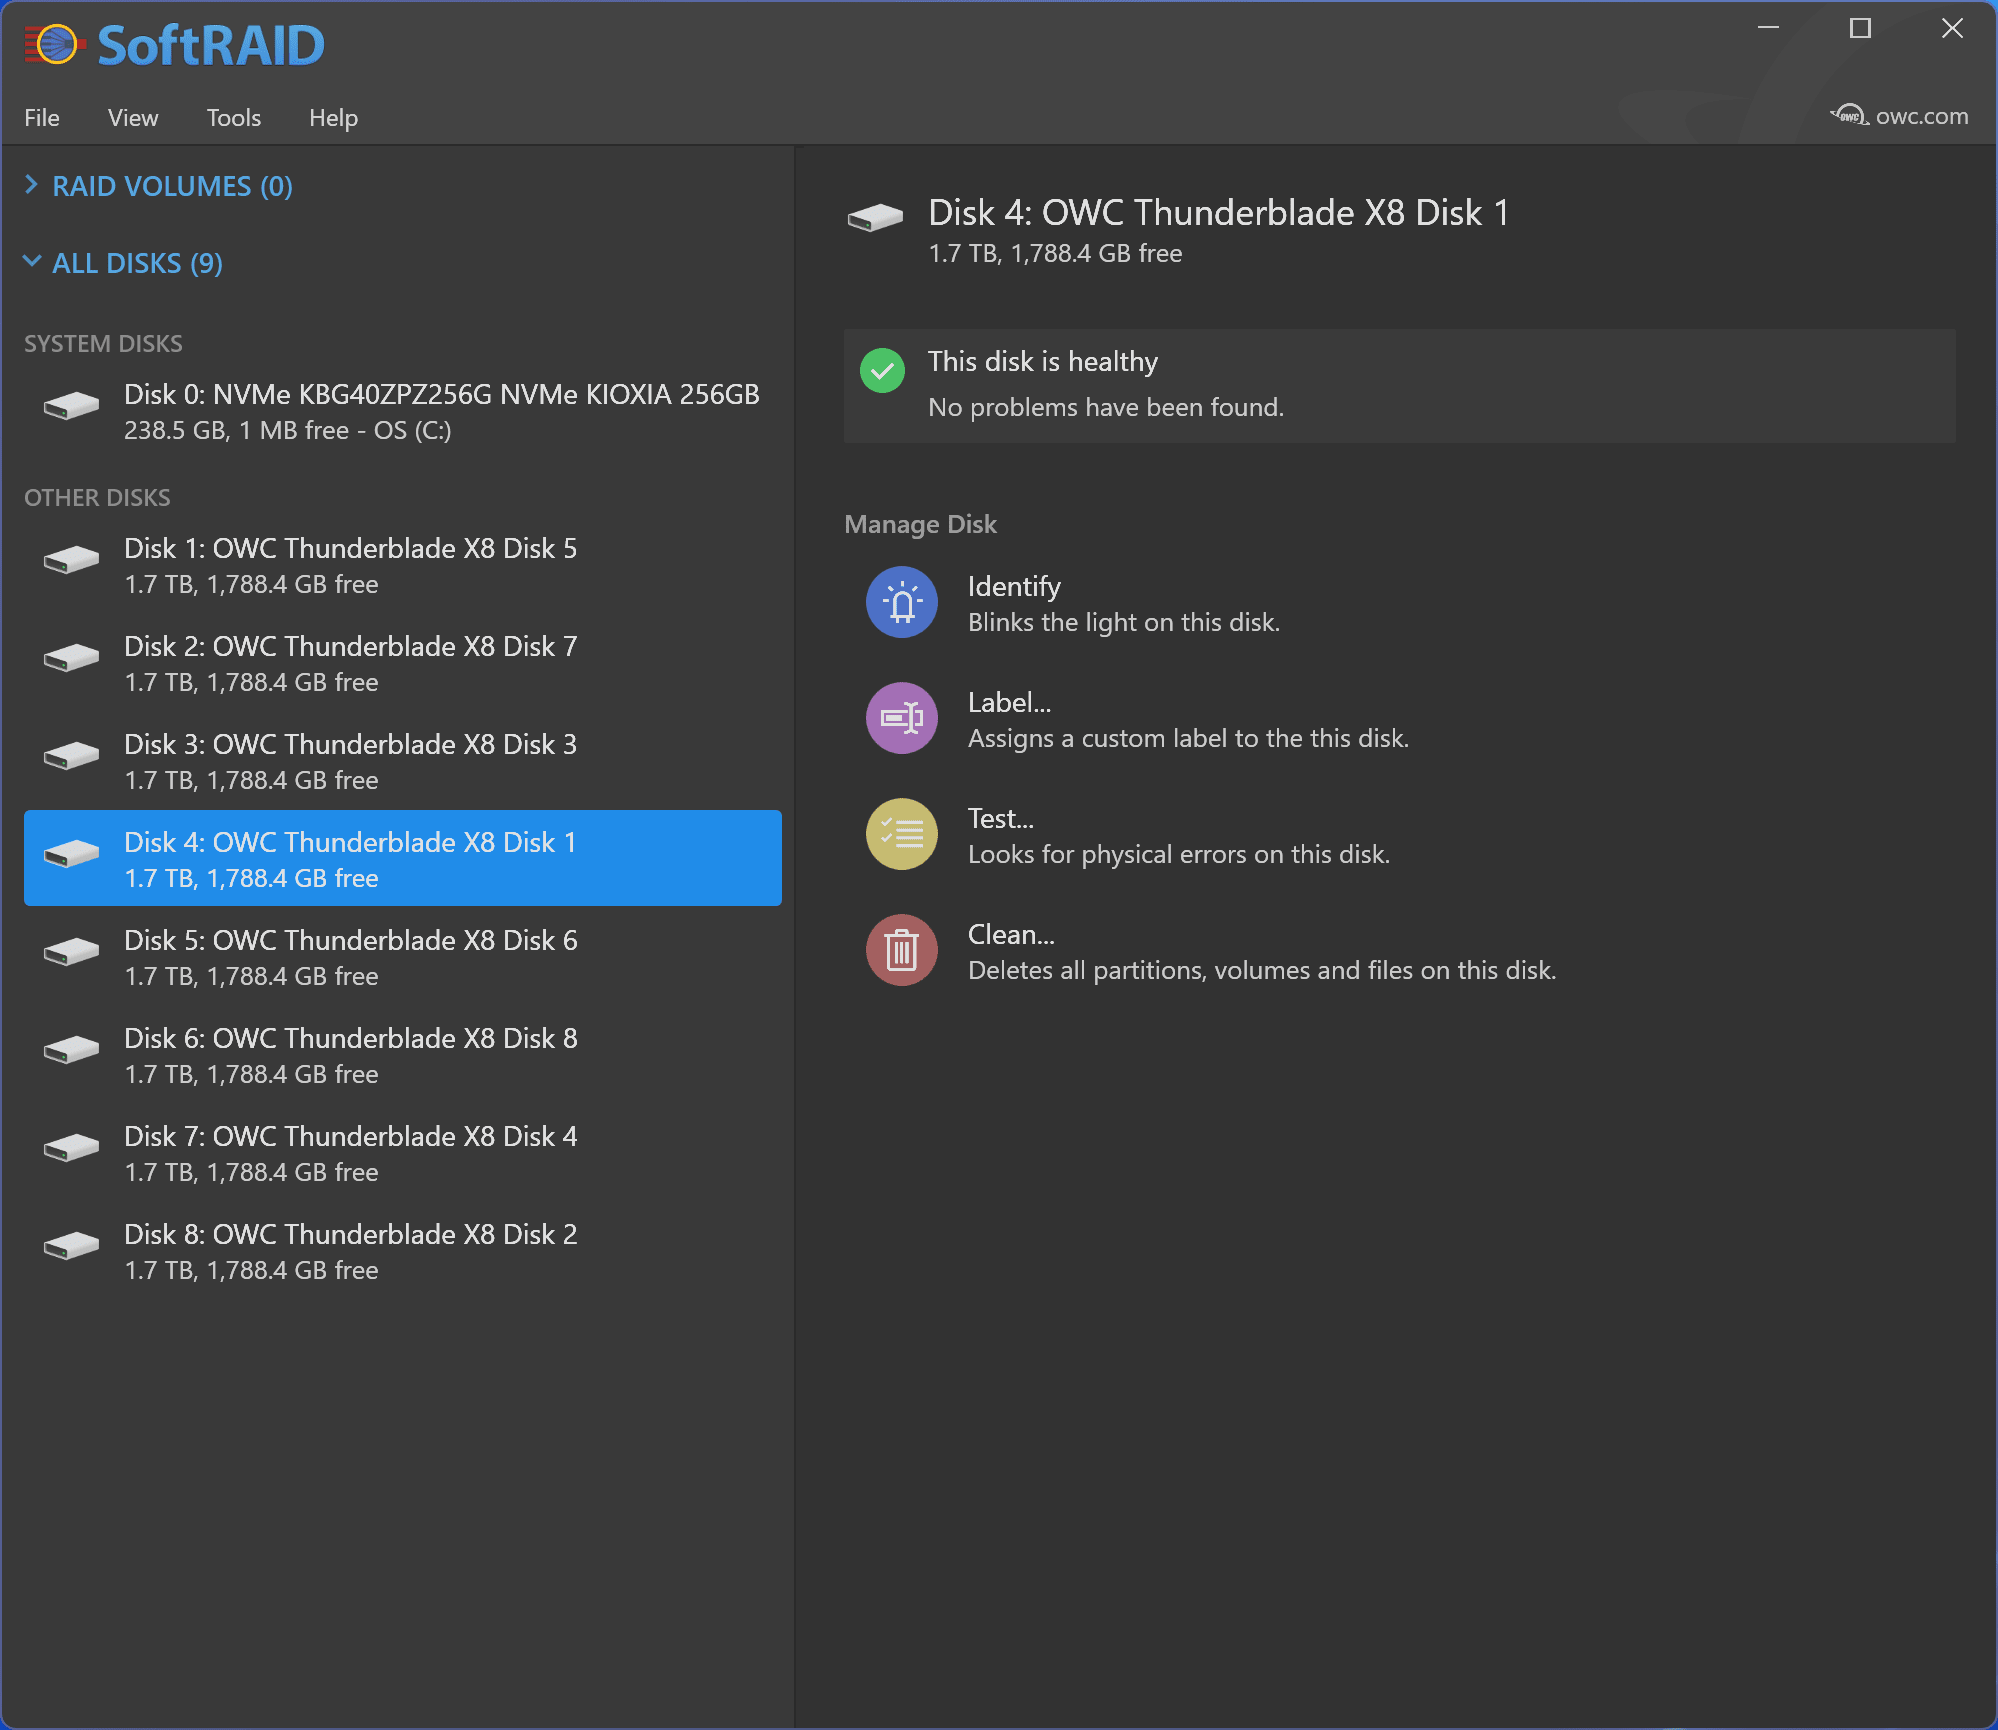
4. 
The disk becomes labeled as "ThunderBlade X8 Disk 5".


5.
 Repeat this process until all disks within the OWC ThunderBlade X8 have been labeled.

Creating Multiple RAID arrays

  • The OWC ThunderBlade X8 disk slots are pooled in two separate sets. One set is made up of the odd numbered disk slots (1 | 3 | 5 | 7). Another set is made up of the even numbered disk slots (2 | 4 | 6 | 8). OWC recommends using the same amount of disks from each disk slot set for each SoftRAID volume. SoftRAID volumes created with unbalanced disk slot sets will limit the performance of the OWC ThunderBlade X8.

    • OWC does not recommend creating a RAID 0 volume using disk slots 1-7 and using disk slot 8 independently. This would limit the performance of the 7 disk RAID 0 volume. A 7 disk RAID volume would be unbalanced due to 4 disks being used from one disk slot set and only three from another disk slot set. the same amount of disks from each disk slot set should be used when creating a RAID volume.

    • OWC does recommend creating a RAID 0 volume using disk slots 1-6 and using disk slots 7-8 for a RAID 1 volume. This setup would provide better performance compared to the RAID 0 volume using disk slots 1-7.

  • With all the disks labeled, multiple SoftRAID volumes can be created. There are several achievable iterations of multiple SoftRAID volumes. The following are examples of a Mac and Windows setup.

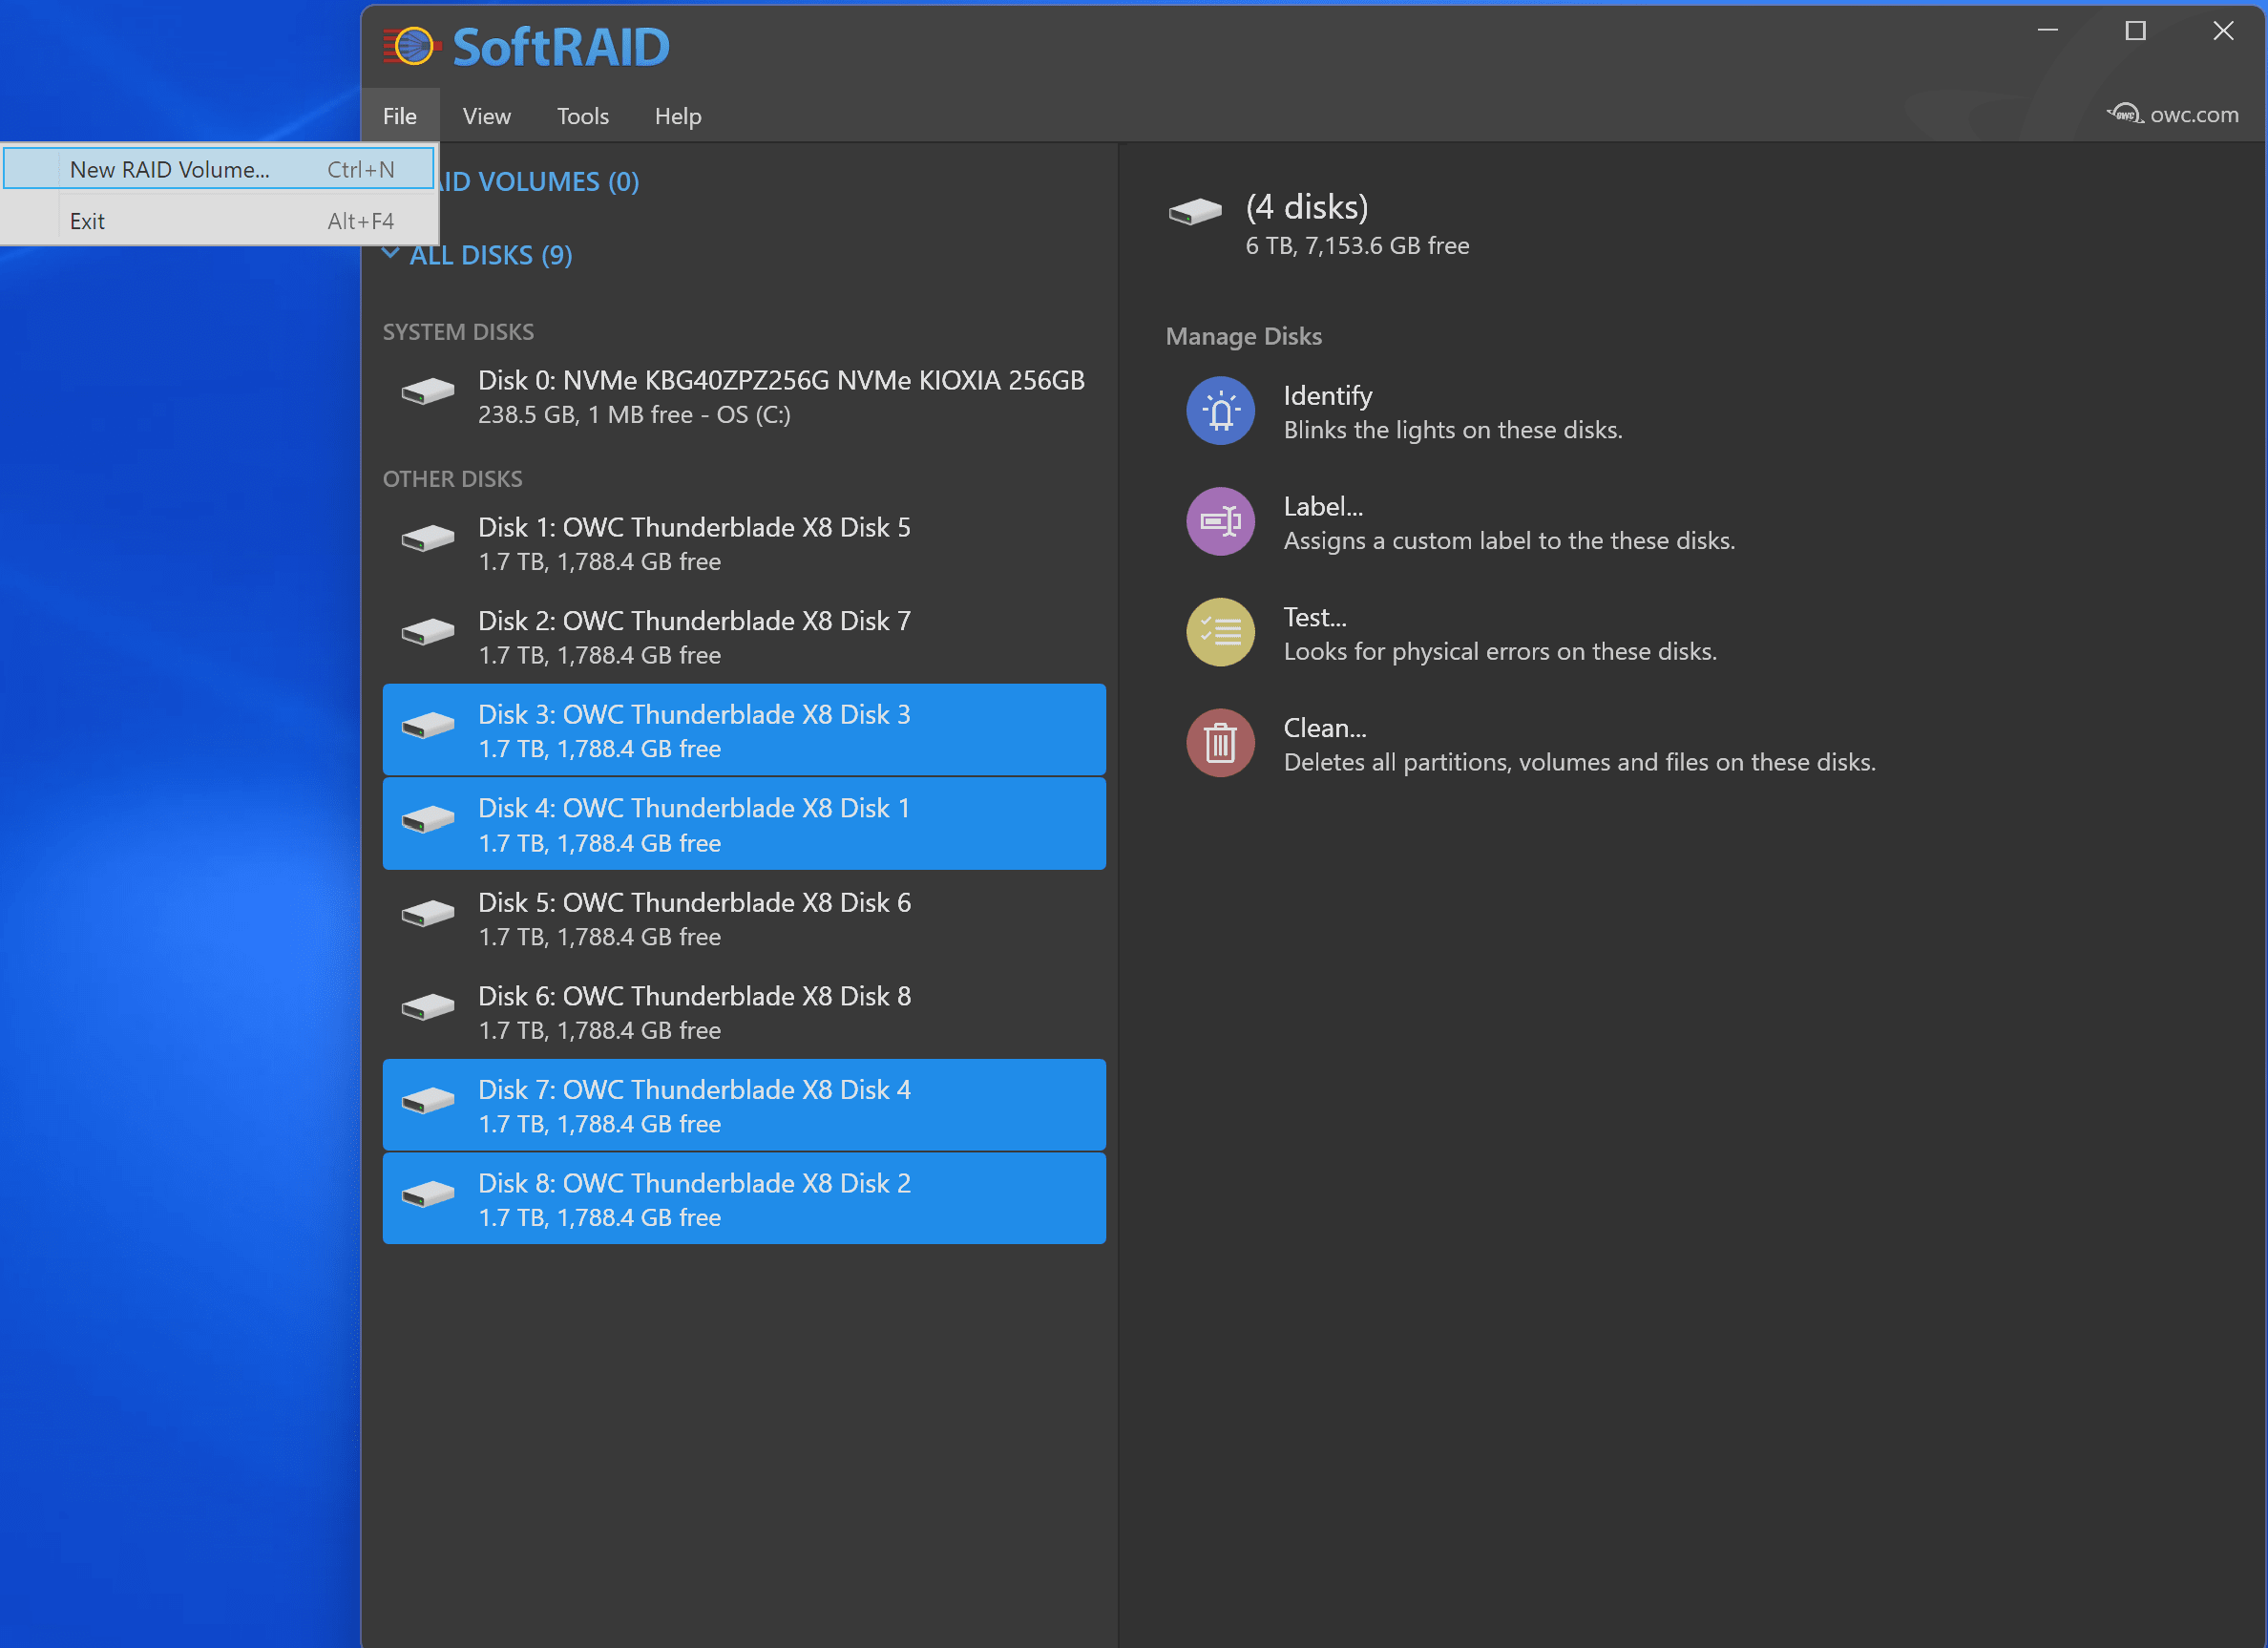
1. Select the disks desired for the SoftRAID volume.

  • In this example disks 1 thorough 4 are selected.
    • Right-click on the selection of disks and select New Volume.


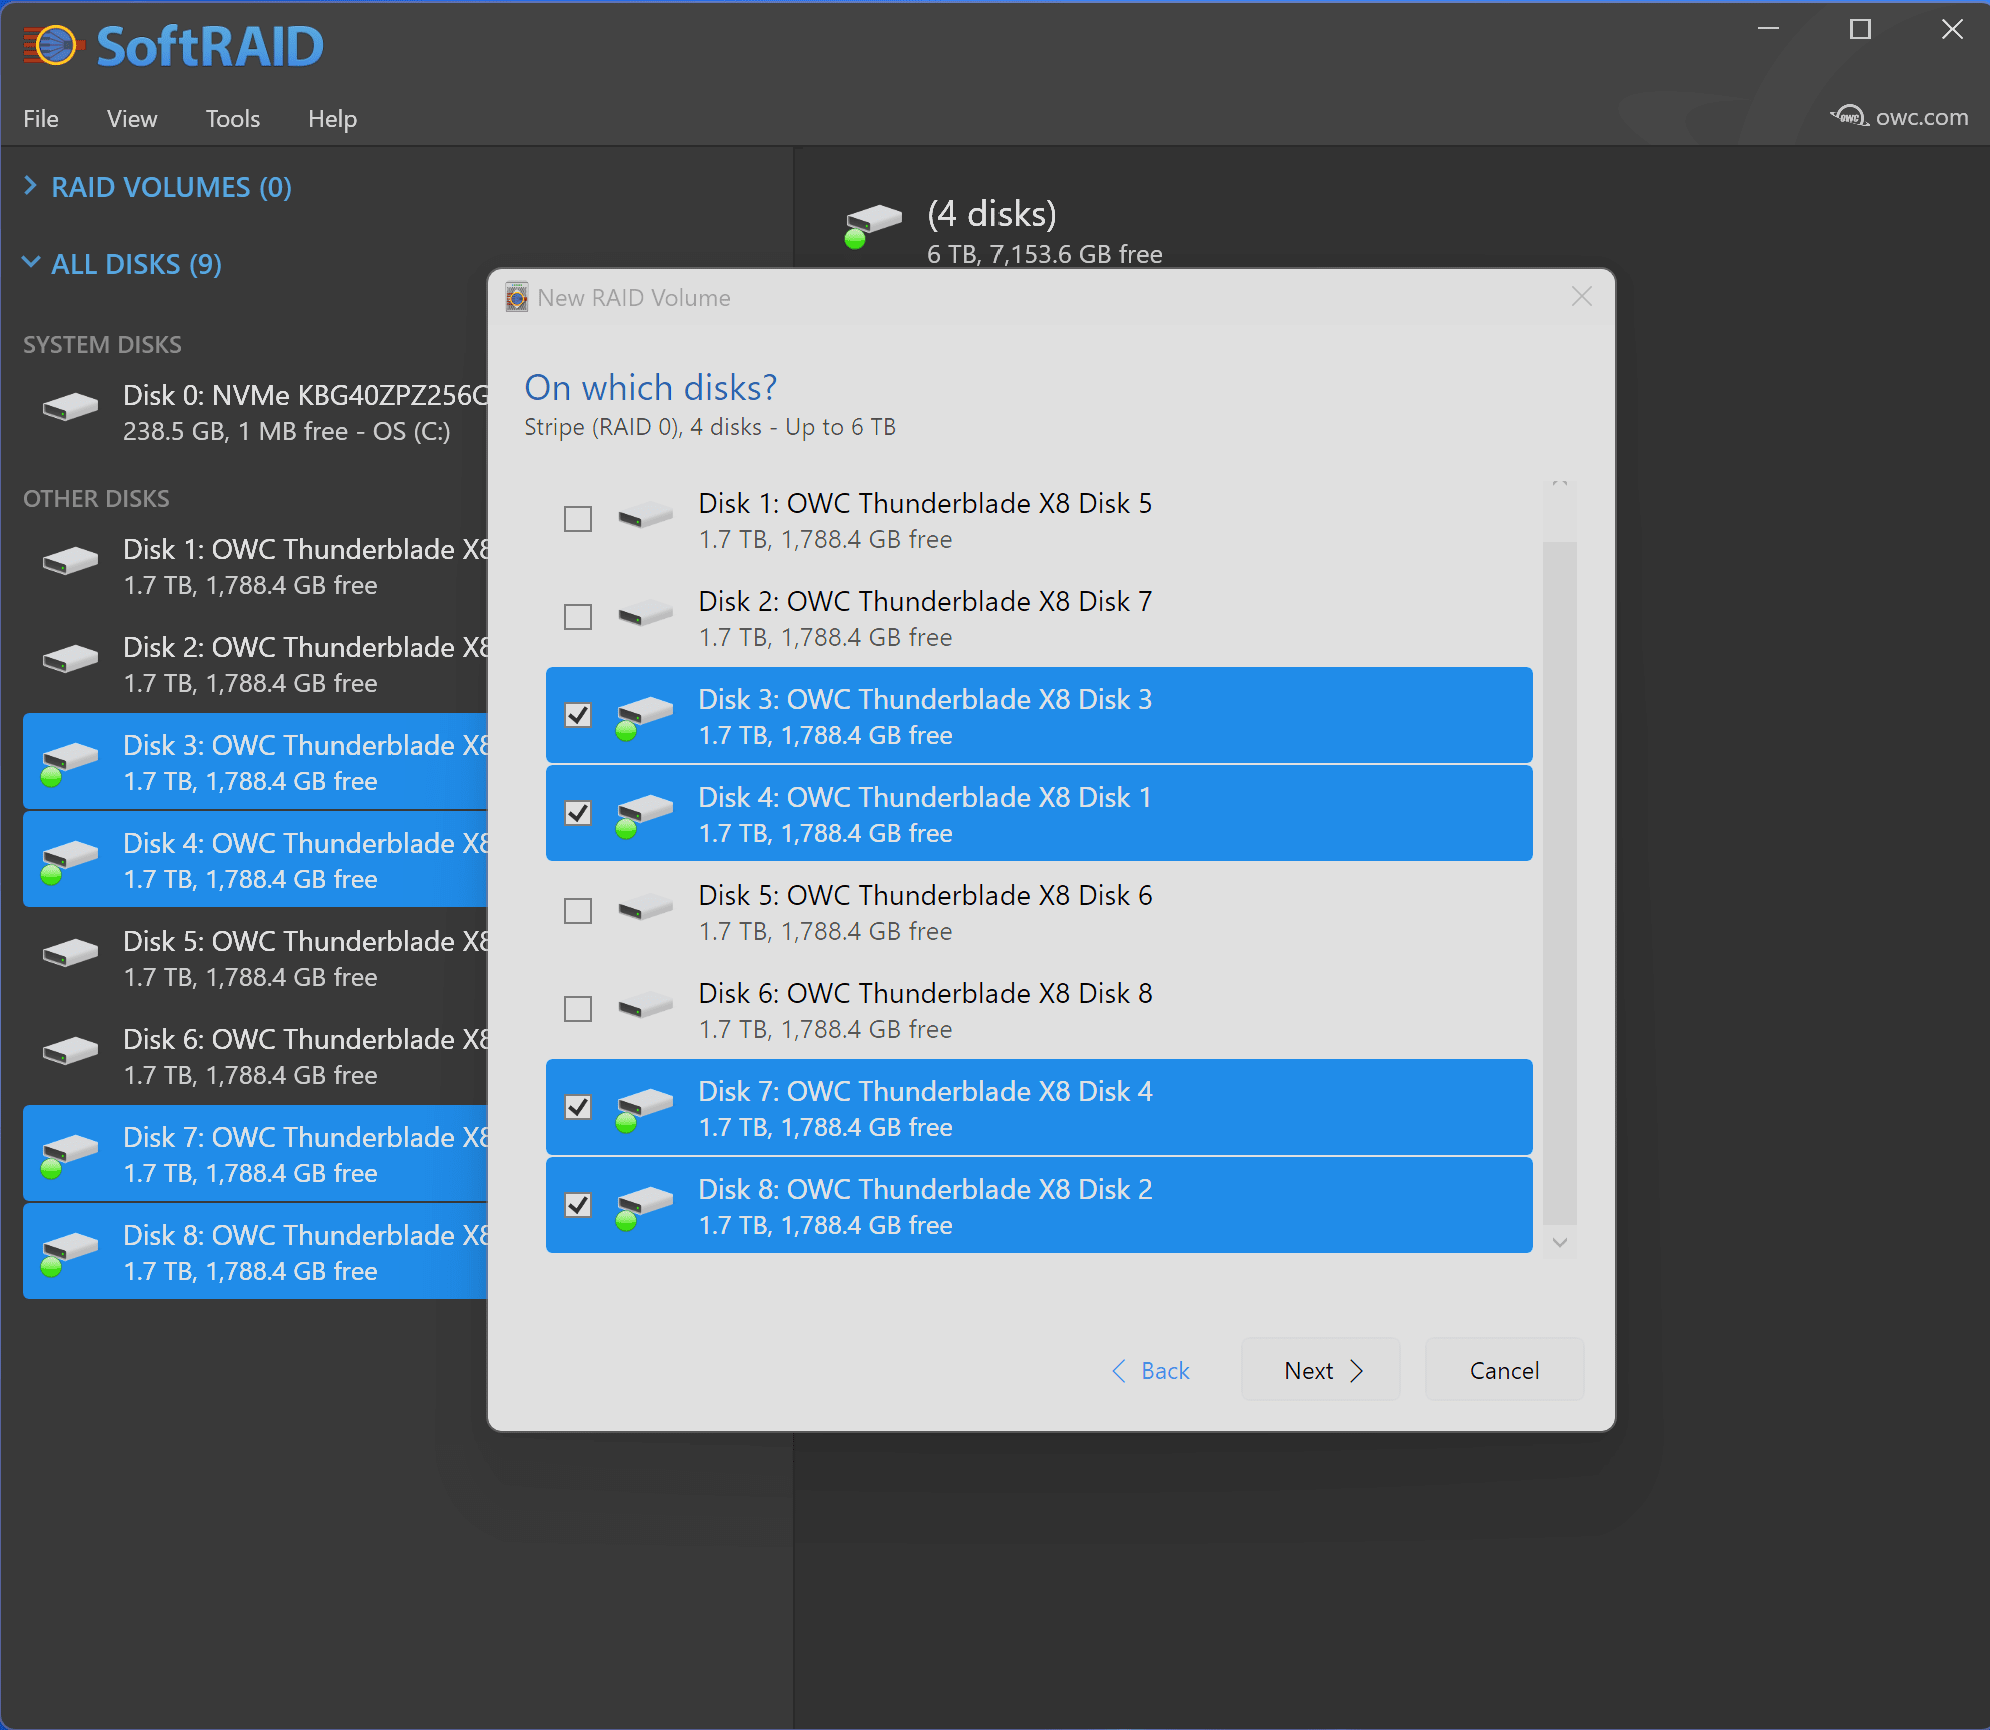
2.
 SoftRAID will open a New RAID volume window. This window displays the selected disks and allows selection edits if desired.

  • Confirm the disk selection by clicking "Next".


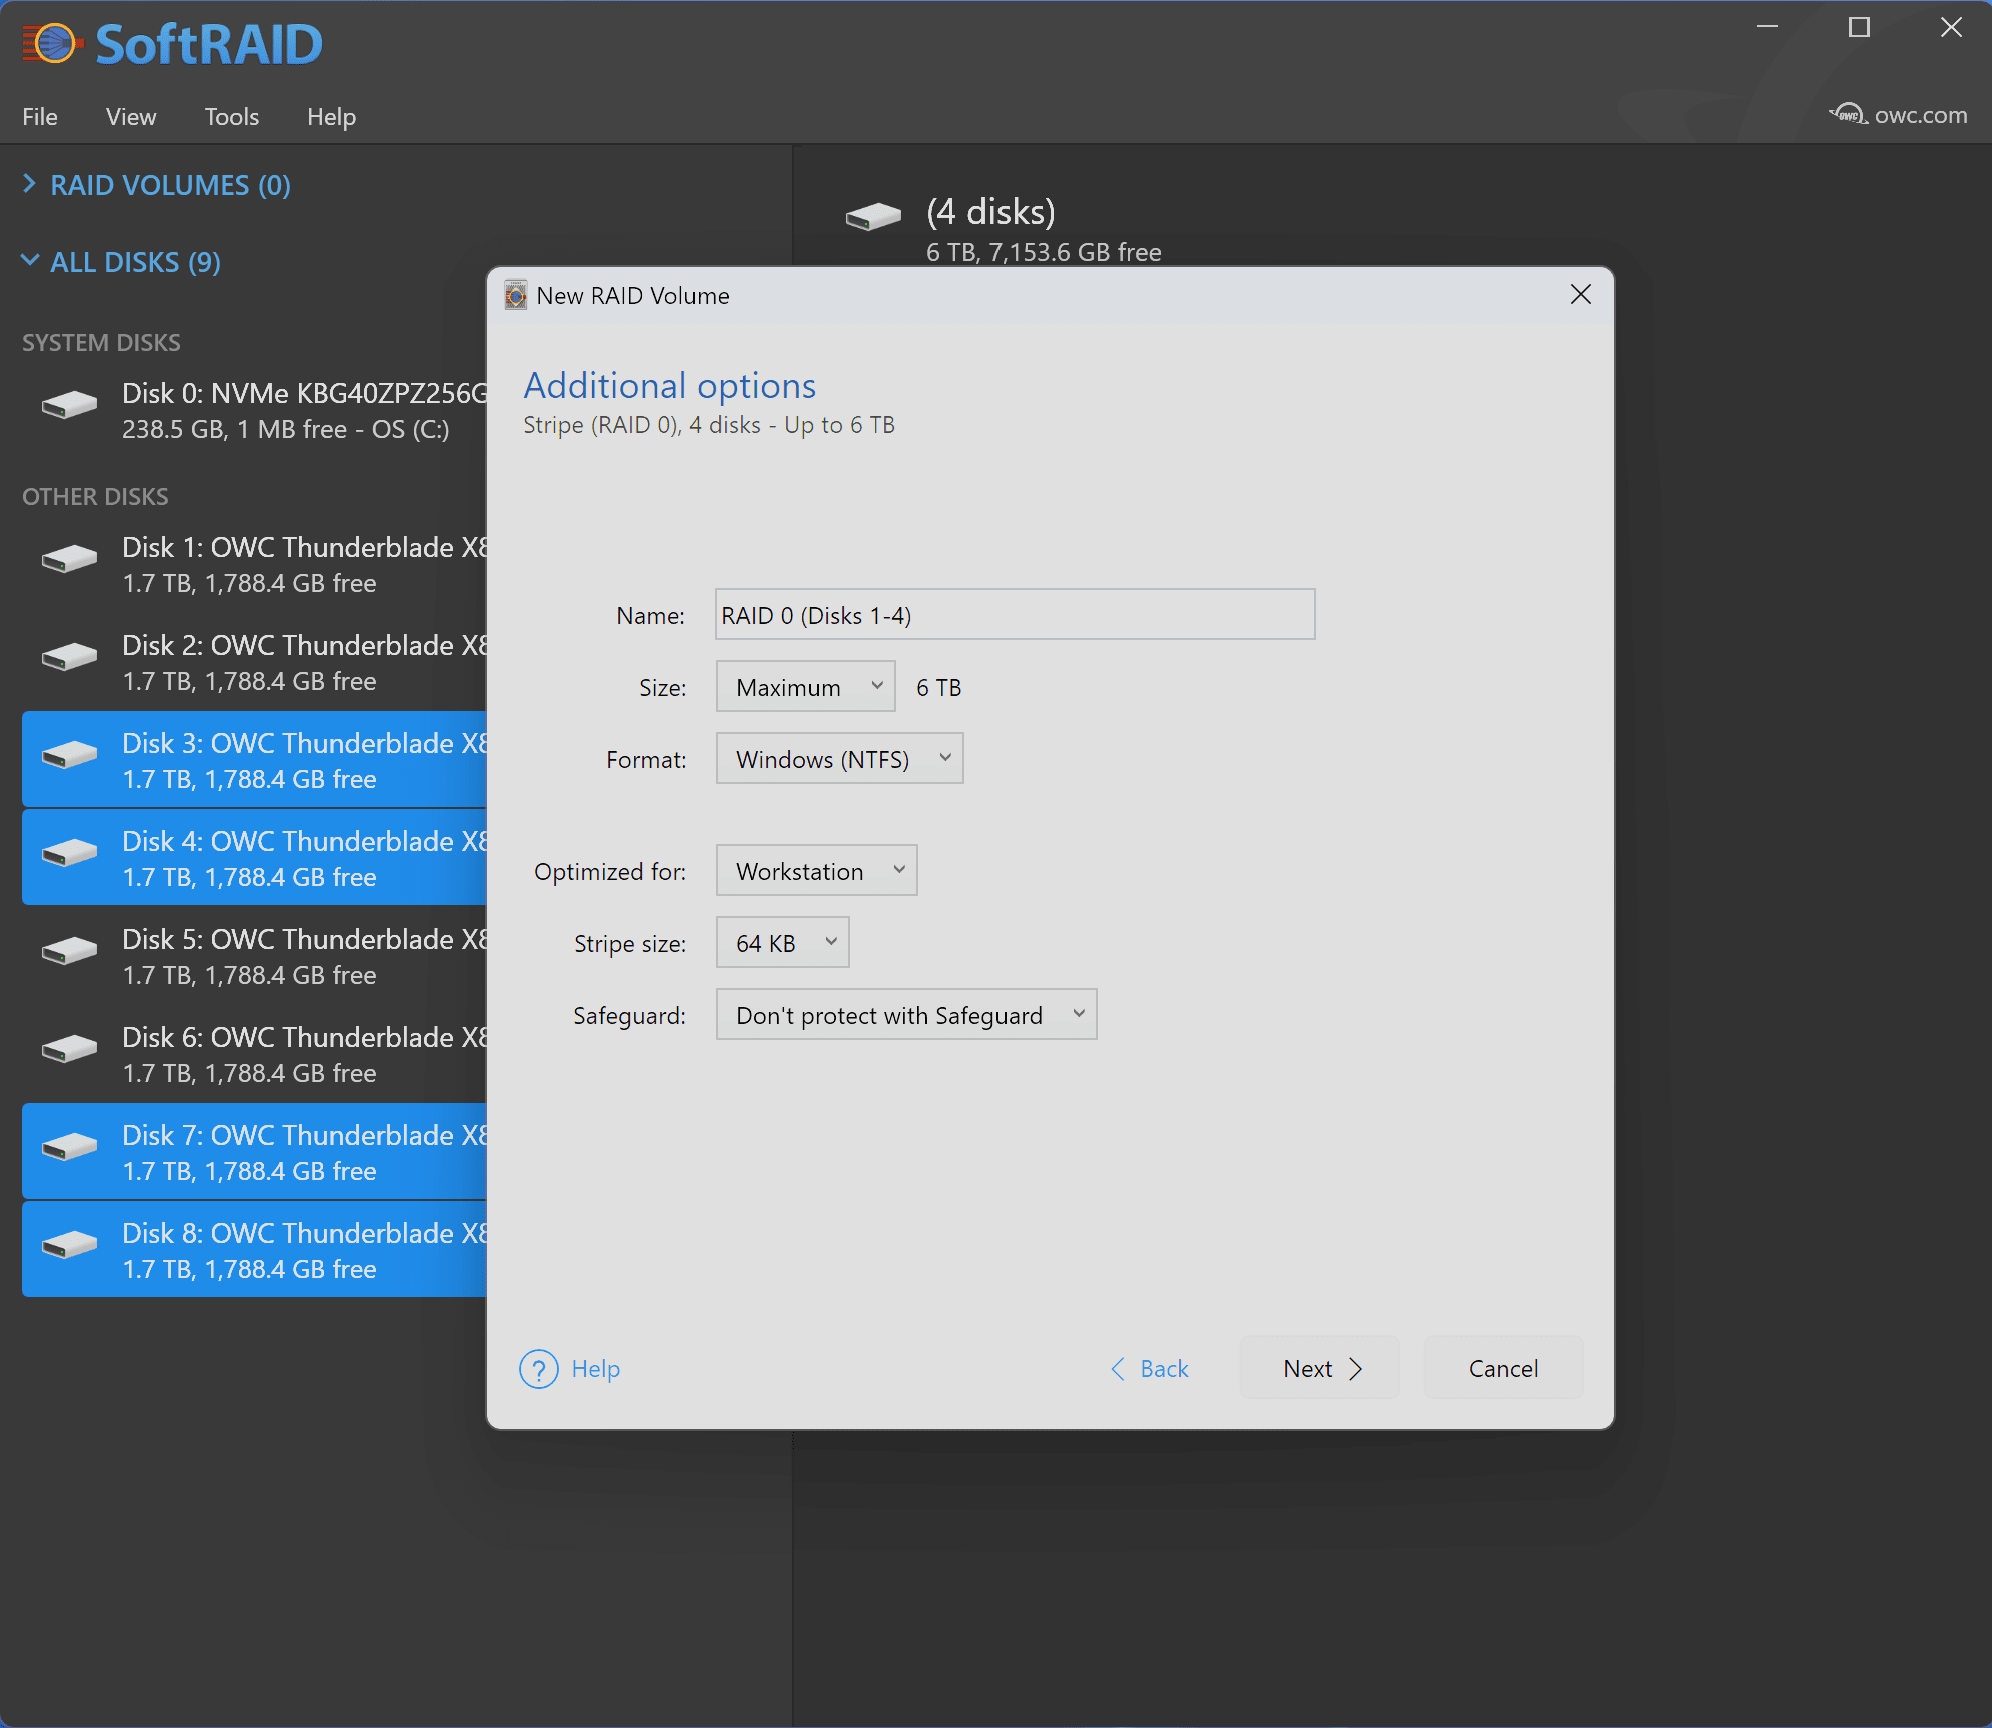
3.
 SoftRAID will transition to a new set of options.

  • In this example the selected disks are being created into a SoftRAID 0 Windows NTFS volume labeled RAID 0 (Disks 1-4).
    • Label the volume under "Name"
    • Select the desired file system under "Format"
    • Click "Next" to proceed.


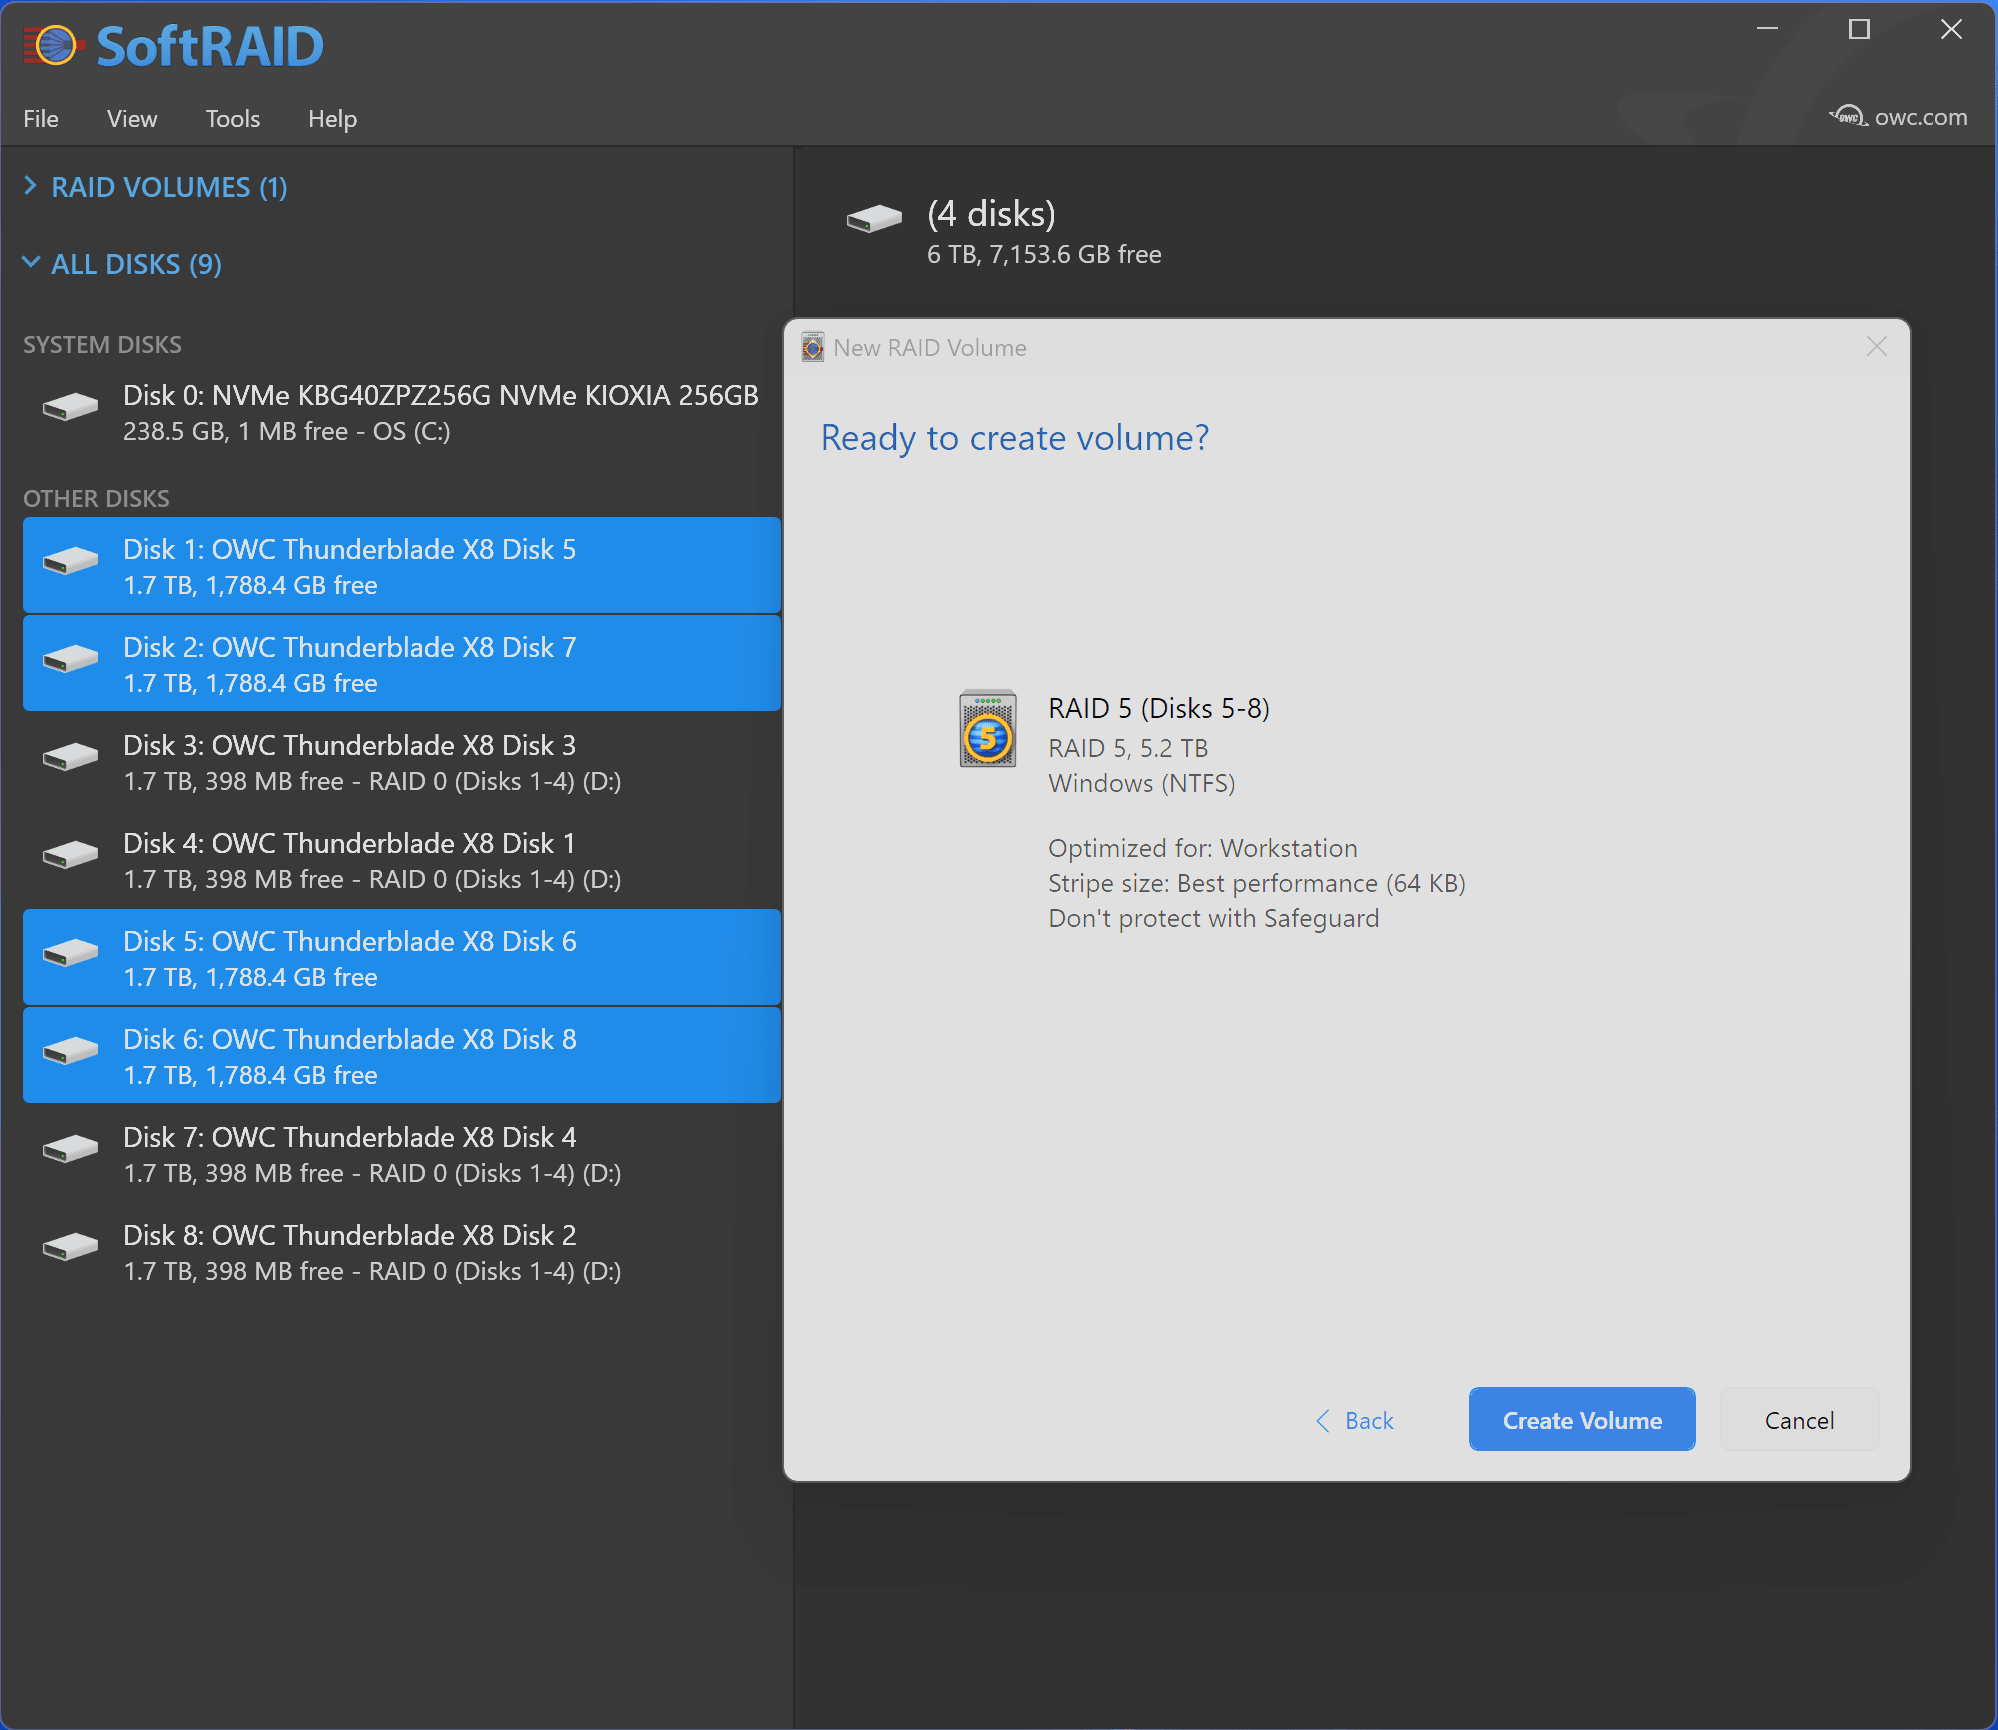
4. 
SoftRAID will transition to asking if the volume is ready for creation.

  • Click "Create Volume" to confirm and complete the SoftRAID volume setup.


5. 
Select the remaining disks to create an additional SoftRAID volume.

  • In this example disks 5 through 8 are selected.
     
    • Right-click on the selection of disks and select New Volume.

6. SoftRAID will open a New RAID volume window. This window displays the selected disks and allows selection edits if desired.

  • Confirm the disk selection by clicking "Next".

7. SoftRAID will transition to a new set of options.

  • In this example the selected disks are being created into a SoftRAID 5 Windows NTFS volume labeled RAID 5 (Disks 5-8).

    • Label the volume under "Name"

    • Select the desired file system under "Format"

    • Click "Next" to proceed.

8. SoftRAID will transition to asking if the volume is ready for creation.

  • Click "Create Volume" to confirm and complete the SoftRAID volume setup.

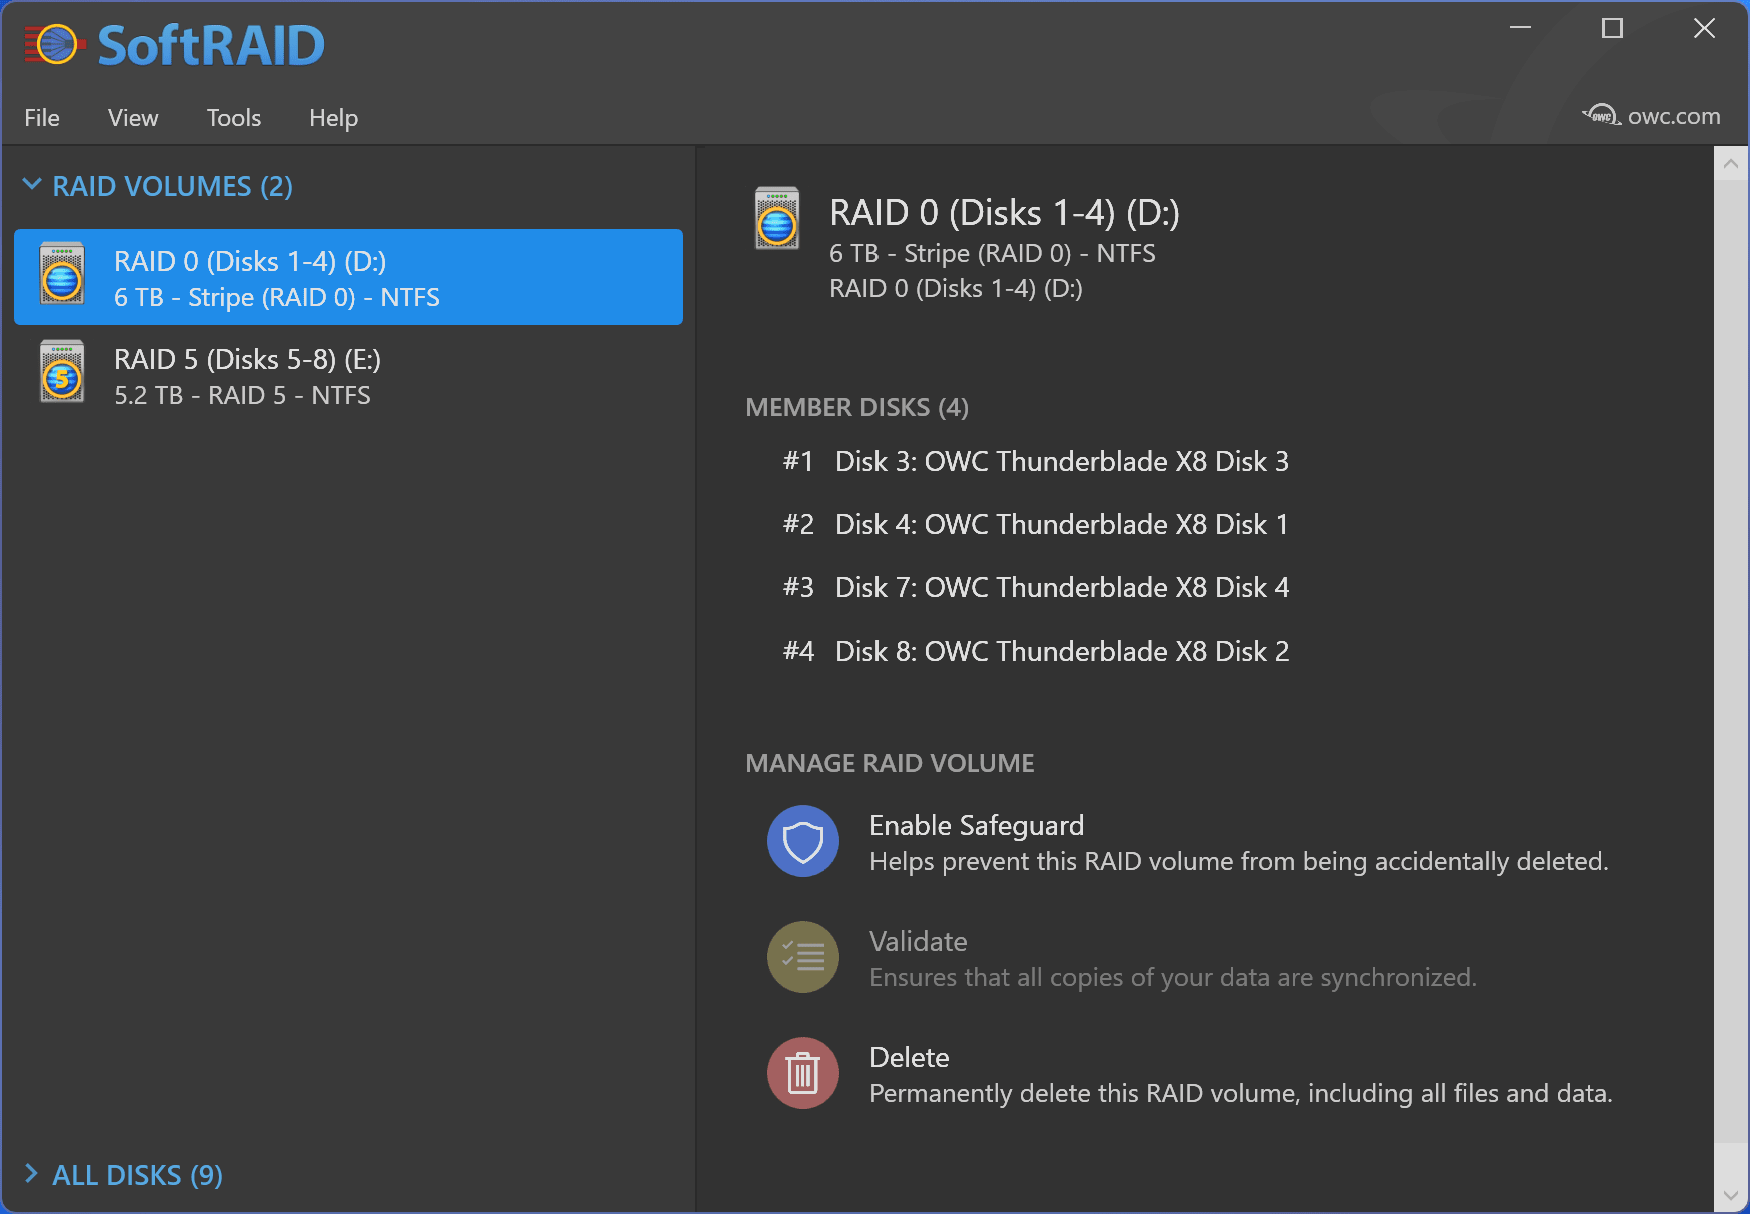
9. The OWC ThunderBlade X8 now has multiple SoftRAID volumes.