Happy Back to the Future Day, Rocket Yard readers! While you may not have your hovercar or dehydrated pizza yet, you do have the power to use dictation to type on your Mac. This isn’t anything new — it’s been around for a few iterations of OS X — but starting with Mac OS X 10.11 El Capitan, you no longer have to touch the keyboard to start dictation. That’s right — with a voice command, OS X dictation can be enabled. Here’s how to do it.
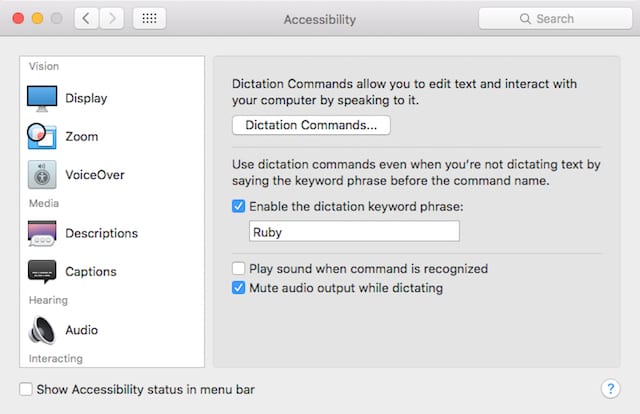
1.) Launch System Preferences, then click on the Accessibility button. When the accessibility pane appears, scroll down the sidebar on the left side until you see the item for dictation (see image below). Click on it.
2.) Check the box that says “Enable the dictation keyword phrase.”
3.) Type in a word or phrase that you will say before the command that begins dictation. In the example, I used the word “Ruby.”
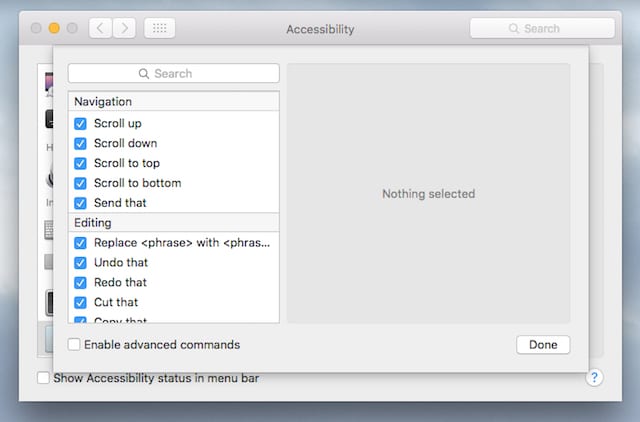
Now to start dictation, I just say “Ruby, Start Dictation” and the dictation microphone appears to the left of whatever text field I’m dictating to. “Start Dictation” is one of 62 voice commands dealing with dictation that you can use — and if you enable advanced commands, there are actually 97 commands that you can use to control your Mac with your voice. To see all of the dictation commands, just click on the Dictation Commands… button (see image below).
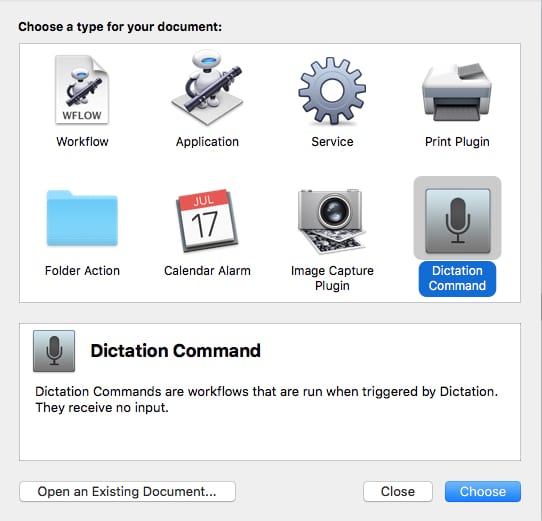
Even better, you can create your own workflows that can be added to the list of dictation commands. To do this, you’ll need to be familiar with Automator and how to use it, but if you are, you suddenly have a great deal of power at your command. Just create a new Automator document after clicking the “Dictation Command” button (see image below), and when the workflow is saved, it appears in the list of dictation commands.
This can be extremely useful if you happen to have accessibility problems, or if just don’t feel like tapping away on a keyboard all day. Enjoy this new-found power… but use it responsibly.

