It’s almost here — that time of year when we get together with friends and relatives to share good times. During those good times there will be plenty of opportunities to grab memories in the form of photos and video, and since you always have your iPhone with you, it’s going to be your camera of choice.
Today we’re passing along five tips to ensure that your iPhone holiday photos are something you’ll treasure for years.
Tip 1: Think Different – Avoid Clichés
Our first tip for you is to avoid taking those time-honored pictures that nobody really likes. That means forgoing the picture of the entire clan all in matching tacky Christmas sweaters or pajamas. Sure, it may be a tradition, but wouldn’t you rather have a picture that doesn’t make the entire family feel uncomfortable?
Look for new ways to take holiday photos. Instead of grabbing a blurry snapshot of all of the relatives sitting around the holiday table or crowded into the living room while the kids open presents, concentrate on taking more personal photos of the participants.
That elderly relative who is visiting for the holiday won’t be around forever, so consider taking a picture of him or her with just one child in a lap in an unposed moment for an image that will be cherished forever. Catch that child in the act of looking at her reflection in a Christmas ornament, or focus on the true joy of a child receiving an unexpected gift.
Tip 2: Take Advantage of Portrait Mode
If you have an iPhone that can take Portrait Mode photos, you can take use that mode to take pictures that rival those taken with an expensive DSLR camera. Those iPhones include the iPhone 7 Plus, iPhone 8 Plus, iPhone X, iPhone XR, and iPhone XS/XS Max.
What makes Portrait Mode so special? The ability to use bokeh (an out-of-focus background) in your pictures. This means that the subject of your photo can be in sharp focus in the foreground while objects in the background are artistically blurred. For a wonderful use of Portrait Mode, take a photo of something or someone in front of Christmas tree lights that are glowing in soft focus in the background (see example below).

Tip 3: Use A Tripod For Low-Light Photos
Trying to take pictures of a candlelit Christmas Eve service or of outdoor lighting on a house or tree can be an exercise in futility as dark conditions call for longer exposures. One way to avoid blurry pictures is to use a tripod to hold your iPhone while taking low-light photos.
Why not use the iPhone’s flash? Well, although it’s a pretty good flash, it tends to give images a somewhat artificial-looking cast. Natural light is almost always preferable.
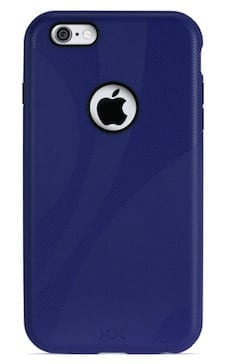
There are cases available for the iPhone that include a tripod screw mount, but one of our all-time favorite iPhone photo accessories is the Glif (starts at $28) from Studio Neat. It holds your iPhone securely and attaches to any standard tripod easily. By the way, if you have an Apple Watch you can use it as a remote shutter for your iPhone camera to further remove “shakes” from your photos. Don’t have an Apple Watch? Use the self-timer in the Camera app to take a photo 3 or 10 seconds after you tap the shutter button and walk away.
Tripod mounting your iPhone and using the self-timer also works great for taking photos where you’d like to be in the shot.
Tip 4: Burst Mode Helps You Get The Best Shot
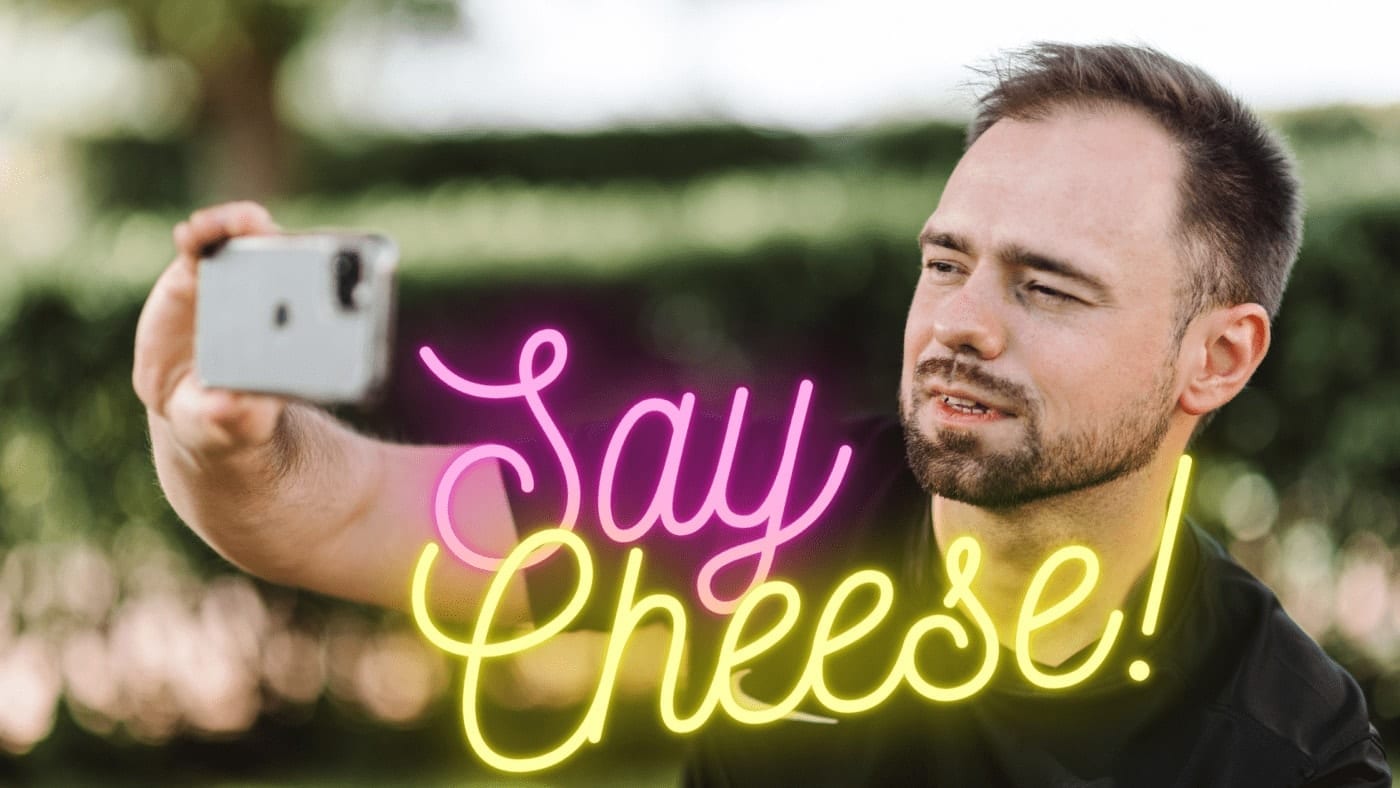
Taking photos of people is always problematic— they have a tendency to blink, sneeze, turn their heads or yawn just as you take the shot. To avoid missing a that perfect photo, consider using the iPhone Camera app’s Burst Mode.
When you’re getting ready to take a photo, just hold down on the shutter button and the app will take a series of photos that continues as long as you’re holding down the button.
To choose the best shots of the bunch that have been taken, open the Photos app and tap on the burst of images (you’ll see the title “Burst (10 photos)” in the upper left of the window). At the bottom of the iPhone screen is a button marked Select… Tapping it changes the window title to Choose Favorites (see screenshot below), and you can go through all of the shots taken in the burst. Tap on the circle to keep a photo in your Photos library, then tap Done.

Tip 5: Share Your Photos With Friends and Relatives
Now that you’ve taken the best-ever holiday photos, don’t keep them to yourself! Share them with your friends and relatives.
Create a shared album in Photos by tapping the Albums button at the bottom of the iPhone screen, then tapping +. From the buttons that appear, select New Shared Album. Type in a name for the shared album, tap Next, and then start adding people to the album.
If those folks are in your Contacts, just typing a few letters of their names will bring up email or Messages addresses – just tap on those addresses to add them to the list.
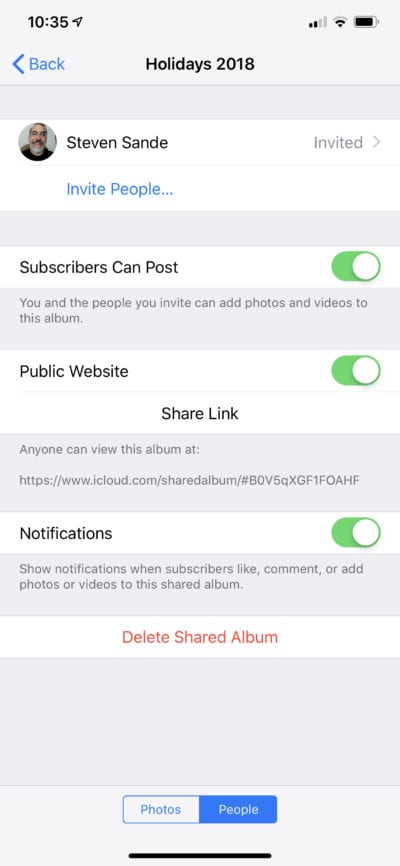
Everyone can join in the fun. In the Shared Album list, tap on your holiday photo album to open it, then tap the People button at the bottom of the screen. Turn on “Subscribers Can Post” (see screenshot below) and now friends can add their photos to the album as well.

Want to take those photos public? Tap Public Website and a shared album website address appears. Anyone on the Internet can type that address into a web browser to see all of the photos.
We hope these tips help you to not only take better holiday photos, but to also let others enjoy those pictures you’ve taken.


