Call me old school, refer to me as a dinosaur but I don’t trust all my digital data to reside solely in cloud services such as iCloud. That’s why I use iTunes Match and iCloud, yet also have my music library on an external hard drive connected to my iMac.
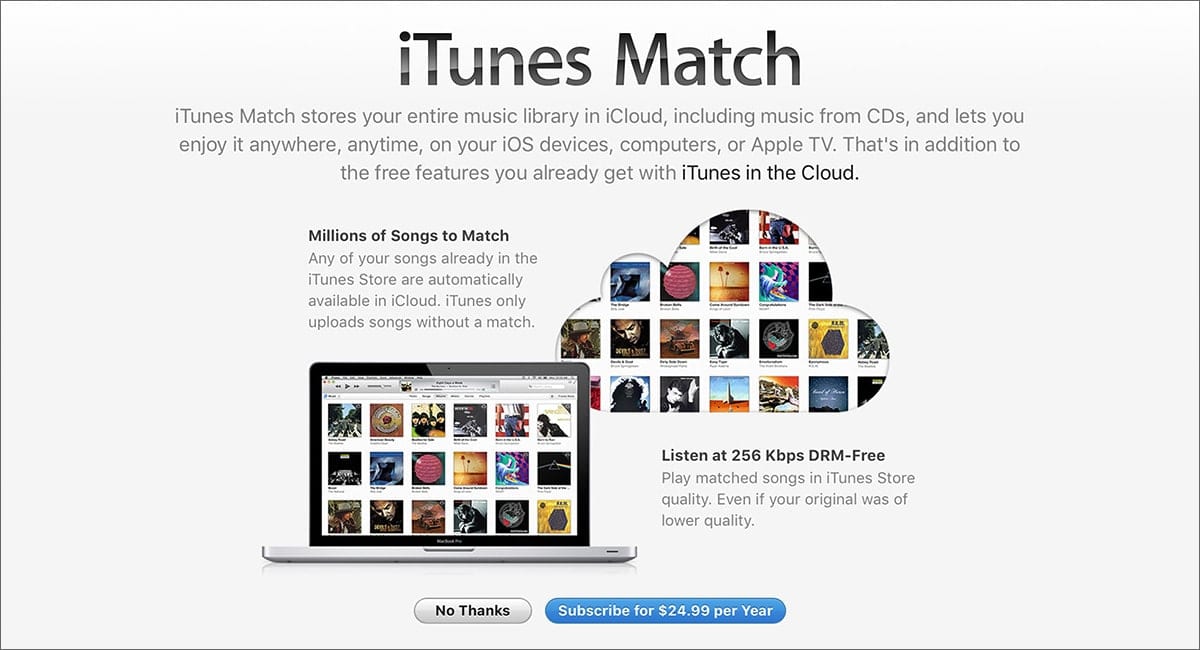
iTunes Match is a service that stores all your music in iCloud—even songs imported from CDs or not purchased in the iTunes Store—and makes it available on up to 10 of your devices and computers. With iTunes Match—which costs $25 annually—you have access to your complete iTunes music library at any time.
- To subscribe, open iTunes and make sure you have the latest version.
- At the top of the iTunes window, click Store.
- Scroll to the bottom of the Store window.
- Under Features, click iTunes Match.
- Click the Subscribe button.
- Sign in with your Apple ID and password.
- Make sure you have a valid payment method, then click subscribe.
- Agree to the Apple Media Services Terms and Conditions.
Now iTunes automatically scans your iTunes library for matches. A status indicator lets you track the scan’s progress. You can manually pause and resume the scan at any time by clicking the Stop or Start button. If at any time during the matching and uploading process you lose your Internet connection or experience a power outage, iTunes will automatically resume where it left off the next time you open iTunes.
After the process finishes, you’ll see the download icon (a cloud with a downward pointing arrow) next to items that are available for download from iCloud. If you don’t see the download icon, the item is already in your local iTunes library.
Once you’ve subscribed to iTunes Match, you can download all your music to your Mac with these steps. (Note: this works under all macOS versions up through Mojave. I can’t attest to how it will work with macOS Catalina since the upcoming operating system will break up the iTunes app into separate apps for music, podcasts, and TV shows/movies.)
- If you have multiple Macs, pick the
one you wish to store your music library on. - Open iTunes and make sure iCloud Music Library is enabled in iTunes > Preferences > General.
- Choose Music from the dropdown menu, and select the Library tab.
- Go to the iTunes Preferences menu (in the top left corner of the iTunes screen)
- Click General and Click on the checkboxes next to iCloud Download.

Songs that aren’t already stored locally on your Mac will be designed by a cloud with a downward arrow. You can download tracks one-by-one by clicking on the cloud icon, or by selecting multiple songs and control-clicking on them, then selecting Download. Once all the songs/albums are on your Mac, take the further precaution of backing ‘em up to a second disk drive.




Hello there. Thanks for showing us how to download our iTunes from iCloud. I would also like to suggest the AceThinker Music Keeper because this tool can download music just by using its URL. It also has a inbuilt search browser for you to type in the song’s keyword and it will show you the song itself automatically.
What do we do now that Catalina has done away with iTunes? I have a new HDD (and reloaded O/S) that has no music – and I can’t find where to download it. :-(
Is it possible to turn iCloud off completely? For a variety of reasons, I don’t want to use it. I’ve never used it, in fact, but every time I open iTunes (and a few other apps), I get a pop-up window telling me to log into my iCloud account. I click Cancel, and the window pops up a second time. This is getting old.
I tried this a few times an iTunes just stops working
Your steps for downloading all your music from iCloud Music Library have
4 Go to the iTunes Preferences menu (in the top left corner of the iTunes screen)
5 Click General and Click on the checkboxes next to iCloud Download.
But your screenshot of the General tab does not have anything called “iCloud Download.” The Preferences does have a “Downloads” tab, but that has to do with downloading purchased from the iTunes Store.