External drives have long been used for adding more storage space to Macs. They provide a cost-effective means to increase storage for media libraries and documents, as well as backup space.
External storage devices are seeing more and more use as primary startup drives, when there’s a need to expand space on the startup, or increase its relative performance over the internal drive that originally came with a Mac. The reason for this is a simple one: Apple has continued to make replacing an internal drive a difficult, if not impossible, task for most users.
Of course, there are Mac models, such as the new Mac Pro, where adding or replacing a drive is designed to be easy. There are other models, such as the iMac and Mac mini, where upgrading a drive is possible, but not recommended for the end user by Apple. And when it comes to recent MacBook models, you can pretty much forget about repairing or replacing a drive. Even the new 16-inch MacBook Pro has its SSD soldered directly to the motherboard, making replacing or upgrading the drive a no-go for most of us.
External Drives as Startup Devices
Because of the difficulty in replacing or upgrading an internal drive, using an external device may be a good choice. Using an external storage device as your startup may not only increase performance and storage space, but also benefit your wallet. It can prevent or delay the need to replace a Mac that, aside from issues with the internal startup drive, works well for you.
It can also reduce the cost when you purchase a new Mac. Instead of purchasing a custom configured Mac with a large startup drive at Apple’s premium prices, you can pick a stock configuration and use a larger external startup device while using the stock internal for other storage needs. Depending on the configuration, you could find yourself with nice savings.
Rocket Yard Guide to External Startup Devices
This will be a two-part Rocket Yard guide that explores how to use an external storage device as your primary startup device. You may find the need to do this because of a failure of your Mac’s current internal drive, because you have a need for additional storage space on the startup drive, a need for better performance from the startup drive, to save money on configuring a new Mac, or any combination of the above.
In Part One, we will look at:
- Examples of external devices you can use
- Connecting an external drive to your Mac
- How to boot from an external drive
In Part Two, we will cover:
- How to configure an external with a copy of the macOS
- What to do if the original internal startup drive is non-functional
- How to enable booting from an external device if your Mac is equipped with a T2 security chip
- What to do with the internal drive now that you’re booting from an external
- More about interface types
Example External Drives
External storage solutions come in a multitude of configurations; single, dual, and multi-bay, as well as non-RAID, RAID, and even RAID arrays that can be used in non-RAID configurations. There are also various types of interfaces to connect the drive to your Mac: USB 3, USB 3.1, USB 3.2, USB-C, Thunderbolt 2, and Thunderbolt 3. We’ll explore the type of configurations and interfaces later, in Part Two of this Rocket Yard guide. For now, let’s look at a few examples that would be good candidates for use as external startup drives:
OWC Envoy Pro EX:
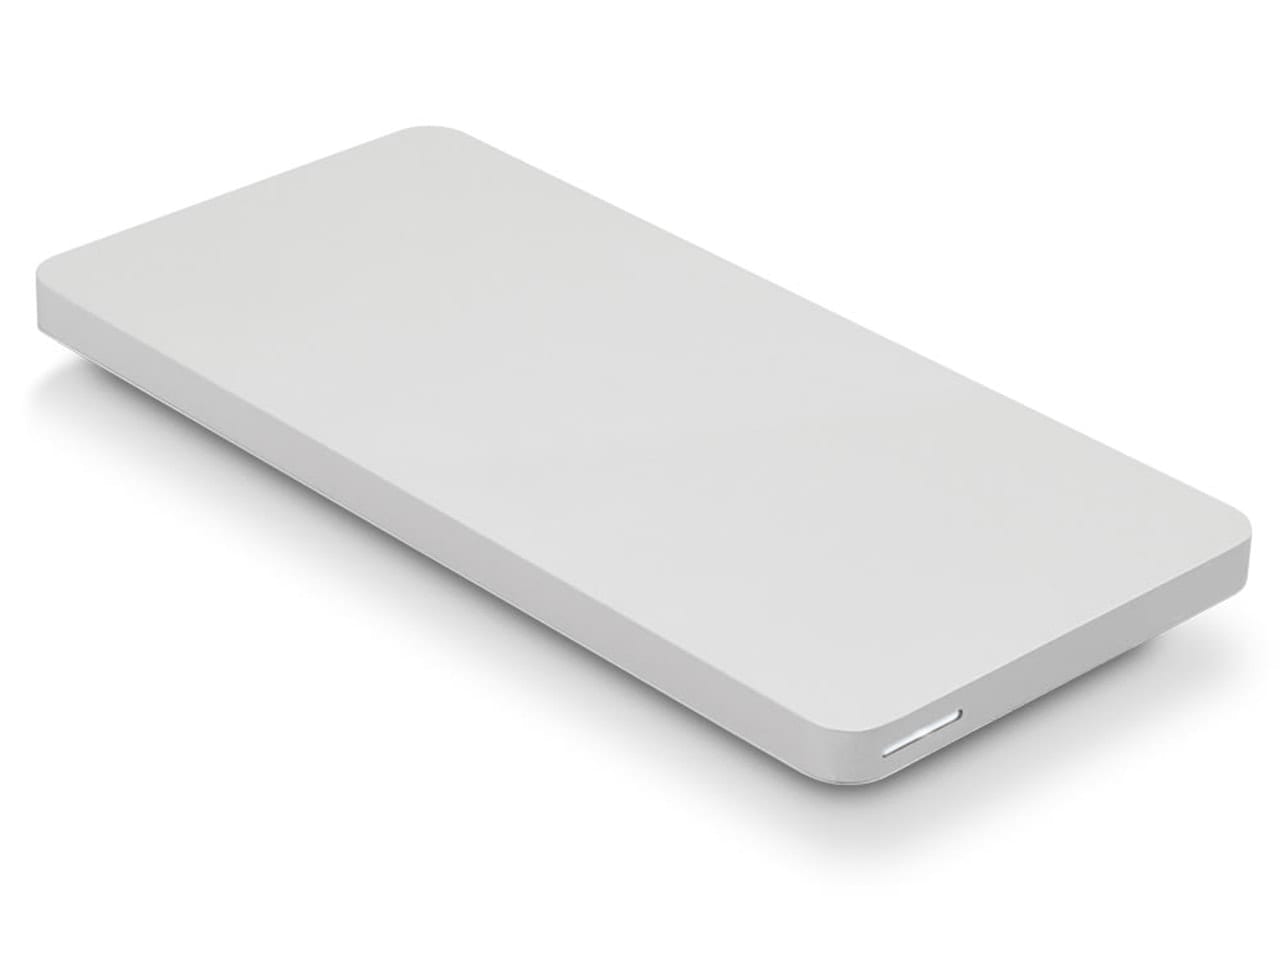
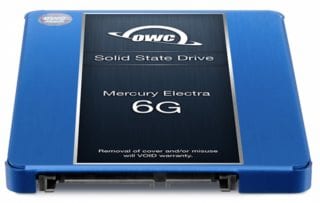
Available in USB 3.1 and USB 3.2 Gen 2 configurations that can house a single M.2 NVMe SSD. Available in sizes from 240 GB up to 2 TB, as well as a DIY enclosure where you can bring your own M.2 NVMe SSD. Performance can range from 400 MB/s up to 980 MB/s, depending on the type of USB interface you choose.
OWC Envoy Pro EX: The Thunderbolt Edition:

When your primary concern is performance, this configuration can produce blazing-fast 2500MB/s thanks to the NVMe SSD and Thunderbolt 3 interface. It’s available in sizes from 500 GB to 2 TB.
The OWC Envoy Pro EX series of external drives impress with their performance at a very reasonable cost. Even the USB 3 version, at 400 MB/s, can outperform rotational startup drives, as well as many Fusion drives that lack sufficient free space. If you need performance, the Thunderbolt version is like having a rocket booster attached to your Mac.
OWC Thunderblade:
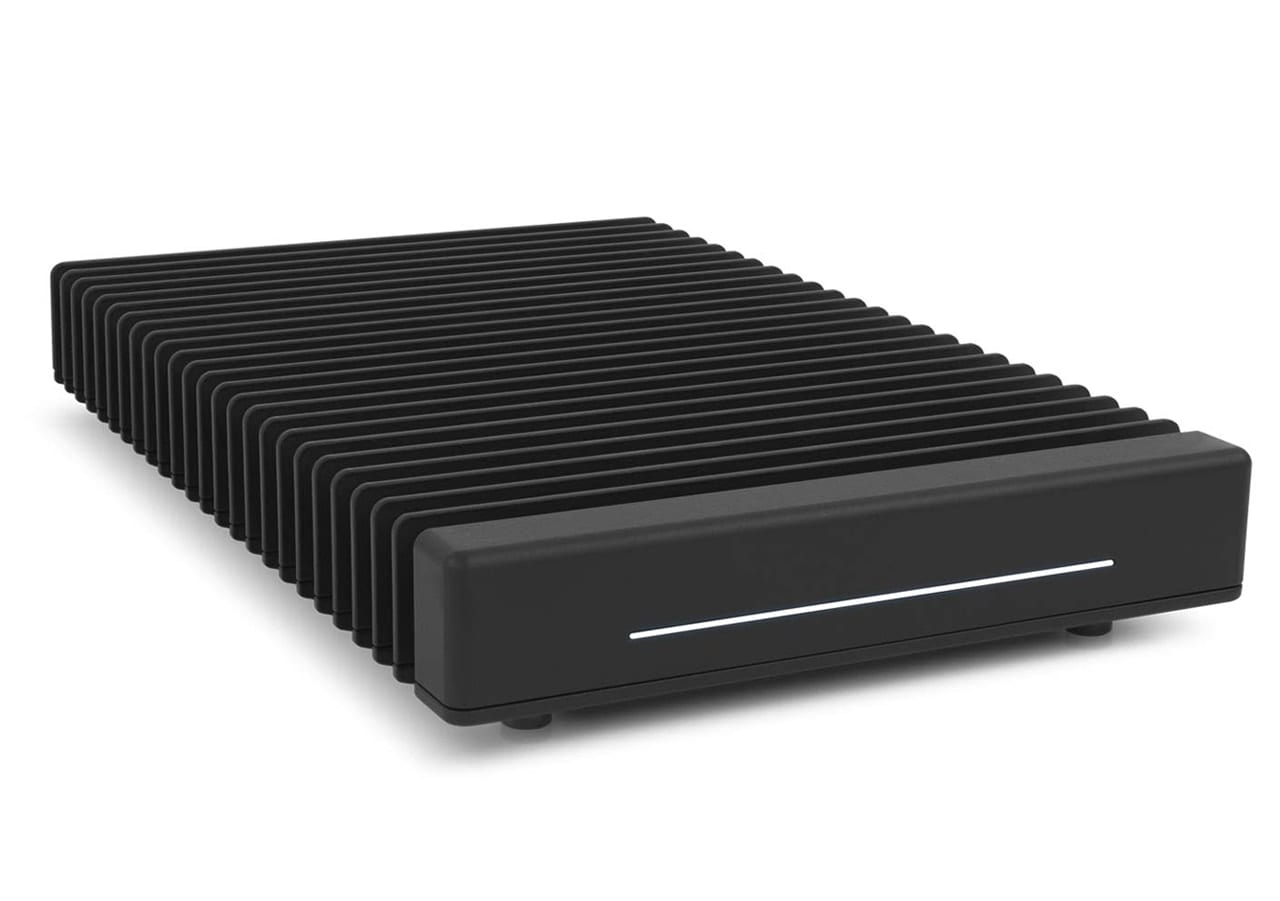
This is the choice for those looking for a rugged and portable external drive that can hold up to 8 TB of storage and deliver the data at up to 2800 MB/s using the Thunderbolt 3 interface. Available in configurations from 1 TB to 8 TB, and includes a custom-fitted ballistic hard-shell case for taking the drive on the road, wherever it is needed.
Connecting the External Drive to the Mac
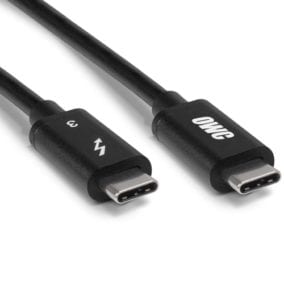
Aside from the connection type, there’s nothing really mysterious about hooking up an external to your Mac. Never the less, a couple of tips to note:
If the external can be both bus-powered (taking power from the connection to your Mac) as well as directly powered, opt for the direct power connection, at least in a desktop setup. Directly powering the external helps ensure a stable drive that is ready to go to work as soon as your Mac powers on.
Use good quality cabling and make sure there’s no strain on the cable or the plugs.
Do not use excessively long cables; keep the cable length appropriate for the setup.
Keep the setup neat; not just for visual aesthetics, but to ensure cables are secure and not prone to becoming disconnected if something should be moved or pushed around.
Shut down the Mac and make sure the external is powered off when making the initial connections.
Turn on the external before powering up your Mac.
How to Start Up From an External Drive
There are two ways to select the device your Mac will start up from.
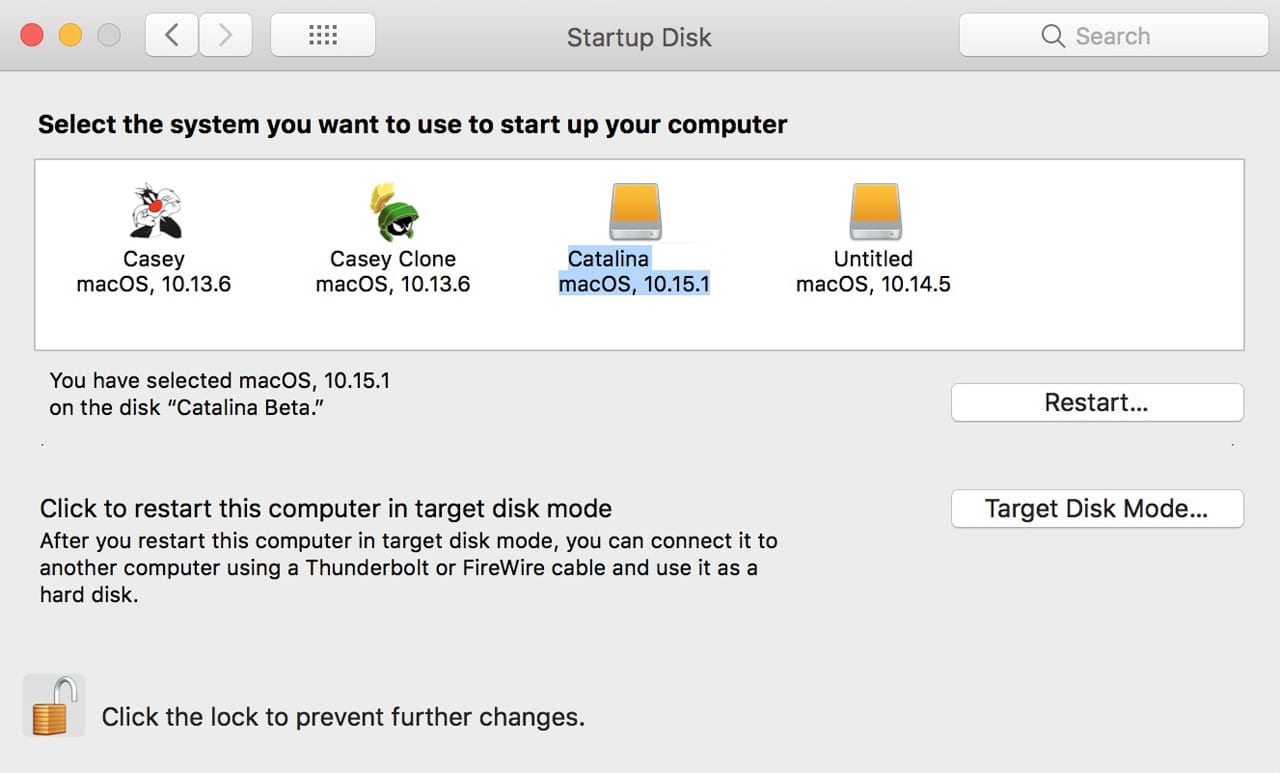
You can use the System Preferences to select which device to start up from. When using this method, the device you select to start up from remains the active choice, even after restarting or shutting down.
You can also use the Mac’s startup manager to make a temporary selection of a device to start up from. When using this method, the startup device choice doesn’t stick; the next time you restart your Mac it will revert to the startup device choice set in the system preferences.
To set the startup device with System Preferences:
Launch System Preferences by selecting the System Preferences menu item from the Apple menu, or clicking its Dock icon.
In the System Preferences window that opens, select the Startup Disk preference pane.
Click the lock icon in the bottom left corner, and then provide your administrator credentials. Click the unlock button.
Icons representing the various bootable devices that are currently connected to your Mac will be displayed. Each icon will include the macOS version that’s installed on the device.
Make your selection by clicking on an icon.
You can choose to restart now by clicking the Restart button, or defer changing to the new startup disk until the next time you start your Mac up.
Click the Restart button or close the Startup Disk preference pane.
To use the Startup Manager to temporarily select the startup device:
Restart your Mac while holding down the option key.
Continue to hold the option key until you see the display change to show one or more icons of available startup devices.
Release the option key.
Use the arrow keys to select the device you wish to start up from this one time.
With the device highlighted, press the return or enter key.
The Mac will start up using the selected device.
Up Next
We’ve covered the basics in part one of this Rocket Yard guide to using an external drive as your startup drive. For many, this may be enough to move ahead, choose an external, and start to set up and use your new startup device.
For those who wish for a bit more information, part two will provide additional details for setting up and configuring the external startup drive, as well as looking at some of the issues you may come across, including working with T2-equipped Macs that can prevent booting from an external. See you next time, for Using an External Drive as Your Startup Drive: Part 2.



Hey Tom,
I am not seeing my external drive on my startup disk page. All I see is the computer´s drive.
I have reset, erased and formatted the drive (to Mac Os Journaled).
What steps do I need to take in order to see my external drive?
Thanks in advance.
Marcos
Hey Marcos- assuming you have an OS installed, double check you don’t have the external drive set up as a RAID, and double check you see it in Disk Utility in case it stopped mounting. There could also be an issue with the specific device you are using- if you still cant get it working, give our support team a shout they can take a look for you!
Hey Danielle, thanks for getting back to me. I believe I have the wrong type of drive and actually need a drive that supports USB3.2. Would this be accurate?
You shouldn’t need 3.2 specifically no, there are many port types that support booting. Give our support team a holler, they can walk you through it!
Is this still true for new Macs? I ask because today I went to an Apple Genius Bar and they told me that all new Macs (what they are selling in their store as of 10/24/22) do NOT allow booting from external drives, which I was surprised to hear. Since your article is about booting from an external drive and was written in 2019, I assume something changed between 2019 and now?
Great article!
I am encountering an issue though. I want to still be able to boot occasionally from my old internal macOS version. It looks like spotlight gets messy. Old apps appear in my new macOS. And spotlight has to rebuild when I boot on the internal. So the best would be to isolate things… avoid having access to my internal Macintosh HD drive when booting from my new macOS and vice versa. Should I edit the fstab on the new macOS to avoid the internal Macintosh HD to mount? Is there any risk to loose access to it (will the startup manager show it)? Or should I edit Spotlight privacy to create an exception? What is the best practice when doing so (booting from external device but still wanting to use internal old macOS occasionally)? Many thanks
Great!
Now I have an internal HHD that I am not using!
Can I use as a back up to my externalSSD?
Hi, I’ve just bought a Samsung T7 Touch to boot from as my iMac 2018 (Big Sur) was starting to get slow, especially with video content. I’ve tried going to system preferences and changing the start up disk, but only my Macintosh HD is there, even though I have two external drives connected. Any idea why this is?
Hi. I’ve been looking at some SSD’s that have come on the market recently (Feb 2021), that say they can only be used in exFAT format (that reformatting in other formats will cause damage), and so can be used for both Mac/Windows storage. However they cannot be used for mac os Boot up or back up (I have been told). As someone who can explain things, do you know why these devices cannot be formatted to mac formats (apple extended journaled etc, or APFS), to run boot or back ups? And if so, what type of SSD do I then need to look for? Many thanks.
I have a 2007 iMac with a bad drive. I have the old drive from my MBP I replaced with an SSD in an inateck case. I tried it on the MBP using option method and it booted right up. When I tried it on the iMac using same method I get the circle with a slash icon, then it shuts down. Tired several times, same result. It is High Sierra but that should still boot on the 2007 from what I’ve read. Thoughts? I’d rather get it running and donate then take to recycler.
I have a Lacie external HD that was cloned from my existing HD so it should be bootable. It does not show up in my Startup panel in System Preferences. How do I get it there? Big Sur 2019 Desktop Mac.
Lol sounds like you’re ahead of me. About to do the same. After Big Sur, my Fusion drive is practically worthless. So furious about that.
I put High Sierra on an external drive connected to my iMac and have successfully booted from it. My problem is that now I can not get into the Fusion drive in my iMac. I can see this drive in Disk Utility, but I can not mount it. Could this be because my internal drive is encrypted? Help!
Excellent Article.
Part II timing?
Hi Carroll, it should be up in the next day or two!
What is the best and fastest external drive configuration for a 2015 iMac fusion drive with Thunderbolt 2? I need to set up an external boot drive with more speed. The iMac has a tiny 24 gig internal ssd.
Hi Ted, I’d highly recommend that you get in touch with Customer Support – there are so many great options and they can help walk you through what might be best for your system, needs, and pocketbook!
Hi, what did you end up going with. I have the same config. Thanks so much!!
For computers with the T2 chip, you first have to change the setting in the Startup Security Utility first.
It would be great if OWC could make higher-capacity (including 4TB and 8 TB) external portable SSD (no RAID involved) to boot Mac and work from them all day long. Now it is possible:
At least Micron and Toshiba offer such NAND. The latter are used by Apple in the new MacBook Pro 16-inch and Mac Pro.
At least BusLink make them already. VectoTech will release them soon. Competition is good.
Installer thumb drives will Not appear when you use option+boot if the date is set past October 23 2019 on Nehalem Mac Pros. I speak specifically about installer thumb drives 10.12.x – 10.14.x.
The bootable installer thumb drive will not appear in the list of Startup Disks using System preferences if the date is set past October 23 2019.
If that were not enough!!!
If you create a bootable installer thumb drive “today” it will show up as bootable with either method but will not install. (it will report as damaged)
Did not believe it myself until I repeatedly proved it.
I cannot speak for any other Apple device but have seen reports of external boot drives not appearing on laptops as well.
Try changing the date if you have this problem and restart.
Suhr, your issue is with expired security certificates. You, and the rest of us, need to re-download the installers with fresh certificates and recreate the USB sticks.
This article explains the issue:
https://9to5mac.com/2019/10/24/macos-application-damaged/
MacRat, since all versions of Mojave past 10.14.3 will not play a CD internally or externally or AIFF files or .mov files “PROPERLY”, on a Nehalem Mac Pro using LINE OUT and you cannot download the installer for 10.14.3 then you are actually forced to take my advice.
These are not the same expirations as we witnessed in Feb 14 2016.
Those installers would mount and appear on “boot option” and Boot Disk selection.
You can bet that ALL of my thumb drive installers from 10.11 all the way back to 10.7 are as you suggest “expired” and yet they are not affected as I clearly defined.
This is a software time bomb that is very sophisticated.
Thanks for the guess though.
Please be advised this subject is not open for any kind of denial as specified.
It is proven.