

You can customize lots of icons on your Mac, including the ones for your Mac’s built-in drive, external hard drives, and external SSDs. There are several ways to do this, but here is a simple one that I like to use whenever I want to change the icon of a drive on my Desktop.
How to find an icon you like
First, you’ll want to find an icon that you’d like to use to replace a current one (this is assuming you don’t want to go to the trouble of creating your own). Use Safari (or your search engine of choice) to find the icon you want.
Canva offers a nice guide to finding such icons at https://www.canva.com/learn/free-icons-download/. Note that there are lots of free ones, but you’ll have to fork over money for others.
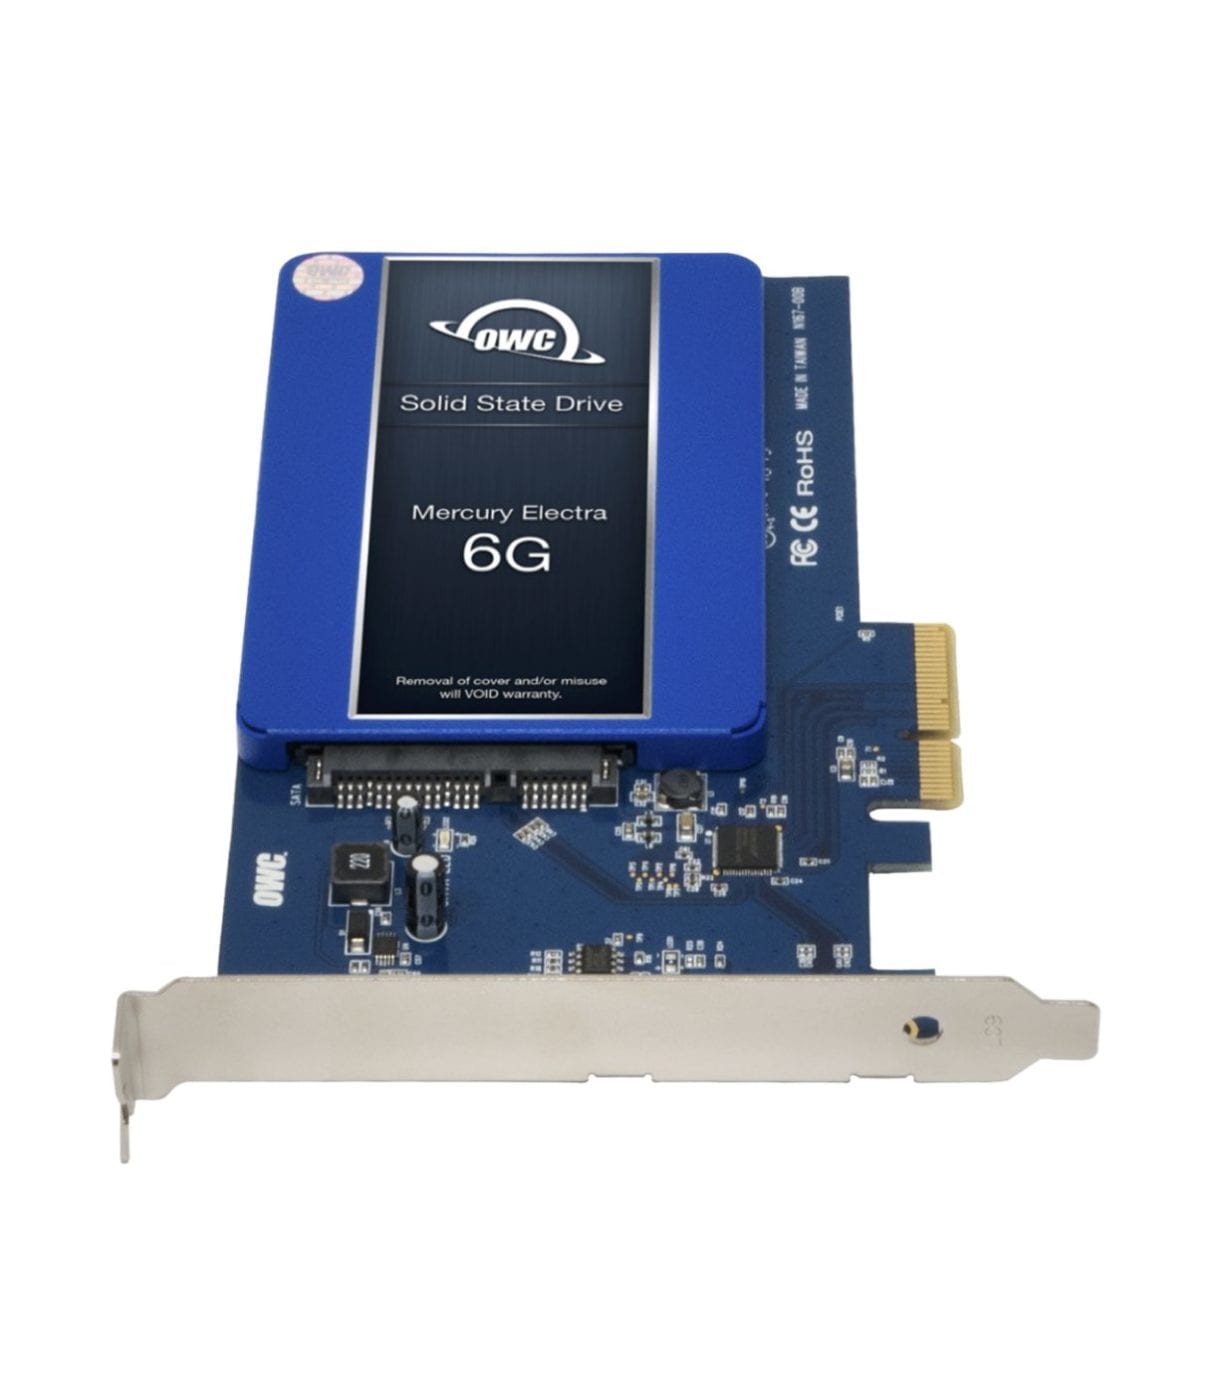
Have an OWC drive? Then check out the Custom Drive Icons page! You’ll find downloadable icons for OWC and NewerTech drives, plus some fun icons for Apple Time Machine drives as well.
How to apply a new icon
- Open up the icon image with Apple’s Preview app.
- Choose “Select All” from the Edit menu or press Command (⌘) + A on the keyboard to select the entire image.
- Choose the Copy option from the Edit menu or press Command (⌘) + C on the keyboard. This will copy the image contents to the macOS clipboard.
- Now control-click on the storage device on your Mac’s Desktop whose icon you want to change.
Note: Don’t confuse the Finder with the Desktop. The Finder is the first thing that you see when your Mac finishes starting up. It opens automatically and stays open as you use other apps. It includes the Finder menu bar at the top of the screen and the Desktop below that. The Desktop is the space where you see the file, folder, and application windows.
- Choose the Get Info option from the pop-up menu or press Command (⌘) + I on the Mac keyboard. A window will open with a small reproduction of the icon in the upper-left corner.
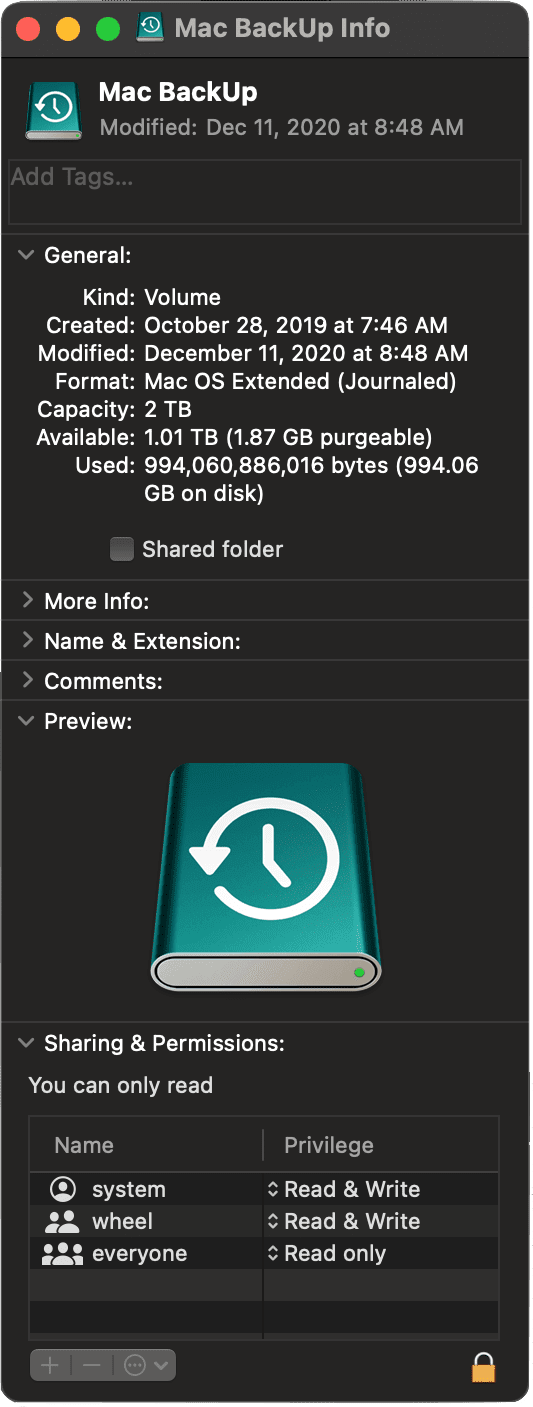
- Click once on the reproduction and choose the Paste option from the Edit menu in the Finder or press Command (⌘) + V. This will apply your custom image to the icon.


Of course this does not work, that’s why I googled for advise.
You are the only person who had the answer! I tried quite a few online tip pages. It only worked to copy the image from preview and select all. Others advised copy and paste and it didn’t work. Thank you (any idea how to get changed icons to show in sidebar?)
No go on 11.5.1 running on a 2017 iMac 5K. Doesn’t matter what format the drive is; APFS, ExFat, etc. Icon copy/past just won’t take. Any Terminal commands to override this? I use icons for organization purposes.
That didn’t work for me. I am running version 11.2.1 on a Mac desktop (Mac Mini 2018 build). I may be wrong, but I think Big Sur no longer allows that change unless you use a third-party tool.
Drag the icon file you’ve created over the small icon on the top of the ‘get info’ page – not the big icon further down. That worked for me after some frustration trying to change the big icon.
Dave:
Thank you very much! Sorry fir the delayed response.
It didn’t work (for me) by sliding it. However, when I opened the image, selected the image, and pasted the image onto the smaller icon in “Get Info”, it worked!
Doesn’t seem to work with remote volumes, like a google drive icon.