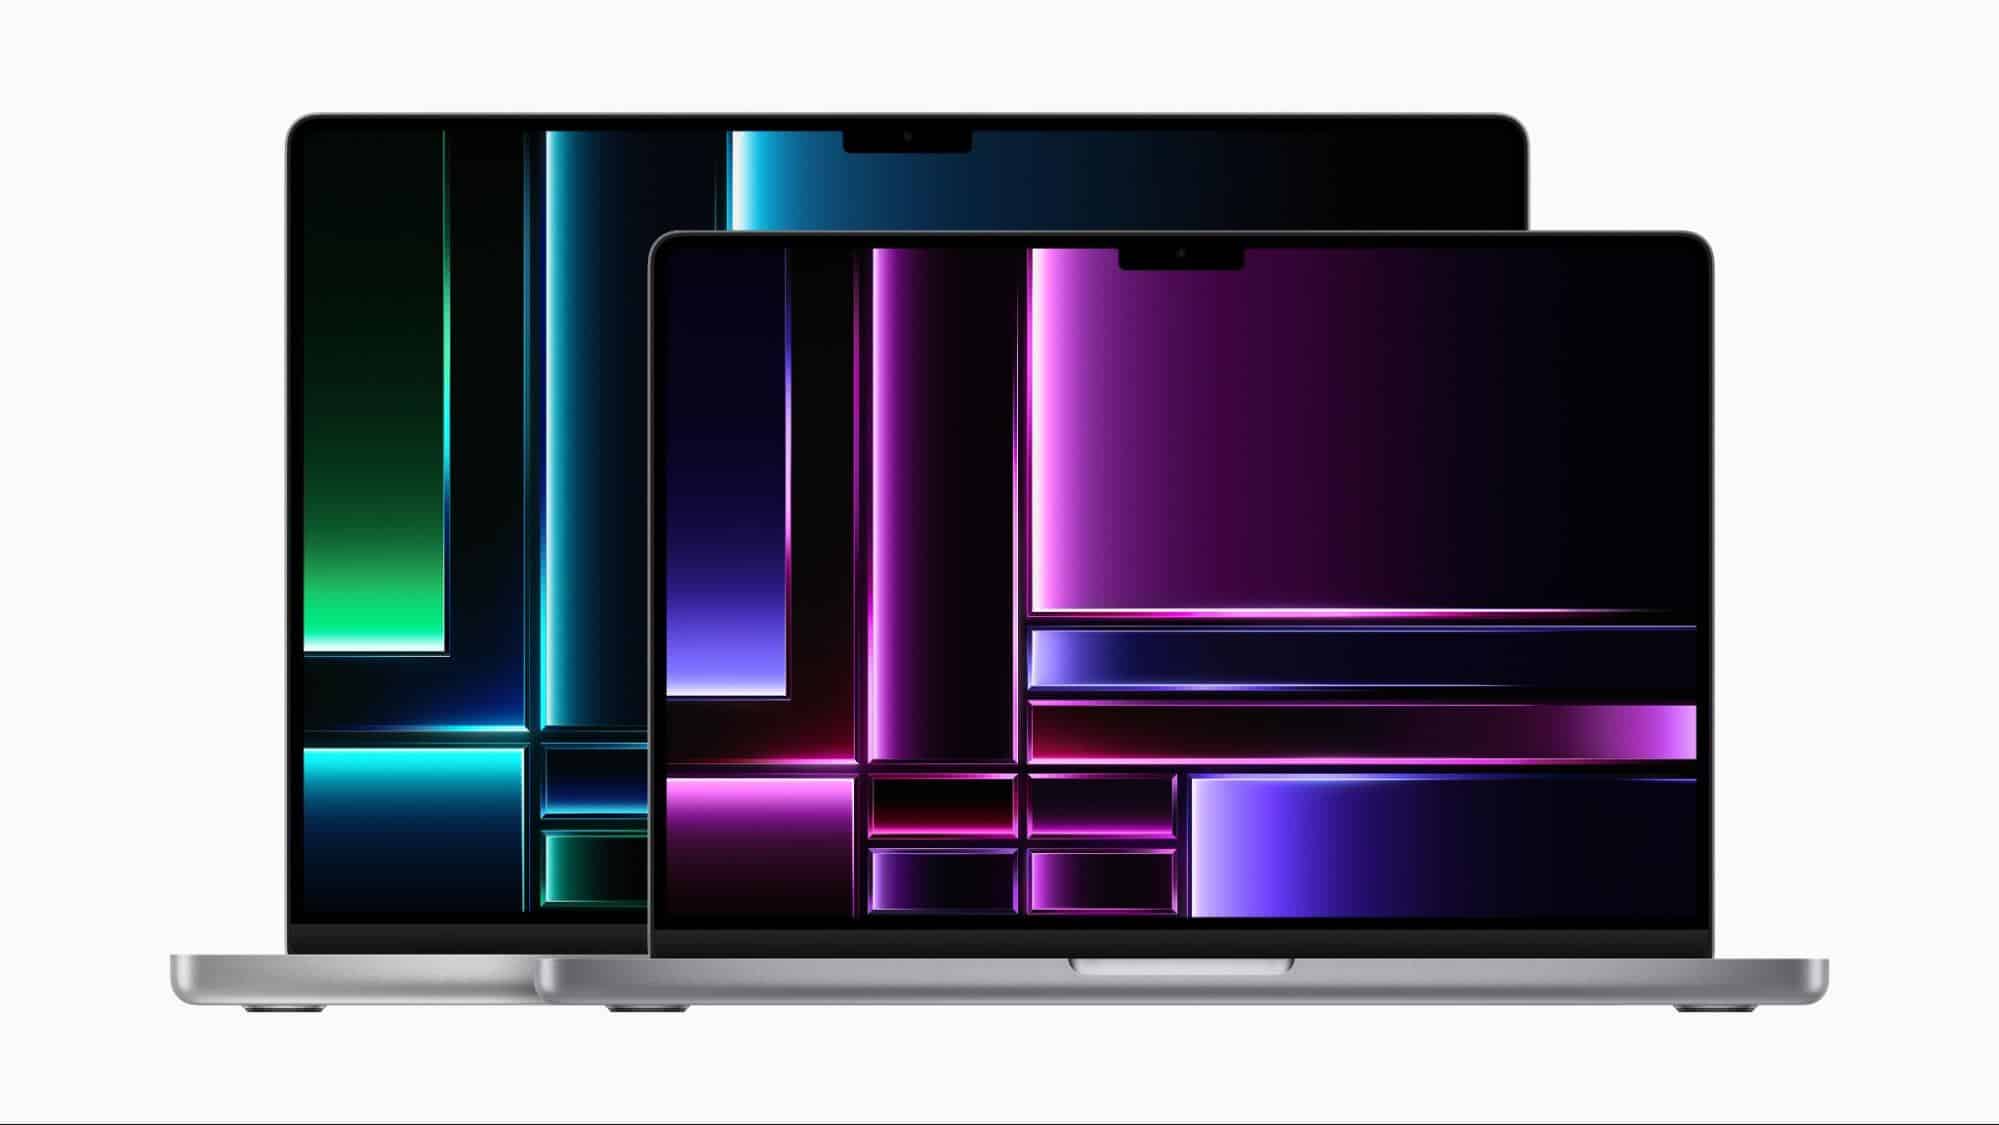
macOS is the operating system that powers every Mac. It allows you to do things you can’t do with other computers because it’s designed specifically for the hardware it runs on. This robust operating system comes with an entire suite of apps. It also works hand in hand with iCloud to keep your photos and documents up to date on all your devices.
There are loads of features in macOS and easily hundreds of shortcuts that can help streamline your workflow. Even if you consider yourself an Apple Mac whizz, you may learn about something you didn’t know.
In this blog, we’ll share how to access the macOS User guide for ease of navigation, as well as provide tips and tricks that you should know. Whether you’re a new user or an Apple Mac veteran, you’ll master how to get the most out of your MacBook or iMac.
macOS User Guide
For those of you that are new to Mac, the macOS User Guide is a great place to get started. It will help you easily find information about macOS, your Mac, and the apps you use.
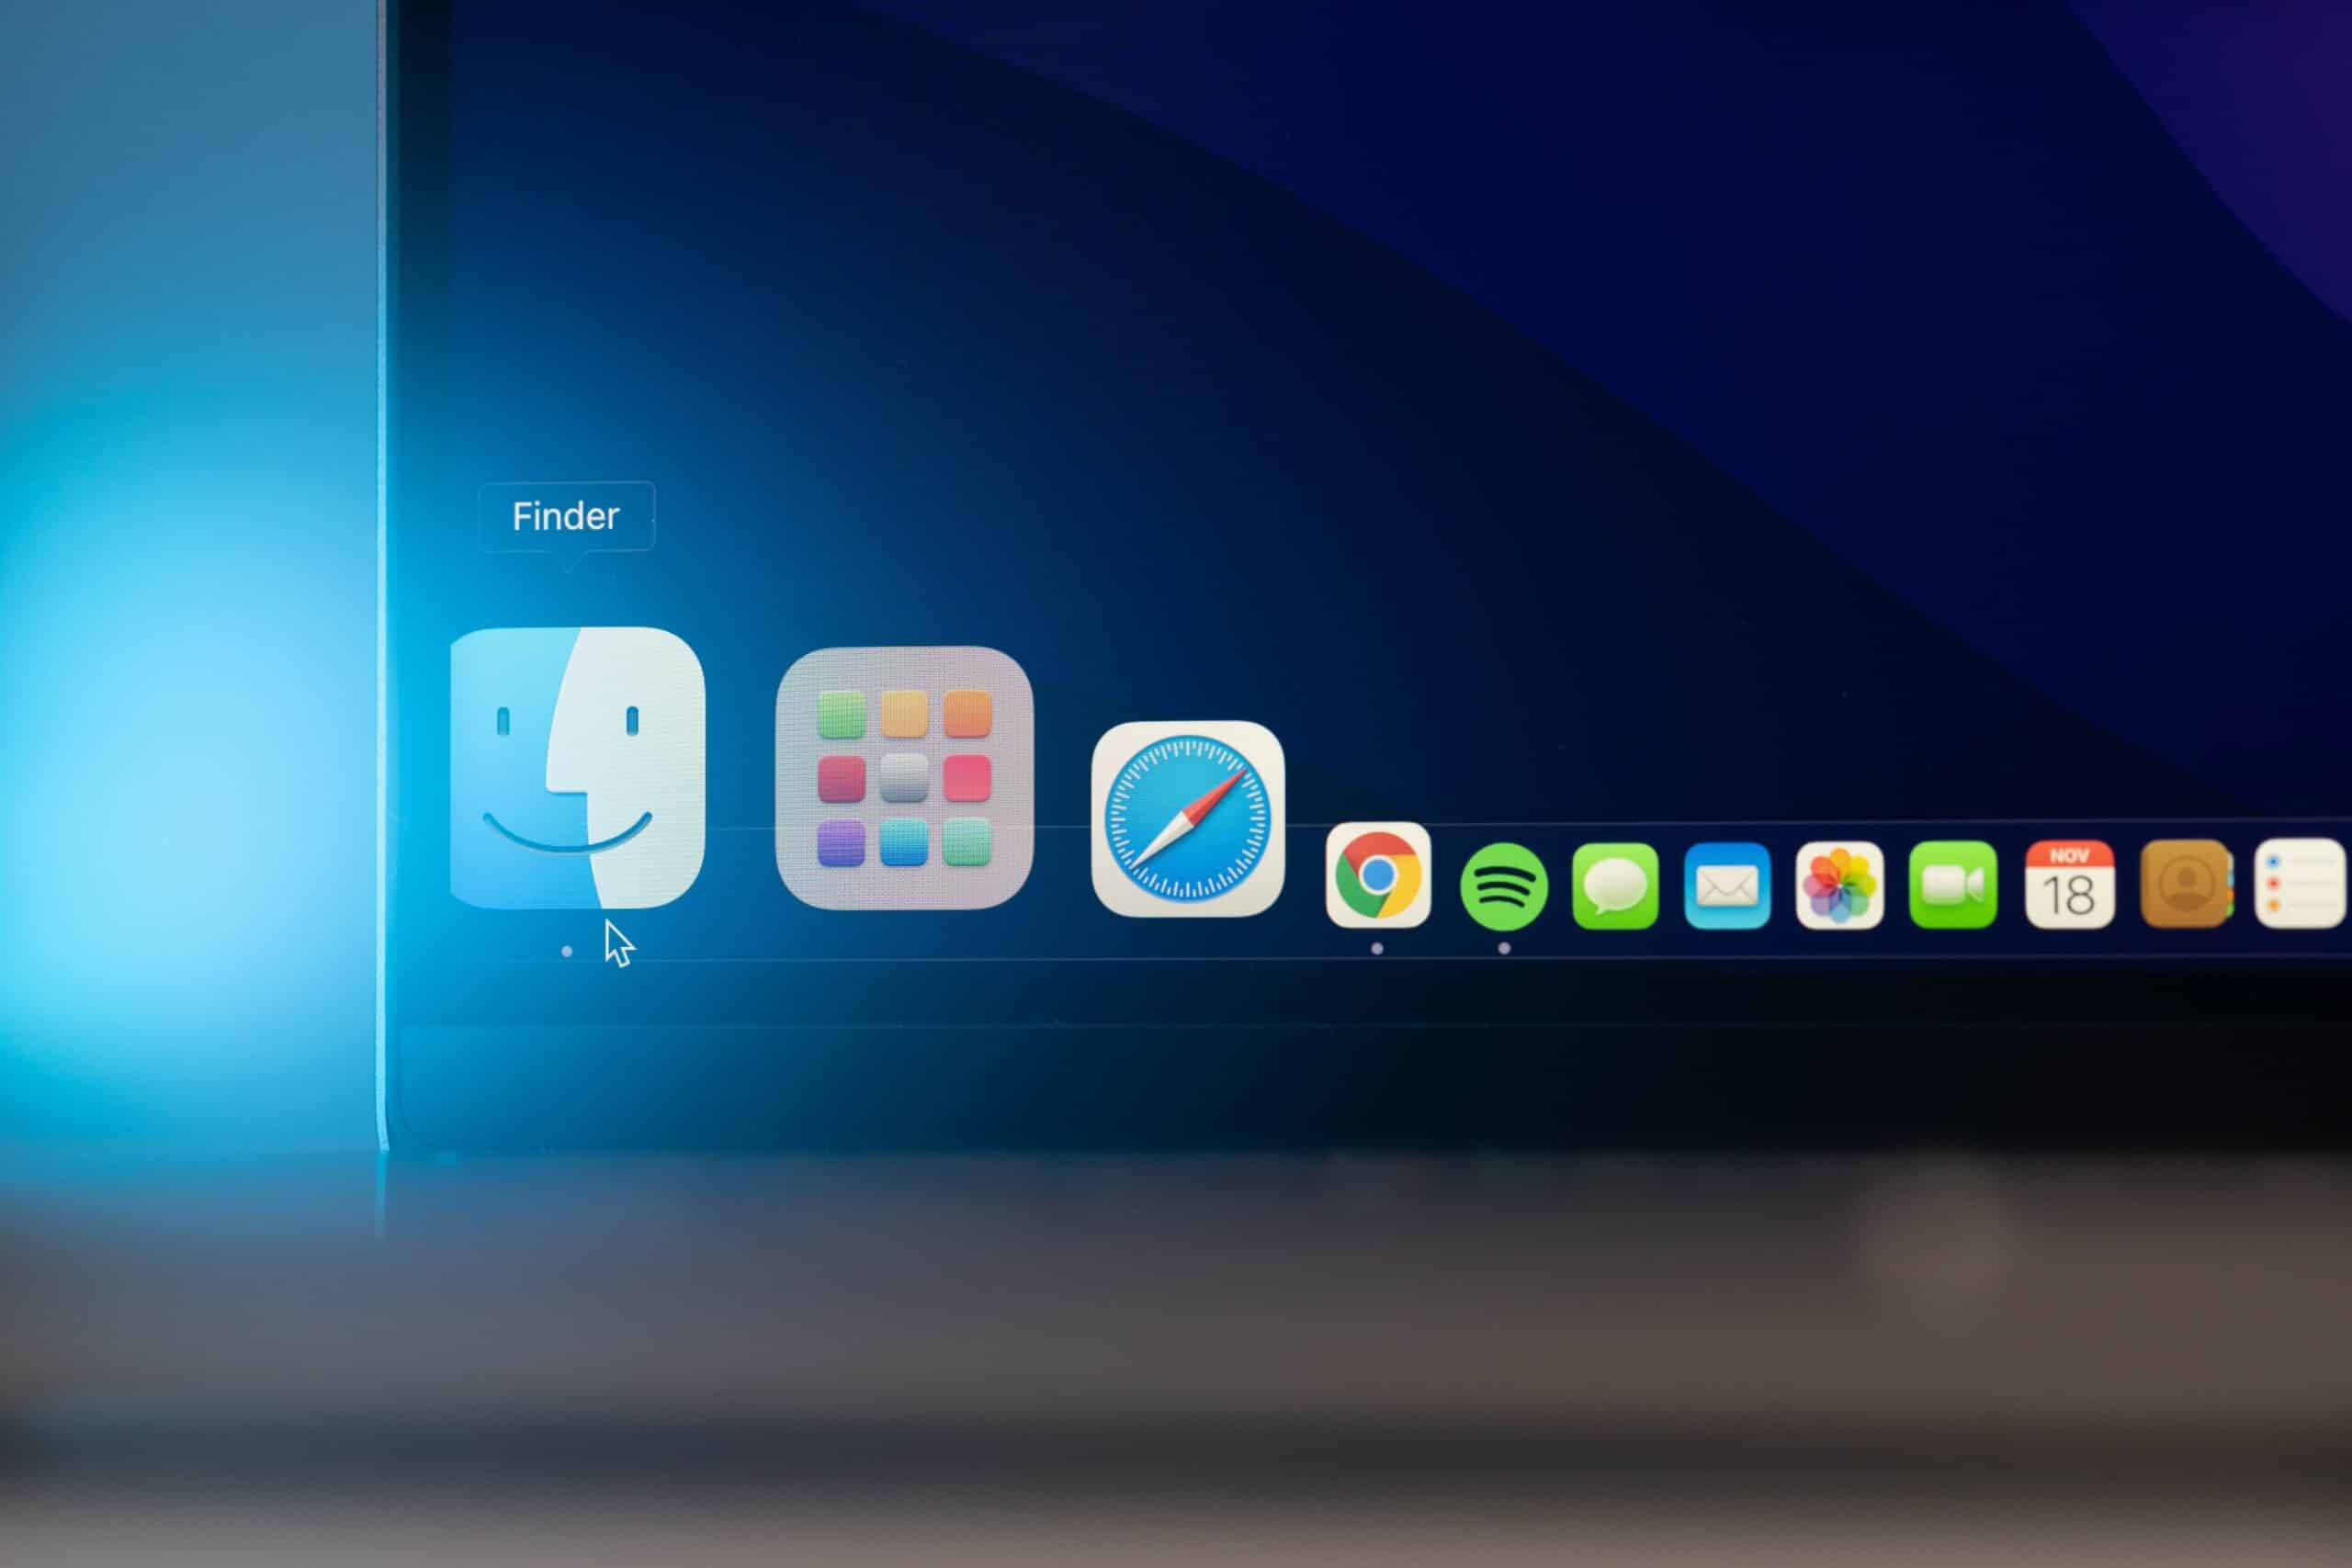
The Finder is represented by the blue icon with the smiling face and is the home base for your Mac. This is what you’ll use to organize and access almost everything you store on your device. The Finder and most apps on your Mac have a Help menu in the menu bar.
This video produced by MacRumors provides many useful tips — whether you’re a beginner or looking to take a deeper dive into macOS.
10 amazing tips and tricks
One of the coolest parts of using a Mac is that there are various levels of interaction and customization available with macOS. Even the most seasoned Mac users may still find new ways of doing things that aren’t always obvious unless someone points them out.
The following are our top 10 tips and tricks for the Mac that you should know:
1. Take full-page screenshots

You can take a screenshot of your entire screen or a partial area of your screen. They will both automatically save to your desktop and appear at the bottom right corner once taken.
- To take a screenshot of your entire screen, press Shift + Command + 3.
- To take a screenshot of part of your screen, press Shift + Command + 4 and draw the box around the area you want to take the screenshot of.
2. Hot Corners
This has always been one of my personal favorite macOS features. You can set tasks that will happen when your mouse hovers in a specific corner of the screen. For example, you may want to show your desktop or launch Mission Control — this way you can access frequently used tasks in a flash.
- On your Mac, choose Apple menu (Apple logo) > System Settings, then click Desktop & Dock in the sidebar.
- Click Hot Corners on the right.
- For each corner you want to use, click the pop-up menu, then choose an option such as Launchpad or Lock Screen.
- Click Done.
3. Make a keyboard shortcut
Mac has many built-in keyboard shortcuts, but you can actually create a shortcut for anything you like from any app. Here’s how:
- Tap on the Apple logo (Apple menu) in the top left corner and select System Settings from the drop-down menu, then click Keyboard in the sidebar.
- Open ‘Keyboard Shortcuts’ followed by ‘App Shortcuts’.
- Hit the ‘+’ and select the application you want to create a shortcut for.
- Enter the menu command and the combination of keys you want to use for the shortcut.
4. Open certain apps automatically at login
This feature is great if there are certain apps that you use every day and find yourself always opening them up. For example, some of the most common apps I use are Mail, Slack, and Safari.
- Tap on the Apple logo in the top left corner and select System Settings from the drop-down menu (make sure your account is selected.)
- Tap on ‘General’, followed by ‘Login Items’.
- To add an app, tap on the ‘+’ and search the Finder for the application or document you want to open at login.
- Select the application or document from the list and press ‘Open’ to add it to the list.
Pro Tip: To quickly add an app to this list, right-click on the application icon and select ‘Options’ from the popup menu, followed by ‘Open at Login’.
5. Use Mission Control to see all open windows
If you are anything like me, you may have many different windows and applications open at a time. In some cases, you may not even be aware of how many different Safari tabs are open, along with all of your apps.
Mission Control is Apple’s name for the gesture that reveals your open windows so you can see everything you’re working on at a glance. There are many different ways to see all of your open windows (see the link above for reference), but this is one of the easiest:
- Press the Mission Control (F3) key on the keyboard.
- Tap on any of the open windows or apps to switch.
Pro Tip: If you find that you use Mission Control often, you may want to consider adding it to Hot Corners using the instructions above.
6. Use multiple desktops
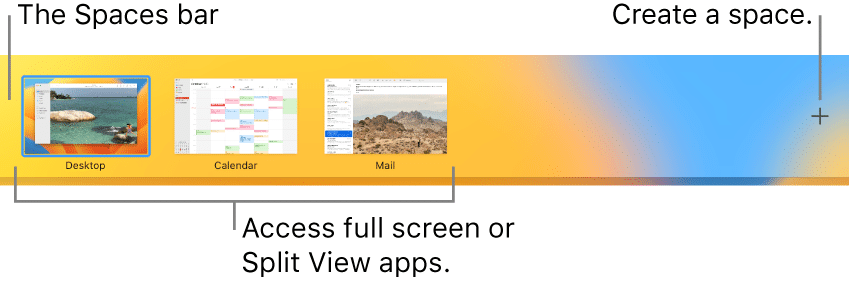
Following up on the previous tip, Mac also enables you to have multiple desktops (also known as spaces) open at once. This way, you can have your email on one desktop and Photoshop on another, for example. You can easily toggle between desktops by simply swiping three fingers across your trackpad. This is another feature that I personally find to be super useful. To create a new desktop:
- Open Mission Control by tapping F3 on the keyboard.
- You’ll see the desktops you have open at the top of the screen along with a ‘+’ in the far right of the top bar.
- In the spaces bar, Click the ‘+’ to create up to 16 desktops (spaces).
7. Digitally sign your documents
With the influx of remote work, signing documents from home has become an essential task.
- Open Preview, then from the menu bar click Tools > Annotate > Signature > Manage Signatures.
- Select Create Signature from the pop-up box.
- You can then use your trackpad or iPhone to write your signature or your Mac’s camera to capture your signature written on paper.
- Anytime you need to sign a document, simply open it in Preview, click Tools > Annotate > Signature, click the signature, and drop it in place.
8. Split your screen for multitasking
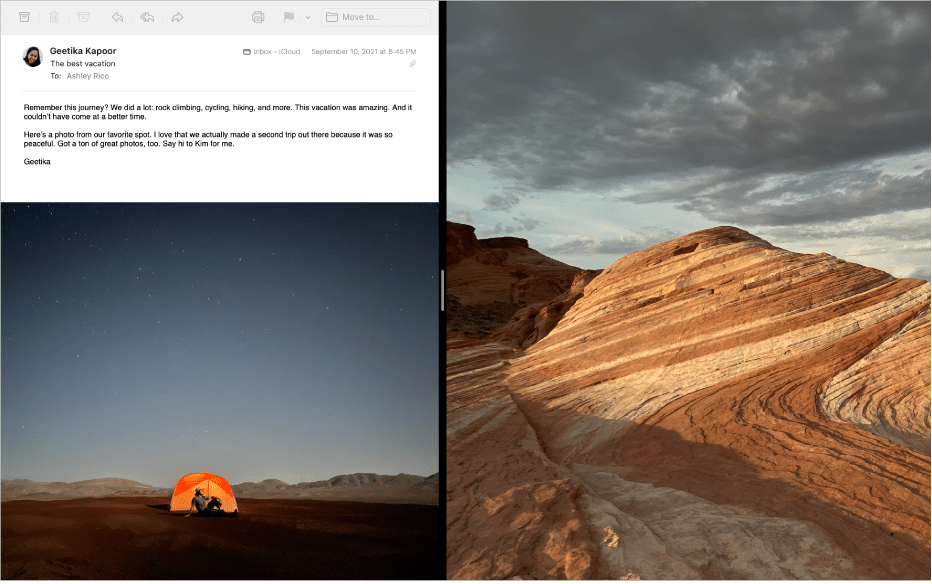
This is another tip that I find super handy because it allows you to work in two apps side by side at the same time. For example, you could have Mail open on one side of your screen and be writing a document on the other. To enter Split Screen View:
- Hover your cursor over the green icon in the top left of the application you want on one side of the screen.
- Then choose from one of these three options: Enter Full Screen, Tile Window to Left of Screen, and Tile Window to Right of Screen.
- Choose either the left or right option, then select a secondary app to use on the other side.
- To exit the Split Screen view, tap on the green button in the top left corner of the app you want to close.
9. Add a Guest user to your Mac
You can add multiple users to your Mac which is a great feature if you have more than one person using your device at home. What’s cool is that each user can personalize their experience by setting up their own wallpapers, layouts, preferences, and apps. To add a new user:
- Tap on the Apple logo in the top left-hand corner.
- Scroll down to Users & Groups and select Add Account.
- Tap on the ‘I’ next to Guest User above Add Account, then toggle on ‘Allow guests to log in to this computer’.
10. Change your folders and file icons
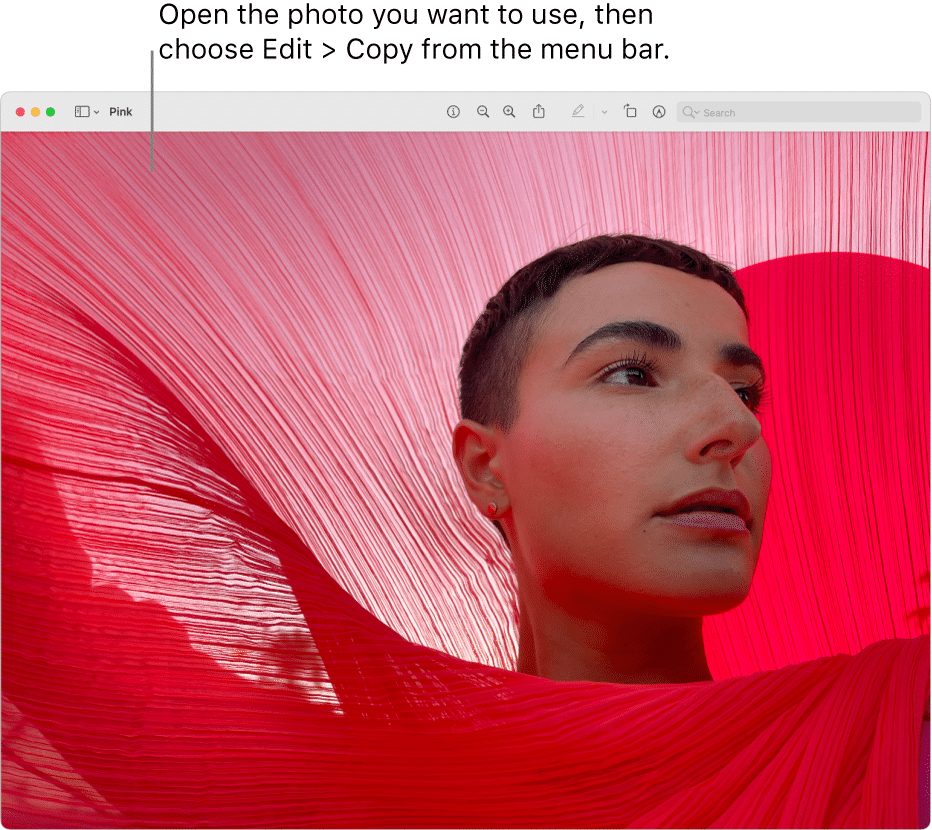
You may be perfectly content with the default Mac interface, but should you want to have specific logos or images for files, it’s pretty easy to do.
- Create the image you want to use in the default image editing app.
- Select the image, press Command + C, and copy it.
- Right-click on the file or folder you want to change the icon of and select ‘Get Info’.
- Select the preview image in the top left of the info card that appears.
- Press Command + V to paste in your custom image.
Closing
Although we’ve just highlighted 10 macOS tips and tricks in this blog, there are hundreds of shortcuts to streamline your workflow — and make working on your Mac even easier. From media and creativity to productivity and accessibility, macOS has got you covered.
You may find that the more time you spend using your Mac, the more features you will discover. It’s all about personalization and finding out what works best for you. The more you know, the more you will ultimately get out of your Mac. Be on the lookout for new amazing features with every major Apple macOS update each year!



Thanks, but true digitally signing documents is not making a drawing, which has no legal value at all. It is using a digital certificate, as can be done with Adobe Acrobat Reader (free) and Adobe Acrobat DC Pro (commercial).