The sidebar in macOS’ Finder is located on the left-hand section of every Finder window where you see small icons and names for folders or other items.
It’s intended to give you one-click access to the items you use the most. To make it work most efficiently for you, you can tweak its various settings.
Finder vs Desktop
By the way, don’t confuse the Finder with the Desktop. The Finder is the first thing that you see when your Mac finishes starting up. It opens automatically and stays open as you use other apps. It includes the Finder menu bar at the top of the screen and the Desktop below that. The Desktop is the space where you see file, folder, and application windows.
Hide or display the sidebar
Beginning with Mac OS X Snow Leopard (10.6) and up through macOS Catalina (the current version), you can hide the Finder sidebar or display the sidebar for easy access to folders and locations. To hide or show the Finder sidebar:
° Open a Finder window by selecting the Finder icon in the Dock. It’s the square smiley face icon.
° By default, the Finder displays a sidebar when it opens.
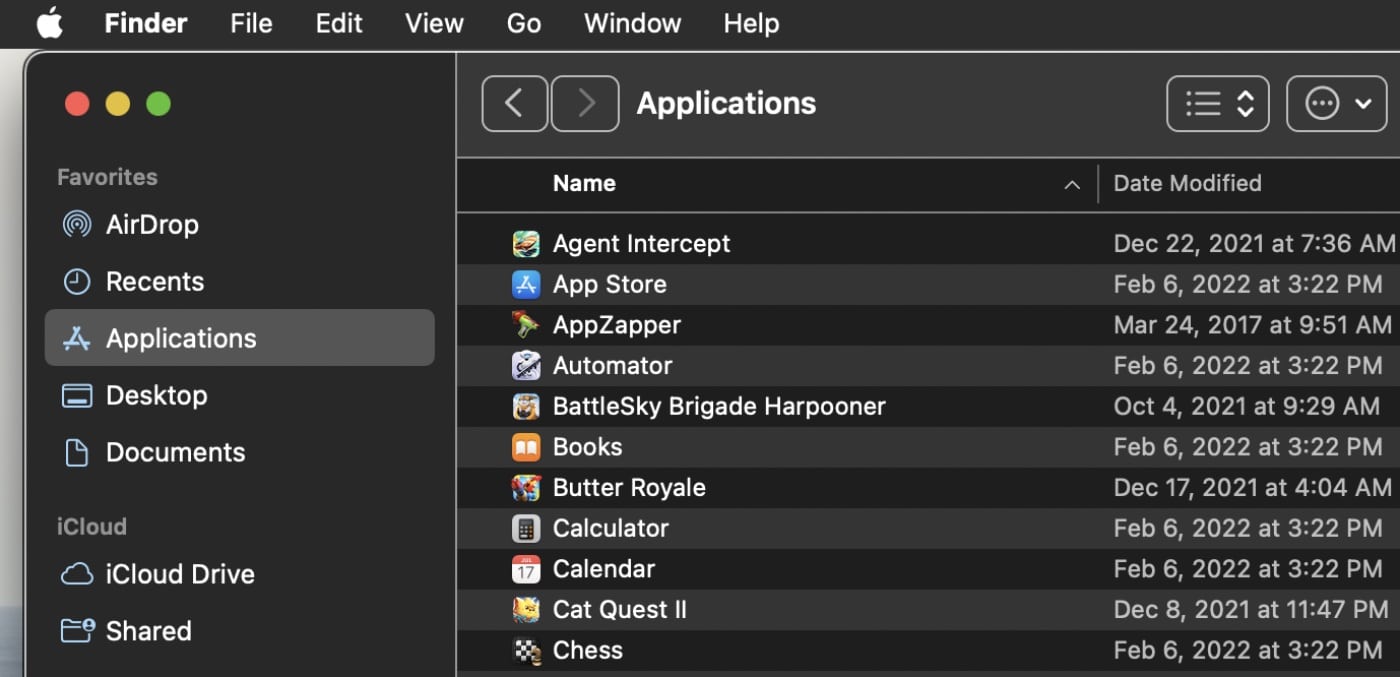
° If you want to hide the sidebar, in the Finder menu bar, select View > Hide Sidebar.
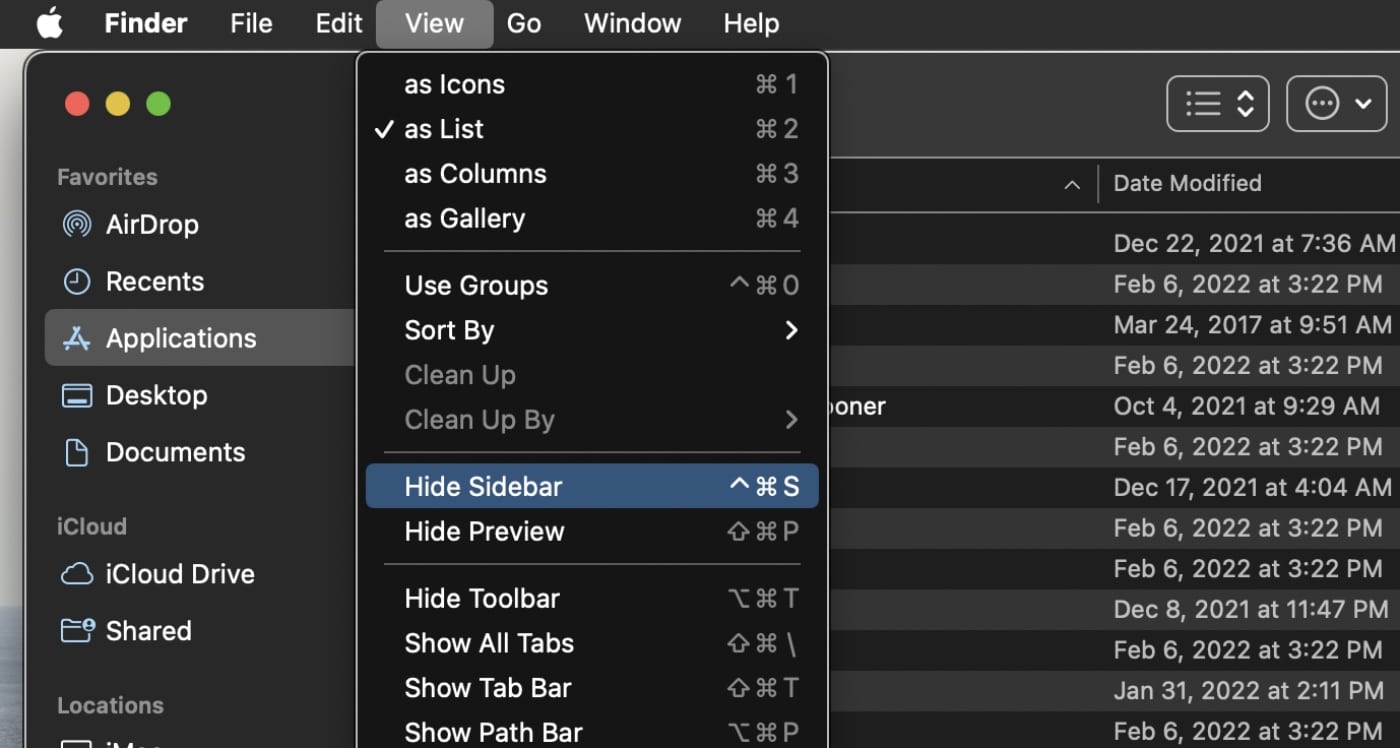
° To reopen the sidebar after you close it, select View > Show Sidebar from the Finder menu bar.
You can also change what’s in the sidebar: Choose Finder > Preferences, click Sidebar, then select or deselect items.
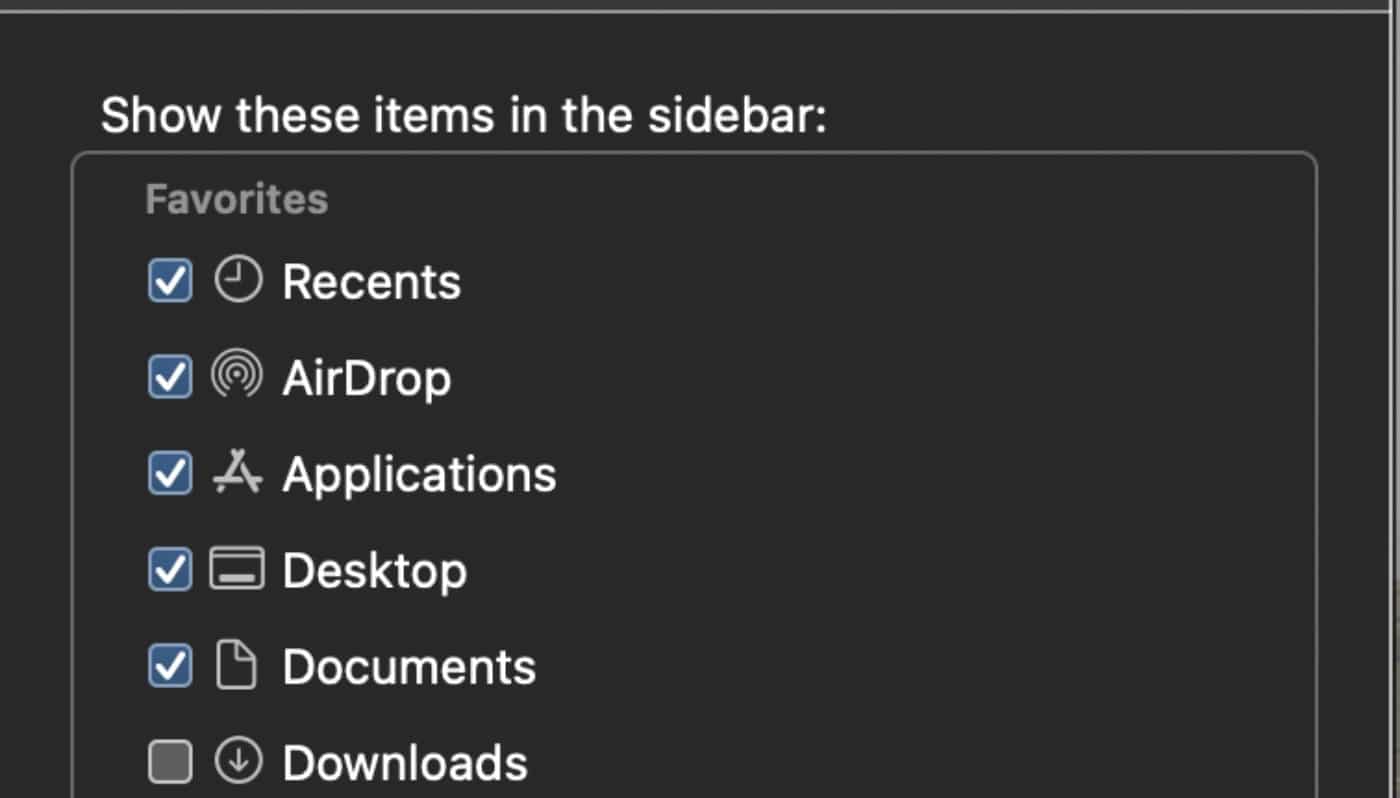
How to customize the sidebar
You can also customize the sidebar for your personal preferences. To do so, open a Finder window by selecting the Finder icon in the Dock. You’ll have the following options in addition to hiding or showing the sidebar:
° Resize the sidebar: Drag the right side of the divider bar to the right or left.
° Rearrange items in the sidebar: Drag an item to a new location.
° Show or hide all the items in a section of the sidebar: Position the pointer over the section heading until the Hide button (a downward pointing arrow) or the Show button (an arrow pointing right) appears, then click the button.
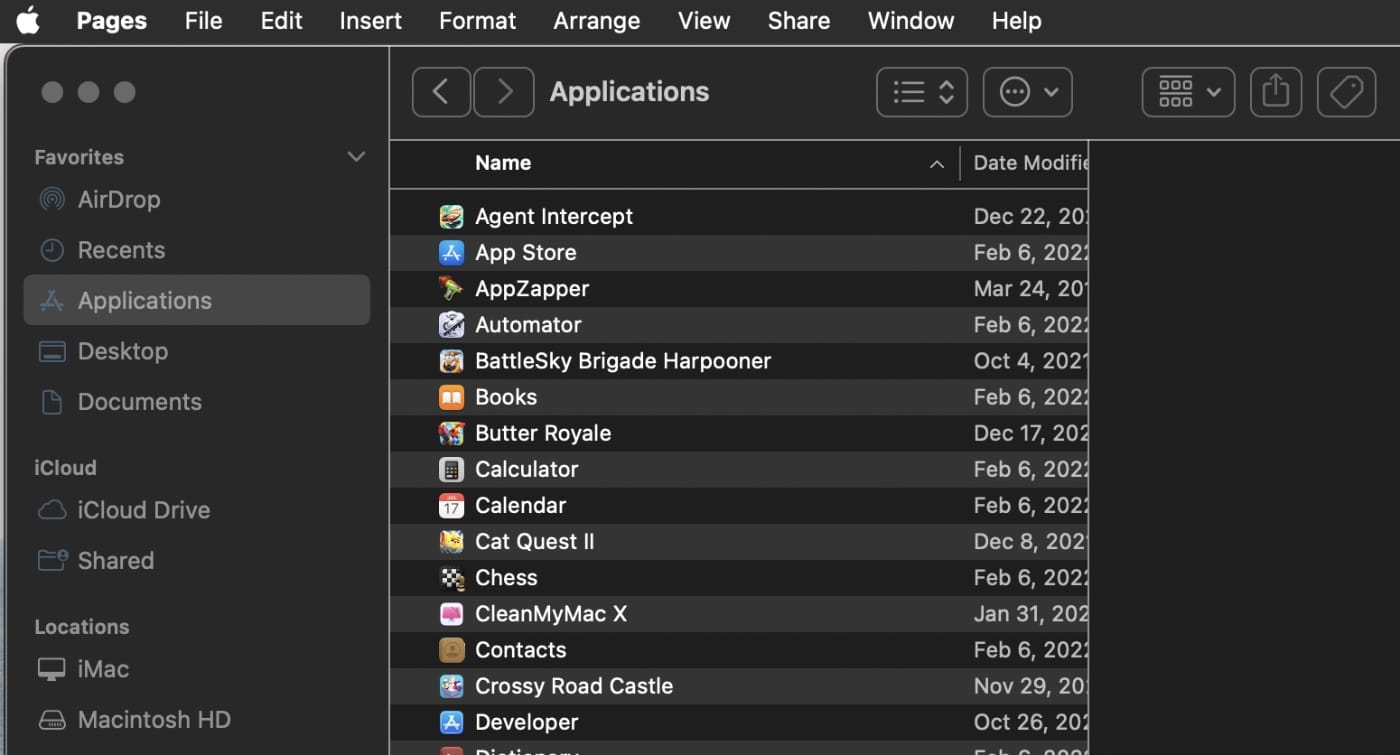
° Add a folder or disk to the sidebar: Drag the item to the Favorites section. If you don’t see the Favorites section, choose Finder > Preferences > Sidebar, then select at least one item in the Favorites section. (By the way, adding an item to the Finder sidebar creates a shortcut to the item, but doesn’t move the item from its original location.)
° Add a file to the sidebar: Press and hold the Command key, then drag the file to the Favorites section. If you don’t see the Favorites section, choose Finder > Preferences > Sidebar, then select at least one item in the Favorites section. (By the way, part II: addding a file to the Finder sidebar creates a shortcut to the file, but doesn’t move it from its original location.)
° Add an app to the sidebar: Press and hold the Command key, then drag the app icon to the Favorites section.
° Remove an item: Drag the item’s icon out of the sidebar until you see the remove sign (an “x” in a circle). (By the way, part II: do this and the link to the item in the sidebar disappears, but the item remains in its original location on your Mac.)
You can also use the Finder tab options for further customizations.
Click the View tab and you can choose to show items as icons, as a list, as a column, or in a gallery view.
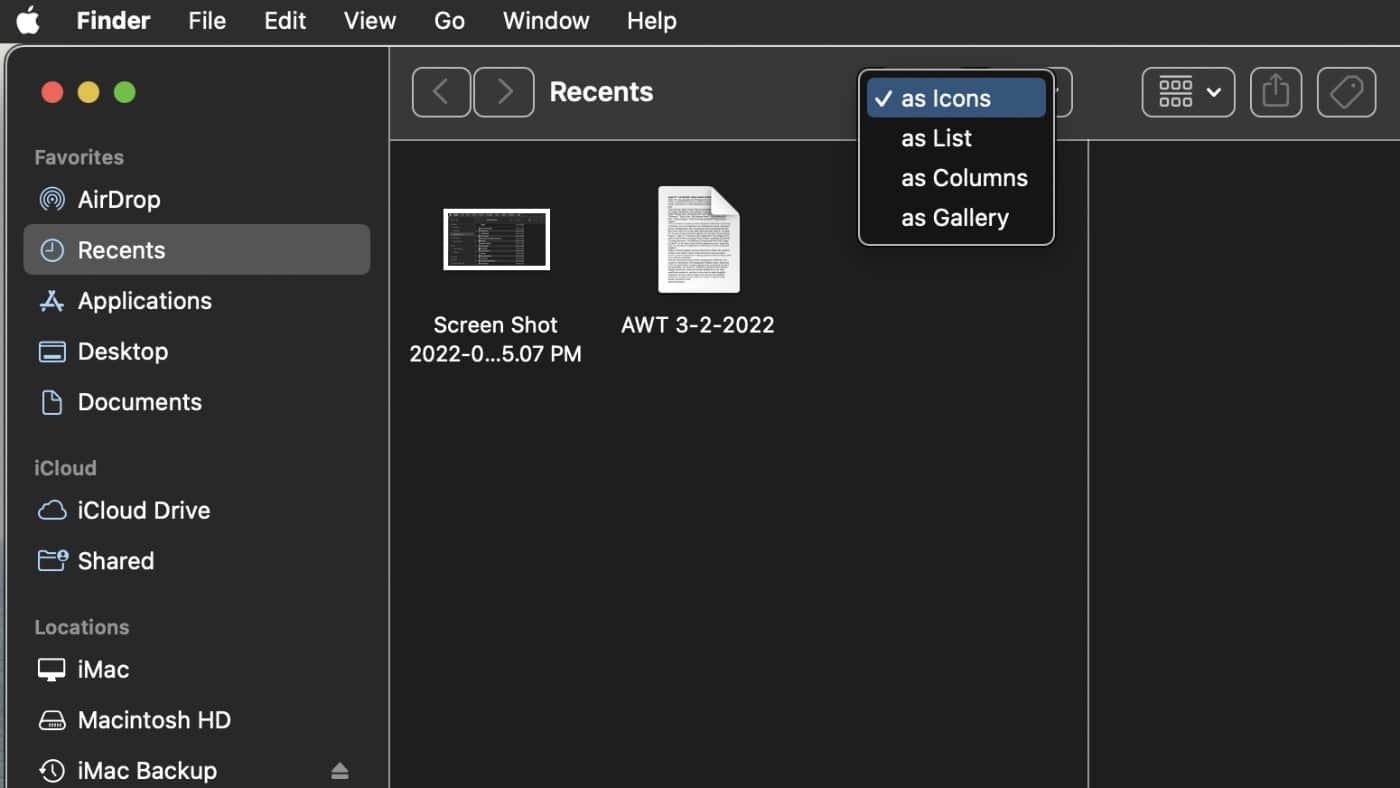
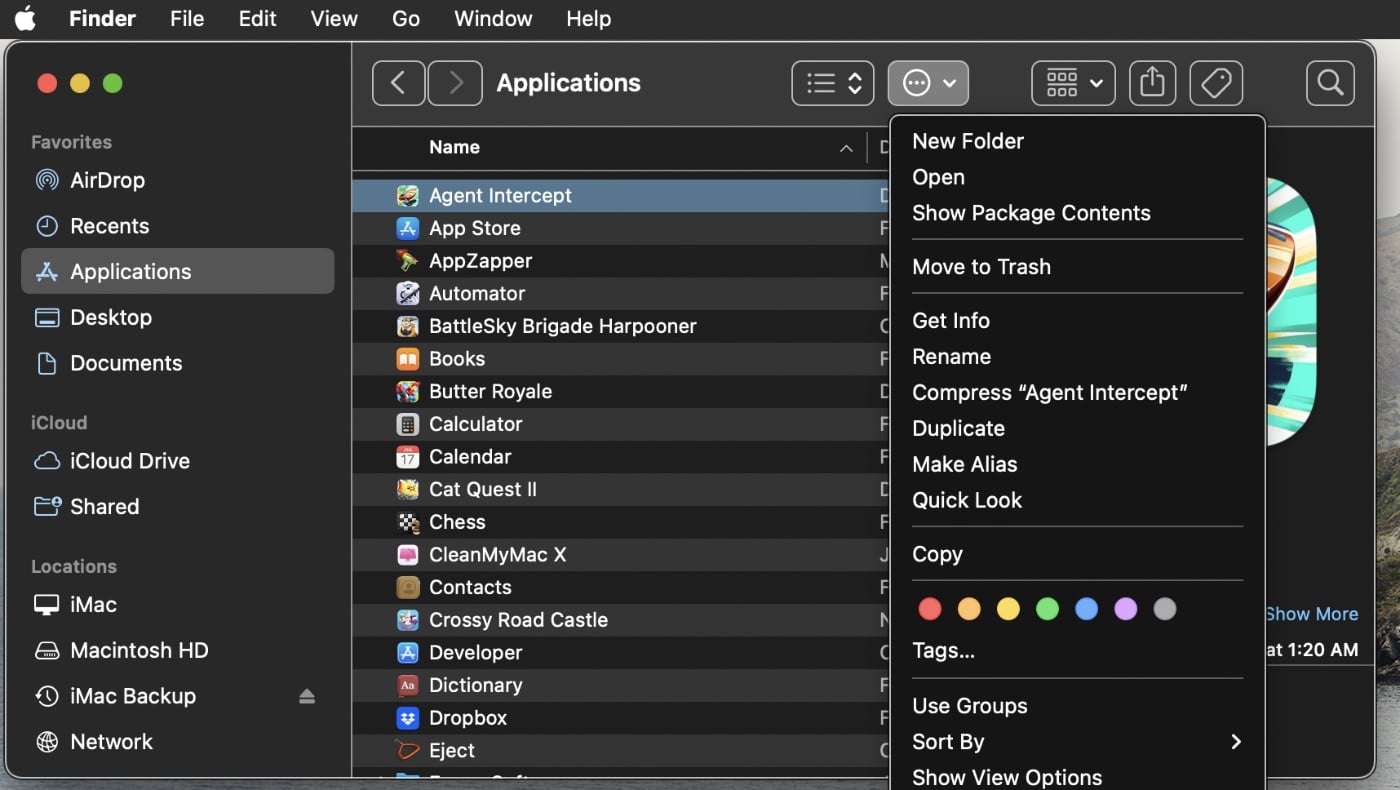
With an item in the sidebar selected, click the folder icon and you can choose from a variety of options from opening the item in a new folder to moving it to the trash to renaming it.
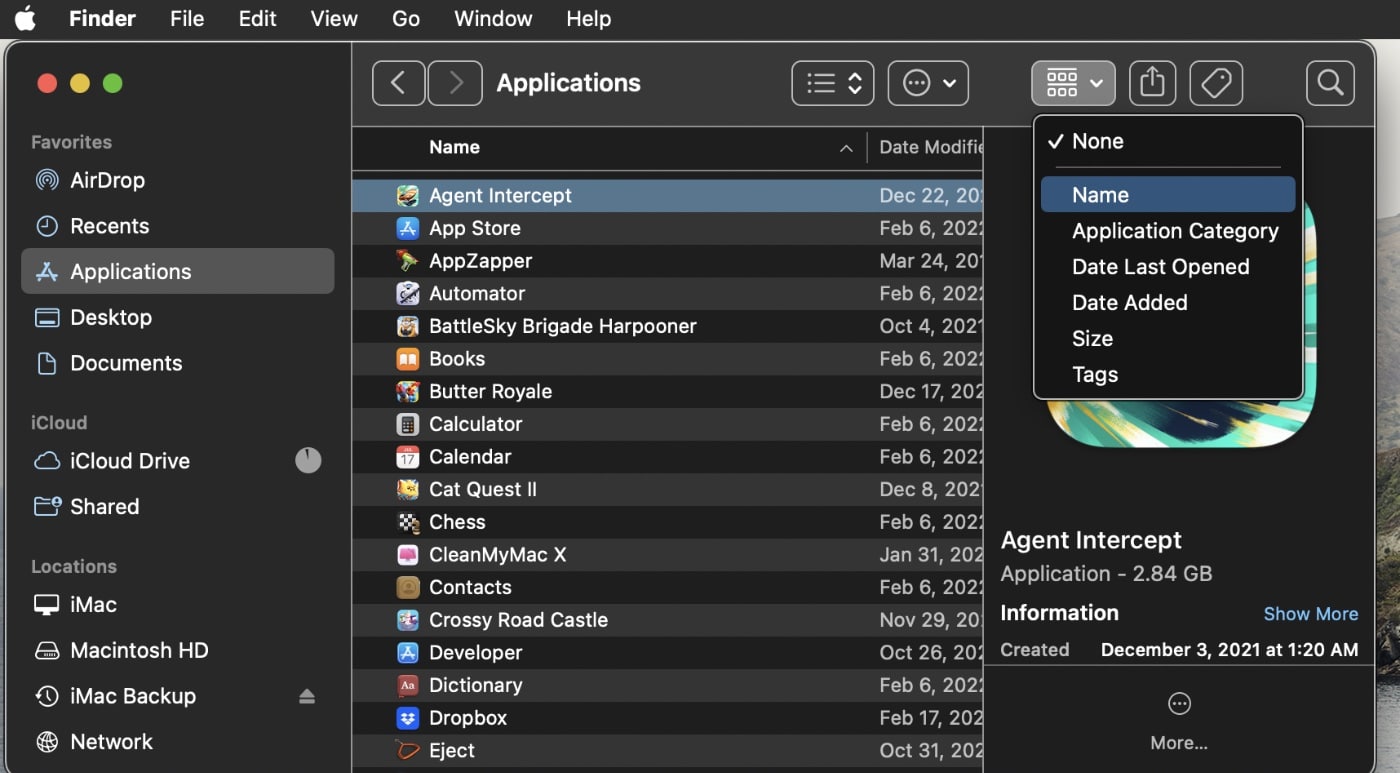
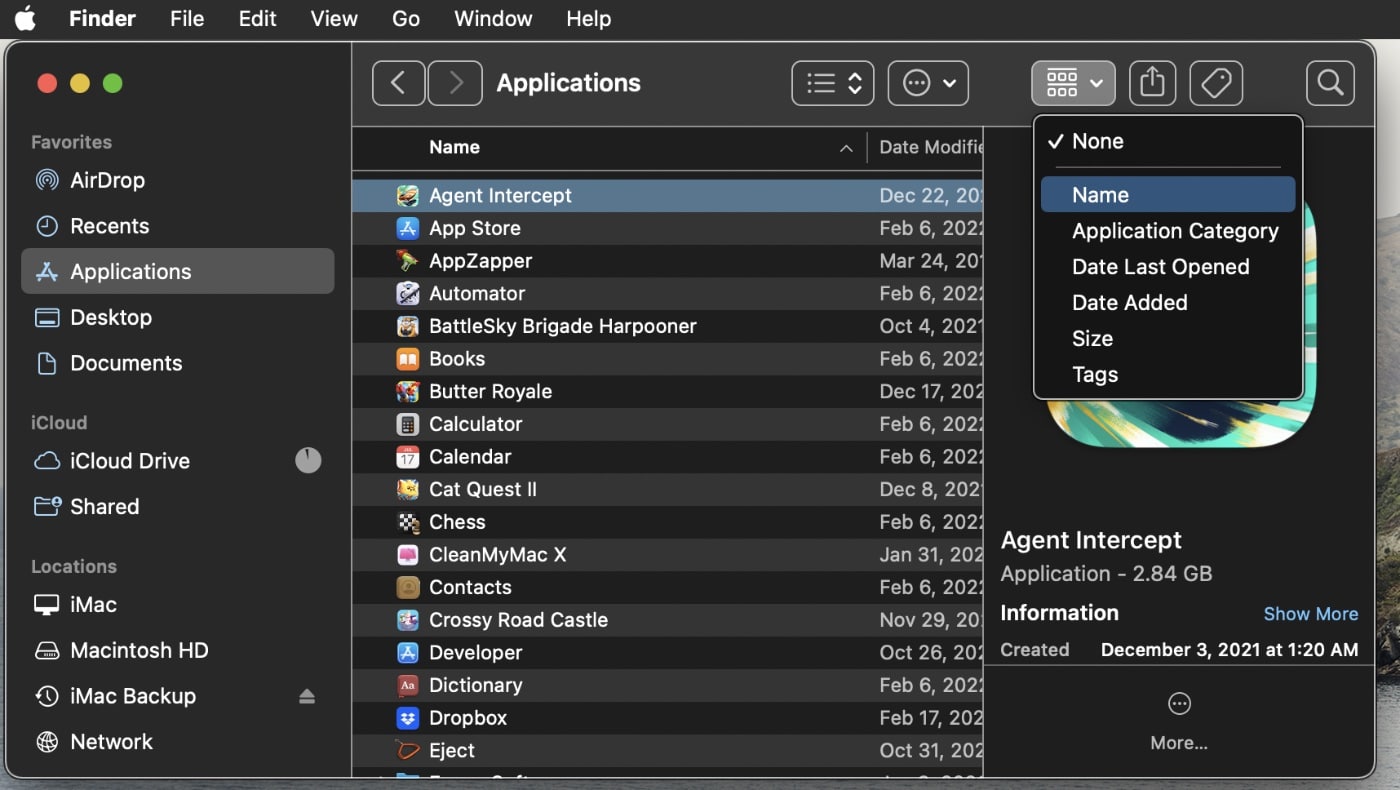
Click the name icon icon and you can choose to show sidebar items by name, by the application, by the date created, by the date last opened, by the item size, and by an item’s tag.
Click on the share icon and you can choose to share an item via AirDrop, Messages, Mail, Notes, and more.
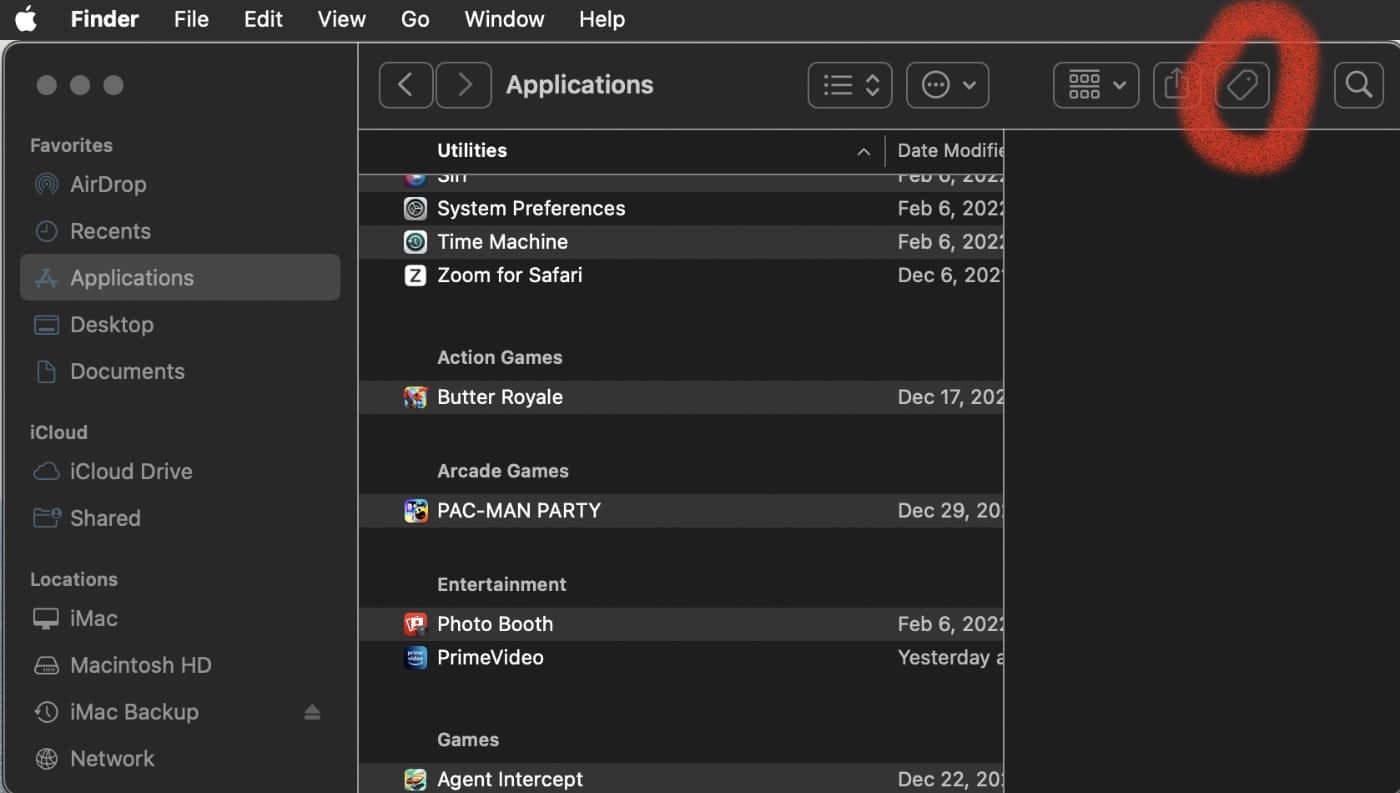
Choose the tag icon and you can apply a tag to a sidebar item.
There’s also a search icon allowing you to search items on your Mac.
And there you go; you’ve customized the Finder sidebar to make it work the way you want it to work.

