Long-time readers know that my computing history goes back a long ways: 37 years, to be precise. My first computer was an Apple IIGS. This diminutive machine, with its 2.8MHz clock speed and a blistering 256 kilobytes of built-in RAM sat under a 12″ Apple RGB display. It was the “bee’s knees” at the time, sporting a maximum resolution of 600×200 pixels with the capability of displaying up to 16 dithered colors. Did I mention that the display was nearly square in its aspect ratio?
Moving the mouse across this tiny screen was quick and easy, especially if (like me) you set the mouse speed to “Fast”.
It was a simpler time, indeed!
Modern displays have certainly come a long way from those Apple // days, boasting up to 5K resolution and coming in either widescreen and ultra-wide configurations. (Some ultra-wide displays from both Dell and Samsung span 49″!)
With increasingly larger and wider displays, the distance your mouse cursor must travel has also significantly increased. Depending on your desk real estate and your peripheral of choice, this means you may find yourself taking longer “trips” to move your mouse cursor from one end of your display to another. And if you suffer from ailments on your wrist, like I do, those repetitive mouse movements can really become painful over time.
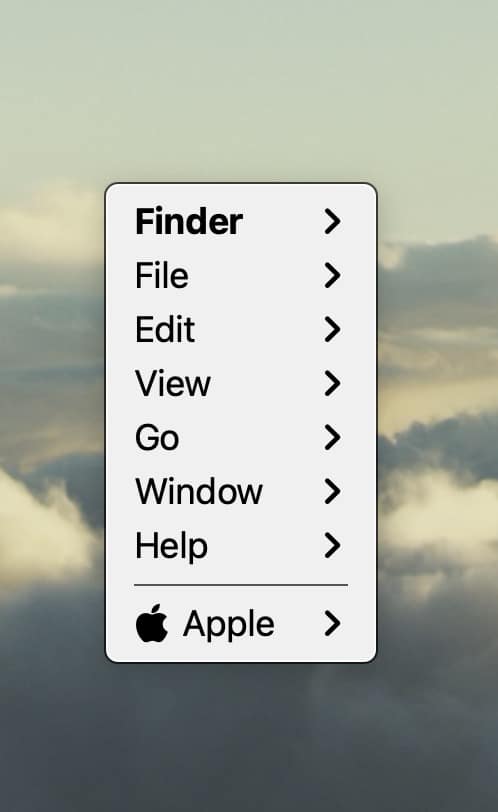
Thankfully I found a solution to my needs, in the form of a simple Mac software utility called Menuwhere, by ManyTricks. This simple utility promises to save time (and wear-and-tear on your wrist) by giving you quick access to your Mac menus from anywhere on your Mac screen. Menuwhere lives on your Mac’s menubar, for quick access to its settings.
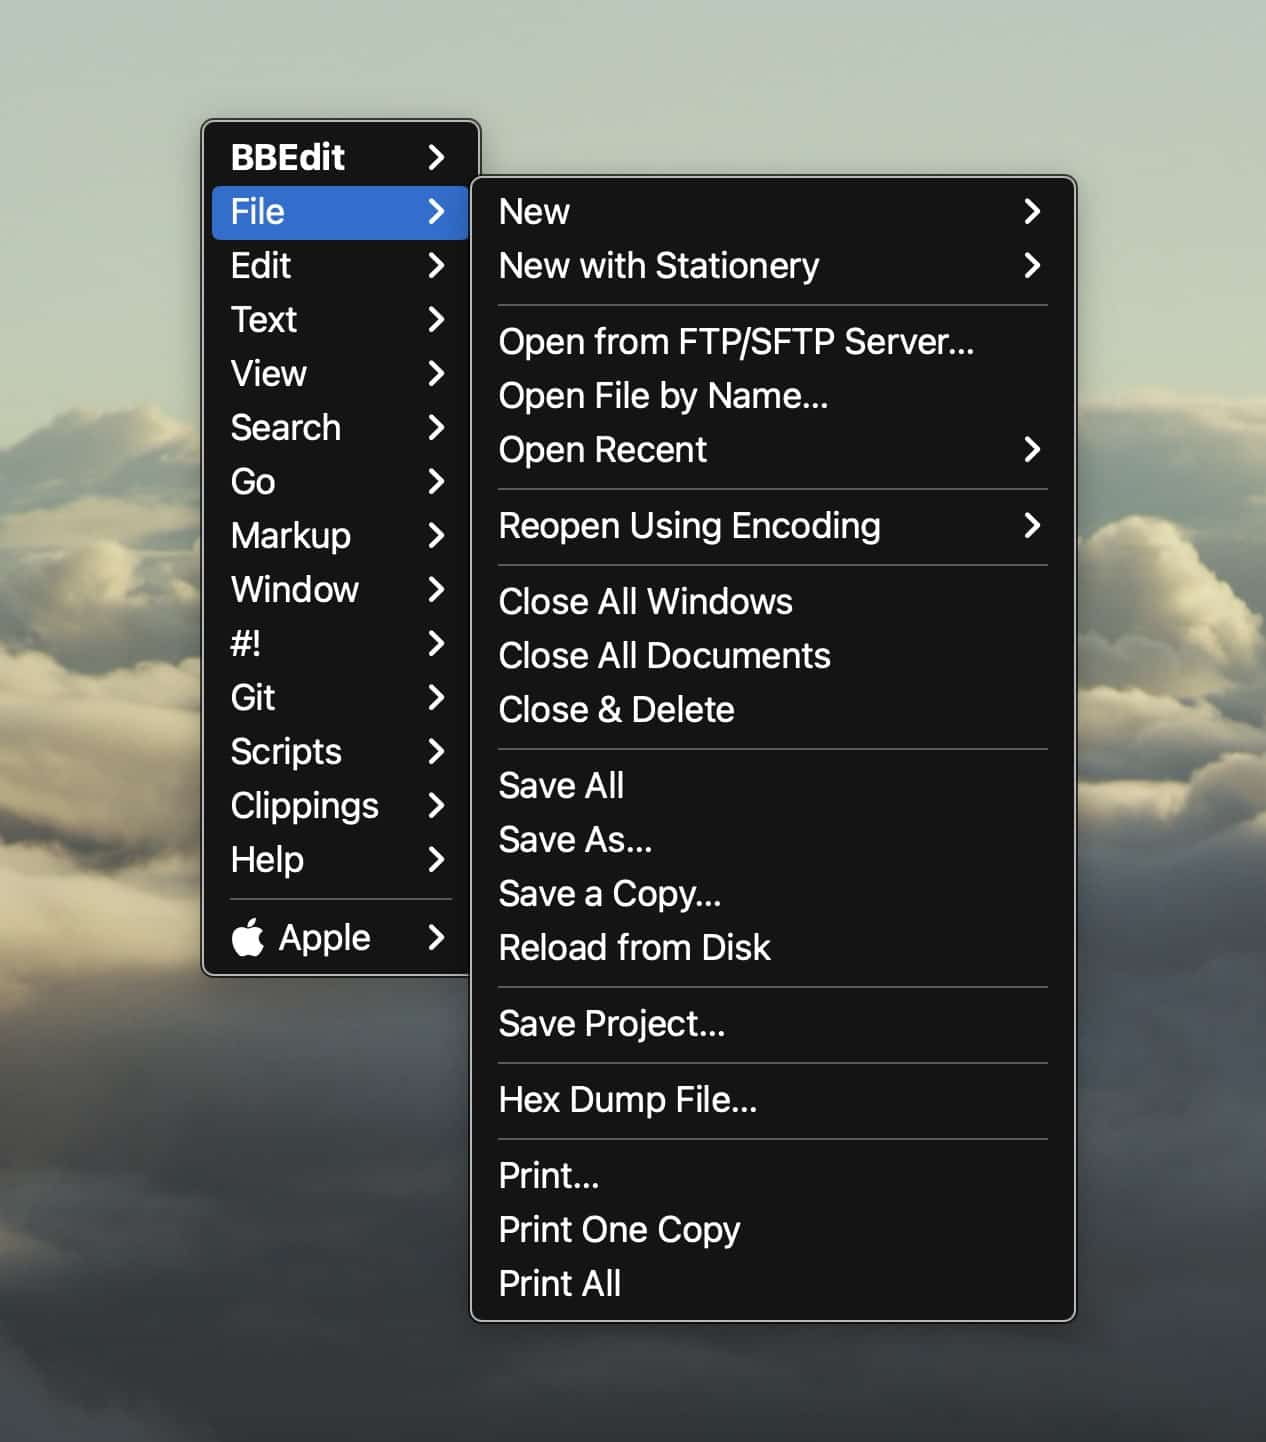
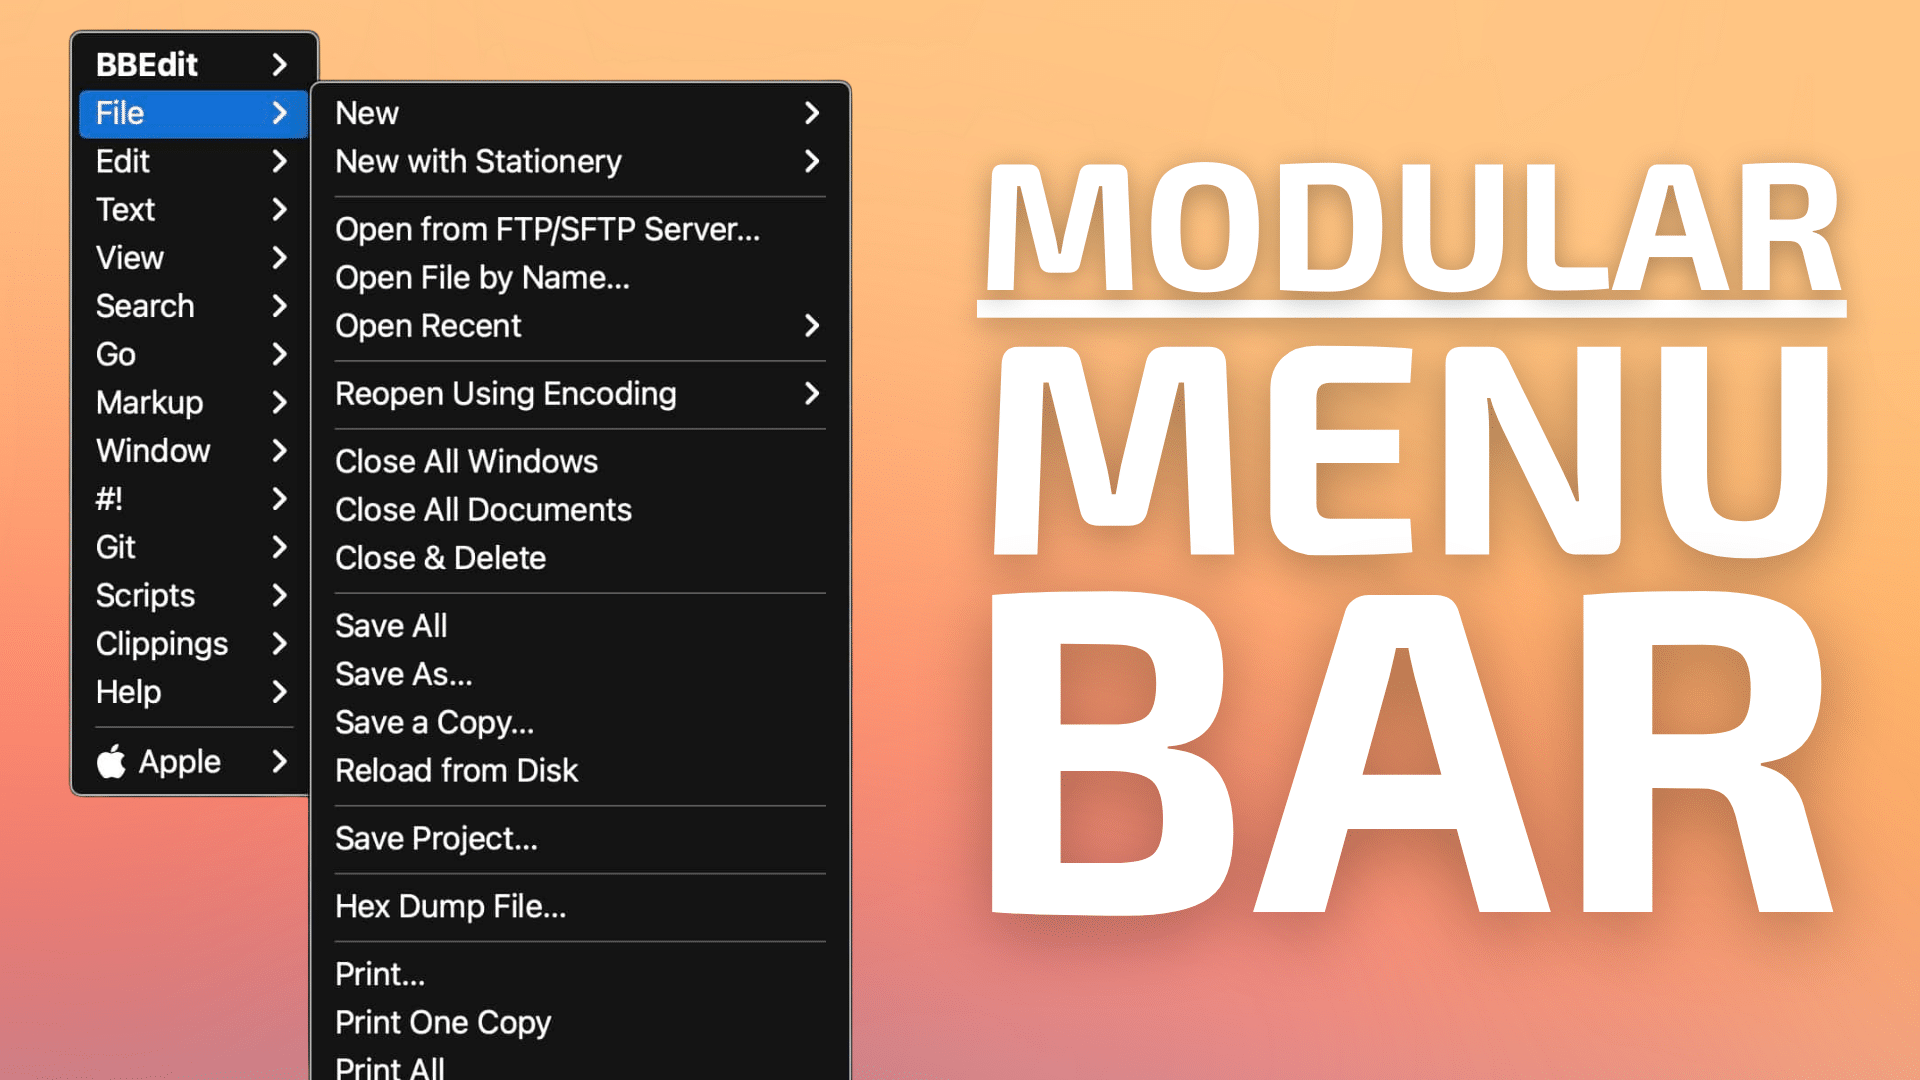
MenuWhere provides two different menu display options when invoked. The first option puts your active (front-most) app’s menus at your current mouse location.
The second option will pop up all app menus.
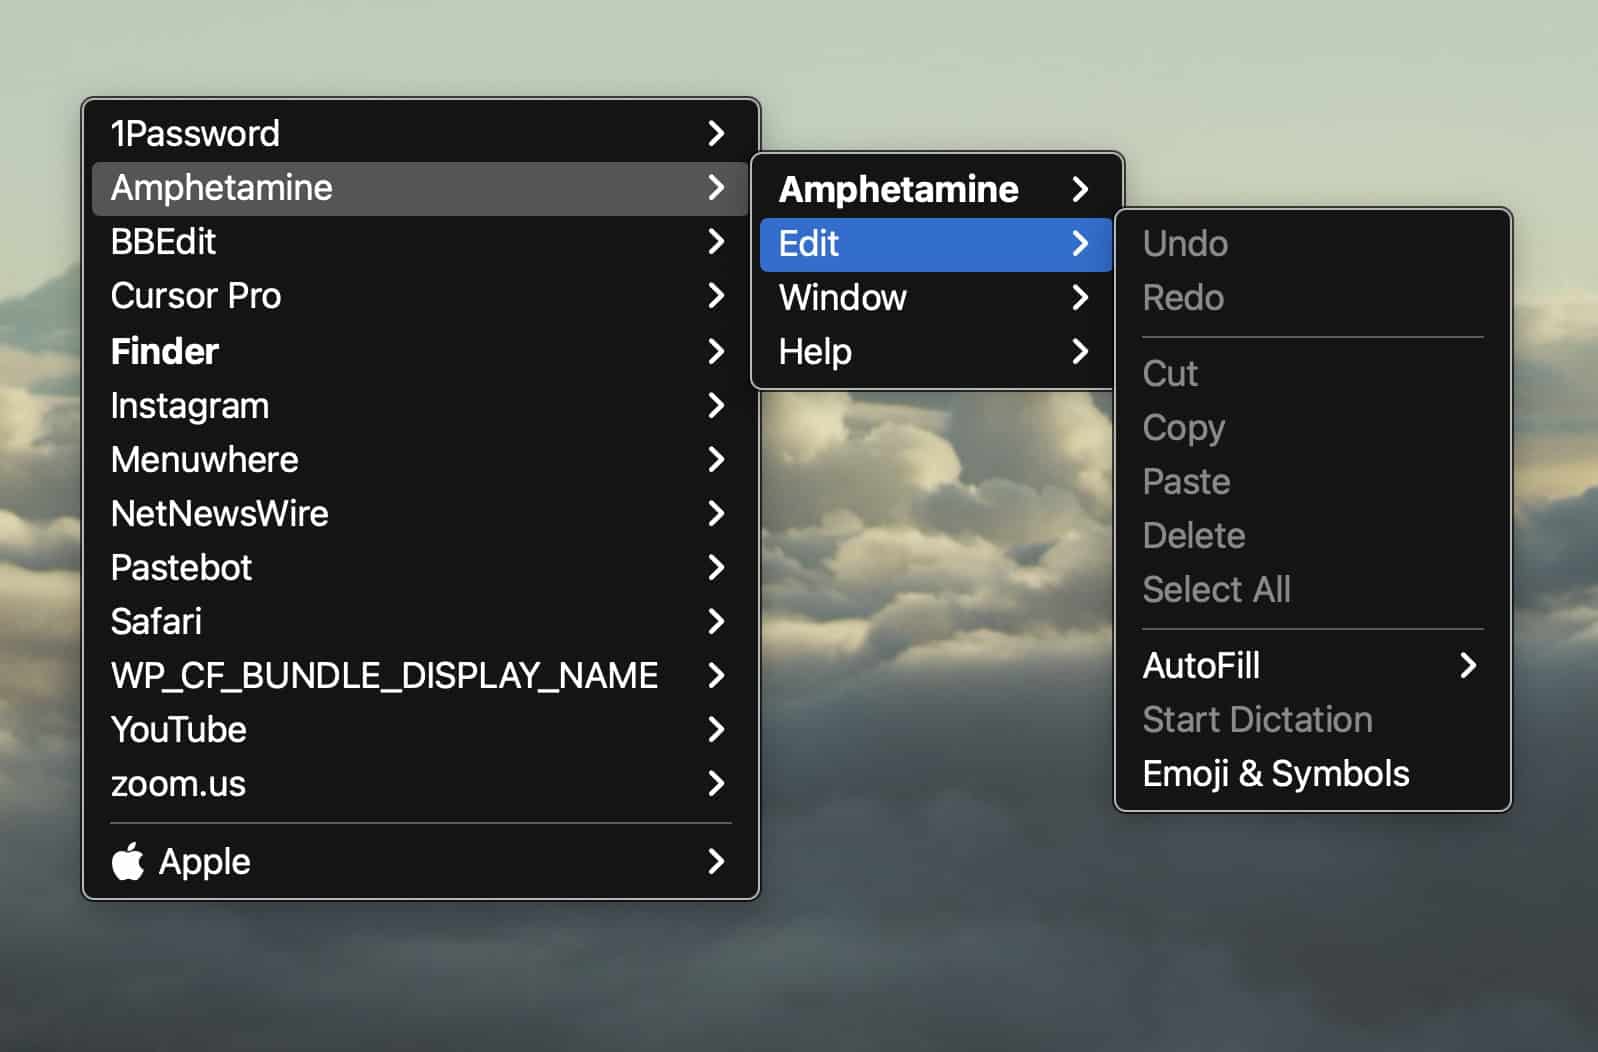
With Menuwhere, you can view your front most app menu in one of three ways:
- Use a modifier key (Command,Option, Control, fn) with a right-click.
- Use a custom keyboard shortcut.
- Assign the aforementioned keyboard shortcut to your peripheral’s buttons.
(Holding down the Shift key will pop up all app menus.)
When Menuwhere is triggered, your menubar pops up underneath your Mac’s cursor, wherever it may be on your display. You can navigate your menus either via mouse or keyboard to find the targeted menu item you’re looking for. No more visits to the top of the display!
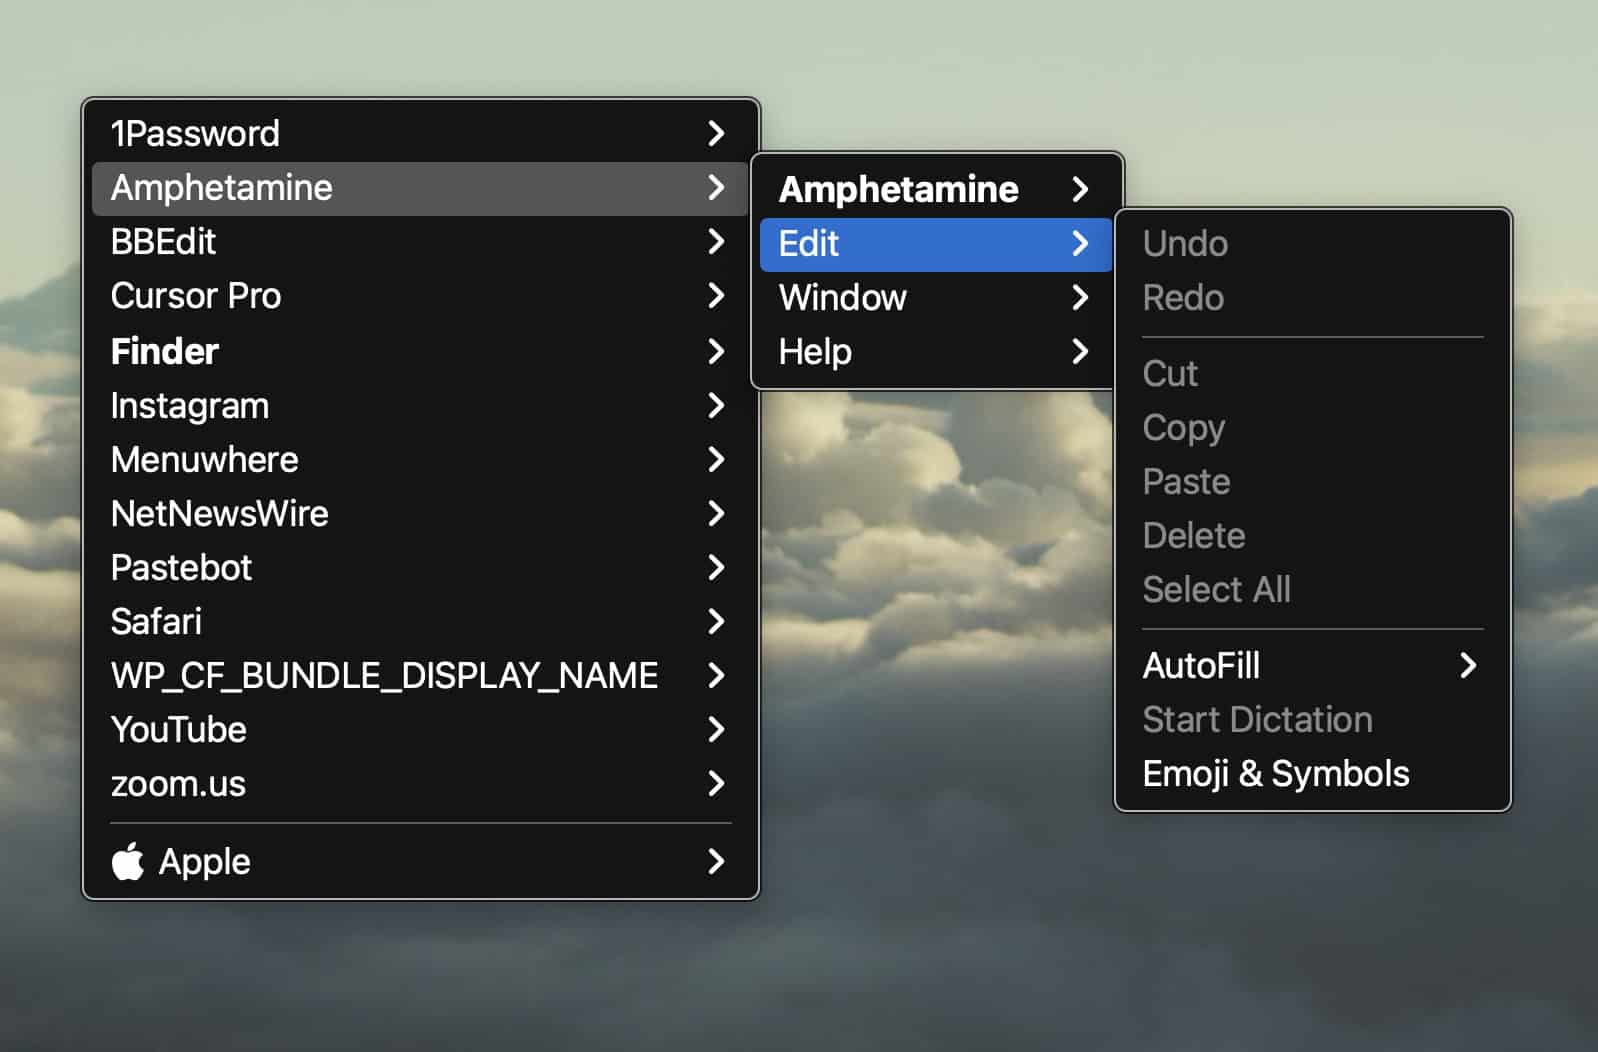
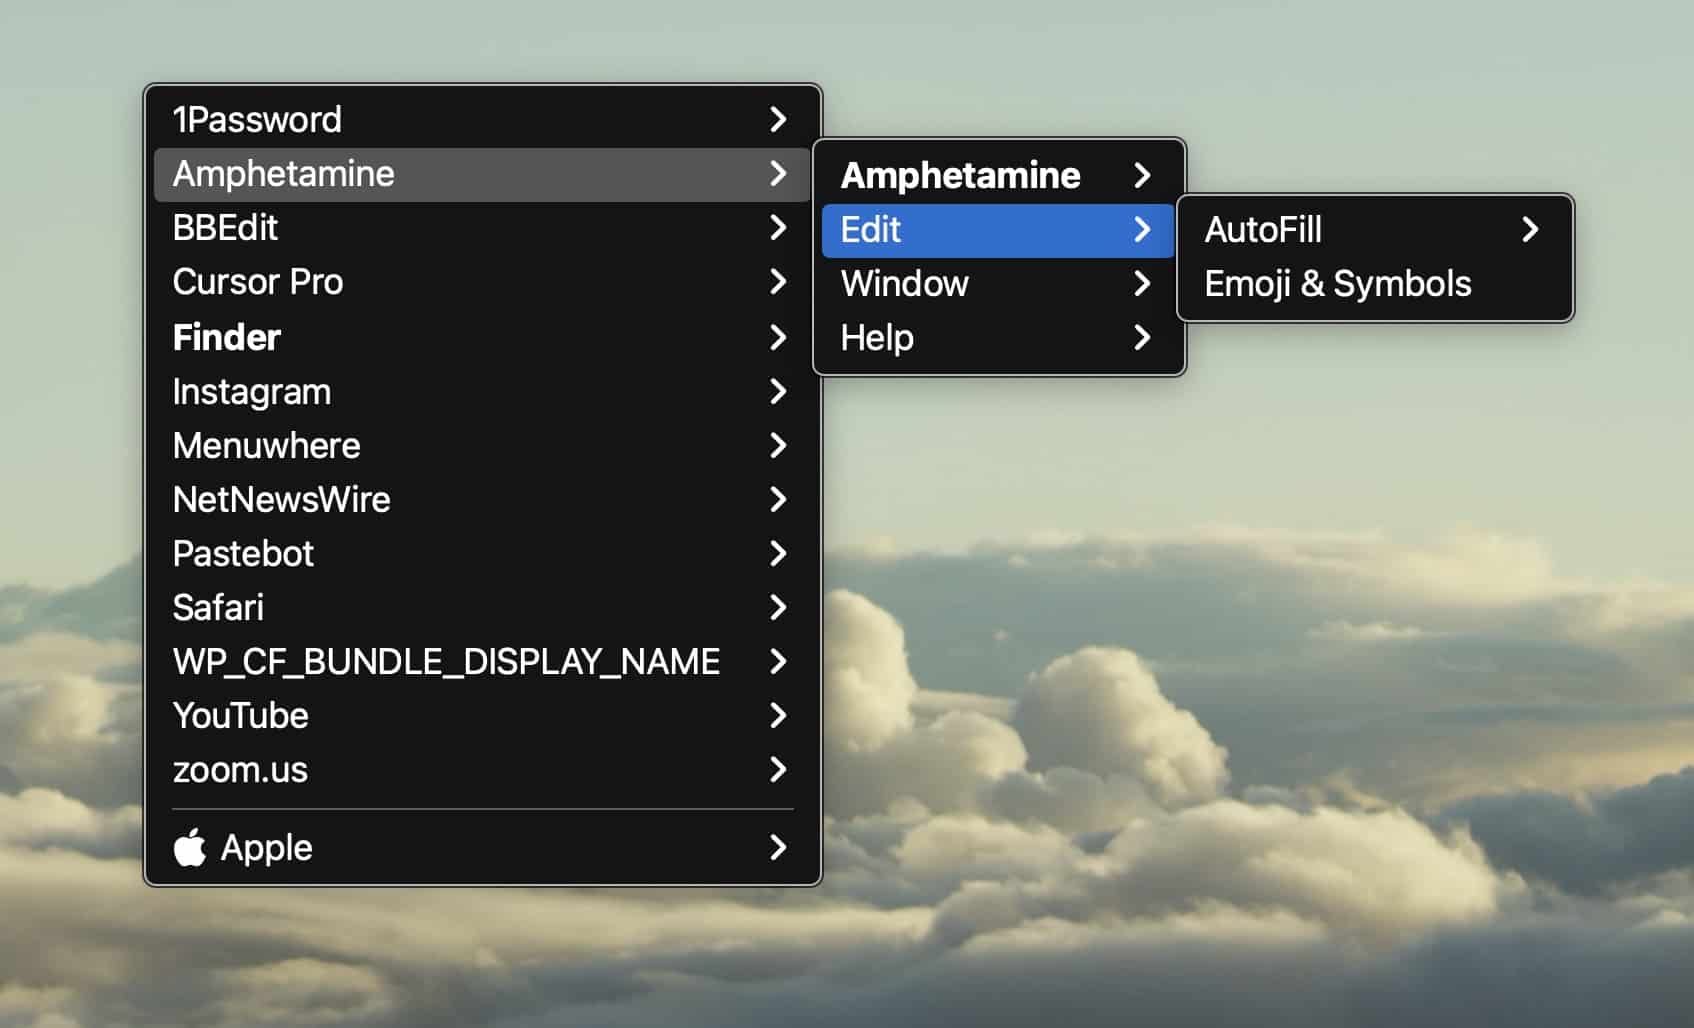
Menuwhere will hide inactive menu items, if you prefer, so that they do not appear. This option removes the extra clutter during menu navigation, while drawing focus on the actual available menu choices.
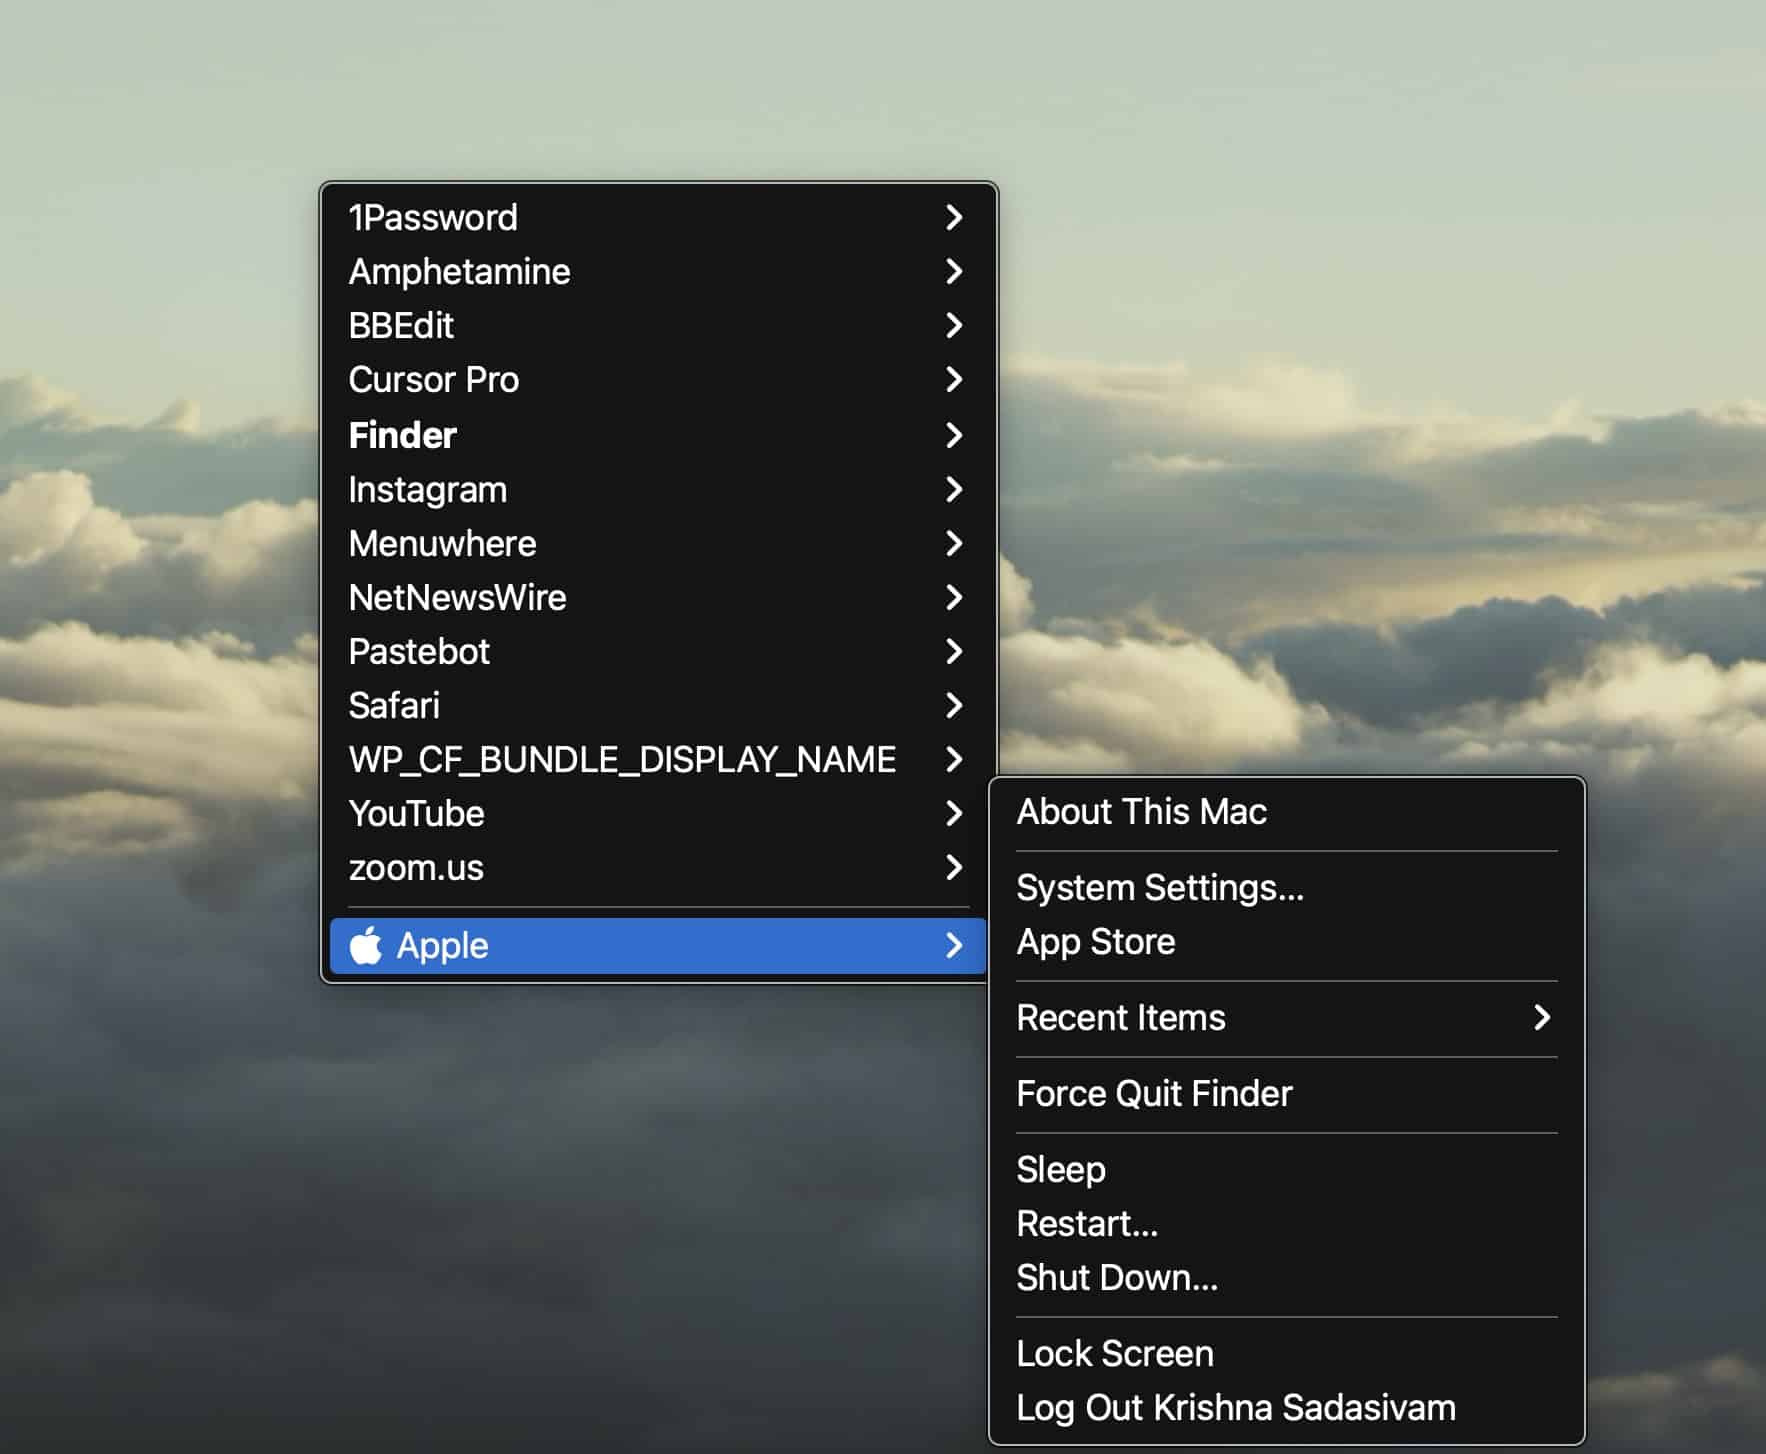
You can optionally have the Apple menu available below all of the other menu items, for quick access to often accessed items (Sleep, Settings, etc.).
Menuwhere supports customization, by way of resizing your menu’s text size (from 10 to 30). Menuwhere also supports light / dark mode, which can be set to match your system settings or set independently.
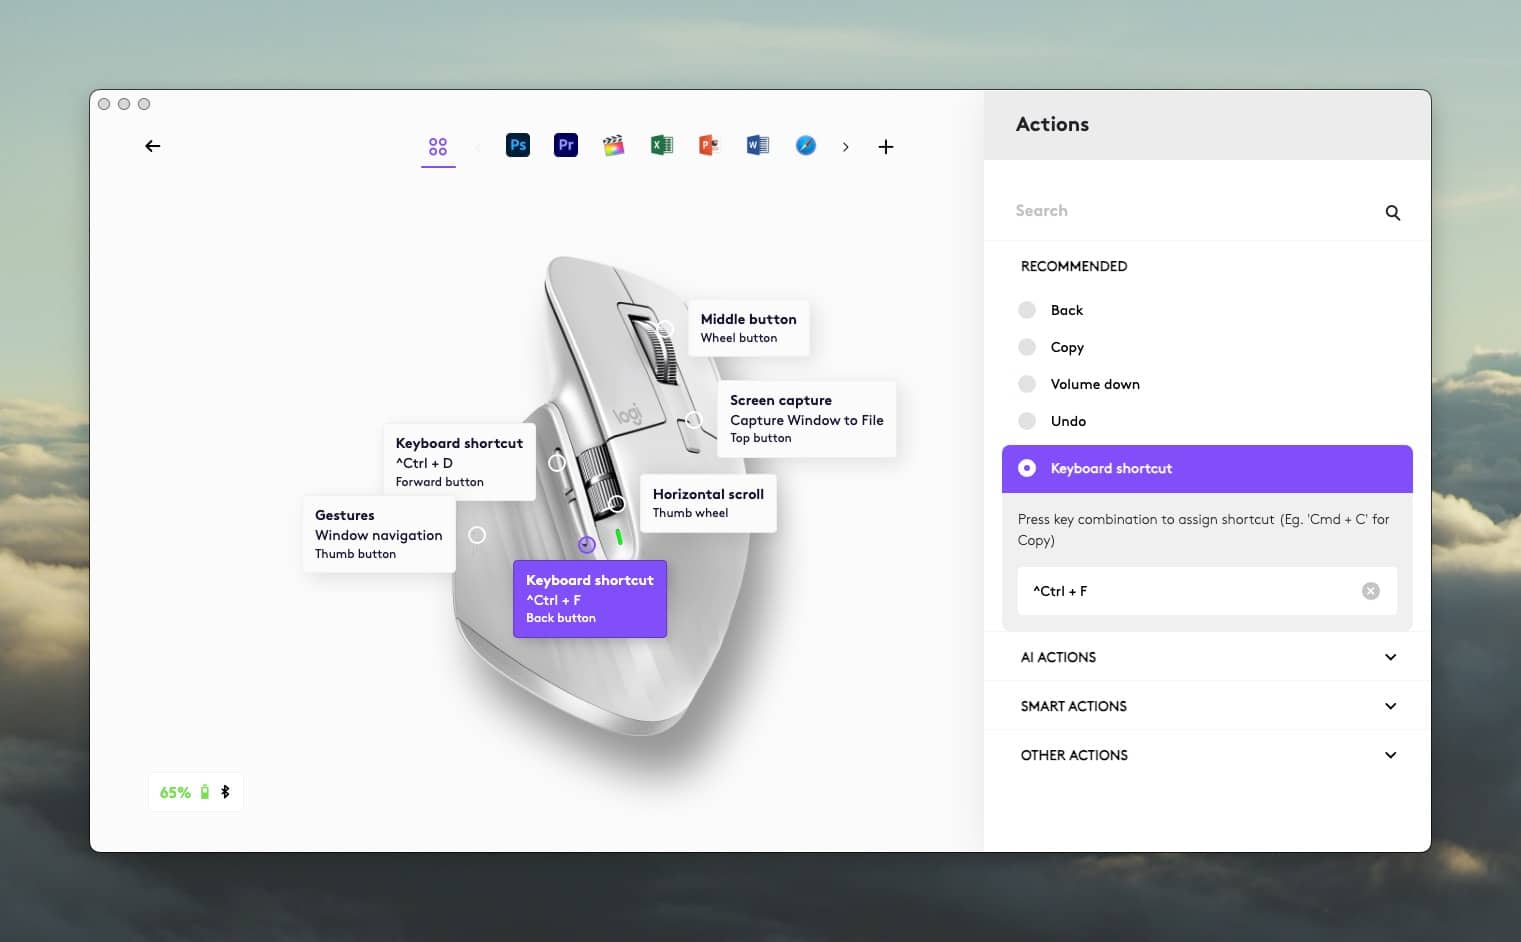
For my use case, I have assigned Control F to pop up the frontmost app menu. For popping up all app menu items, I have assigned Control D. In addition to these keyboard shortcuts, I have assigned the Forward button on my Logitech MX Master 3s mouse to Control D and the Back button to Control F. In this way, I can trigger Menuwhere from either keyboard or mouse. It’s been a game-changer in improving my productivity.
Menuwhere is available from ManyTricks and retails for $3US.
