

In macOS Ventura, there’s a default printer. It’s the one selected when the Print dialog opens. However, it’s easy to change the default printer — or change a printer’s name.
To change your default printer
° Choose Apple menu > System Settings.
° Scroll down and select Printers & Scanners.
° Click the “Default printer” pop-up menu, then choose an option.
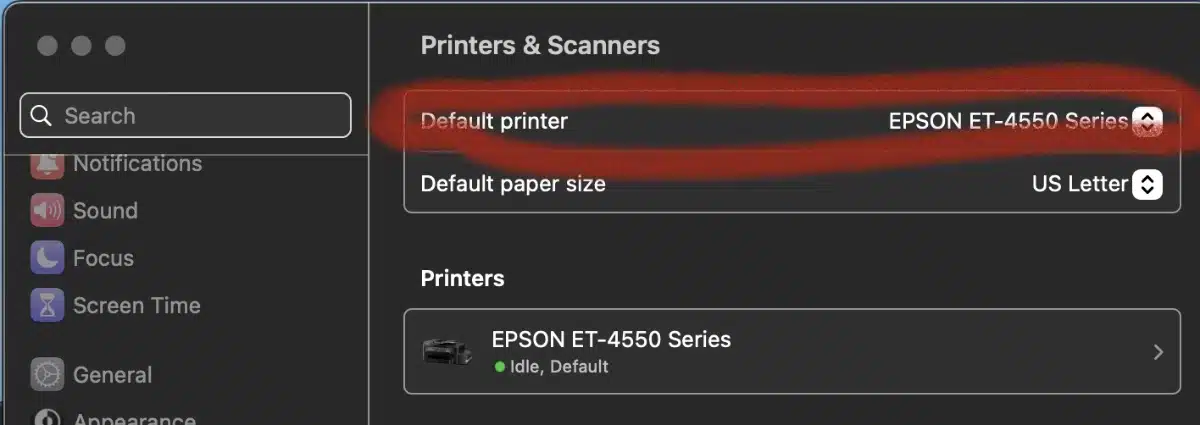
If you want the same printer to always be the default printer, choose that printer. Conveniently, the default printer doesn’t change even after you print to a different printer.
If you want the default printer to be the one you used, choose Last Printer Used.
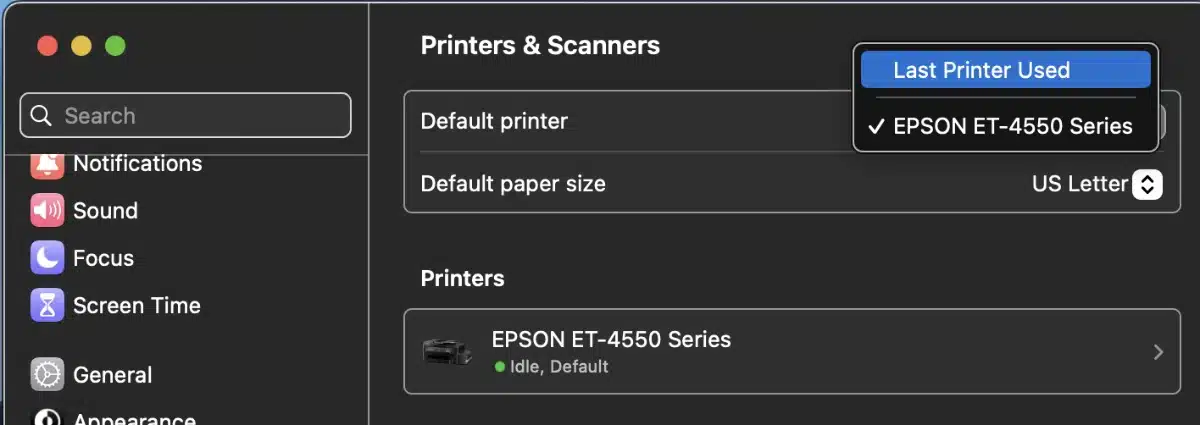
Your Mac remembers the printer you used last at your current network location. For example, normally I work at my home office. However, during a recent power outage I took my MacBook Pro to the church building at which I worship and used the printer there. But my Mac is smart enough to remember which printer I used at which location.
To quickly select a default printer, Control-click a printer in the Printers list of the Printers & Scanners pane, then choose “Set default printer” from the shortcut menu.
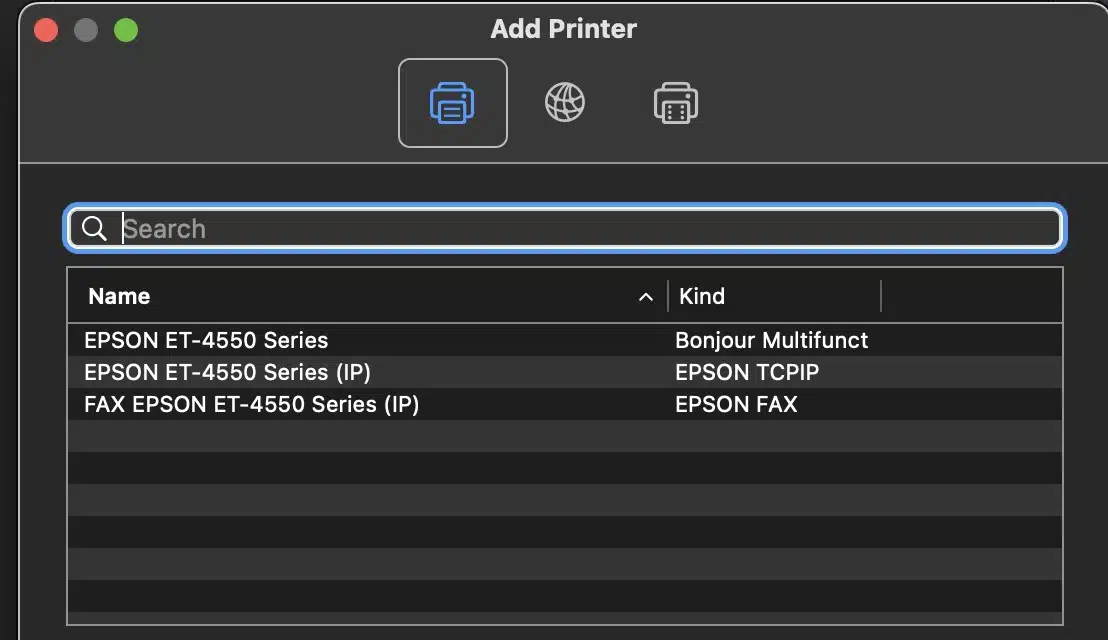
Add a New Printer
To add a new printer (or scanner or fax):
° Choose Apple menu > System Settings.
° Scroll down and select Printers & Scanners.
° Click the Add Printer, Scanner or Fax option and choose from the list of choices.


