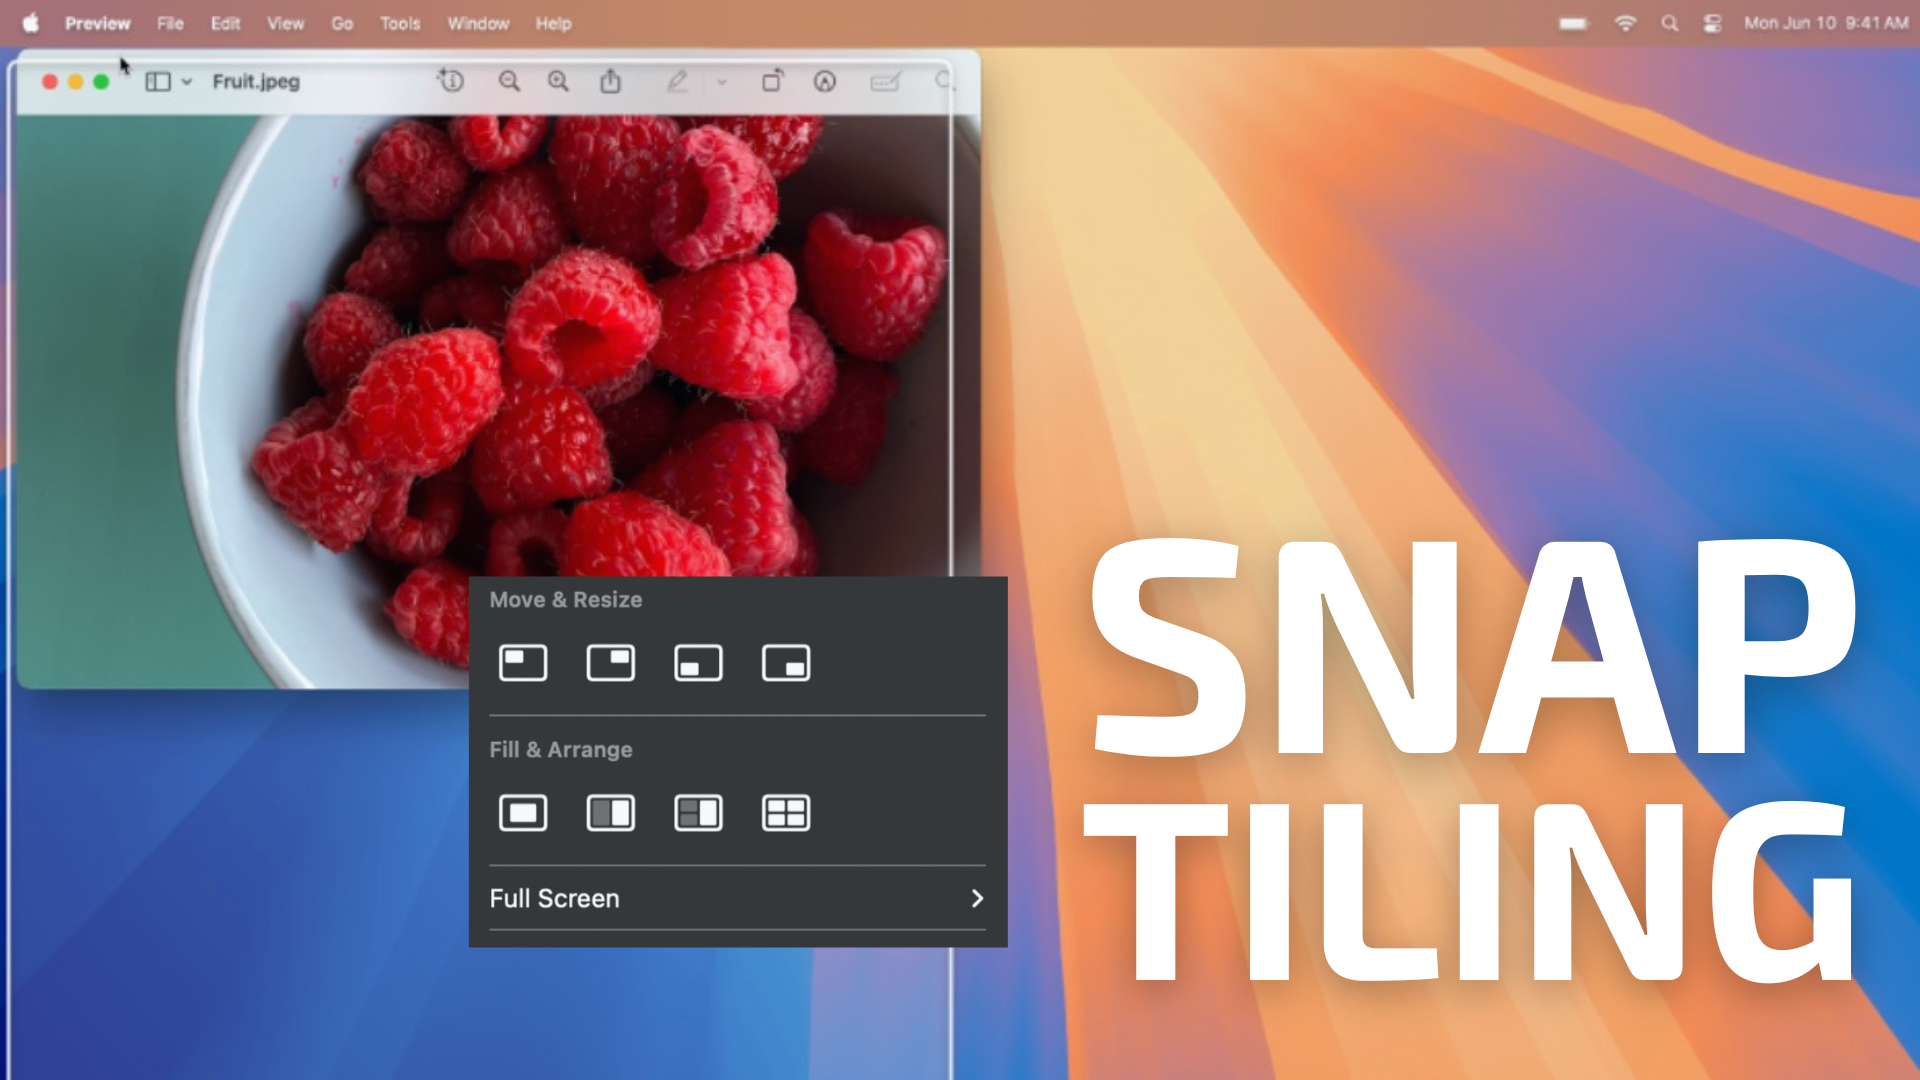
With the new macOS Sequoia, Apple has introduced new ways to arrange your windows, letting you quickly organize your desktop with a layout you prefer.
Windows has supported its own version of this type of feature called Snap for years. In that time there have been several excellent third-party apps that have brought the functionality to macOS, such as our beloved Lasso. However, with macOS Sequoia, there is now built-in support for snapping your windows into pre-sized tiles, though if you want more customization or power user options, you’ll still want to take a look at options like Lasso or Raycast.
The easiest way to get started with snap tiling is to just drag a window to the edge of the screen. When you do that, macOS Sequoia automatically suggests a tiled position on your desktop. You can release a window right into place, which allows you to quickly arrange tiles side by side. Or you can place ‘em in corners to keep several apps in view.
To turn on window tiling in macOS Sequoia:
° Go to System Settings.
° Choose Desktop & Dock.
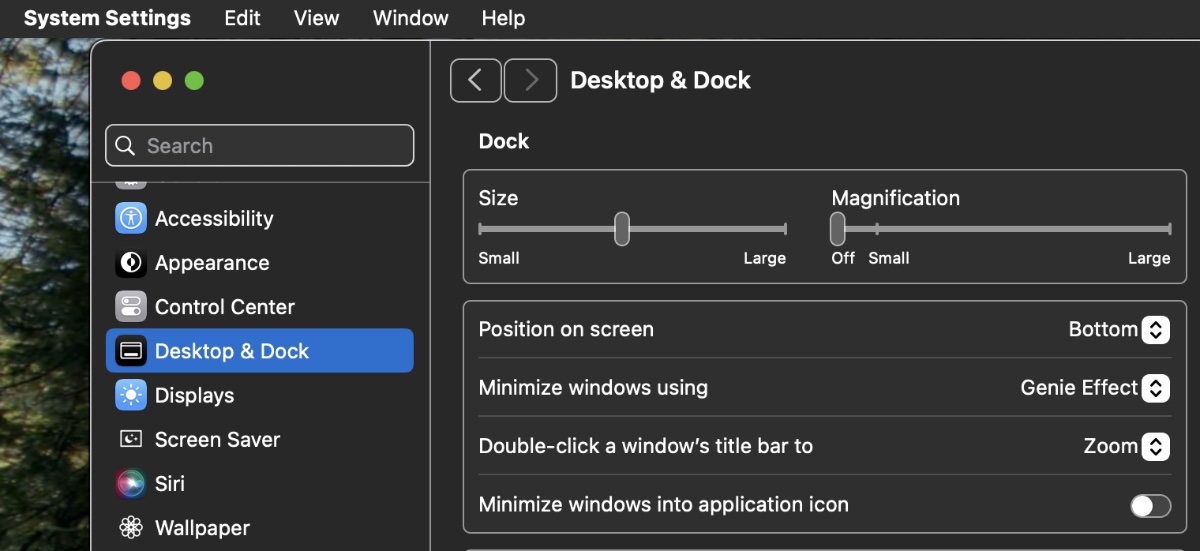
° Scroll down to Windows.
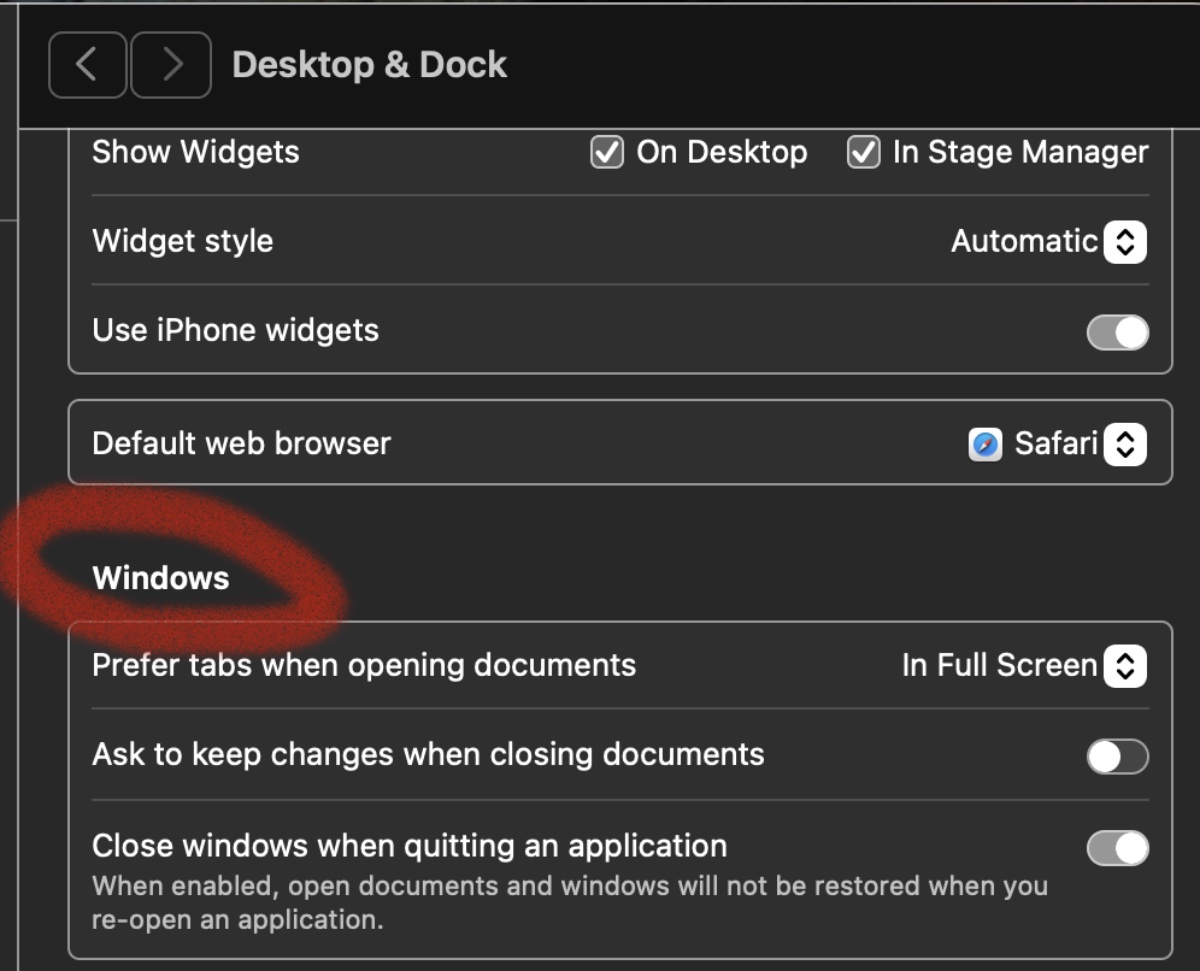
° Turn off Hold option key while dragging to tile.
How to snap tile windows in macOS Sequoia
You can can use any of the following methods to tile windows on Mac:
° Drag the window to the edge of the screen.
° Press the Option key while dragging the window to the highlighted area.
° Hold down the green button in the top-left corner of the window.
° Use menu options.
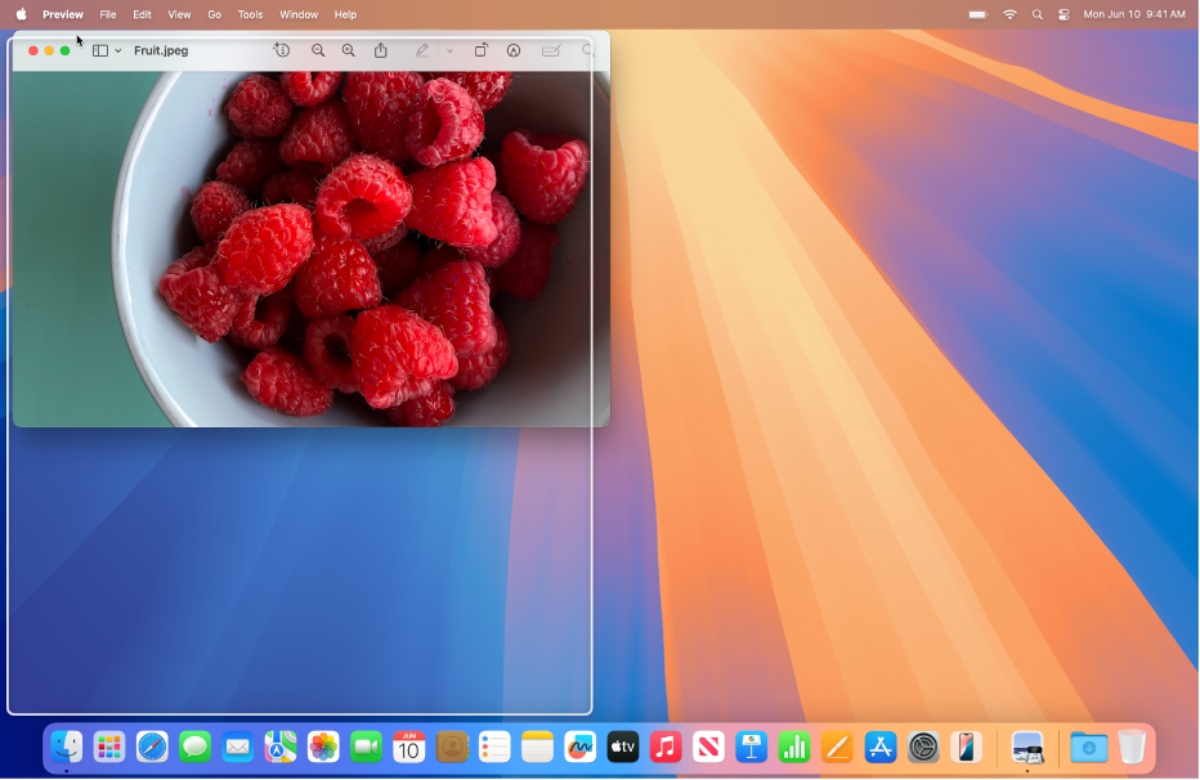
Tile a Window by dragging it to the edge of the screen
You can tile a window by dragging it to an edge of the screen—top, left, right—or any corner of the screen.
° Drag a window to an edge of the screen.
° Release the window when the highlighted area appears.
The window snaps into position when the pointer reaches the edge of the screen.
Tile a window by pressing the Option key while dragging the window to the highlighted area
For faster window tiling, press the Option key while dragging a window toward an edge of the screen—top, left, right—or any corner of the screen. Release the window when it’s in the highlighted area.
Tile windows using the green button
The green button in the upper-left corner of each window offers a number of layout options you can use to quickly tile one or more windows.
° Hold the pointer over the green button in the upper-left corner of the active window.
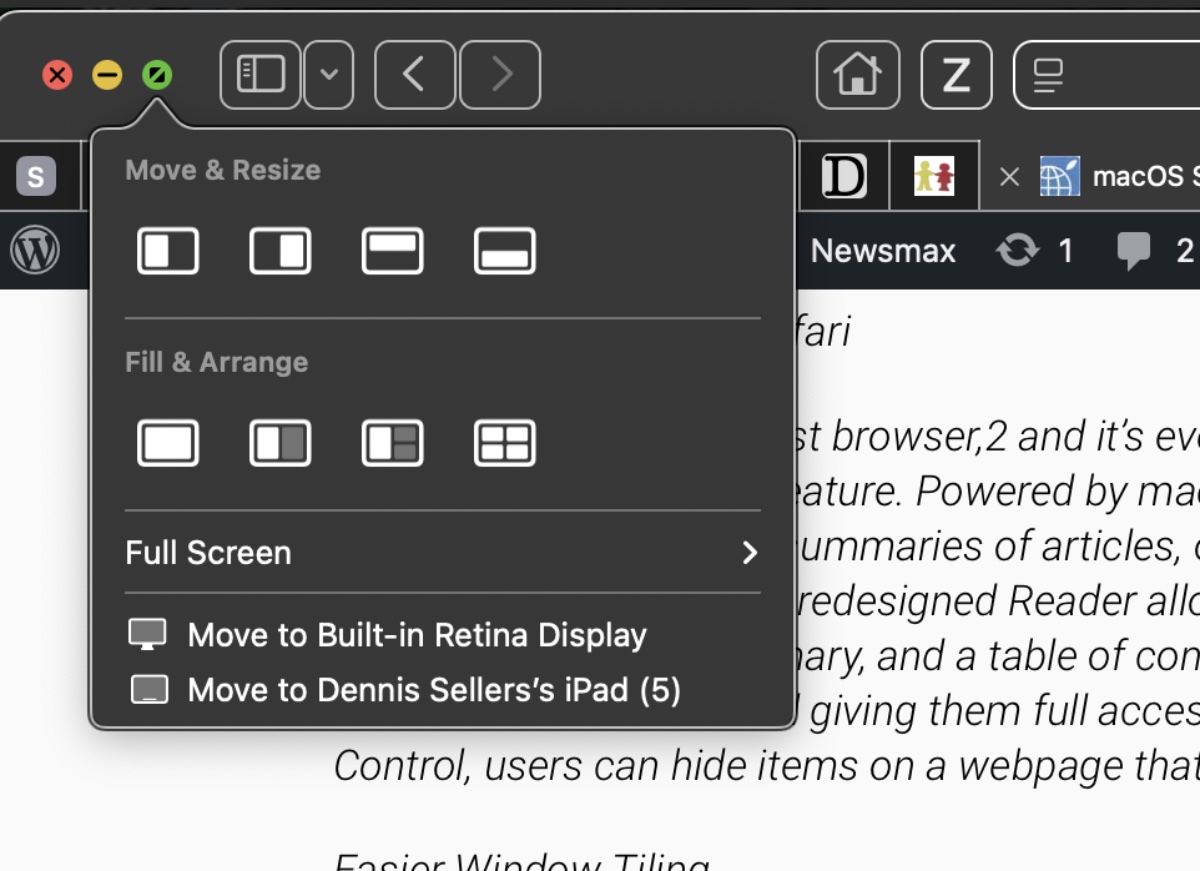
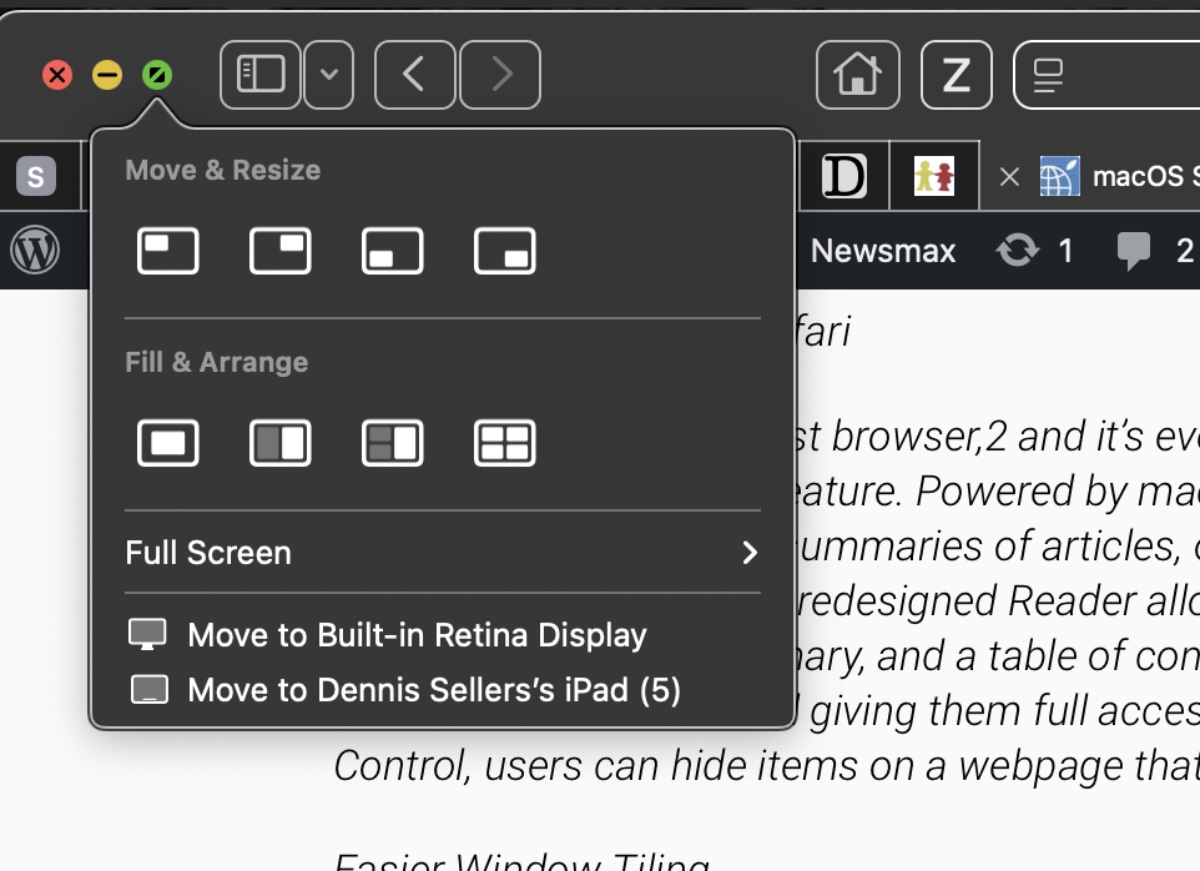
° If you want to see additional layouts, press the Option key.
° Do one of the following:
Tile the active window: Click a layout below Move & Resize.
Tile multiple windows: Click a layout below Fill & Arrange.
Tile full screen: Hold the pointer over Full Screen, then choose an option.
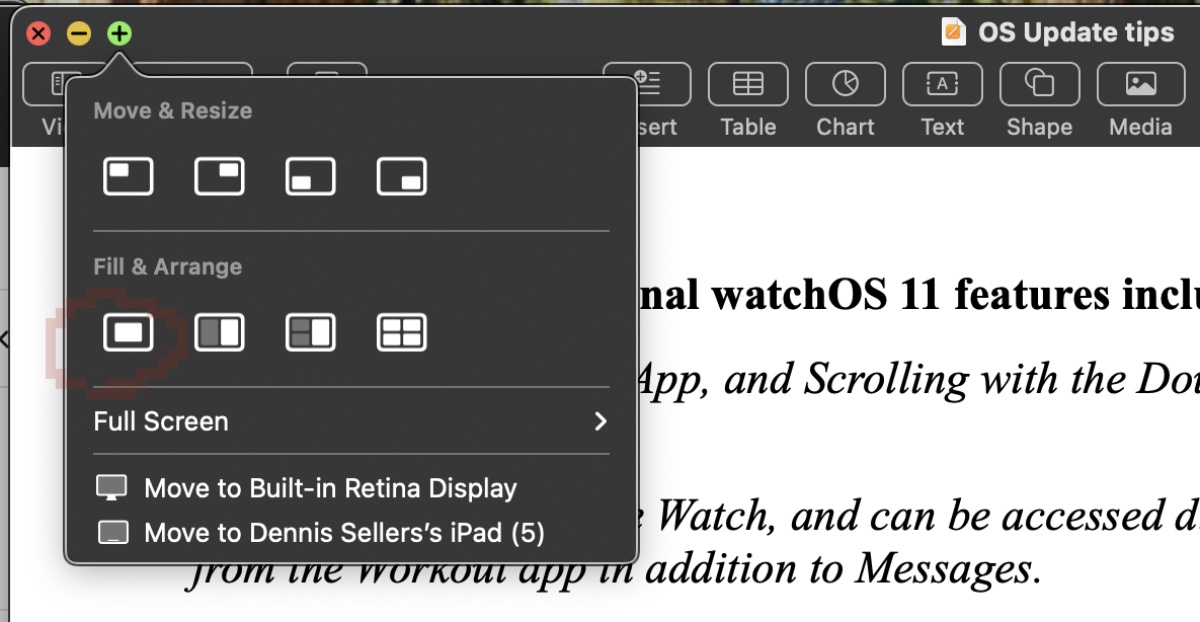
Center the active window: Press the Option key, then click the Center button below Fill & Arrange.
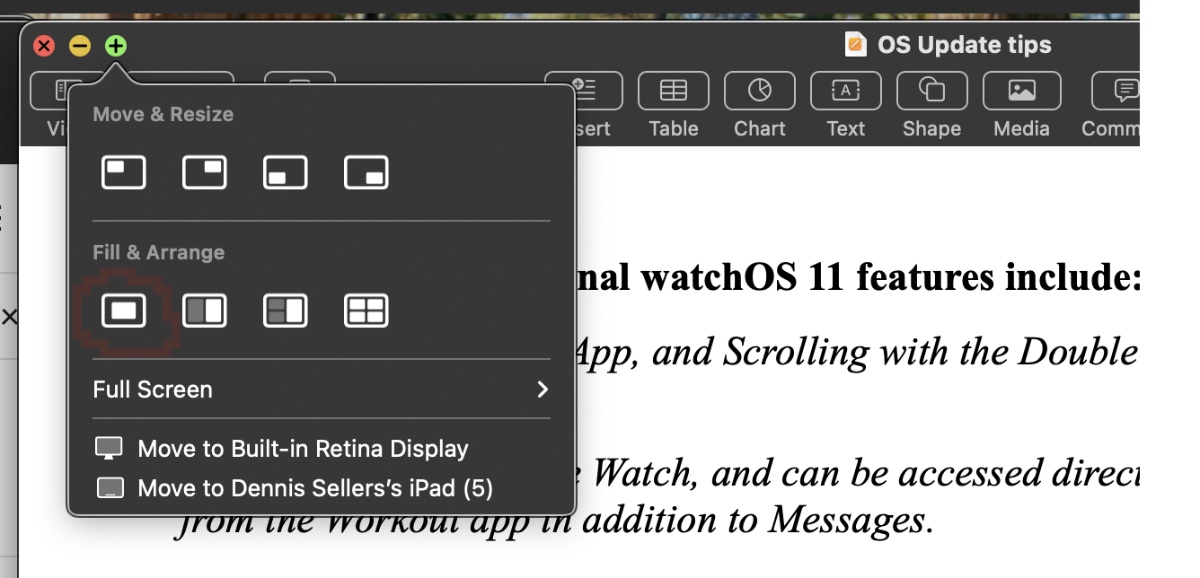
Fill the desktop with the active window: Click the Fill button below Fill & Arrange.
Tile windows using menu options
You can tile one or more windows by choosing options from the Window menu in the menu bar.
° Make sure the window you want to tile is active.
° Choose Window in the menu bar, then do one of the following:
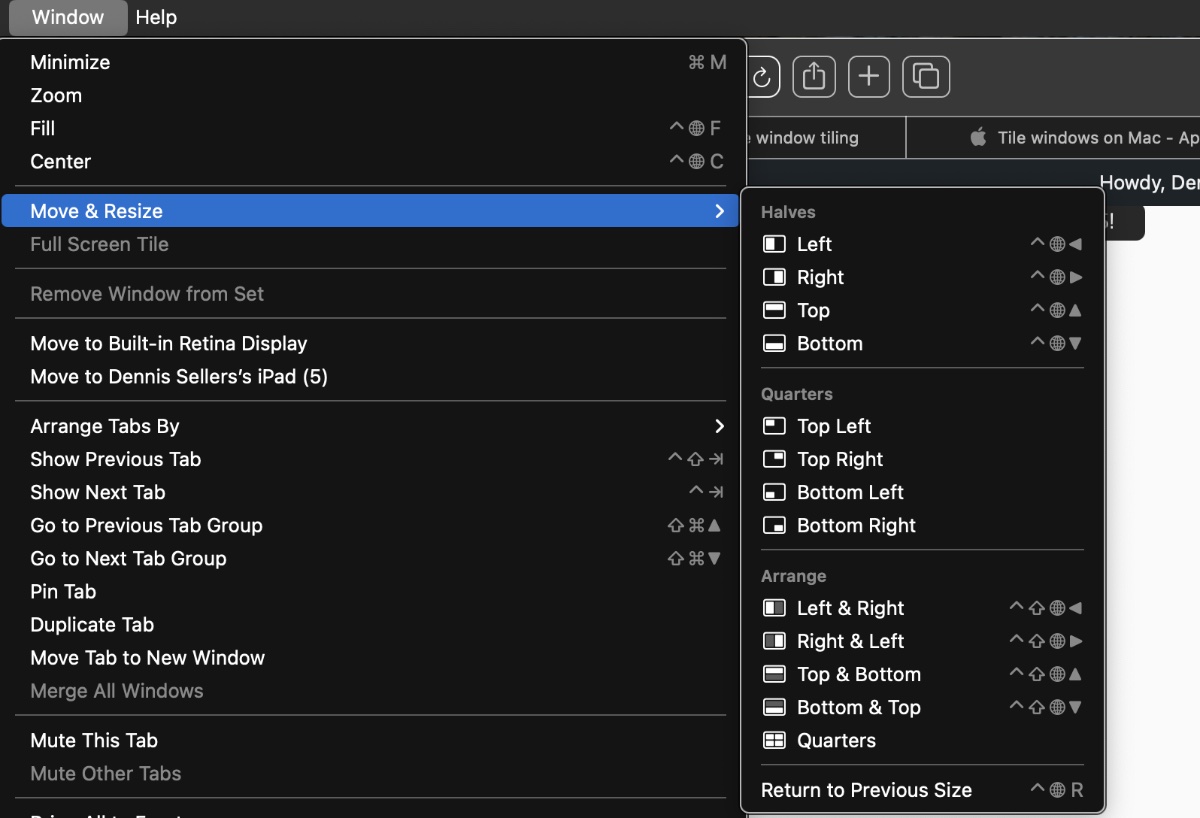
- Tile the active window: Hold the pointer over Move & Resize, then choose a layout below Halves or Quarters.
- Tile multiple windows: Hold the pointer over Move & Resize, then choose a layout below Arrange. Press the Option key to see additional layouts below Arrange.
- Center the active window on the desktop: Choose Center.
- Fill the desktop with the active window: Choose Fill.
- Tile full screen: Hold the pointer over Full Screen Tile, then choose an option.