There’s a lot of excitement around all of Apple’s new M4 Macs. iMac users have gotten a badly-needed upgrade, the Mac mini—available with M4 and the powerful new M4 Pro chip—looks to be the best value of any PC period, and the new M4 Max MacBook Pros are going to be absolute computing powerhouses. Plus, all Macs now come with at least 16GB of RAM—finally!
Unfortunately, one thing hasn’t changed with these new Macs: Apple is still being very stingy when it comes to how much internal storage space you get without having to fork over more cash.
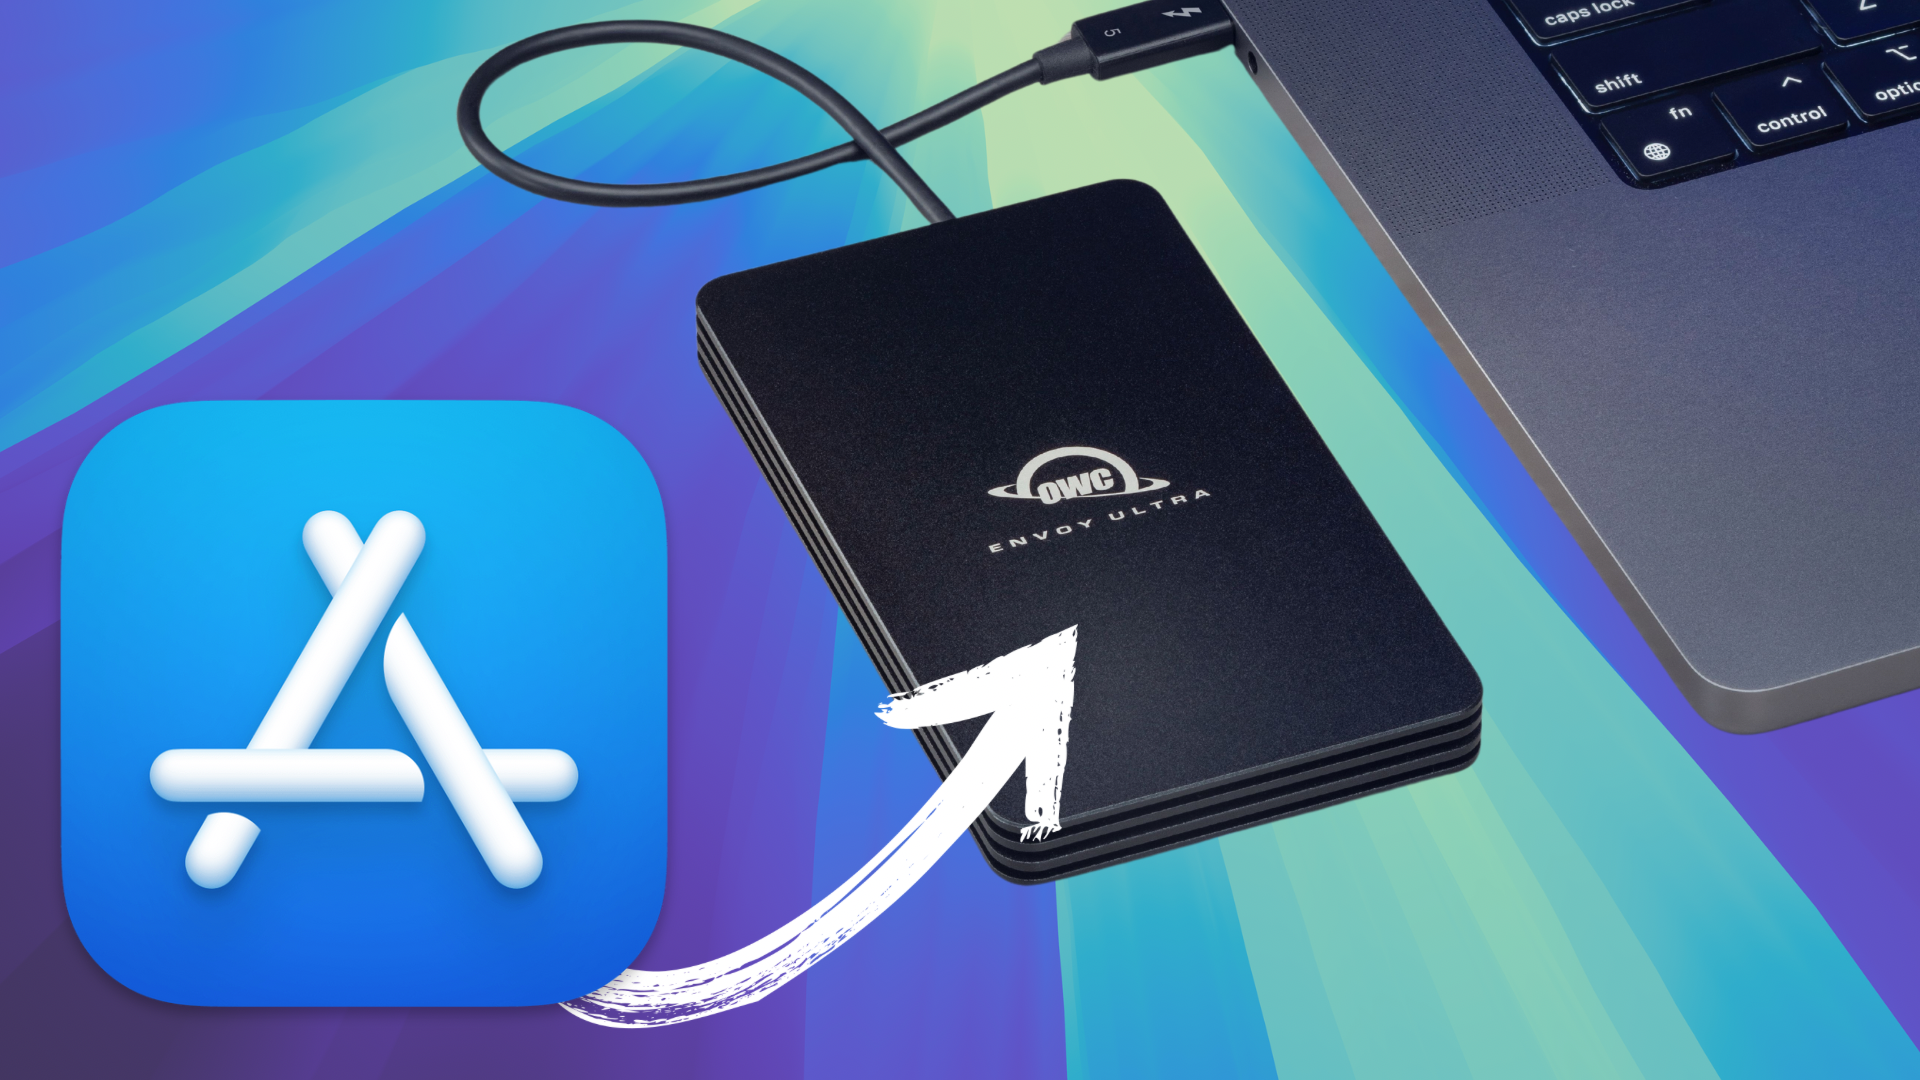
However, a new feature added in macOS Sequoia 15.1 allows you to install Mac apps that eat up a lot of storage space to an external drive. That means you can now use an external drive to expand on your Mac’s internal storage with even less friction than before, allowing you to save some serious money with an external SSD.
Mac internal storage upgrades are expensive
For some reference on why you might want to invest in external storage instead of upgrading your Mac’s internal storage at purchase, let’s take a look at some simple numbers.
While the base storage tier on MacBook Pro is thankfully 512GB—though even this isn’t enough for a lot of people— the M4 iMac and Mac minis still start with a paltry 256GB. Upgrading from 256GB to 512GB will cost you an extra $200 on the new iMacs and Mac mini. Meanwhile, upgrading to 1TB or 2TB will cost you an extra $400 and $800, respectively. Ouch.
Thankfully, with OWC external SSDs, you don’t have to pay the Apple tax to get the storage space you need.
Don’t pay the Apple Tax on the storage you need
With the new OWC Envoy external SSD, you can instantly upgrade your Mac’s storage by 1TB for only $119.99, or by 2TB for only $249.99—a $500 savings over what Apple charges for upgrading to 2TB of internal storage.
But maybe you’ve already got a speedy, 2TB M.2 SSD blade of your own and just need an enclosure? We’ve got you covered there too. Check out the OWC Express 1M2 which costs just $119.99 for the enclosure and boasts real-world speeds of up to 3,151 MB/s.
And if you need the absolute fastest drive on the market—with full support for the Thunderbolt 5 ports on the M4 Pro Mac mini and M4 Pro/Max MacBook Pros—the lightning-fast OWC Envoy Ultra has you covered with speeds up to 6,000 MB/S.
Envoy Ultra is so fast that you can effectively expand upon your Mac’s internal storage with no loss in speed from the internal SSD. Plus, a 4TB Envoy Ultra is only $599.99—$200 cheaper than what only 2TB of internal storage would cost you from Apple.
How to install Mac apps to an external drive in macOS Sequoia
Once you’ve got your new Mac and your external storage, here’s how to go about installing Mac apps directly to your external SSD. This could really come in handy for large apps like AAA games or large professional applications like Final Cut Pro.
Important pre-installation checks
- Make sure you’re running macOS Sequoia 15.1. The ability to install Mac apps directly to an external SSD was added in the 15.1 update.
- Note that this installation guide applies only to apps being downloaded and installed from the Mac App Store. Mac apps downloaded outside the Mac App Store already (sometimes) allow you to choose your installation location when installing. (But it’s still generally best to install third-party non-App Store apps in the boot drive’s Applications folder to ensure app updates are delivered smoothly.)
- Also note that in order to install an app to an external SSD the app must be 1GB or more in size. This one is, admittedly, a bummer, though as we mentioned above, it could come in handy for those who want to store their pro apps or game library on a separate drive from their boot drive. Hopefully Apple lifts this size restriction in the future.
- Ensure that your external SSD has been formatted to APFS. Open Finder, right click the drive in the sidebar and click “Get Info” to check how it’s formatted. If it’s not in APFS, here’s how to format the drive to APFS through macOS Disk Utility.
- After updating to macOS 15.1, you’ll still need to go into Mac App Store settings to enable the feature.
Open the Mac App Store settings and enable app installs to a separate disk
- With the Mac App Store open, click “App Store” in the menu bar and then click “Settings”
- In Settings, click the check box next to “Download and install large apps to a separate disk”
- Once the setting is enabled, you’ll be able to click the dropdown box below the setting and choose the external drive you want to save new app downloads to.
- Note that this option is all or nothing: you won’t have the option of telling macOS to sometimes install a 1GB or larger app on internal storage. With this setting enabled, 1GB or larger apps will always be installed on external storage.
Download an app
- Make sure your external drive is connected to your Mac.
- With the setting enabled, anytime you download an app from the Mac App Store that is 1GB or more in size, that app will be installed to the external drive you chose.
Using a Mac app installed on external storage
- To use an app installed to an external SSD you’ll first need to make sure the drive the app is installed on is connected.
- Once a drive an app is installed on is connected, the app will appear in your Applications folder and can be opened with a double click. However, Apple notes that it won’t appear in Launchpad.
Conclusion
With this new option to install large apps to external SSDs in macOS Sequoia, not only can you save space on your internal storage by installing large apps like games and professional applications to an external drive, you can save some serious money in the process by investing in fast, dependable external SSDs from OWC. Check out all of our external storage options here.


Nice. Simpler than installing, copying to external, creating a symbolic link (alias) and then deleting from internal drive
What about booting two or more different Macs from the same external disk? That is useful for instance to work at work, home, etc where you have different Macs. Booting from such external disk. The Mac in your pocket!
So I’m curious … I have a huge music library. I mean, like as large as my applications folder sized music library.
It sounds like I can’t just shuttle Apple Music to an external drive. But can I somehow park my media library externally and have Apple Music, Books and Apple TV reach over to the external drive and get my media to play? Or will Music insist on copying everything into my [user]/music folder?
That’s built into Music, actually.
Go to File|Settings and then the “files” tab. It allows you to select a folder where your music will be stored. Put it on your external drive. Click the “Keep Music Folder organized” and the “copy files to music folder when adding” options.
Then, you can go to File|Library|Organize Library and hit “Consolidate files”. Music will then copy all of your current library into that folder.
If you already HAVE a folder with your music in it on an external drive, you can select that folder in the settings and when you hit “consolidate files” Music will scan and only copy files not already in that folder. Great way to re-set up Music if you need to do it.
Hope that helps!
Thank you! It sure will help. And I appreciate you clueing me into that trick.
Looking for a bus powered USB-C drive for Time Machine backups. 2024 iMac with a 1TB SSD. More interested in cost rather than speed, will velcro it to the back of the iMac.