Installing a macOS Public Beta can be very tempting. And this year, with the release of the macOS 26 Tahoe Public Beta, it’s even more so thanks to Apple’s Liquid Glass redesign and several new improvements.
But installing a beta directly on your internal SSD is very risky. One bug in the beta could result in serious downtime or compromise your main system. So if you want to give Tahoe a try the smart way, let’s talk about running the beta on an external volume.
Why Running a macOS Public Beta on an External Volume is Risk-Free
- No risk to your daily macOS setup—bugs stay isolated not only to an external drive, but a custom slice of an external drive.
- Avoids needing to erase or partition both your Mac’s internal drive.
- Gives you freedom to test without commitment.
- Can boot from the drive on any compatible Mac.
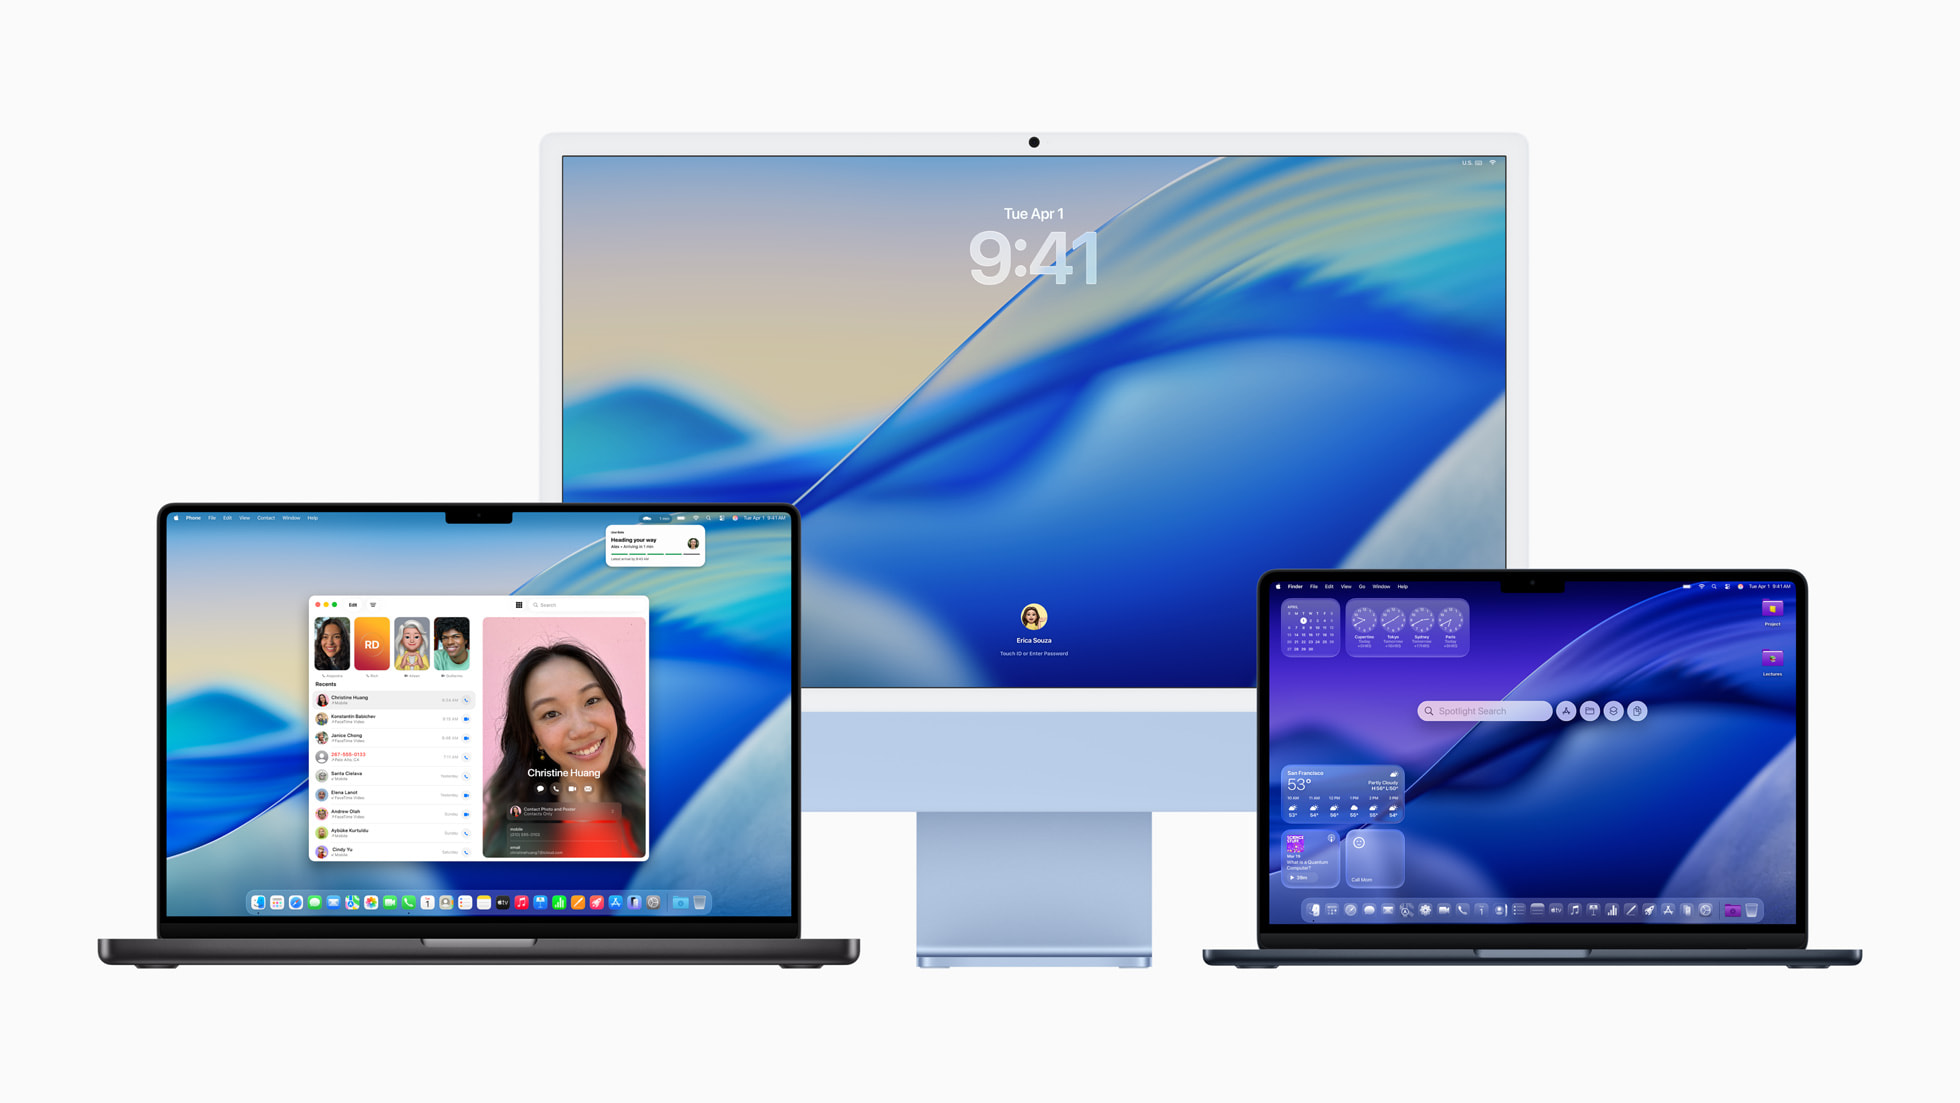
Top New Features in macOS Tahoe
Apple’s latest macOS release brings a suite of exciting upgrades. Here are the most talked-about features:
Liquid Glass UI
A refreshed glass-like interface across windows, the Dock, and Control Center gives macOS a stunning new aesthetic.
Spotlight Enhancements
In what Apple is calling “the biggest update ever to Spotlight,” the Mac’s central search tool is evolving into a much more powerful productivity engine. Intelligently ranked search results, new filtering options, and the ability to take hundreds of actions directly from Spotlight without needing to jump between apps are just some of the new capabilities.
Live System-Wide Translation
macOS can now translate FaceTime captions, Messages, and even live calls.
Native Phone App
Answer or make iPhone calls directly on your Mac via the new Phone app with full Continuity integration.
Upgraded Messages App
With chat effects, emoji reactions, polls, and typing indicators, the new Messages feels much more modern and fun.
Best SSDs for macOS Beta Installation
To run macOS Tahoe smoothly, your external storage needs to be fast and reliable. These OWC SSDs are excellent choices:
1. OWC Envoy Ultra – Thunderbolt 5 Speed Demon

- Speed: Over 6,000 MB/s
- Connection: Thunderbolt 5
- Best For: Pro-level testers or creative workflows
- Starting at $329
2. OWC Express 1M2 – Value-Packed USB4 Option

- Speed: Up to 3,150 MB/s
- Connection: USB4/USB-C
- Best For: Most beta testers looking for high speed on a budget
- Starting at $249
3. OWC Envoy Pro Elektron – Ultra-Rugged Portable SSD
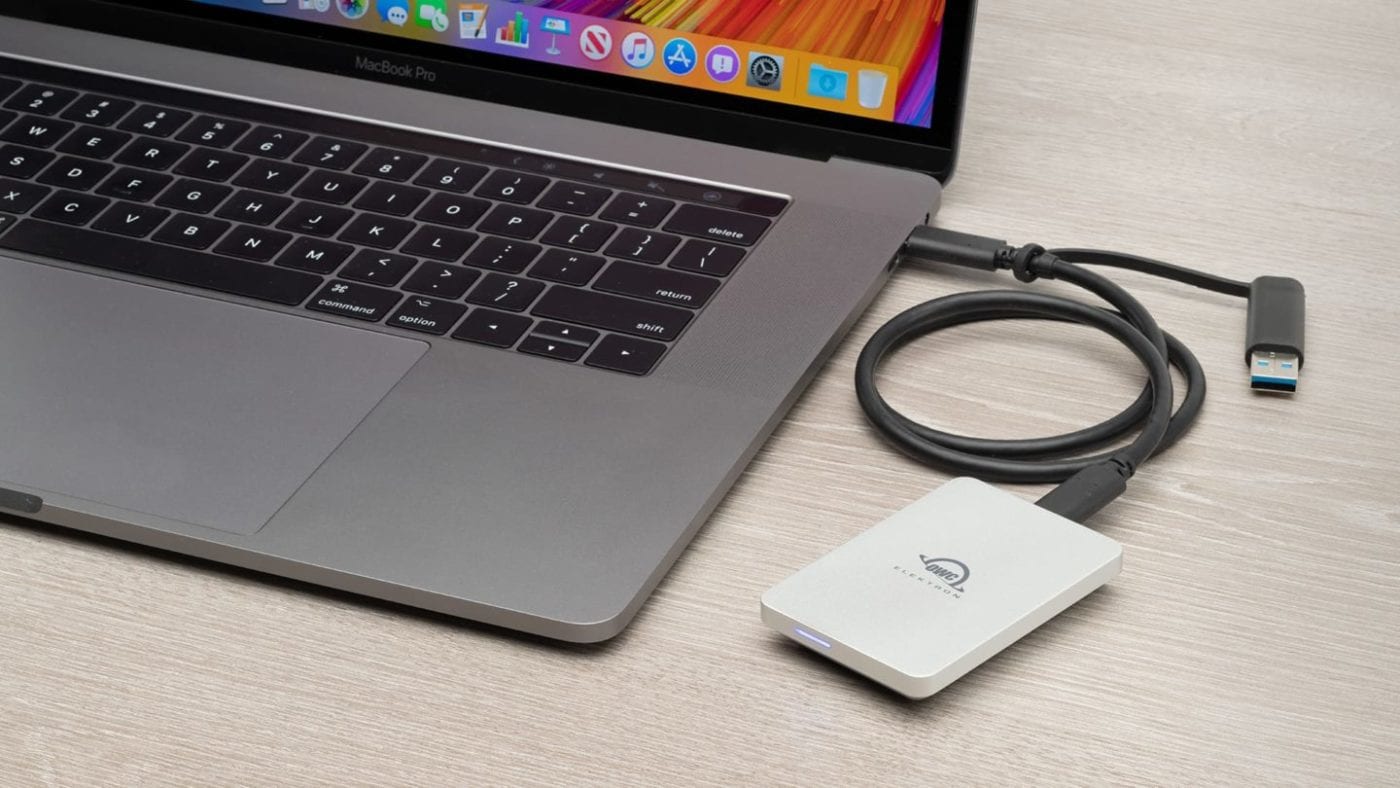
- Speed: Up to 1,011 MB/s
- Connection: USB 3.2 Gen 2 (USB-C)
- Compact Size: Palm-sized, waterproof, dustproof, and crushproof
- Best For: Portability and everyday testing use
- Starting at $98.99
How to Install the macOS Tahoe Public Beta on an External Volume
Instead of installing the beta OS to the whole drive, you can install it to a dedicated APFS volume, preserving the rest of the drive for other uses and keeping your current intall of macOS and you internal hard drive safe.
Step 1: Format and Create a Volume on Your External Drive
- Plug in your OWC external SSD.
- Open Disk Utility (Finder > Applications > Utilities).
- In the Disk Utility sidebar, click “View” and select “Show All Devices”.
- Select the top-level of your OWC drive (not the volume underneath it) in the sidebar.
- Ensure the SSD is formatted in APFS. If not, click the “Erase” button in the toolbar.
- Set the following options:
- Name: Choose a simple name (e.g., “TahoeBoot” or “OWCInstall”).
- Format: Select Mac OS Extended (Journaled) or APFS. For modern Macs and macOS Sequoia, APFS is generally recommended. (Note: If you format as APFS and run into any issues in creating the installer in the next step, reformat the top level of the drive as Mac OS Extended (Journaled).
- Scheme: Select GUID Partition Map.
- Click “Erase” and then “Done” when the process is complete.
- Once your top level drive is properly formatted, click the container beneath it and then click the “+” icon at the top of the window.
- Now we’re going to create the volume where the macOS Tahoe Public Beta will be installed. You can name the volume “Tahoe Beta.” If you’d like, you can restrict the size of the volume under “Size Options.”
- Once that volume has been created, you can exit Disk Utility.
Step 2: Download macOS Sequoia

The easiest—though not the fastest or most direct—way to get the macOS Tahoe Public Beta onto an external volume is to first install macOS Sequoia to that volume and then upgrade to the Beta from that install.
- Open the Mac App Store on your Mac.
- Search for macOS Sequoia.
- Click “Get” or the download icon.
- The installer (e.g., “Install macOS Sequoia.app”) will download to your Applications folder. This is a large file (typically 12GB+), so ensure you have enough space and time. You’ll also be able to view the installer in Launchpad.
- Important: Once the download is complete, if the installer launches automatically, quit it (Command + Q). Do not proceed with an installation on your main drive yet. Verify the full installer (around 12-14GB) is in your
/Applicationsfolder.
Step 3: Open the macOS Sequoia Installer
- From your Applications folder, click the macOS Sequoia Installer.
- When asked where you would like to install macOS Sequoia, choose the “Public Beta” volume. If you don’t see the volume, you may need to click “View All.”
- macOS Sequoia will install to the external volume. Once it’s complete, click Restart to finish the installation.
Step 4: Setup macOS and Enroll Your Mac in the Beta Program
Once your Mac has restarted, it will boot from the external drive you just installed macOS Sequoia on. From here it will ask you if you want to create a new administrator account on this install, or if you would like to import your administrator account from your current install. I imported my current administrator account by clicking “create local administrator account” with my user name.
Now you’re going to go through the macOS Setup process.
- Enter your Apple ID to sign into iCloud. This is necessary because you’ll have to sign in at the Apple Beta site in order to enroll your new install into the Public Beta.
- Once you’re signed in, you can do as much or as little of the remaining macOS setup process as you’d like.
- Startup Disk Options. Once you create this new macOS Install, by default, it will be selected as the default startup disk. If you’d like to change this, head to Settings > General > Startup Disk and choose your non-beta install as the default startup disk. You can also reboot into a different macOS install without changing this setting, by shutting down your Mac, and holding down the power button until Startup Options appears on Apple Silicon Macs. On Intel Macs, you’ll hold down the Option key after pushing the power button.
Step 5: Enroll Your Mac in the Beta Program and Install macOS Tahoe 26 Public Beta
- Visit beta.apple.com.
- Sign in or Sign Up using your Apple ID.
- Once signed in, click the “enroll your Mac” link under Getting Started.
- Scroll down to “2. Turn on Beta Updates” and click “Open Software Update.” Then click Allow.
- Settings will open Software Update. Next to Beta Updates, click the “i” icon and then click the drop down menu next to Beta Updates. Choose “macOS Tahoe 26 Public Beta.”
- Your Mac install will check for updates.
- Click the “Upgrade Now” button and enter your Mac password.
- Your Mac will now apply the software update. Once it restarts, you’ll be running the macOS Tahoe Public Beta on your external volume!
- Sign in with your Apple ID and enjoy the beta.
Switching Between Your Current macOS Install and the macOS Tahoe Beta
As outlined in the section above on Startup Disk options, swapping between your beta install and your main macOS install is easy. You can boot between installs by either changing the Startup Disk or by shutting down and holding down the Power button when turning your Mac back on. (Again, on Intel Macs, you’ll hold down the Option key instead after pressing the Power button.
Deleting the macOS Tahoe Public Beta
One of the main benefits of installing a beta on an external volume is how easy it is to undo the process without upsetting your workflow and main macOS install. Once you’re done with the Public Beta install, boot into your main macOS install, head to Disk Utility, and delete the volume that contains the Public Beta. Easy as that.
Frequently Asked Questions
Q1: Why use a volume instead of the whole drive?
Using a volume preserves the rest of your external SSD for other backups, files, or even additional macOS versions.
Q2: Will installing to a volume impact performance?
No. As long as you’re using a high-speed SSD—and you will be if you’re using an OWC drive like the ones above—volume-based installs run just as fast.
Q3: Can I boot other Mac installs while trying out the beta?
Yes—in fact, you can boot from as many Mac installs as you want. You can even host multiple macOS installs on one external hard drive by creating new volumes and following the steps above. Once you’ve got macOS installed, just plug in the drive, power up while holding the power button on Apple Silicon Macs or holding Option on Intel Macs while booting, and select the volume.
Q4: How do I remove the beta later?
Boot into another volume, open Disk Utility, and delete the volume containing the beta.
Q5: Will I get future beta updates?
Yes—as long as your Mac stays enrolled, you’ll receive beta updates in System Settings.
Q6: Is this reversible?
Absolutely. The external volume install keeps your internal macOS untouched.
Final Thoughts
Installing the macOS Tahoe Public Beta on a dedicated volume of an external SSD is the ideal way to explore its sleek new design, enhanced AI, and revamped apps—without risking your main setup.
Pick one of the trusted OWC SSDs like the Envoy Ultra, Express 1M2, or Envoy Pro Elektron, and follow the steps above to get started.