So you’ve confirmed that your system is ready for Yosemite. Now all you need to do is download and install!
Fortunately, Apple has made the process fairly simple. But to make it even easier, we have put together a step-by-step guide for the installation of Yosemite on your Mac. For our installation, we started with a base of OS X Mavericks 10.9.5 installed on a 13” Late 2013 MacBookPro11,1 with Retina display.
Check out below for our guide for the installation. And again, be sure to check out our Yosemite Compatibility Guide first and as always, don’t forget to backup your data before making the switch!
A Brief Walkthrough
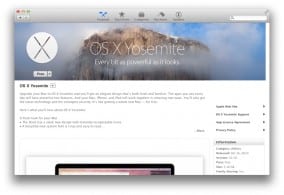
1.) Launch the App Store on your Mac and find Yosemite. Once you have logged in to the App Store and found the new OS, click the “Free” button under the Yosemite icon.
2.) You will then see an install window (below) and after clicking “Continue” you will be prompted to agree to the terms of the software license agreement (not pictured).
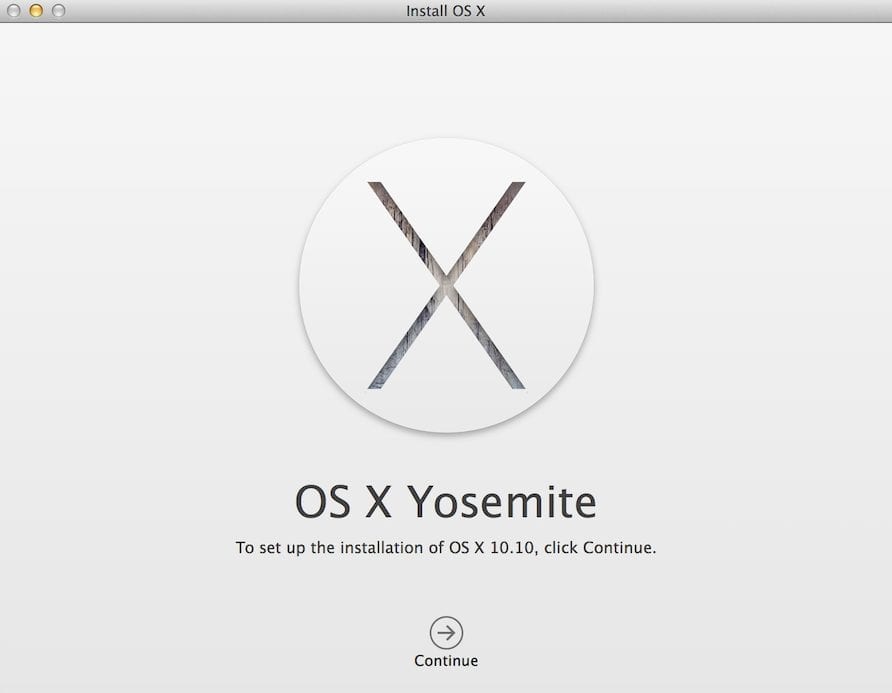
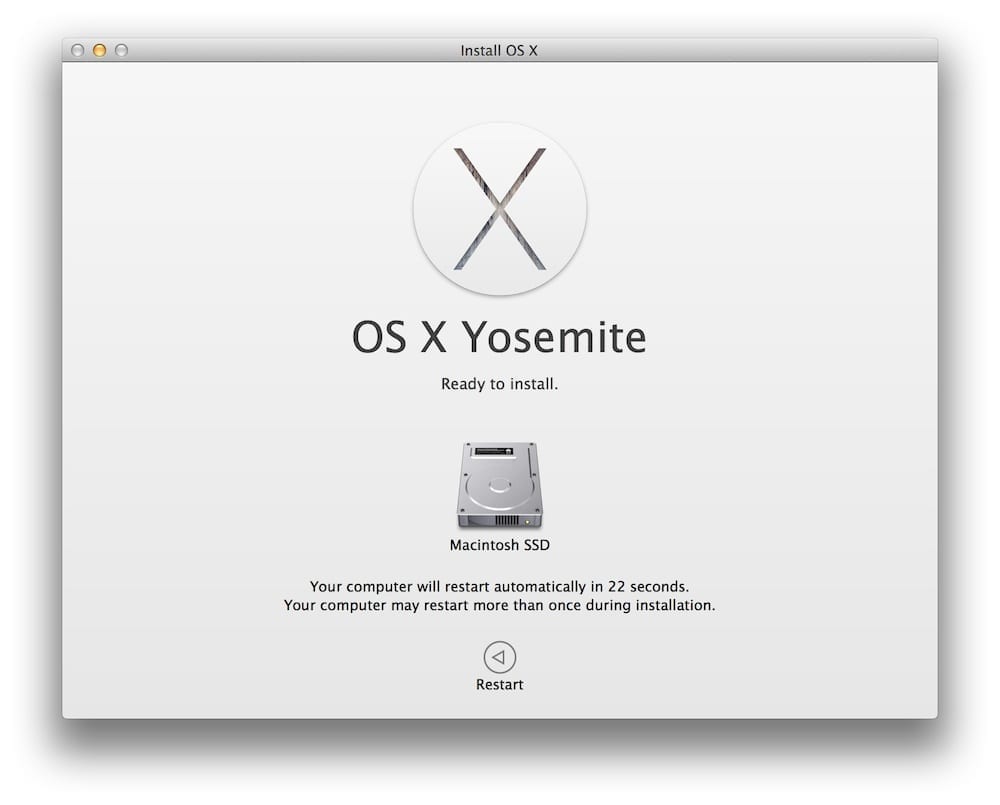
3.) Once you agree to the software license agreement, it will let you choose which disk Yosemite will be installed on. Once you click “Install” you will need to log in as an administrator if necessary. 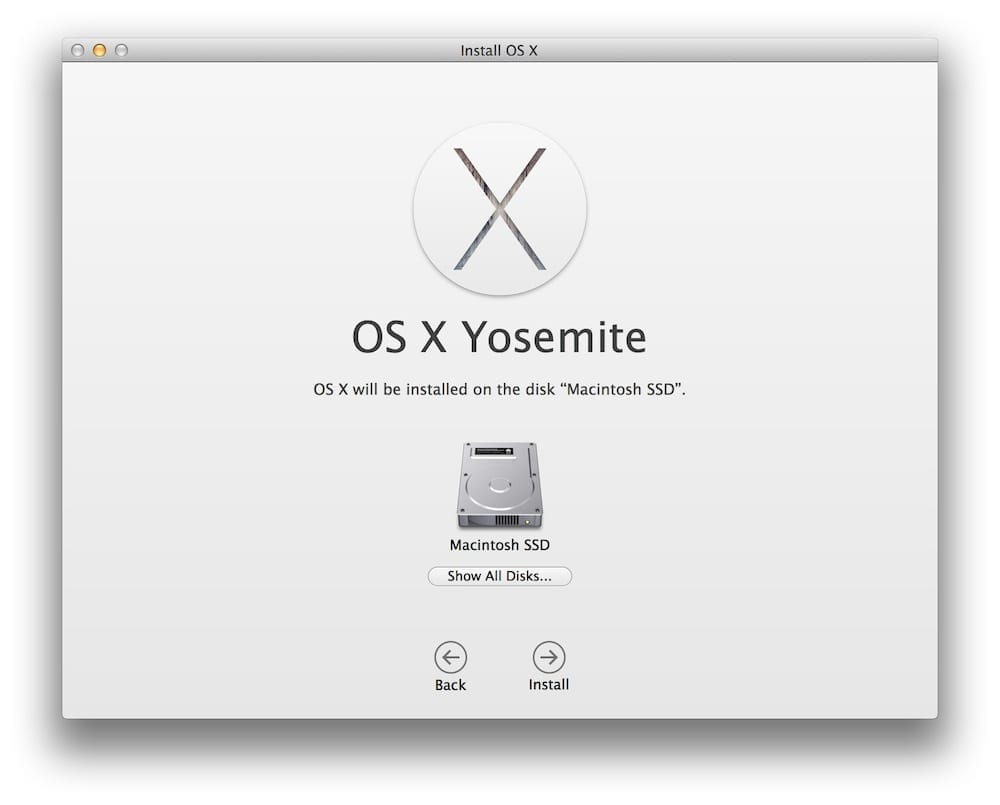 4.) Your machine will then prepare to install. Once ready, your machine will restart.
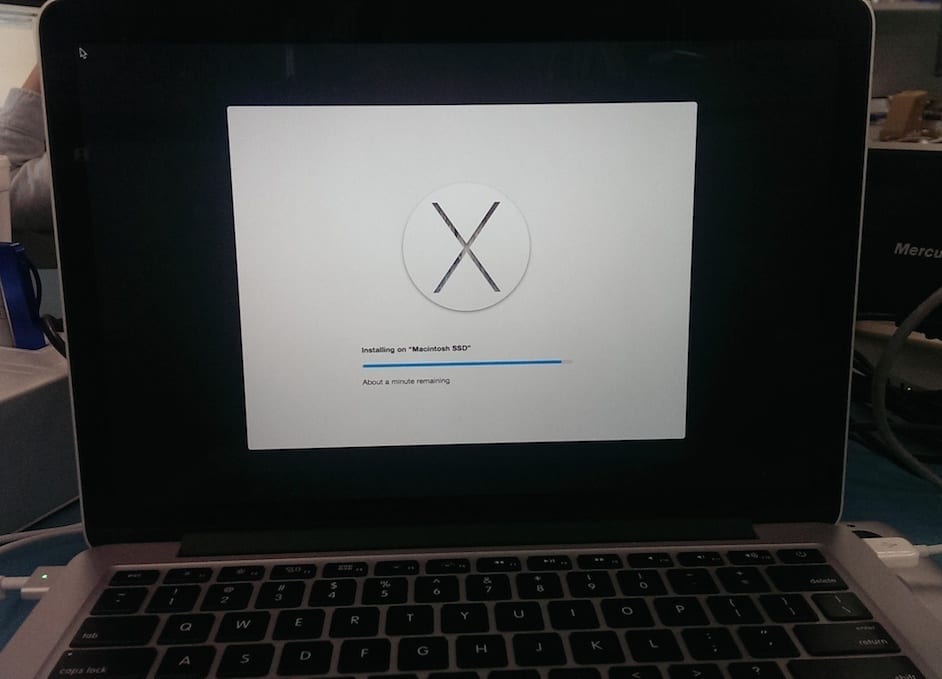
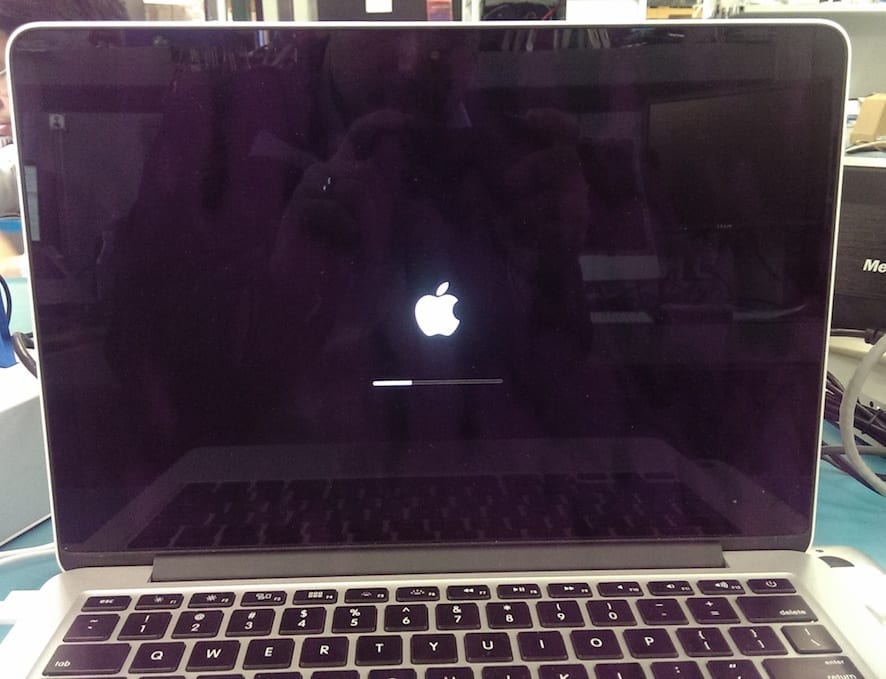
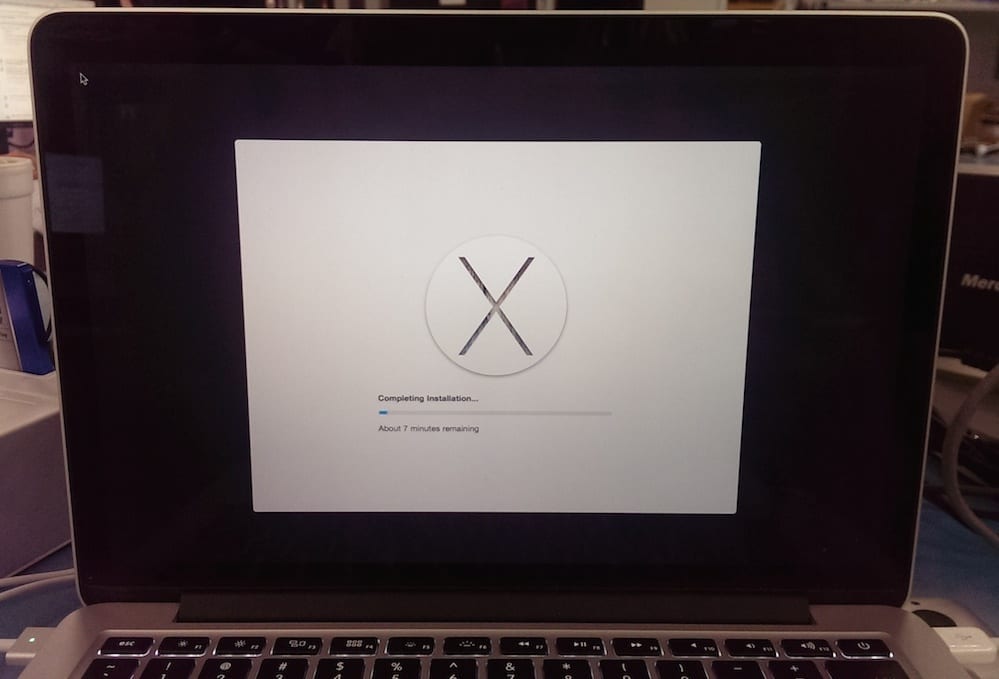
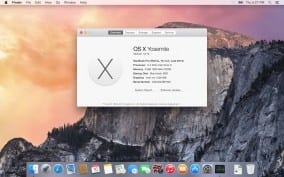
  5.) Your Mac will then reboot and show a few different screens (below) while Yosemite is installing.
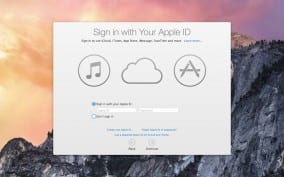
6.) After signing in with your Apple ID upon restart, you will be ready for the beautiful sights and sounds of Yosemite!
• OS X Yosemite is available free for download from the Apple App Store.



I am running 10.6 now on my iMac and cannot download from the app store. Can I buy a thumb drive somewhere with Yosemite 10.10 installer all ready on it? Apple really screwed everyone on this one.