 This fall we are sharing a series of Creative Cloud Design Tips for those who have some experience but want to learn new workflows for Illustrator, Photoshop, or After Effects. Rather than setting up a tutorial where you follow a ‘recipe’ and end up with our design instead of your own, we show core workflow steps that allow you to try different looks. Where we found pitfalls or caveats, we note them so that you can avoid problems. The idea is to get you experimenting with these powerful apps and enjoying the creative process!
 Picking up where we left off: In Part 1 of this article, we introduced the concept of a low-poly portrait including how to set up your document in Illustrator and which tools to use to map a polygon grid over your base photograph. In this article, we’ll wrap up the process by connecting the polygon mesh, removing small gaps between the polygons, and filling the polygons with colors sampled from the image
We’ve teamed up with our local animal shelter — Helping Paws — to raise awareness during the month October, which is National Adopt a Shelter Dog month. (Always remember to support your local no-kill shelter.) If you happen to live in McHenry County here in Illinois, we hope you will join Helping Paws for their annual 5K Walk-Run on November 6, 2016, to benefit a great cause!
Step 5) Fine-tune polygon placement.
Once you’ve applied polygons over the entire image, you will typically find that some of the corners on polygon corners extend too far or overlap, or you may find that one polygon is too small (i.e. has larger gap than the neighboring polygons). While these can sometimes be smoothed out automatically by the averaging technique we’ll use later, avoid a potential headache by removing any unusual gaps or overshoots ahead of time. Use the Direct Selection Tool (A) to stretch or shrink a polygon by selecting and dragging its edges, its corner points, or both. It may help to check your work on Outline View (Cmd-Y for Mac, Ctrl-Y for PC).
Taking these extra steps will often lead to a nicer looking mesh at the end of the process. The short clip below shows examples of how existing polygons can be modified if they don’t fit quite right, in both the standard view and Outline View.
Step 6) Use the Average command to create the final mesh.
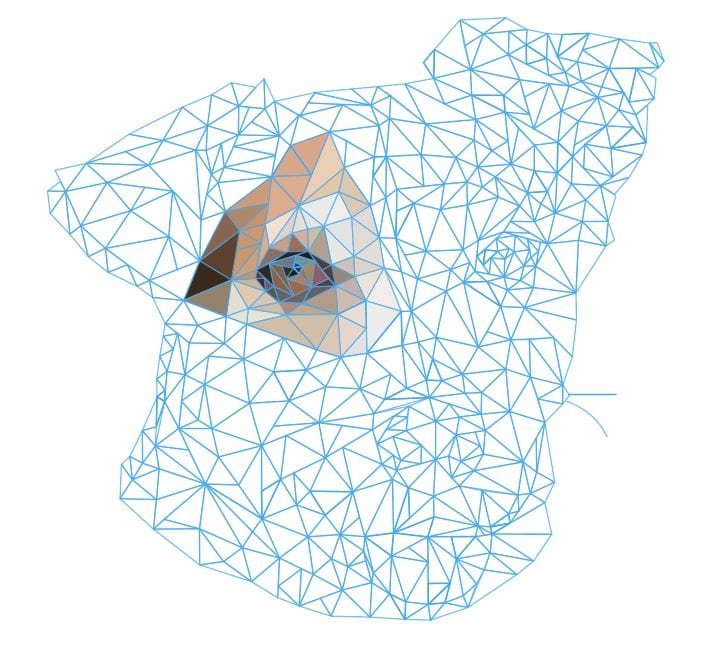
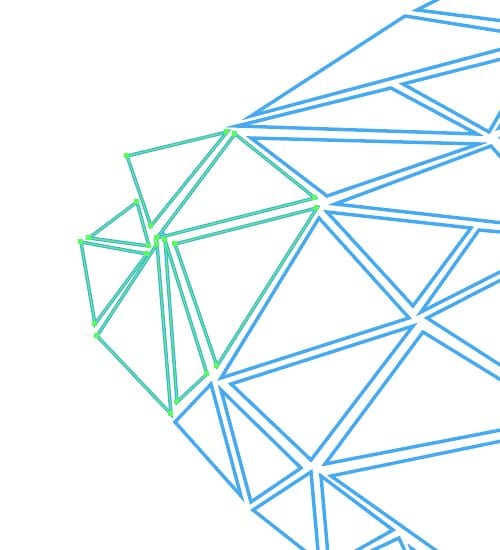
When you’re ready to connect all the polygons in your mesh, turn off the layer with your background image, then zoom in as needed. Some people may prefer to switch to the Outline view so that you can see all the polygons clearly. Use the Direct Selection Tool to find the common corners of a group of polygons, click and drag to select them, then right-click. From the context menu choose “Average…” then select the “Both” option and click OK. Notice that all of the selected corners now share the same origin.
The result of averaged polygon points.
Repeat the process until there are no obvious gaps between the polygons. For polygons along the outside edge, you may want to manually remove a gap between any two polygons if averaging them causes the shape to change substantially. Additionally, if you’re aware of strong color boundaries in the area you’re averaging, turn the image layer back on to make sure the average operation doesn’t overshoot the color boundary.
The short clip below provides an example of how to use the averaging command. If you run into an issue where you see “spikes” protruding from the common origin points, you need to change the Stroke settings. To do this, use the Direct Selection Tool to click and drag across the entire mesh, open the Stroke panel, then use the settings shown in the clip below (for this example the stroke setting was modified only for the polygons involved in the correction but you can do them all at once to save time). This should smooth over any unwanted spikes or imperfect corners.
The Average command enables you to create a mesh from many separate polygons.
Step 7) Apply fill colors.
Double-click the Eyedropper Tool; make sure the sample option lists “3×3 Average” so that you’re not sampling a single pixel with each fill. It’s usually better to take an average value. Next, use the Direct Selection tool to click the edge of a polygon, then press I to invoke the Eyedropper Tool. Click the color inside each polygon that you want to use as a fill. You may need to undo and re-sample neighboring colors to get the effect you want. Repeat the process as needed. To save time, if you have two or three neighboring polygons with identical or nearly identical color, you can click and drag across all of them, then use the Eyedropper to fill them all simultaneously.
When you’re done, zoom out to normal viewing magnification, then turn off the background image so that all you see are the polygons and the fills you created. Does the resulting look give a reasonable sense of what the original photo looks like? If so, you’re on the right track. You can either continue to add fills as you finish each section, or you can wait till the end of the process to fill the remaining polygons. I typically choose the latter but either approach works.

Note: if things don’t look quite right you probably have run into one of two common problems. The first occurs when you zoom in too much in order to more precisely map an area that has round edges a lot of texture detail, or both. The polygons you create end up being too small. When you zoom back out to 100%, the color fills in these areas will run together so that the intended effect is lost. Examine your mesh and think about spots where you may be able to use a single polygon instead of two or three. Use the Move Tool to select individual polygons, then press Delete to remove them (you can always use the Undo command to bring them back). Try to integrate fewer, larger polygons into these same areas. Remember: all fine detail and texture will be filled in by solid colors; don’t worry about being hyper-accurate.
The opposite problem can occur, too, where the polygon mesh is not complex enough to reflect what’s underneath it because you’ve made the polygons too large. Take the opposite approach here, again noting where multiple corner points come together. Can you break any of the larger elements down into two or three polygons to more accurately reflect the color pattern underneath?
Another thing that can affect the perception of a filled area is the thickness of the strokes used on the polygons or the stroke color. If you need to change all of the polygons, use the Direct Selection Tool or Move Tool to click and drag across the entire area, then use the Control panel to set a thinner stroke and/or a different stroke color.
Step 8) Evaluate the design.
Zoom out to the desired viewing magnification to evaluate the mesh and colors. Turn the image layer on and off to make sure you didn’t miss any fills. You may find a few polygons that could benefit from a slightly darker or brighter shade of the color fill you chose, or you may find adjoining polygons, which would look better if they used an identical fill color. To do this you can simply select an individual polygon and choose the no fill setting from the Control Panel, then use the Eyedropper to re-fill the polygon(s).
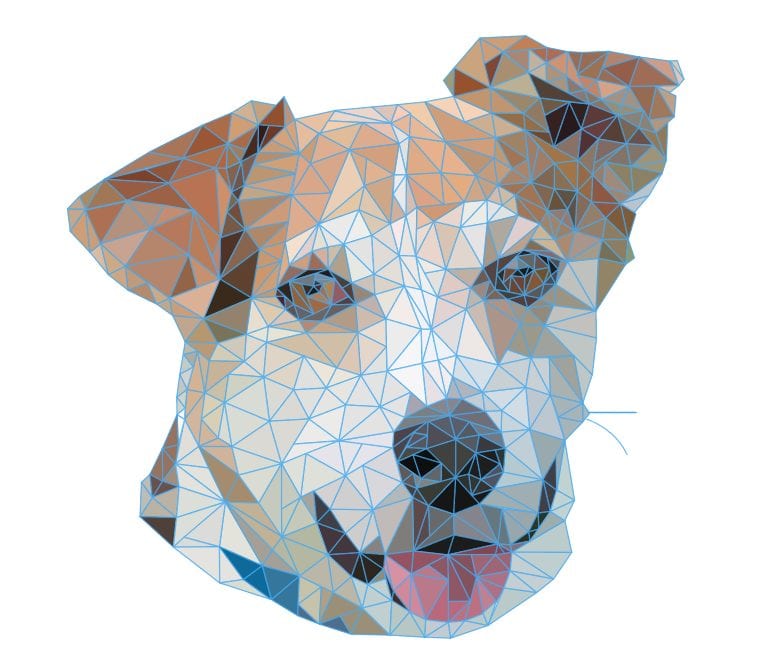
Once you’re finished turn off the visibility of the original image layer to reveal the new low-poly portrait.

Say hello to low-poly Fonzo, our friend at Helping Paws Animal Shelter.


