Are you the designated IT person for your family, or maybe for your small business? If you are, then perhaps you’re getting a bit tired of everyone asking you to provide your administrator name and password every time a printer jams, an app needs updating, or Time Machine throws an error code.
The Mac has a pretty straightforward model for assigning privileges to a user’s account, and in many cases, only the administrator has the right to stop, start, or pause services, such as pausing the print server when a printer jams. Only a user with administrator privileges can get the print server running again.
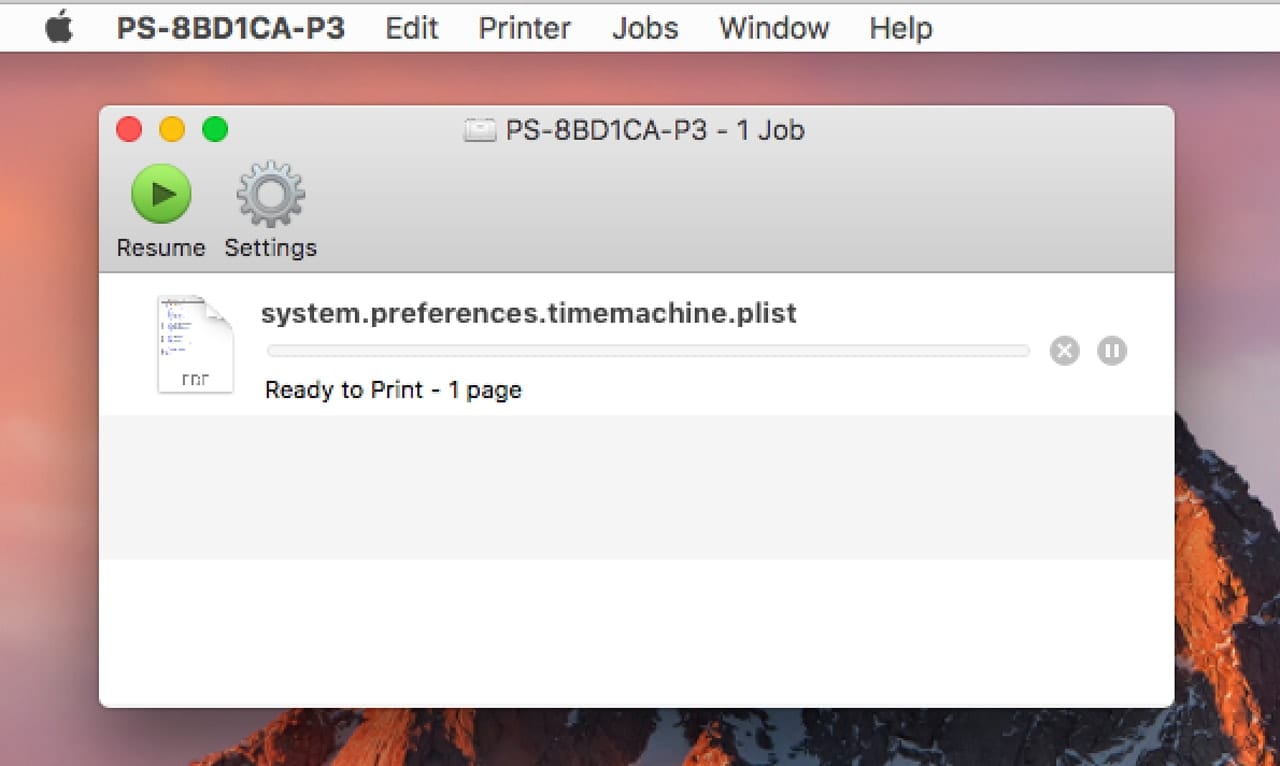
If you’re tired of running over to a user’s Mac just to enter a password so the print server can restart after a paper jam, then you may be thinking it’s time to give everyone admin privileges. And believe it or not, that may be a valid solution to the problem, depending on the competence and trustworthiness of your users.
It is, in fact, the method we use; all users at our home and office are set up as administrators, relieving us of the more mundane tasks of Mac administration. But if you’re inclined to use the standard, managed, and administrator user models to ensure a bit tighter security, then this tip can help you keep your personal workload low, while allowing other users to perform routine tasks, such as resetting printers, without needing the local overlord to make an appearance.
Mac User Accounts
The first account created during the original setup of your Mac is an administrator account that includes elevated privilege levels that allow the account holder to manage the basic system. The Mac’s administrator account isn’t an all-powerful tyrant; it has a number of restrictions, including the inability to access another user’s data. It does, however, have power over all of the Mac’s system preferences, including the ability to add new apps, add new users, assign user groups, manage parental controls, set up accessibility options, and manage printers. You get the idea. If there’s a system preference pane for a service, users holding an administrator account can make changes as they see fit.
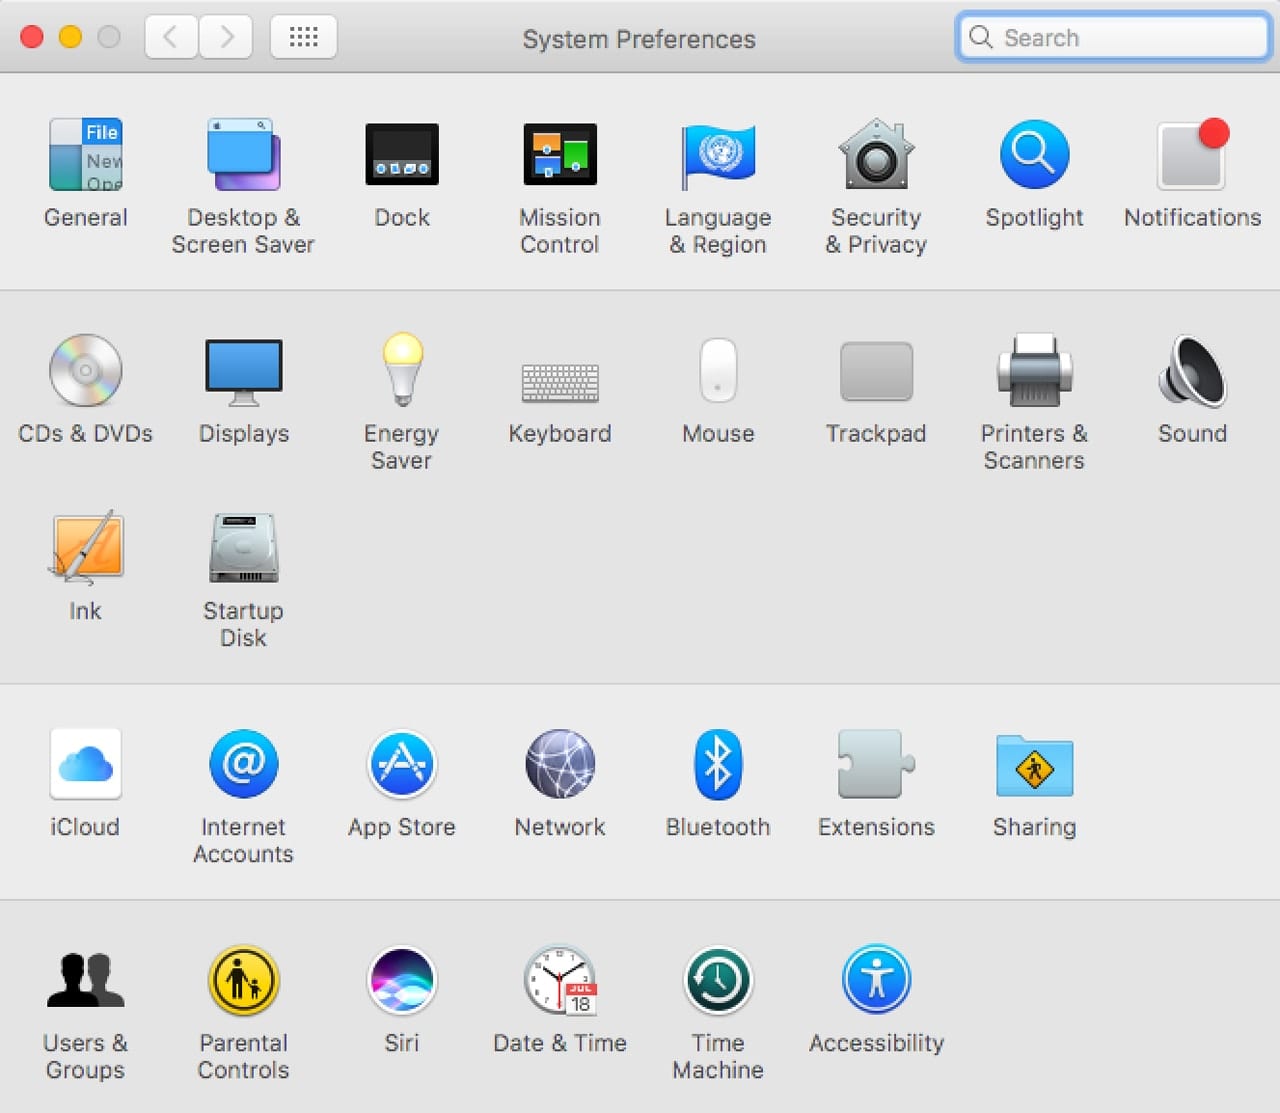
While the administrator is one type of account, the Mac OS supports additional types, including:
Standard: Standard user accounts can install apps and change settings that affect only their own accounts. So, standard users can pick their own desktop wallpaper, customize the Dock, and set their own preference for how a mouse or track pad works. They can’t add or delete users, or change settings that would affect anyone else.
Managed: Managed users are bound by the restrictions set up by Parental Controls. With Parental Controls, you can restrict the apps available, the websites that can be visited, and the contacts available to the user through various apps, such as Messages and Mail. Managed users can also have usage restrictions based on time, to ensure kids aren’t using their Macs when they should be sleeping.
Sharing Only: Allows users to log in remotely and access their own files. It doesn’t allow general access to the Mac, or the ability to change any settings.
Guest: Guest user accounts are for visiting family, friends, or clients who may need to use your Mac for a brief time, perhaps to check messages or access a website. All of a guest user’s data stored on the Mac is deleted automatically when the user signs out.
Add Additional Administrators
One method to help resolve the burden of administration is to spread the task around, allowing other trusted users to share the work. In general, this is a good idea; having a single administrator can cause problems if the administrator isn’t available when some task comes up that needs the admin password.
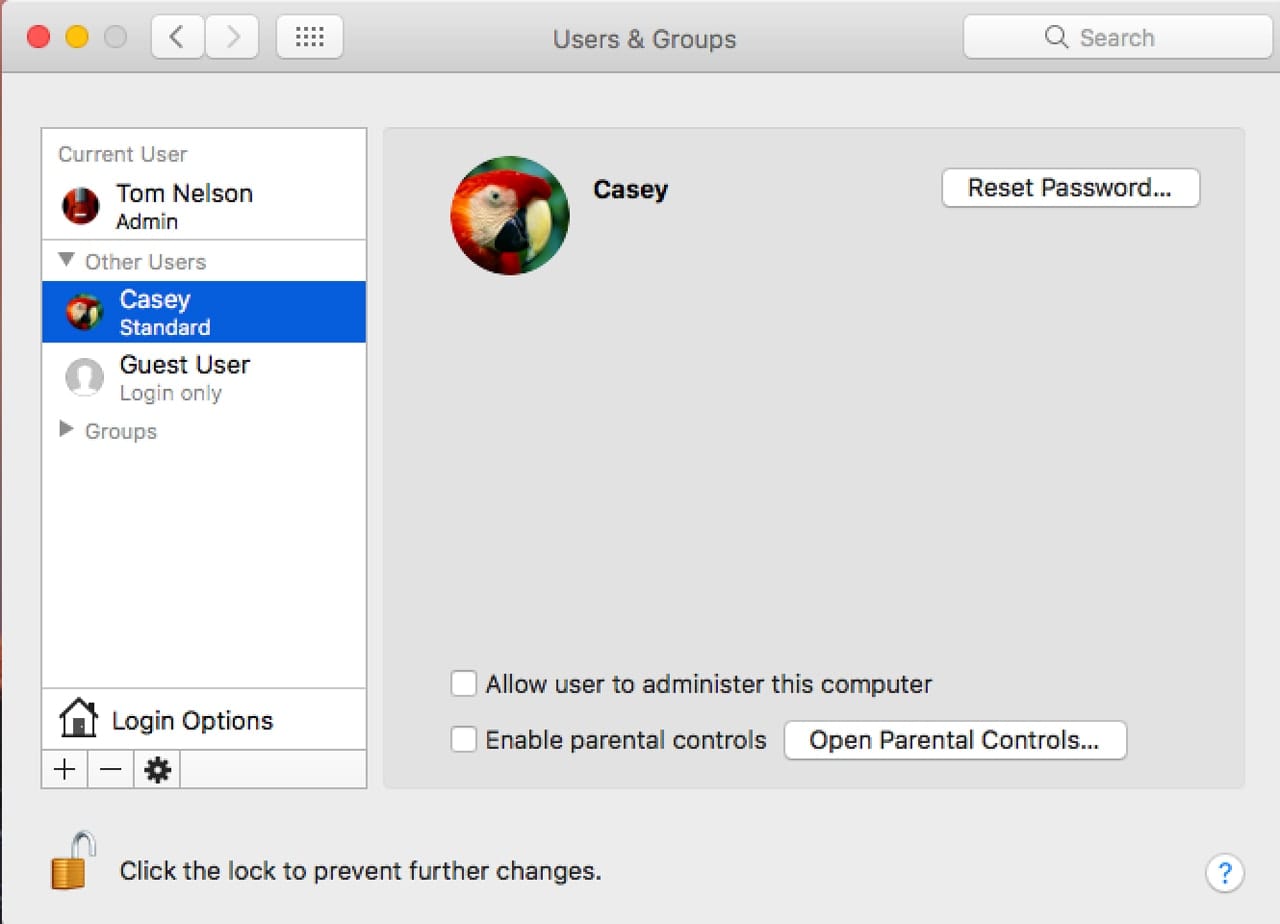
The first step is to use the Mac OS Users & Groups preference pane to change the account type for the selected individual. In this example, you can change a standard user to an administrator.
Of course, you must already be an administrator for this to work.
If you’re not currently logged in to your administrator account, log out, and then log back in with the appropriate account.
Launch System Preferences by clicking its Dock icon, or by selecting System Preferences from the Apple menu.
In the System Preferences window, open the Users & Groups preference pane.
Click the padlock icon in the lower left corner, and then enter your administrator password. Click the Unlock button.
Select the user account you wish to elevate to an administrator account from the sidebar list.
Place a checkmark in the “Allow user to administer this computer” box.
Note: If the account you wish to elevate is a managed user account, all parental control settings will be removed when the user is elevated to an administrator account.
Provide Admin Privileges for Specific Tasks
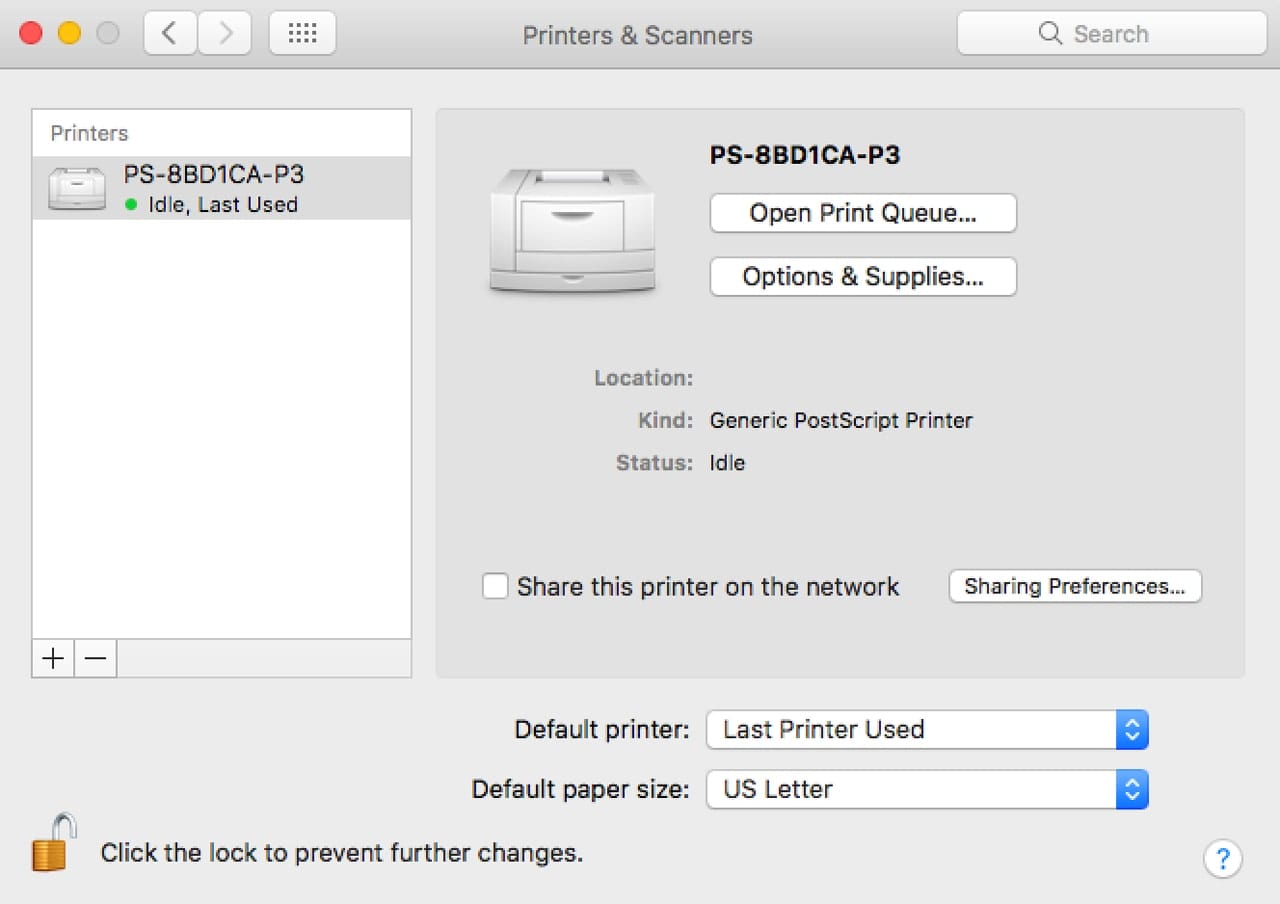
A slightly different approach is to provide admin-like capabilities to standard users, but restrict them to certain tasks. This is the way we fixed one of our headaches: clearing printer jams that cause the print server to pause. By giving all standard users admin rights to the Printer preference pane and print server, they can be their own printer administrator.
This same concept of limited administrator rights works for a number of system preference panes, including:
- Printers & Scanners
- Date & Time
- Energy Saver
- Startup Disk
- Time Machine
- Network
The Mac OS doesn’t currently have a method to selectively apply administrator privileges using the GUI, but there are a number of ways to elevate user privileges using the Terminal app. In this example, we’re going to raise the privilege levels of every user (except the guest account) to manage the printer system. This same technique can be used for any of the preference panes listed above.
This method should work for any Mac running OS X Mavericks or later. It makes use of the authorization database that Apple introduced with Mavericks. This database is used to control the access rights for many different processes, such as printing, Time Machine, and networking. You’ll need to be logged in with your administrator account to make these changes.
The process works by exporting the preference’s rules to a temporary property list file, then using the default write command to make changes to the file, and finally, reimporting the altered rights list back into the authorization database. This means you’ll need to execute three Terminal commands for each preference pane to which you wish to give non-admin access.
Before you make changes to the authorization database, it’s a good idea to create a current backup of your Mac. Errors in making changes to the database can produce unexpected results; a current backup will let you recover to a known good state.
If you’re ready, let’s begin:
Launch Terminal, located at /Applications/Utilities.
The following three commands allow general access to the System Preferences. They do not, however, give unrestricted access to every individual preference pane; it’s just the first step in the process.
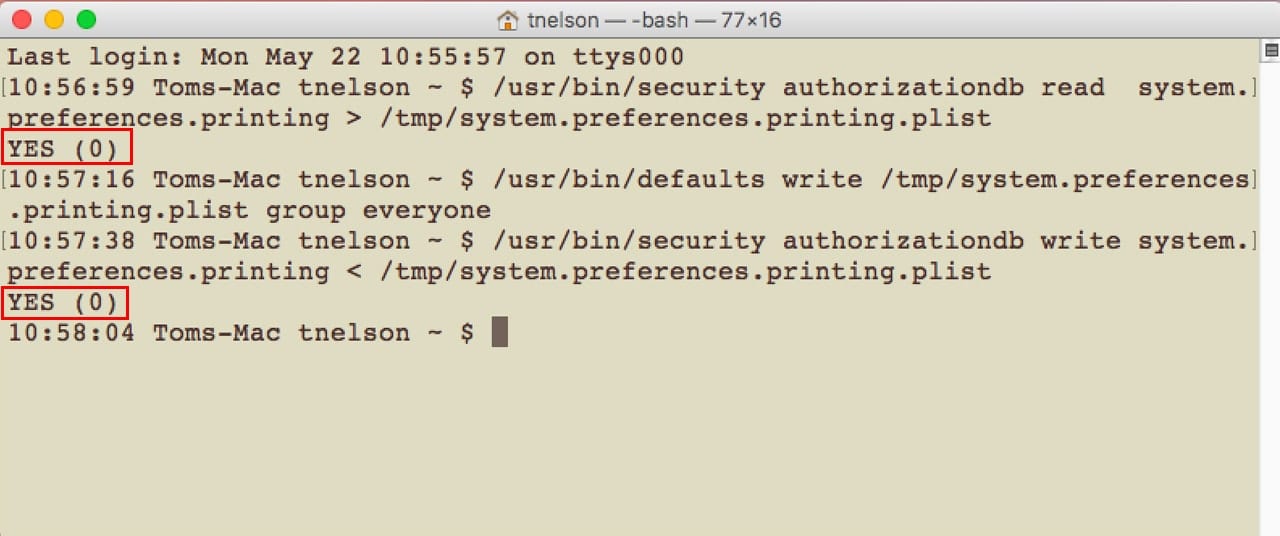
Enter the following at the Terminal prompt. After each line is entered, hit Return or Enter on your keyboard.
Note: Each command is a single line of text, but your browser may show them as multiple lines. You can copy/paste each line for easy entry into Terminal.
/usr/bin/security authorizationdb read system.preferences > /tmp/system.preferences.plist
/usr/bin/defaults write /tmp/system.preferences.plist group everyone
/usr/bin/security authorizationdb write system.preferences < /tmp/system.preferences.plist
Note: After the first and third lines are executed, Terminal will respond with the word YES if the command was carried out successfully or NO if there was a problem.
To enable anyone to access the printer preferences as well as the print server, enter the following three lines:
/usr/bin/security authorizationdb read system.preferences.printing > /tmp/system.preferences.printing.plist
/usr/bin/defaults write /tmp/system.preferences.printing.plist group everyone
/usr/bin/security authorizationdb write system.preferences.printing < /tmp/system.preferences.printing.plist
The print server on your Mac uses its own special group to control access, so we need to enter the following command in Terminal:
/usr/sbin/dseditgroup -o edit -n /Local/Default -a “everyone” -t group lpadmin
The above example should allow anyone to manage printer issues that may come up, with one caveat: depending on the version of the Mac OS you’re using, an administrator account may still be needed to add printers.
If you would like to add non-admin access to other preference panes that are usually restricted to an administrator, you should only need to change the word “printing” in the above example to the name of the appropriate preference pane. For instance, to allow everyone to access the Time Machine preference pane, the three commands would be changed to:
/usr/bin/security authorizationdb read system.preferences.timemachine > /tmp/system.preferences.printing.plist
/usr/bin/defaults write /tmp/system.preferences.timemachine.plist group everyone
/usr/bin/security authorizationdb write system.preferences.timemachine < /tmp/system.preferences.timemachine.plist
When granting access to a preference pane, the name you need to use in the Terminal commands is usually easy enough to figure out; in the example above, the Time Machine preference pane becomes just timemachine with no spaces or capitalization.
The general rule for guessing the preference pane’s name in the authorization database is to remove any spaces in the name, provide the name in all lowercase, and remove the word “and” if present in the name.
Additional references: Security command, authorizationdb, defaults






hallo system preferences is trying to unlock parental controls preferences for imac passwor forgot thanks
Hey, after doing these commands the preference pane lock cannot be opened at all. It is locked and I do not even get the dialog box to enter an administrator name or password, It just sits there locked.
Wouldn’t it be nice to have an OS that just… works. The Mac OS is getting so layered and congested with Mail, Messages, FaceTime and, the dreaded “You don’t have enough access privileges to do THAT!”, that it becomes a tedious drain. Having made money on my Macs since their inception, I’d really like to have Snow Leopard back or, the choice of an OS with little-to-no excessive tripe. At home, I used to be able to double-click on an MP3, iTunes opened and the song played. Now, after replacing the hard drive that contained the music, I don’t have enough privileges, even though I’m the Admin dude, have gone through every level of every imaginable folder and made sure “Everyone” has “Read & Write” access but… NO, that’s makes too much sense. But, I digress. ;)
The one OS that really got permissions right was VAX-VMS. (Yeah, I’m that old…)
And I agree with you on the accumulation of disparate cruft, particularly for things like “which application handles which kind of data/file/stream?” Too many things that Apple decides are “the next best thing” come pre-enabled, and then it’s a real b**** to find out how to disable them. (I for one have never had any use for Spaces. That’s not to denegrate those who depend on it. But I get really annoyed when it gets re-enabled and I have to dig around to figure how to disable the accidental keystroke that switched my desktop!)
I personally think it is a -terrible- idea to convert any user’s standard account to Admin. Better to have a family admin account username/password (that they have to type in whenever doing a privileged operation.)
Running every day from a non-admin account is one of the best of the ‘Security Best Practices’ for Mac OS X. It prevents a bunch of attacks that would only work if you’re running as an admin account.
This is very good advice.
There is an increasing amount of malware that is specifically targeting Macs, some of which is quite sophisticated and designed to get around Mac security systems.
Witness the recent trojaned HandBrake update which was properly code-signed to get past Gatekeeper.
For some eye-opening info see: alienvault.com/blogs/labs-research/diversity-in-recent-mac-malware
Even if you’re being careful you never know when that website you’ve visited countless times before has been compromised on the back side and is now serving up malware laced content.
It irks me that Apple is encouraging bad security practice by making the first account on a new machine be both the owner’s designated account and an admin account.
” Better to have a family admin account username/password (that they have to type in whenever doing a privileged operation.”
Would you please elaborate briefly how this helps with security for us ‘non-techies’ like me? Now, as Administrator I have to put the password in for many ops. What would be the difference? Thanks in advance.
An “Administrator” account is a member of a special group, that can access some files and do other things even without your entering your password.
A normal account does not have this problem.
Well-defined software such as installers should be able to prompt for both Admin account -name- and password. But I’ve seen some bad installers that can only run from an Administrator account because it takes advantage of some of those privileges.